Assemble the motors
For this section you will need:
Tools
Printed Parts
- 3 cable tidy caps - Each cap is a different shape
- 3 small gears
Electronic Components
Mechanical Components
Step 1: Attach the small gears
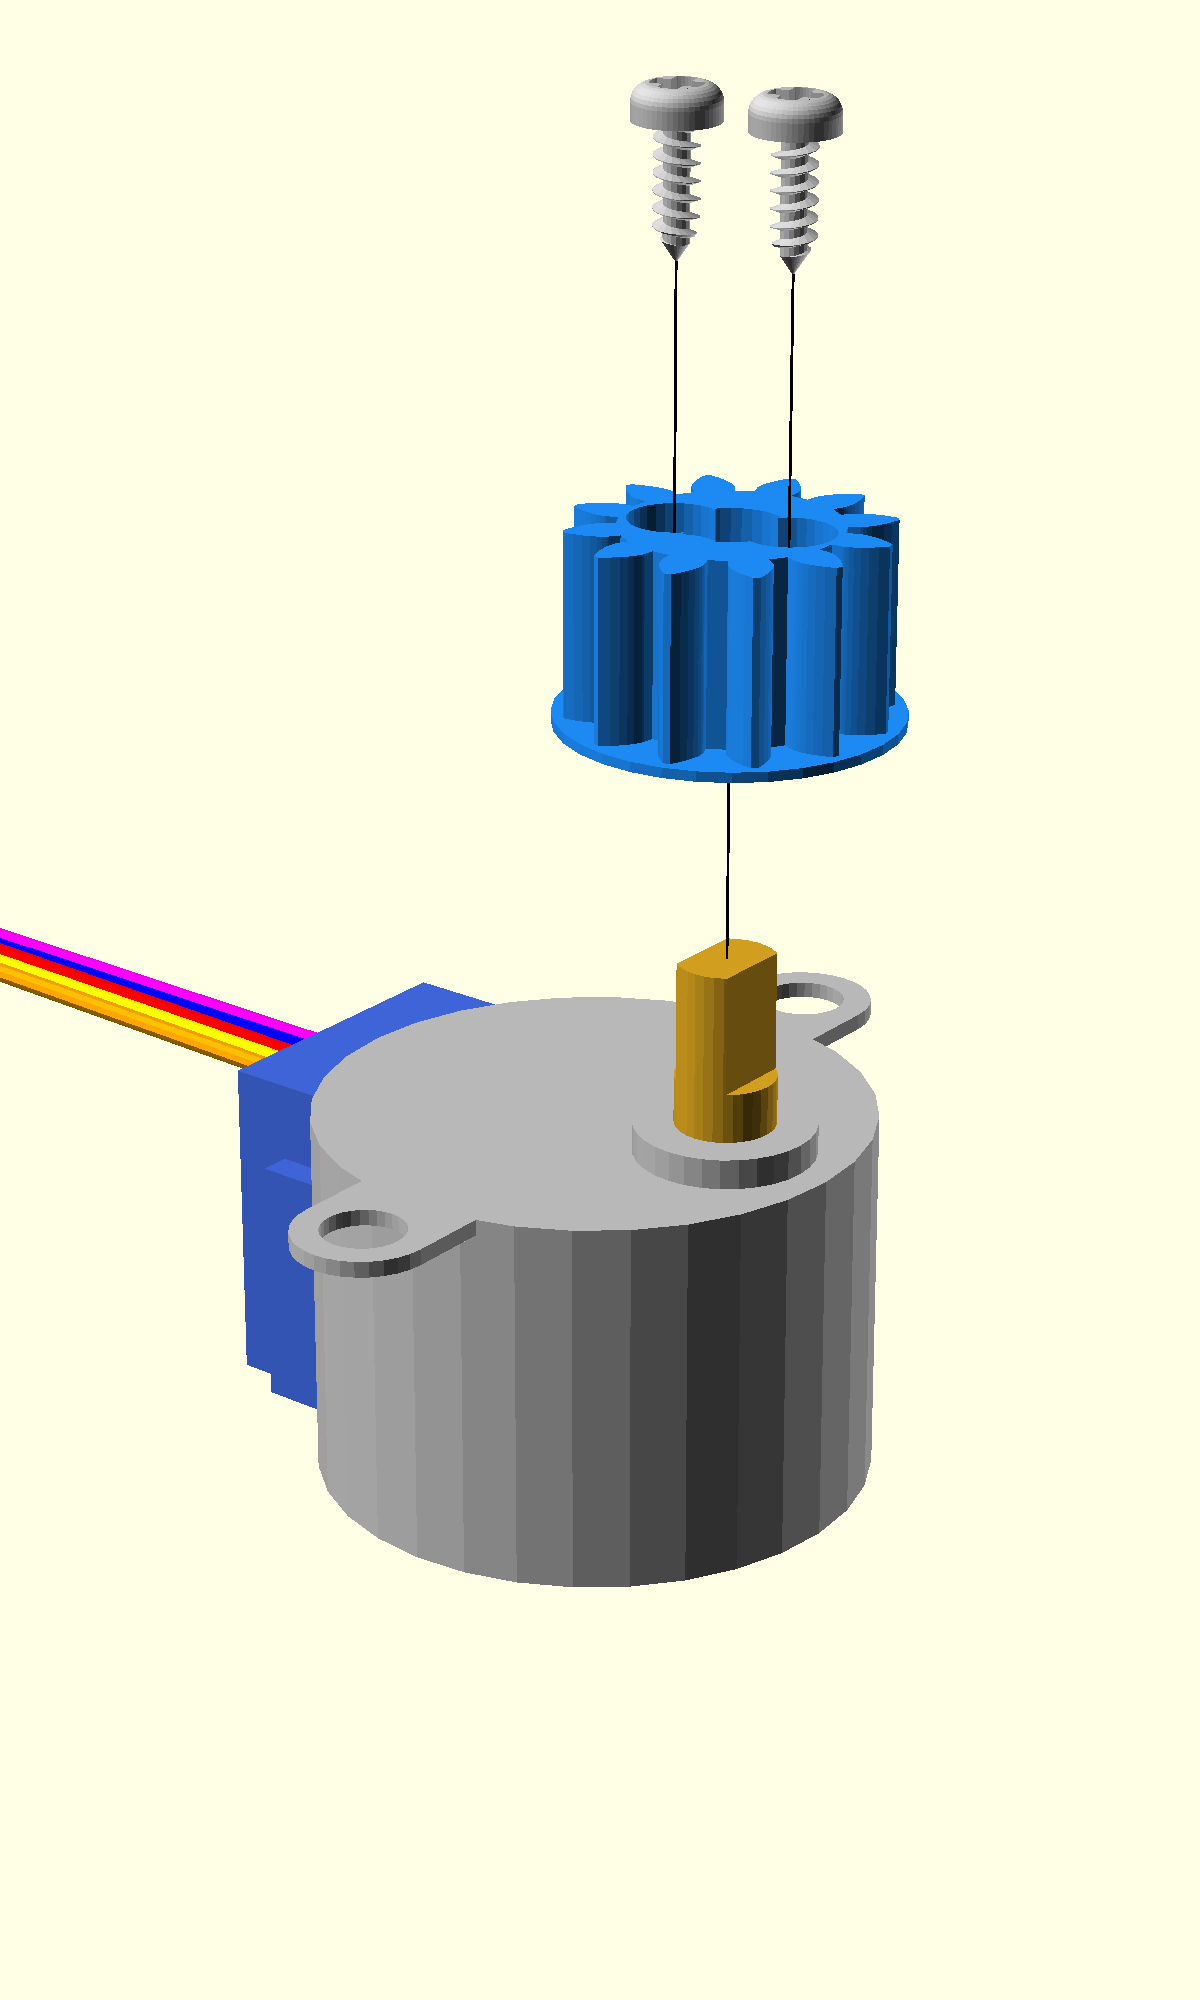
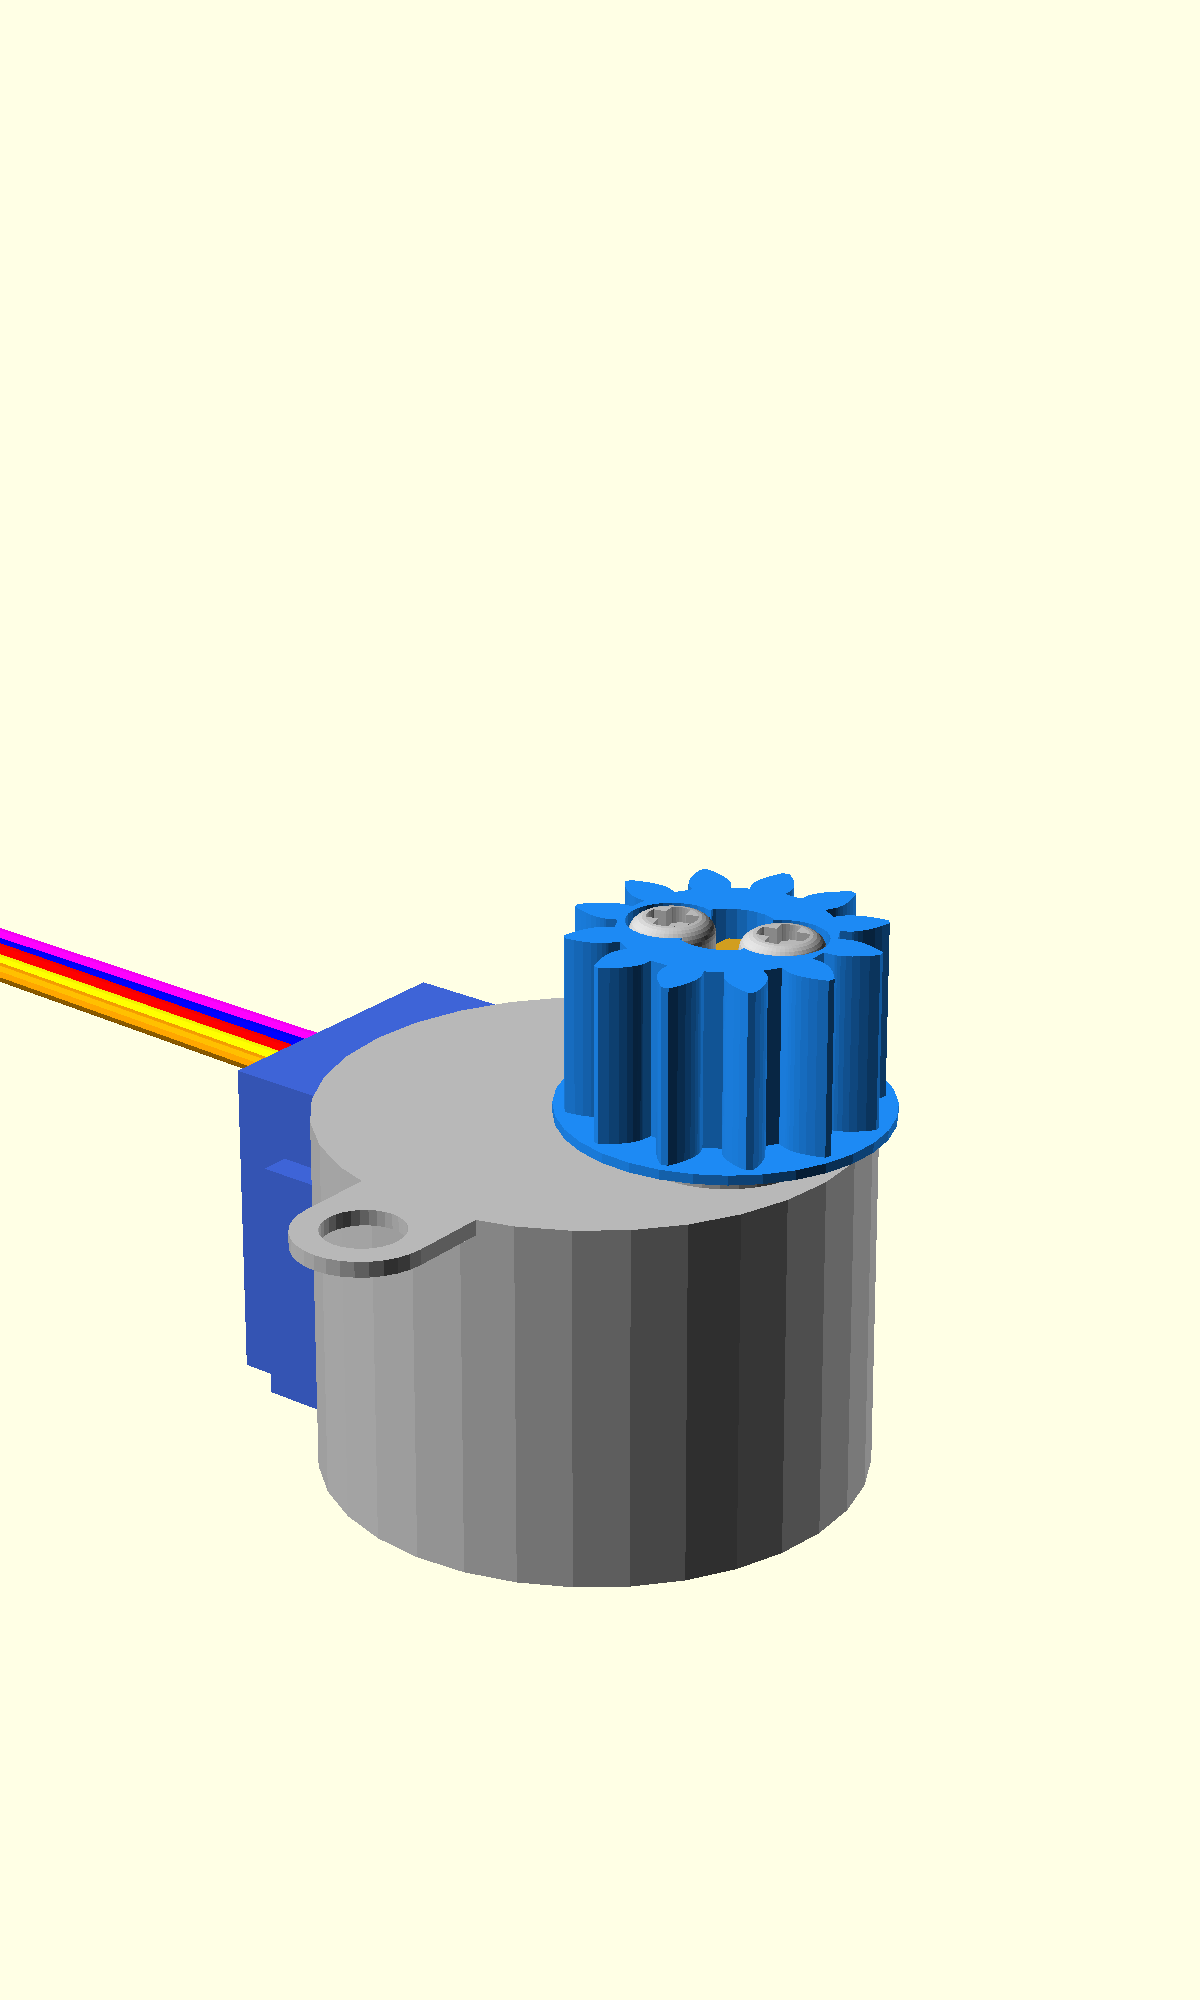
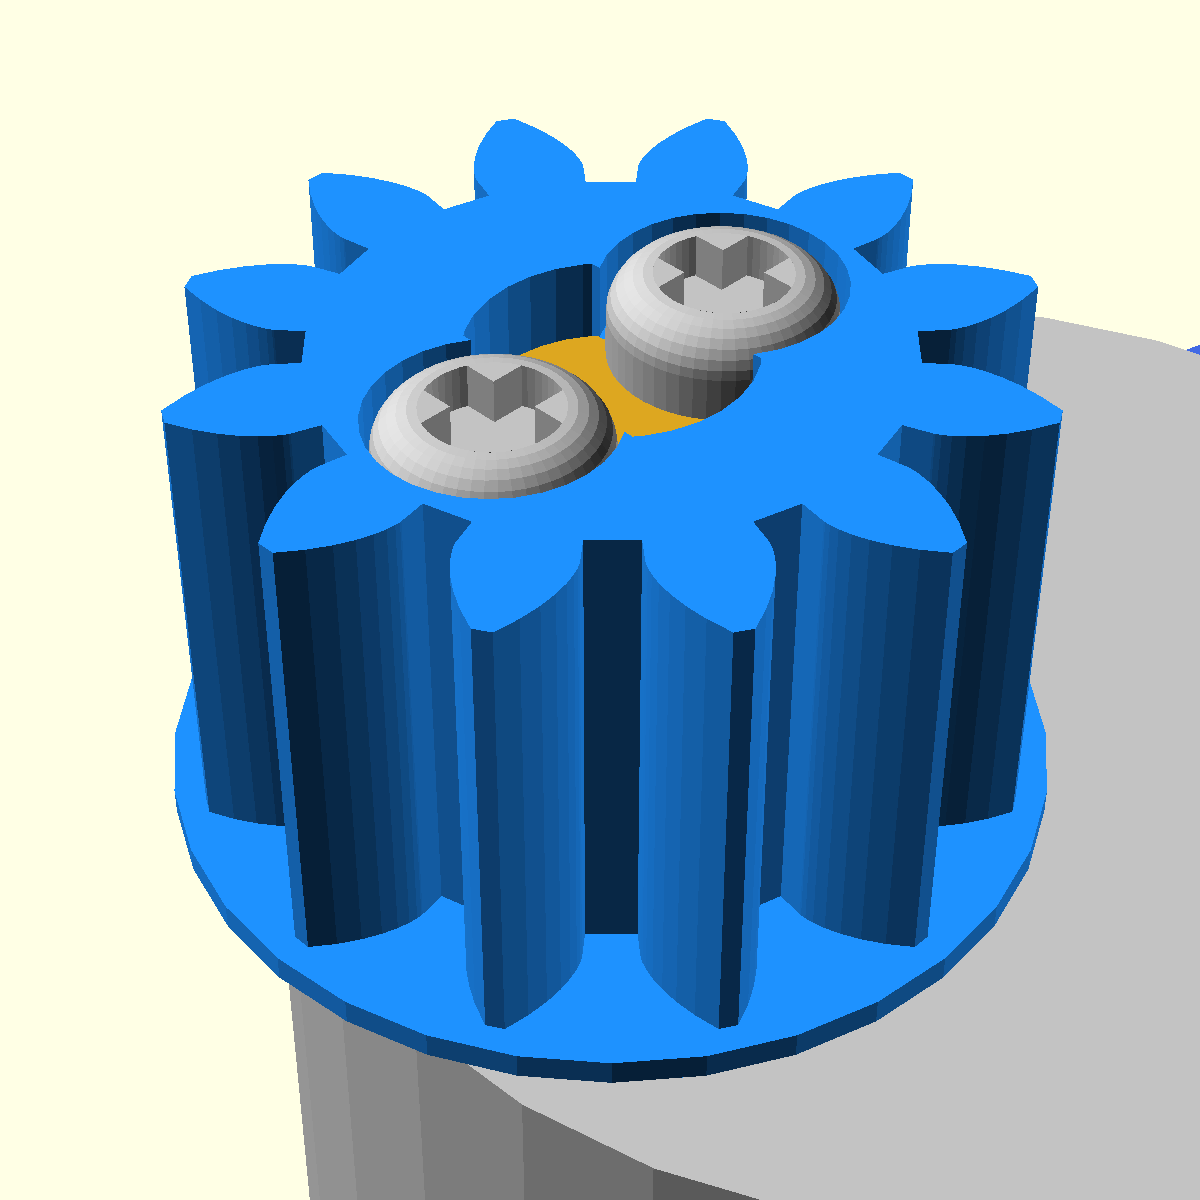

- Take a stepper motor and a small gear.
- Place the motor on the work surface with the shaft pointing up.
- Align the flat sides of the motor shaft with the flat sides of the hole in the gear.
- Push the gear onto the motor with the flanged side downwards (motor side).
- Take two self tapping screws and drive them fully into the holes on either side of the shaft, using a #1 pozidrive screwdriver
- Check that the gear is fully pushed on to the motor and the screws are fully in, so that the screw heads almost sit on the end of the motor shaft and the top of the heads are barely protruding from the gear.
- Repeat for the other two motors
It is important to keep track of which motor cable corresponds to which axis. You may find it helpful to mark each cable connector with a marker or different-coloured tape before continuing.
Step 2: Check that the actuators are centred
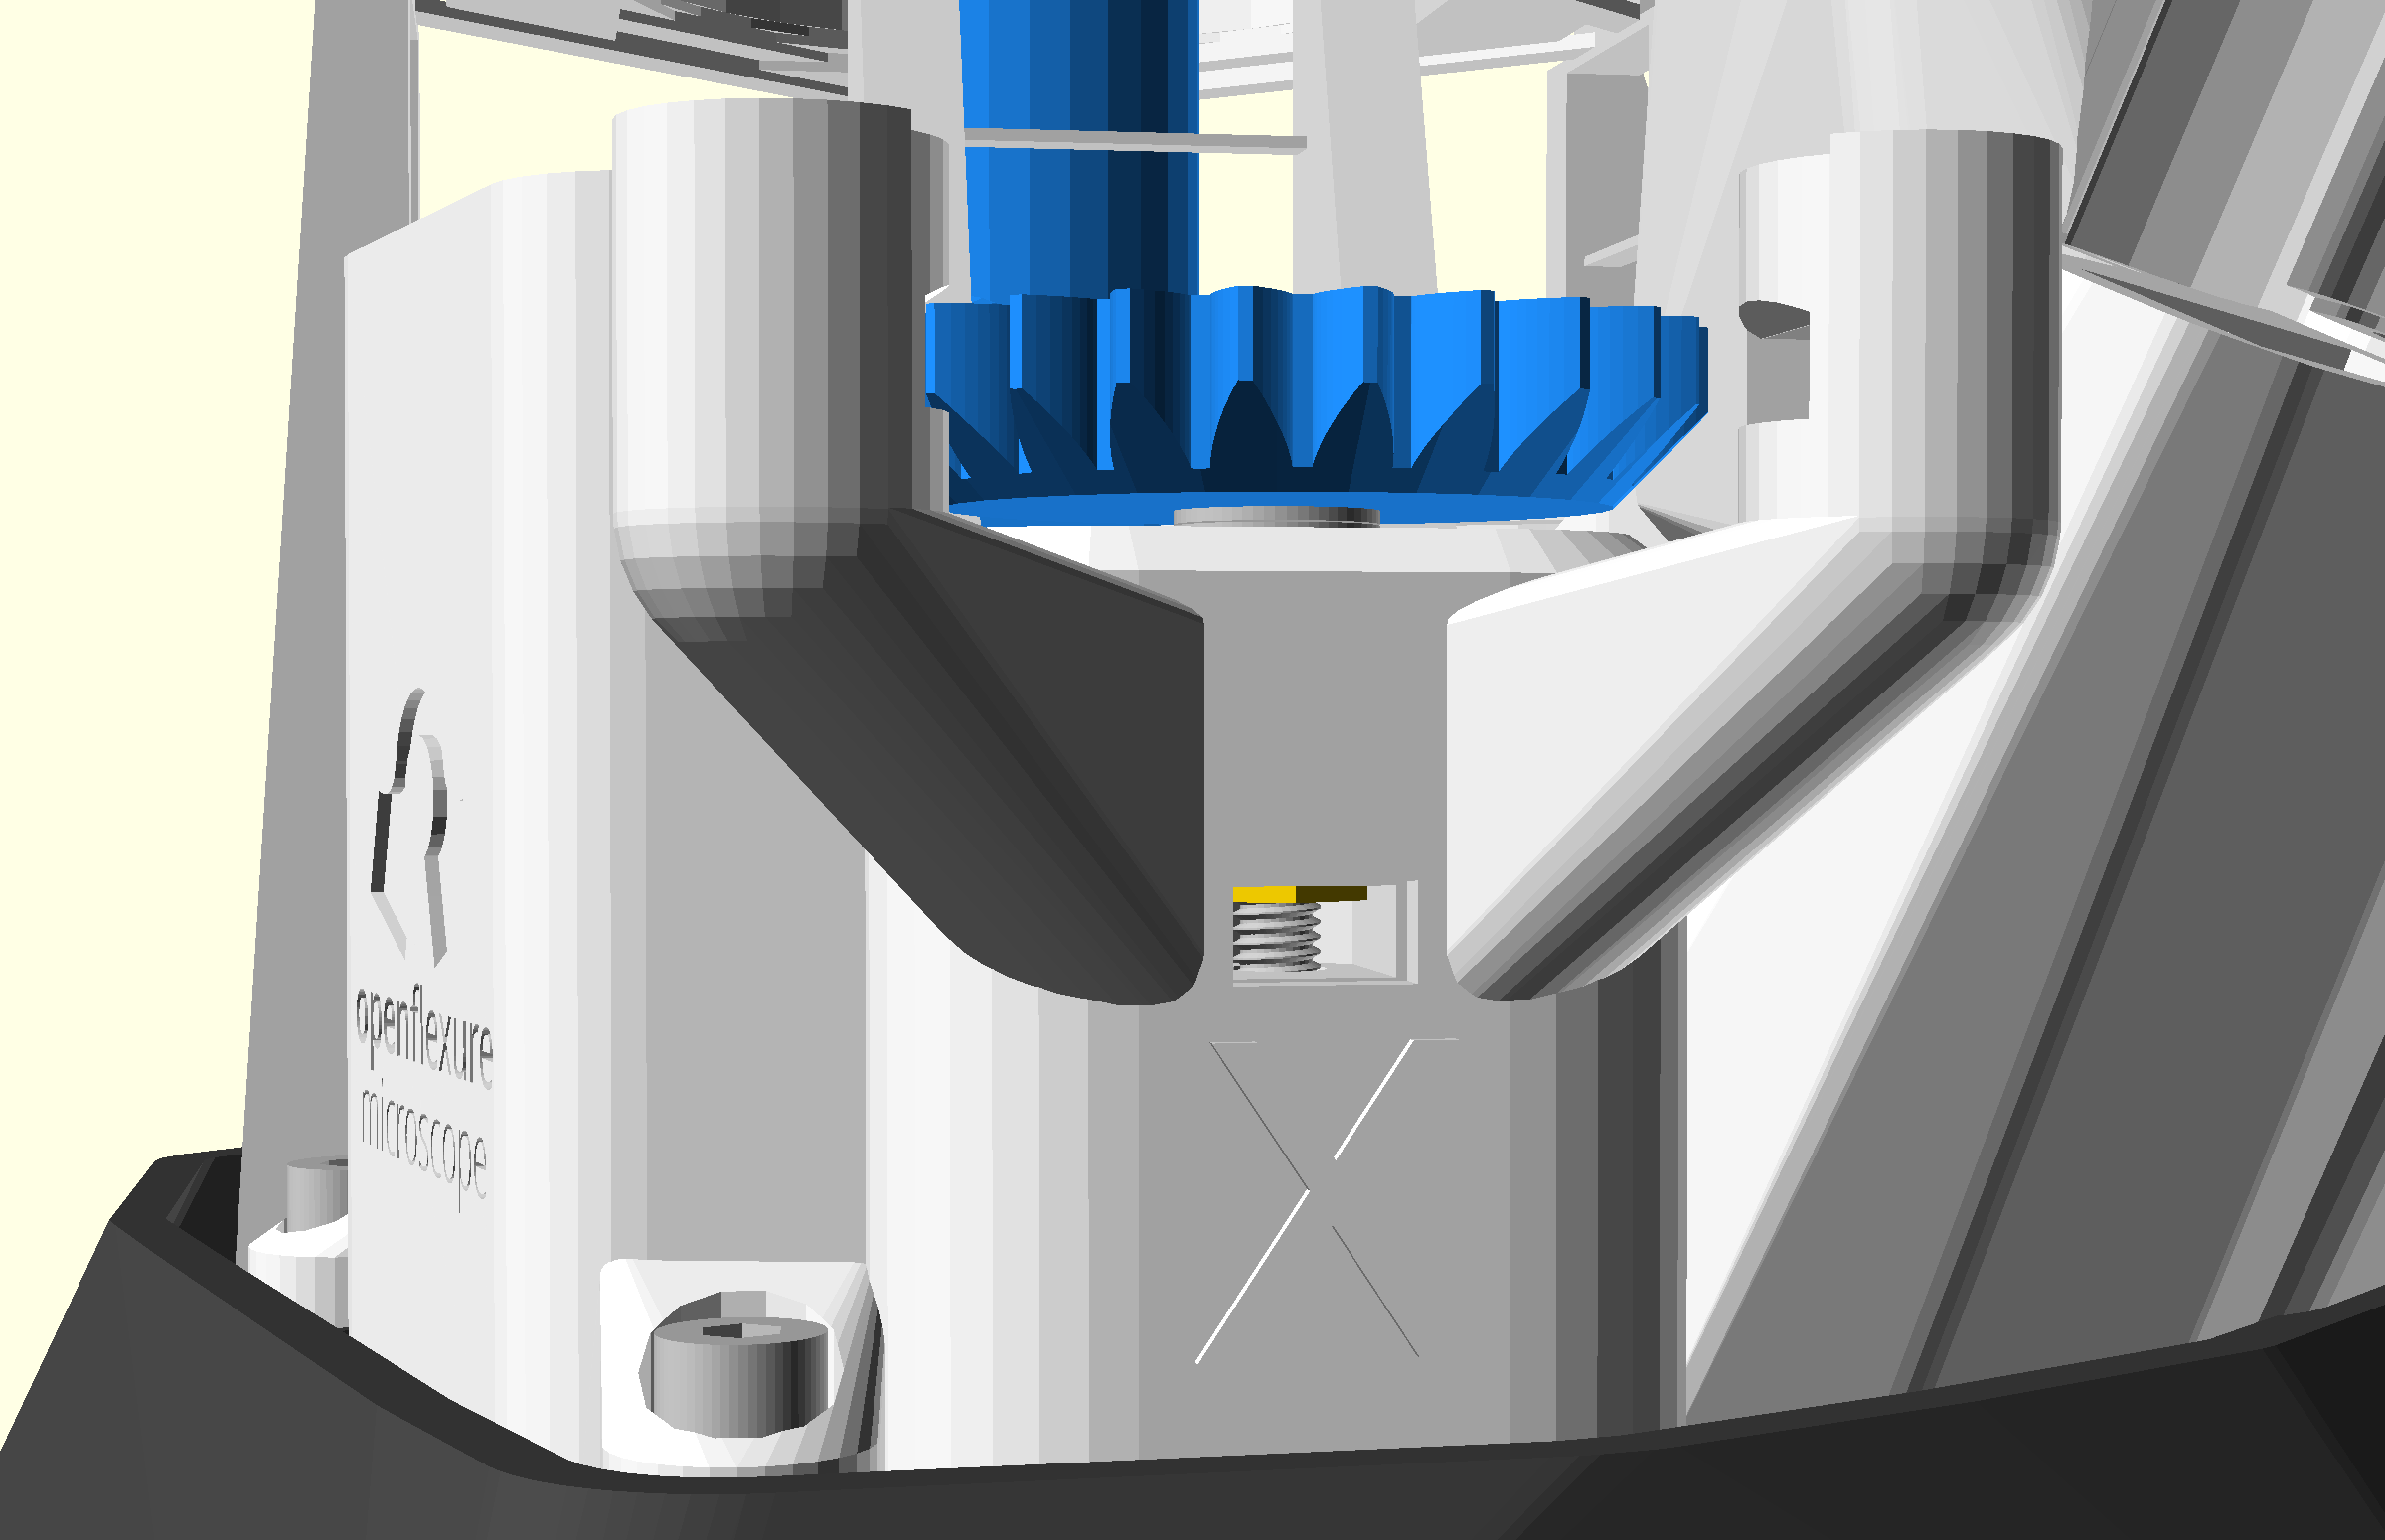
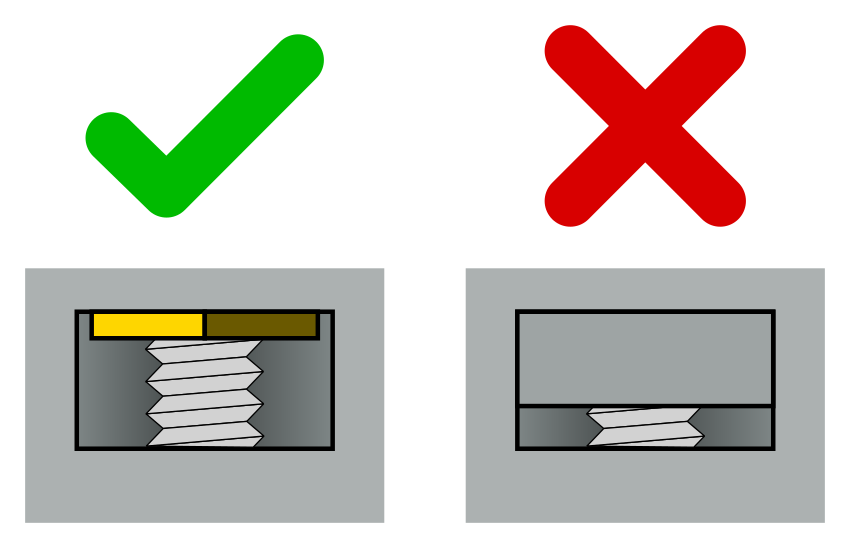

- Look through the nut hole in the x actuator, above the 'X' logo
- You should be able to see the screw thread of the hex bolt and part of the brass nut. You should not be able to see the plasic of the internal actuator column
- Rotate the gear until the hole in the inner actuator column is aligned with the slot in the outer casing
- Repeat for the Y and Z axes on the main body, and the separate Z actuator
Step 3: Attach the x and y motors
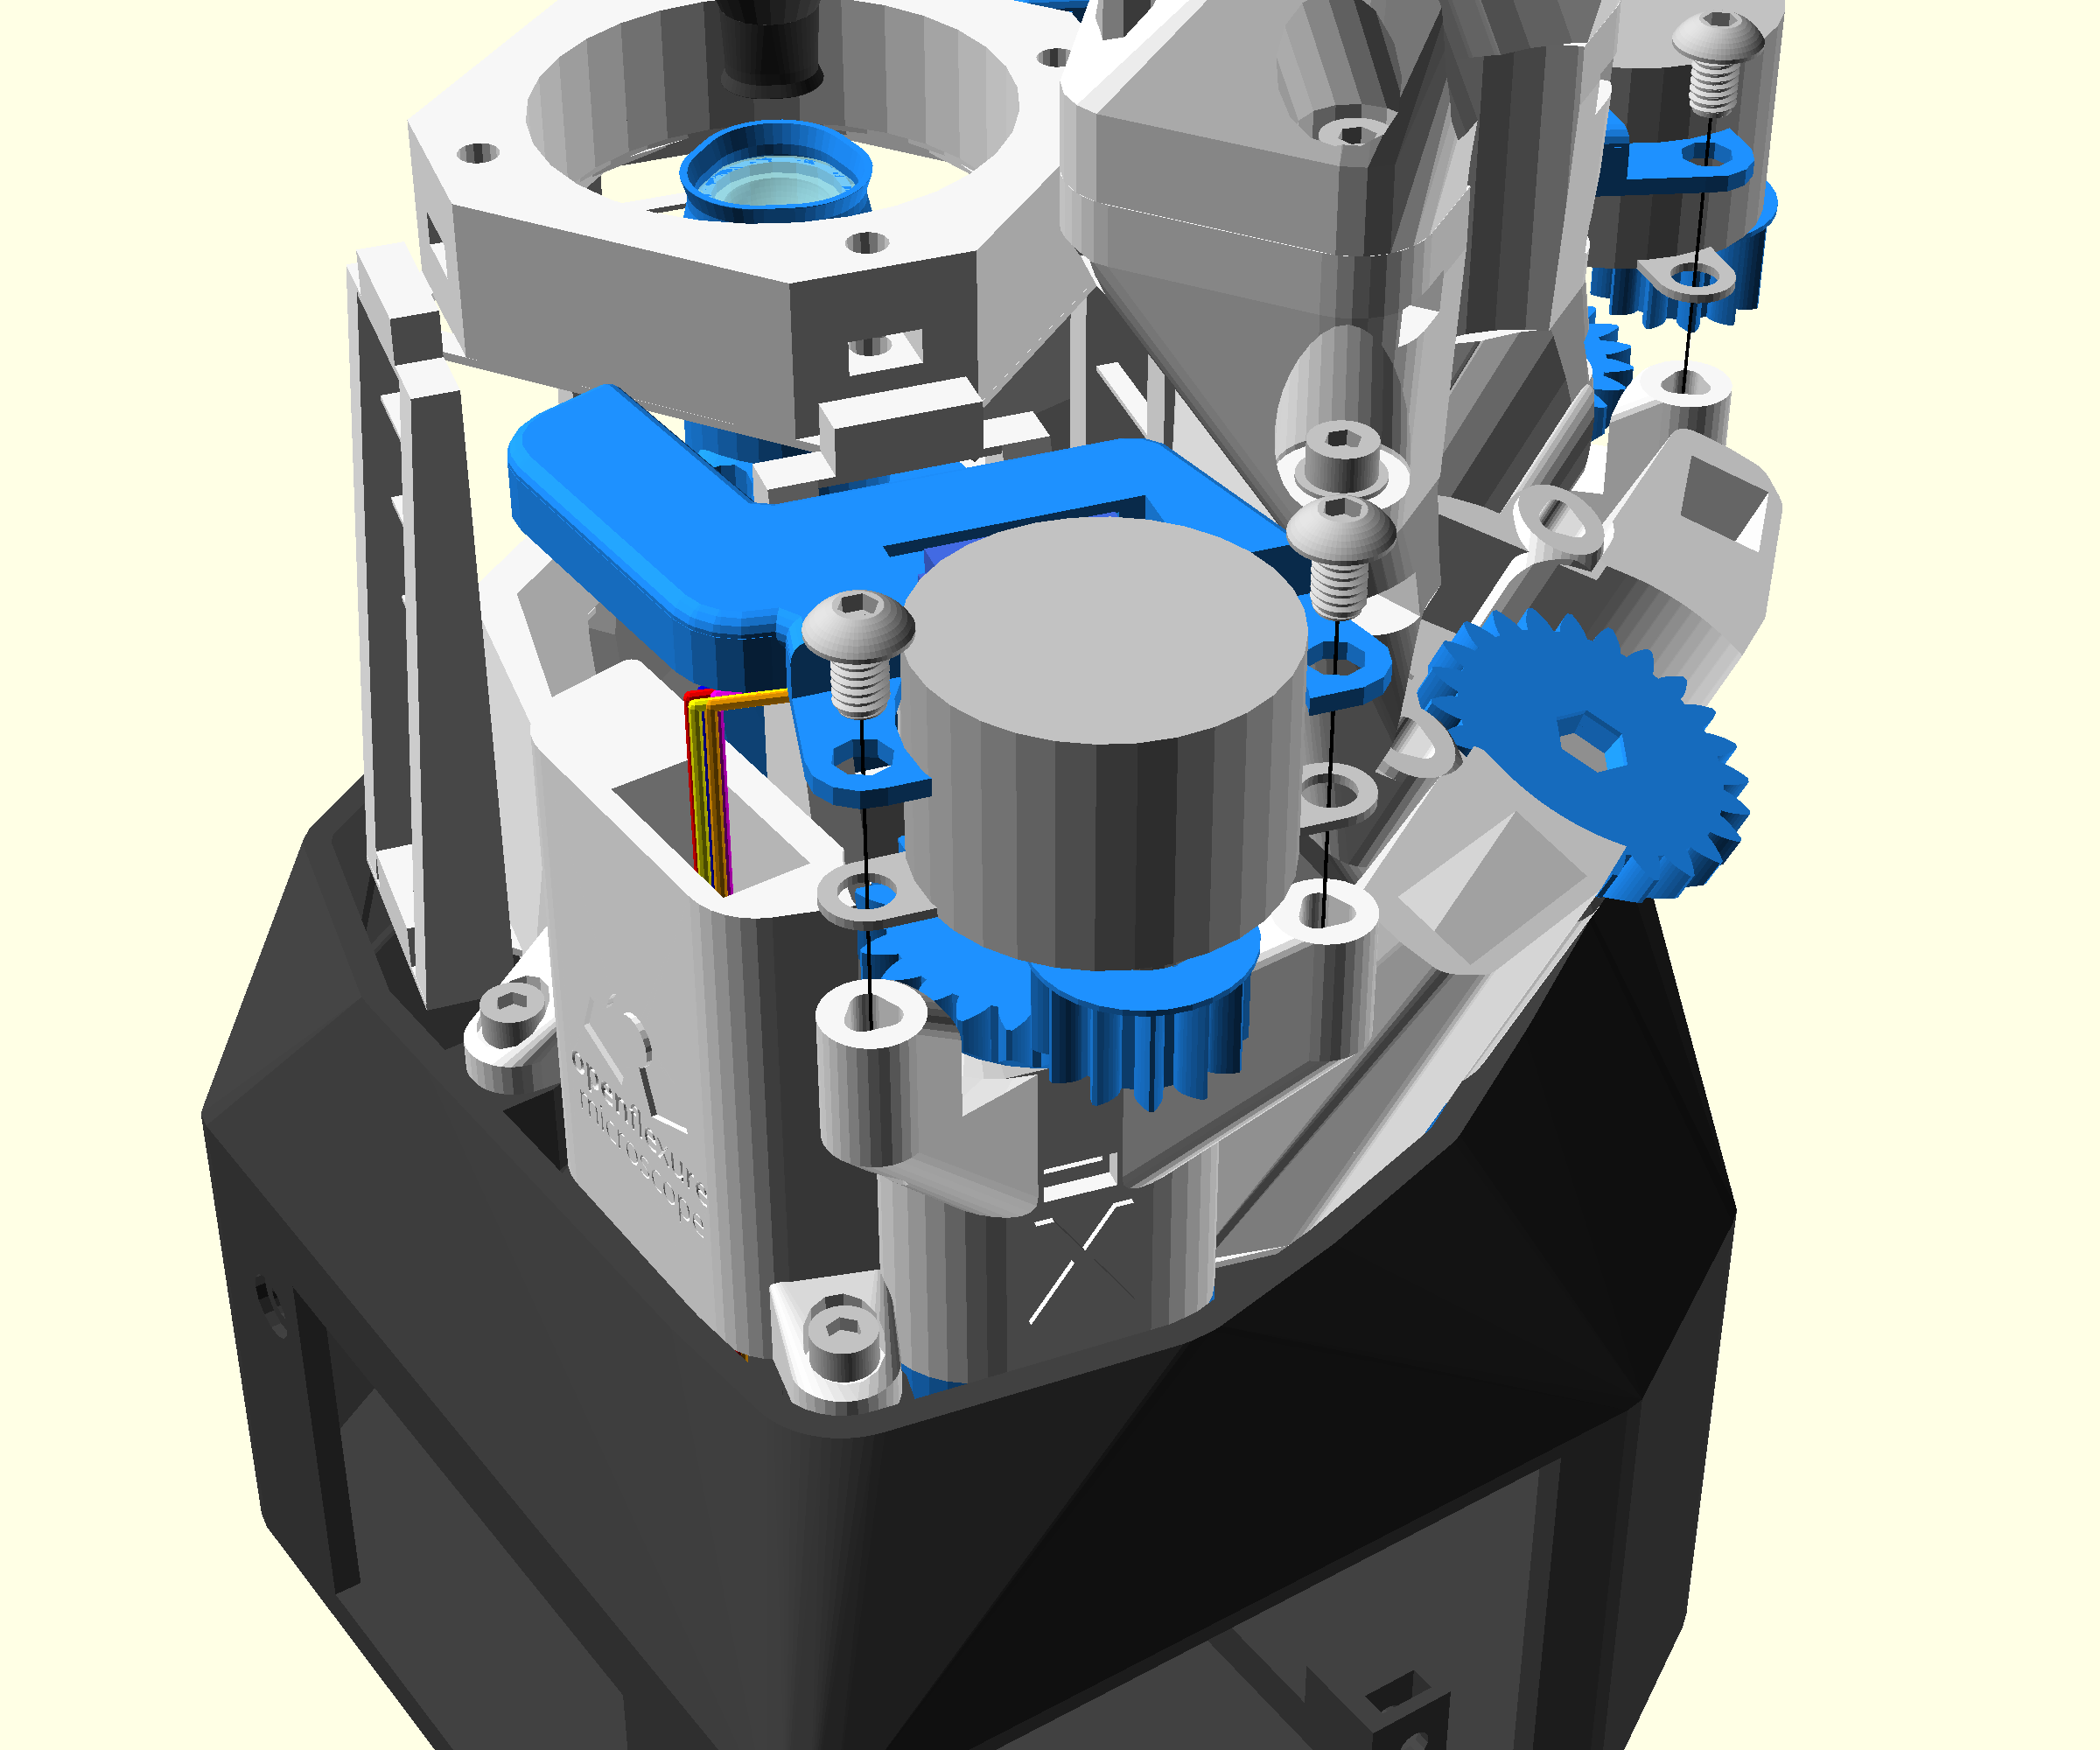
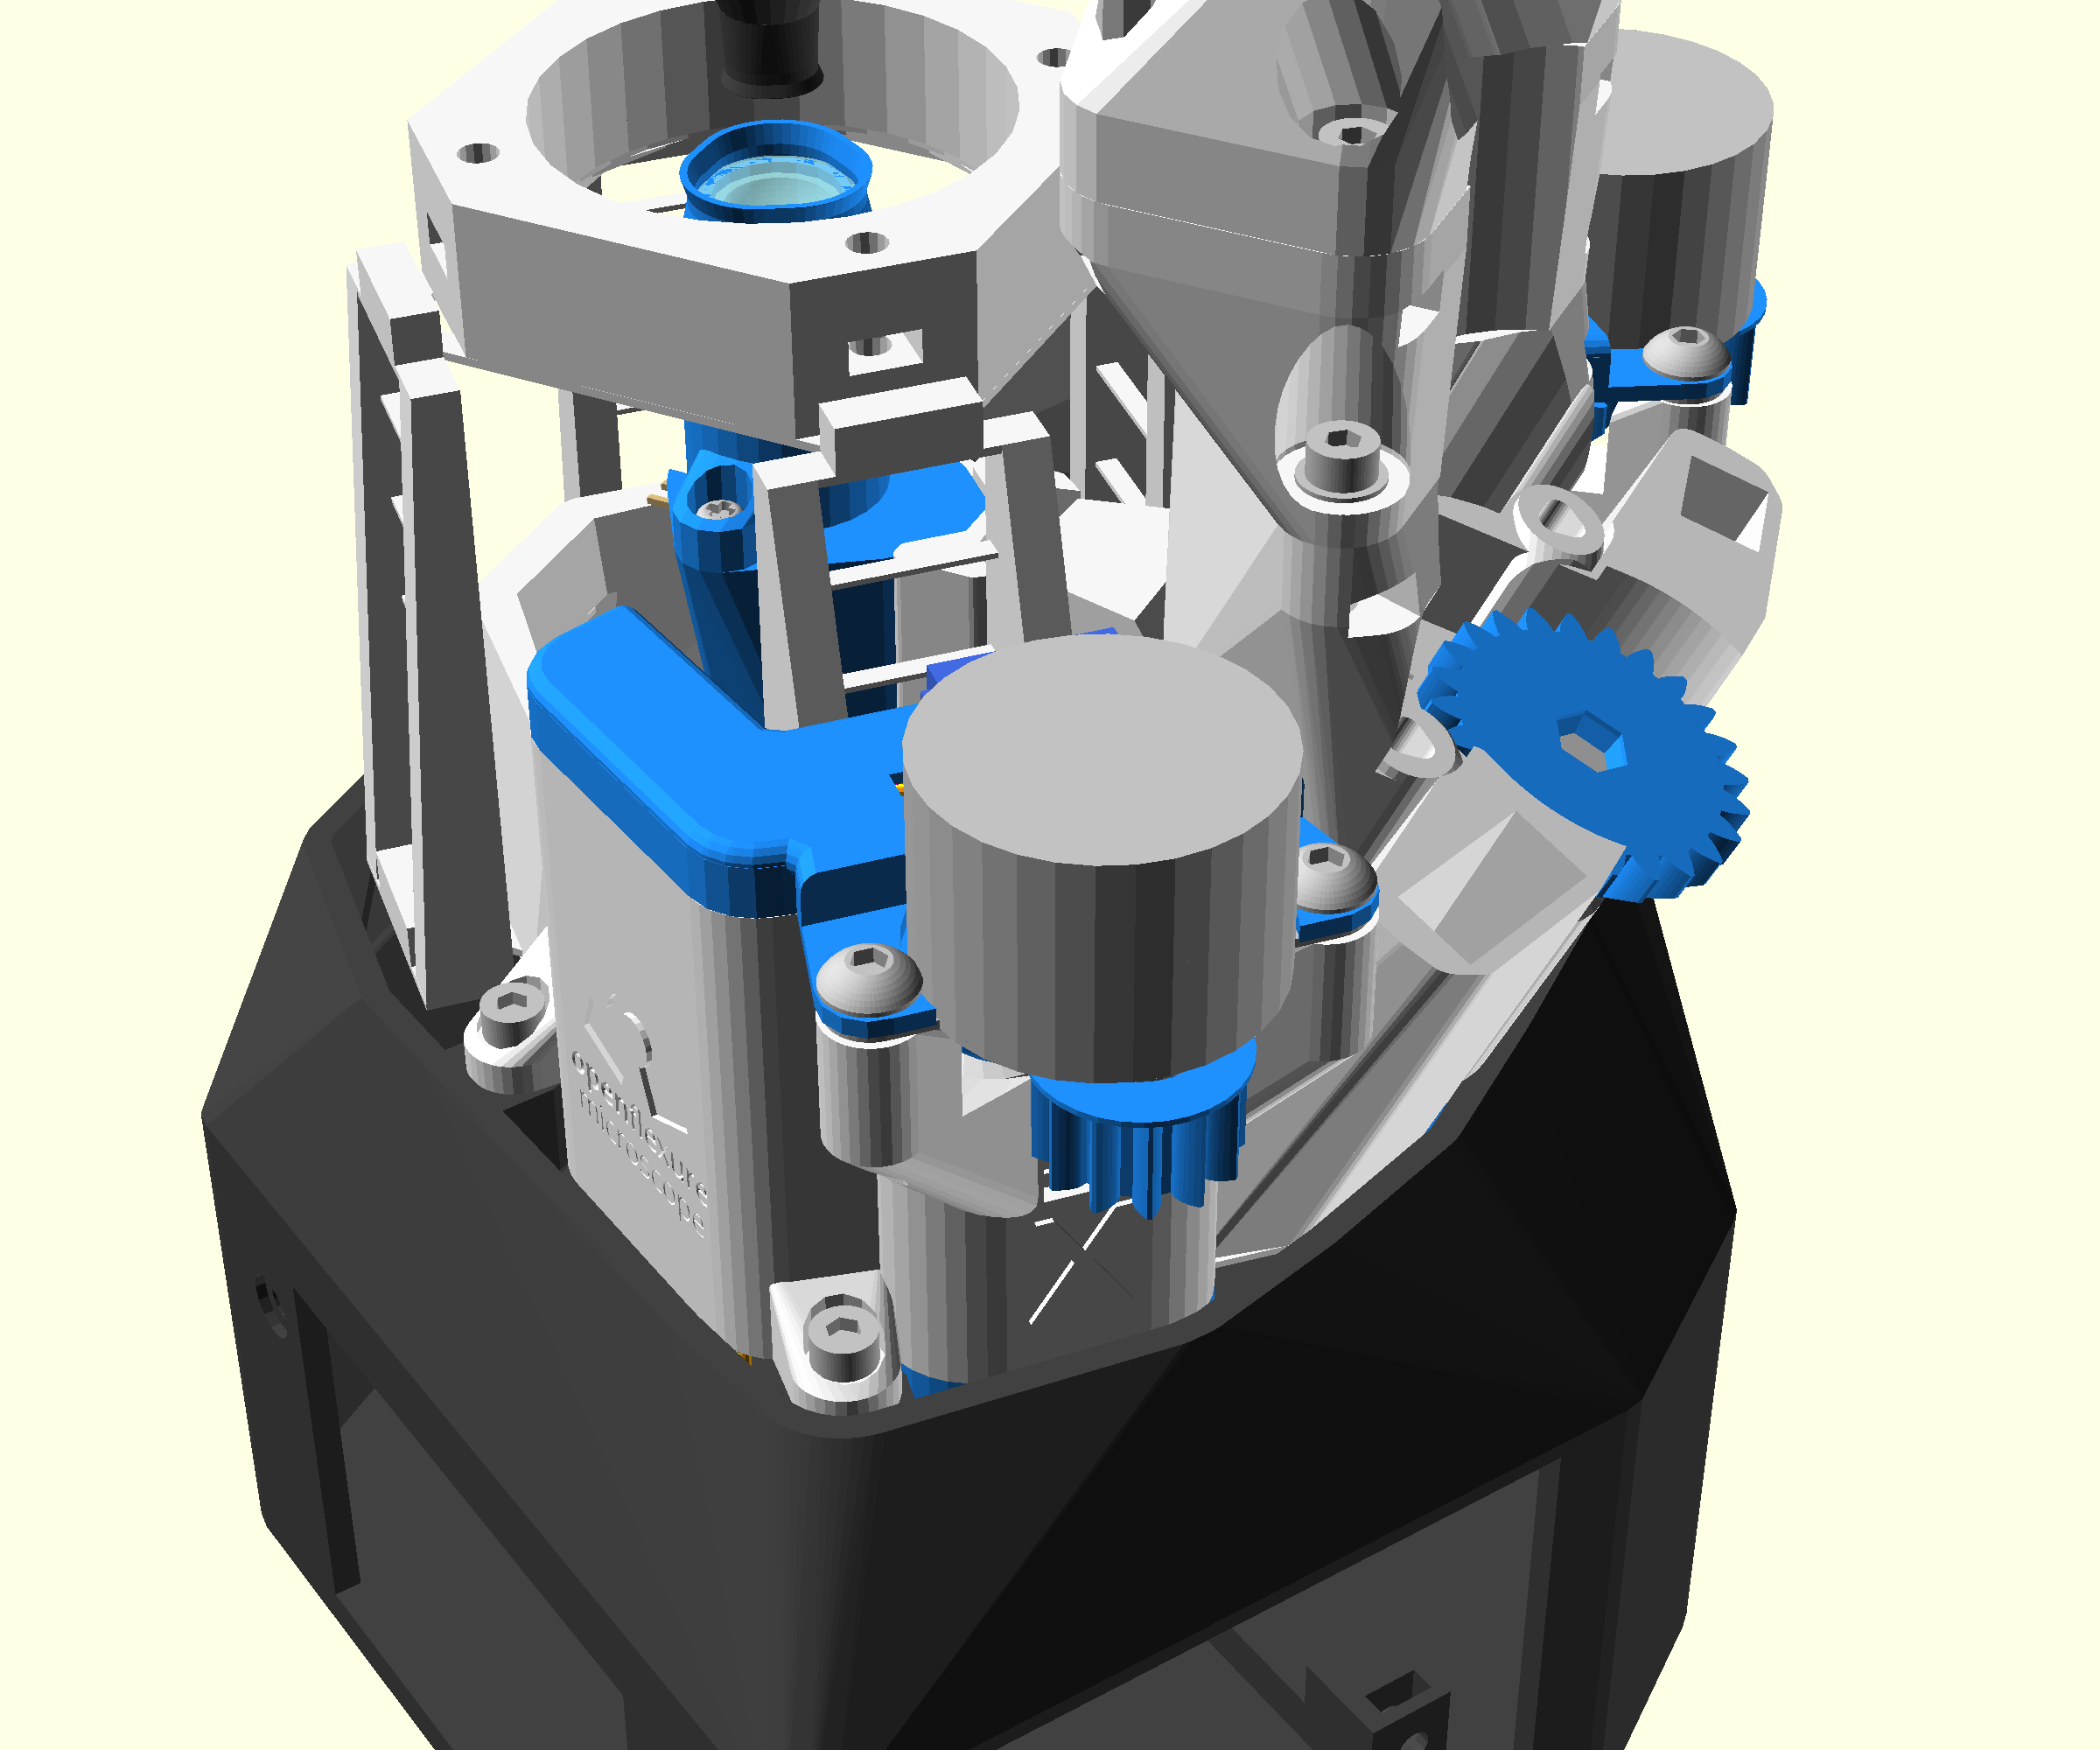

Note that each motor has a cable tidy cap that is different. Which cap to use should be apparent from the shape.
- Get a 2.5mm Ball-end Allen key ready
- Feed the cable from the motor through the rectangular channel in the outer wall by the x actuator.
- Place the motor on the motor lugs with the small gear towards the outside of the microscope
- Check that the small gear and the large gear are meshed correctly
- Check that the motor screw points sit in the channel in the top of the motor lugs
- Take the x cable tidy cap and place it over the motor
- Check that the motor cable is running through the cable tidy rather than pinched underneath.
- Fasten the motor and cable tidy caps to the motor lugs with two M3x10 cap head screws
- Repeat for y-actuator
Step 4: Attach the z motor
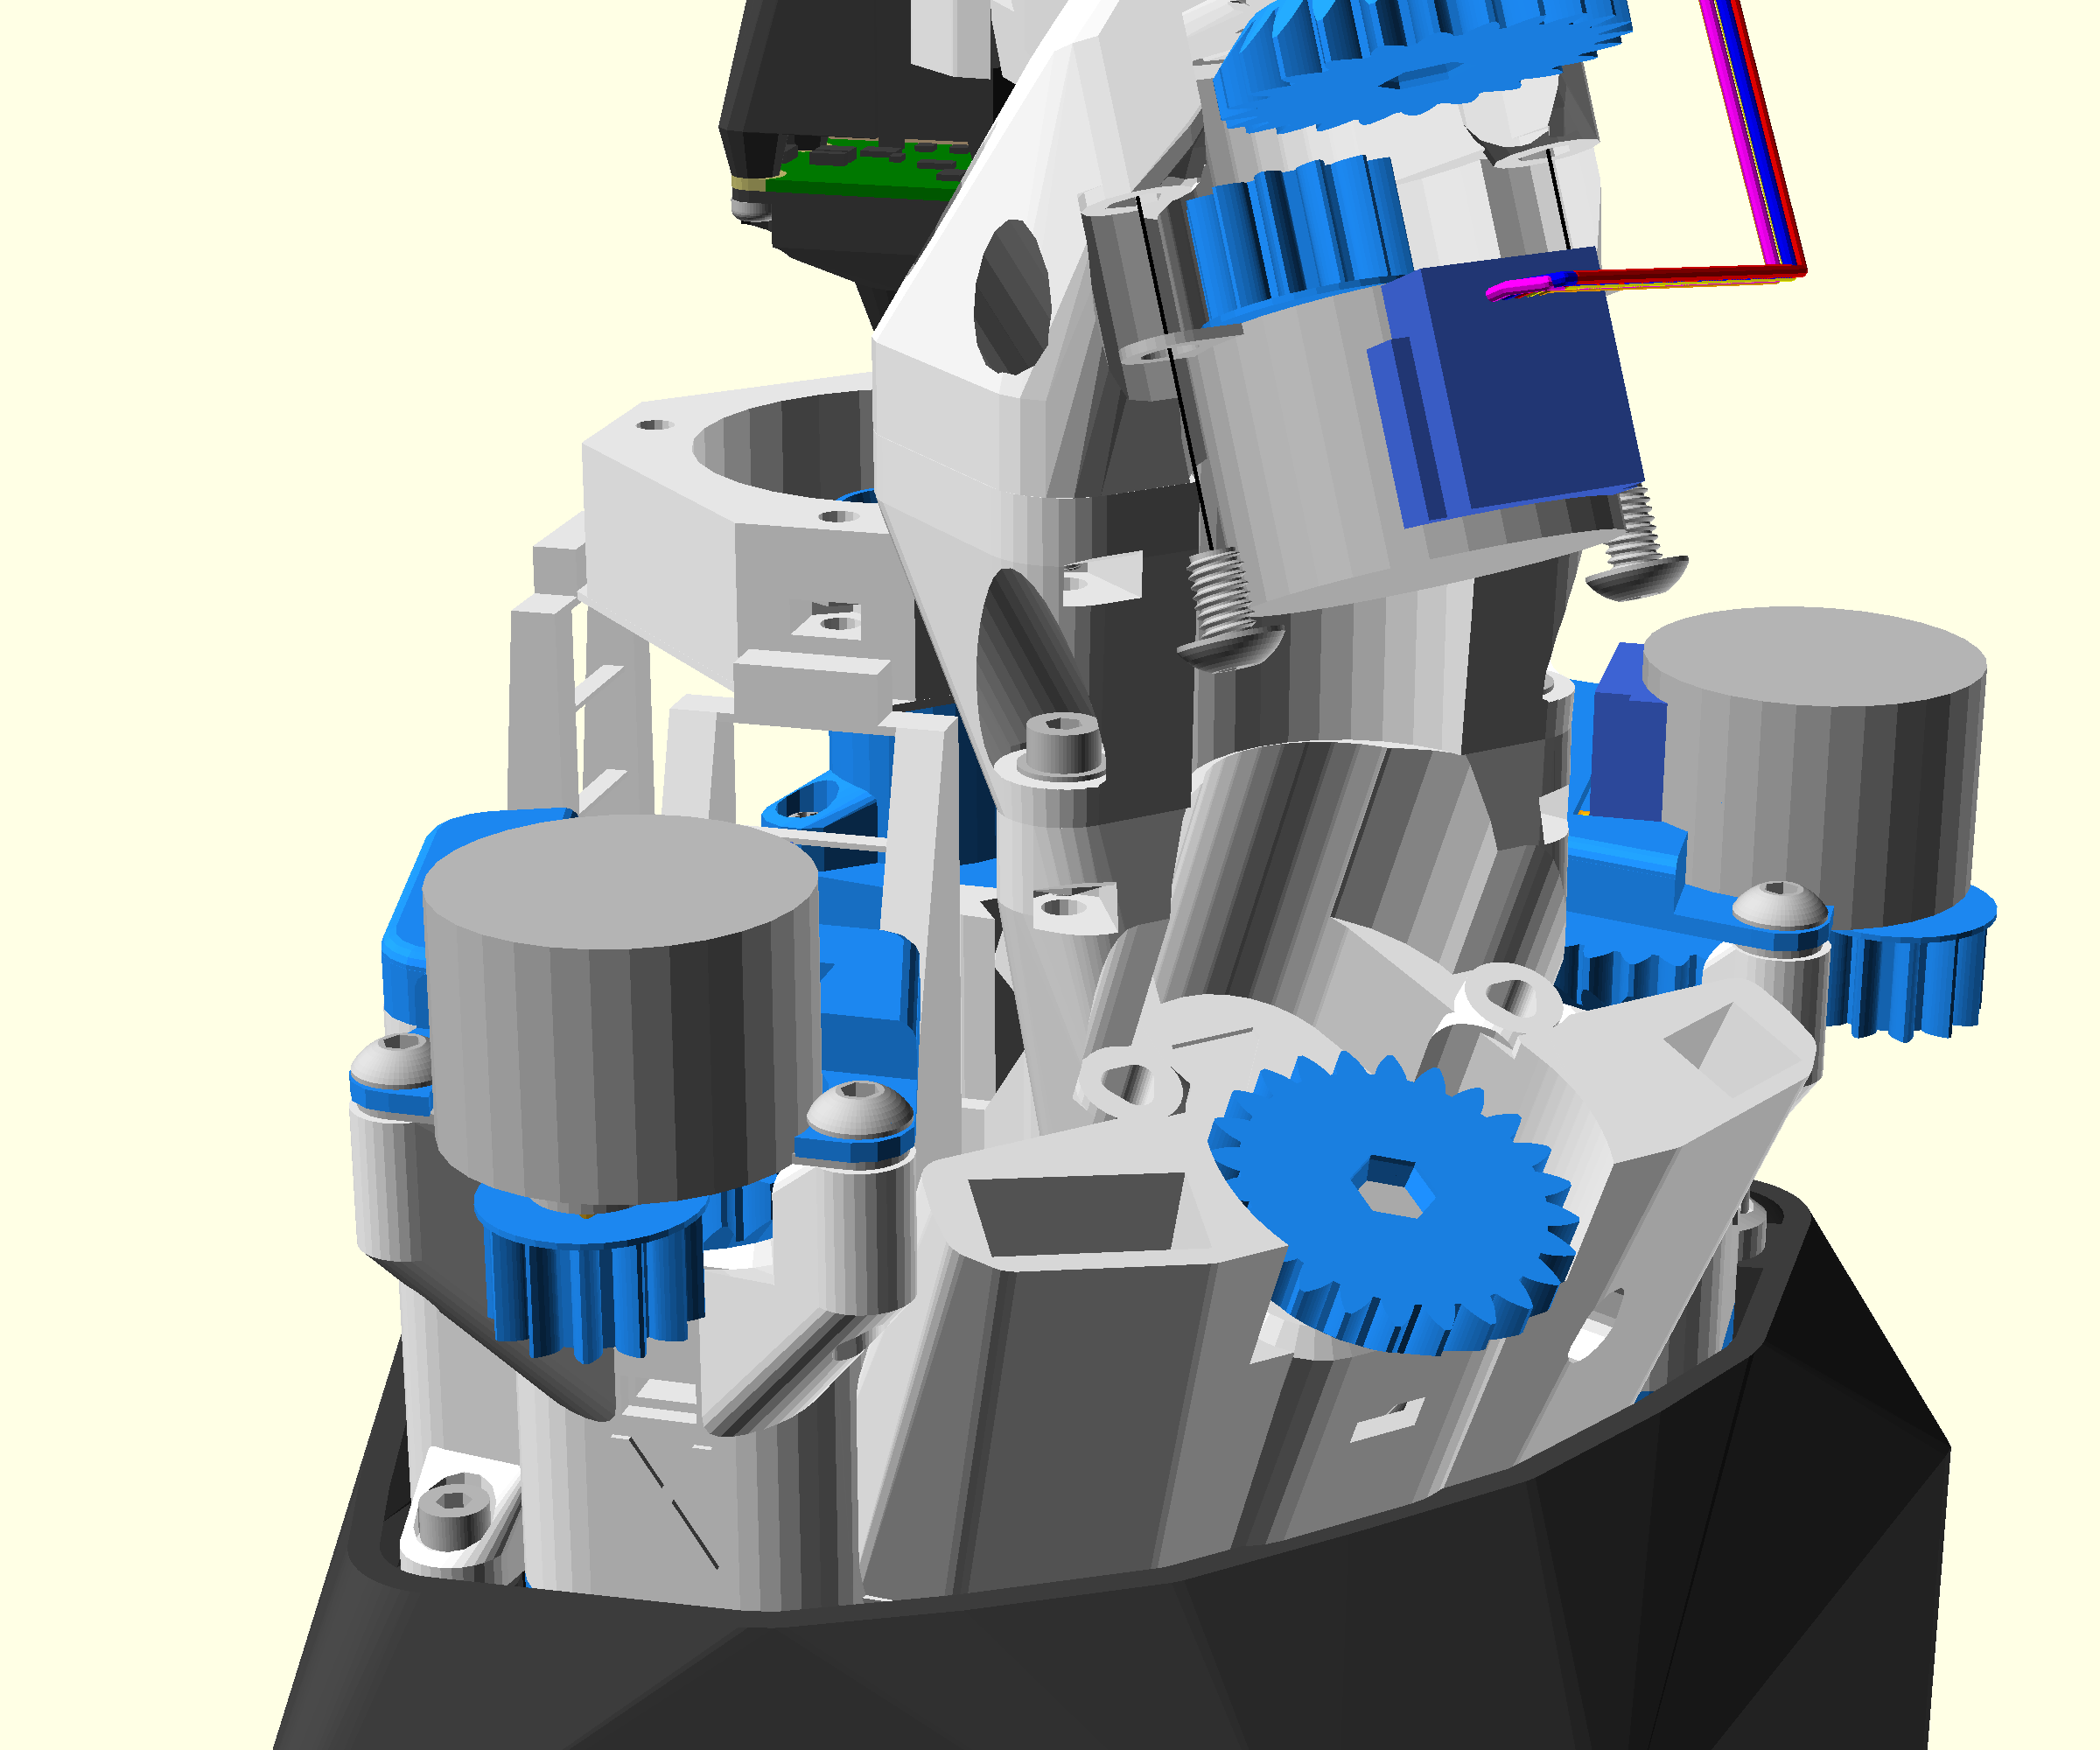
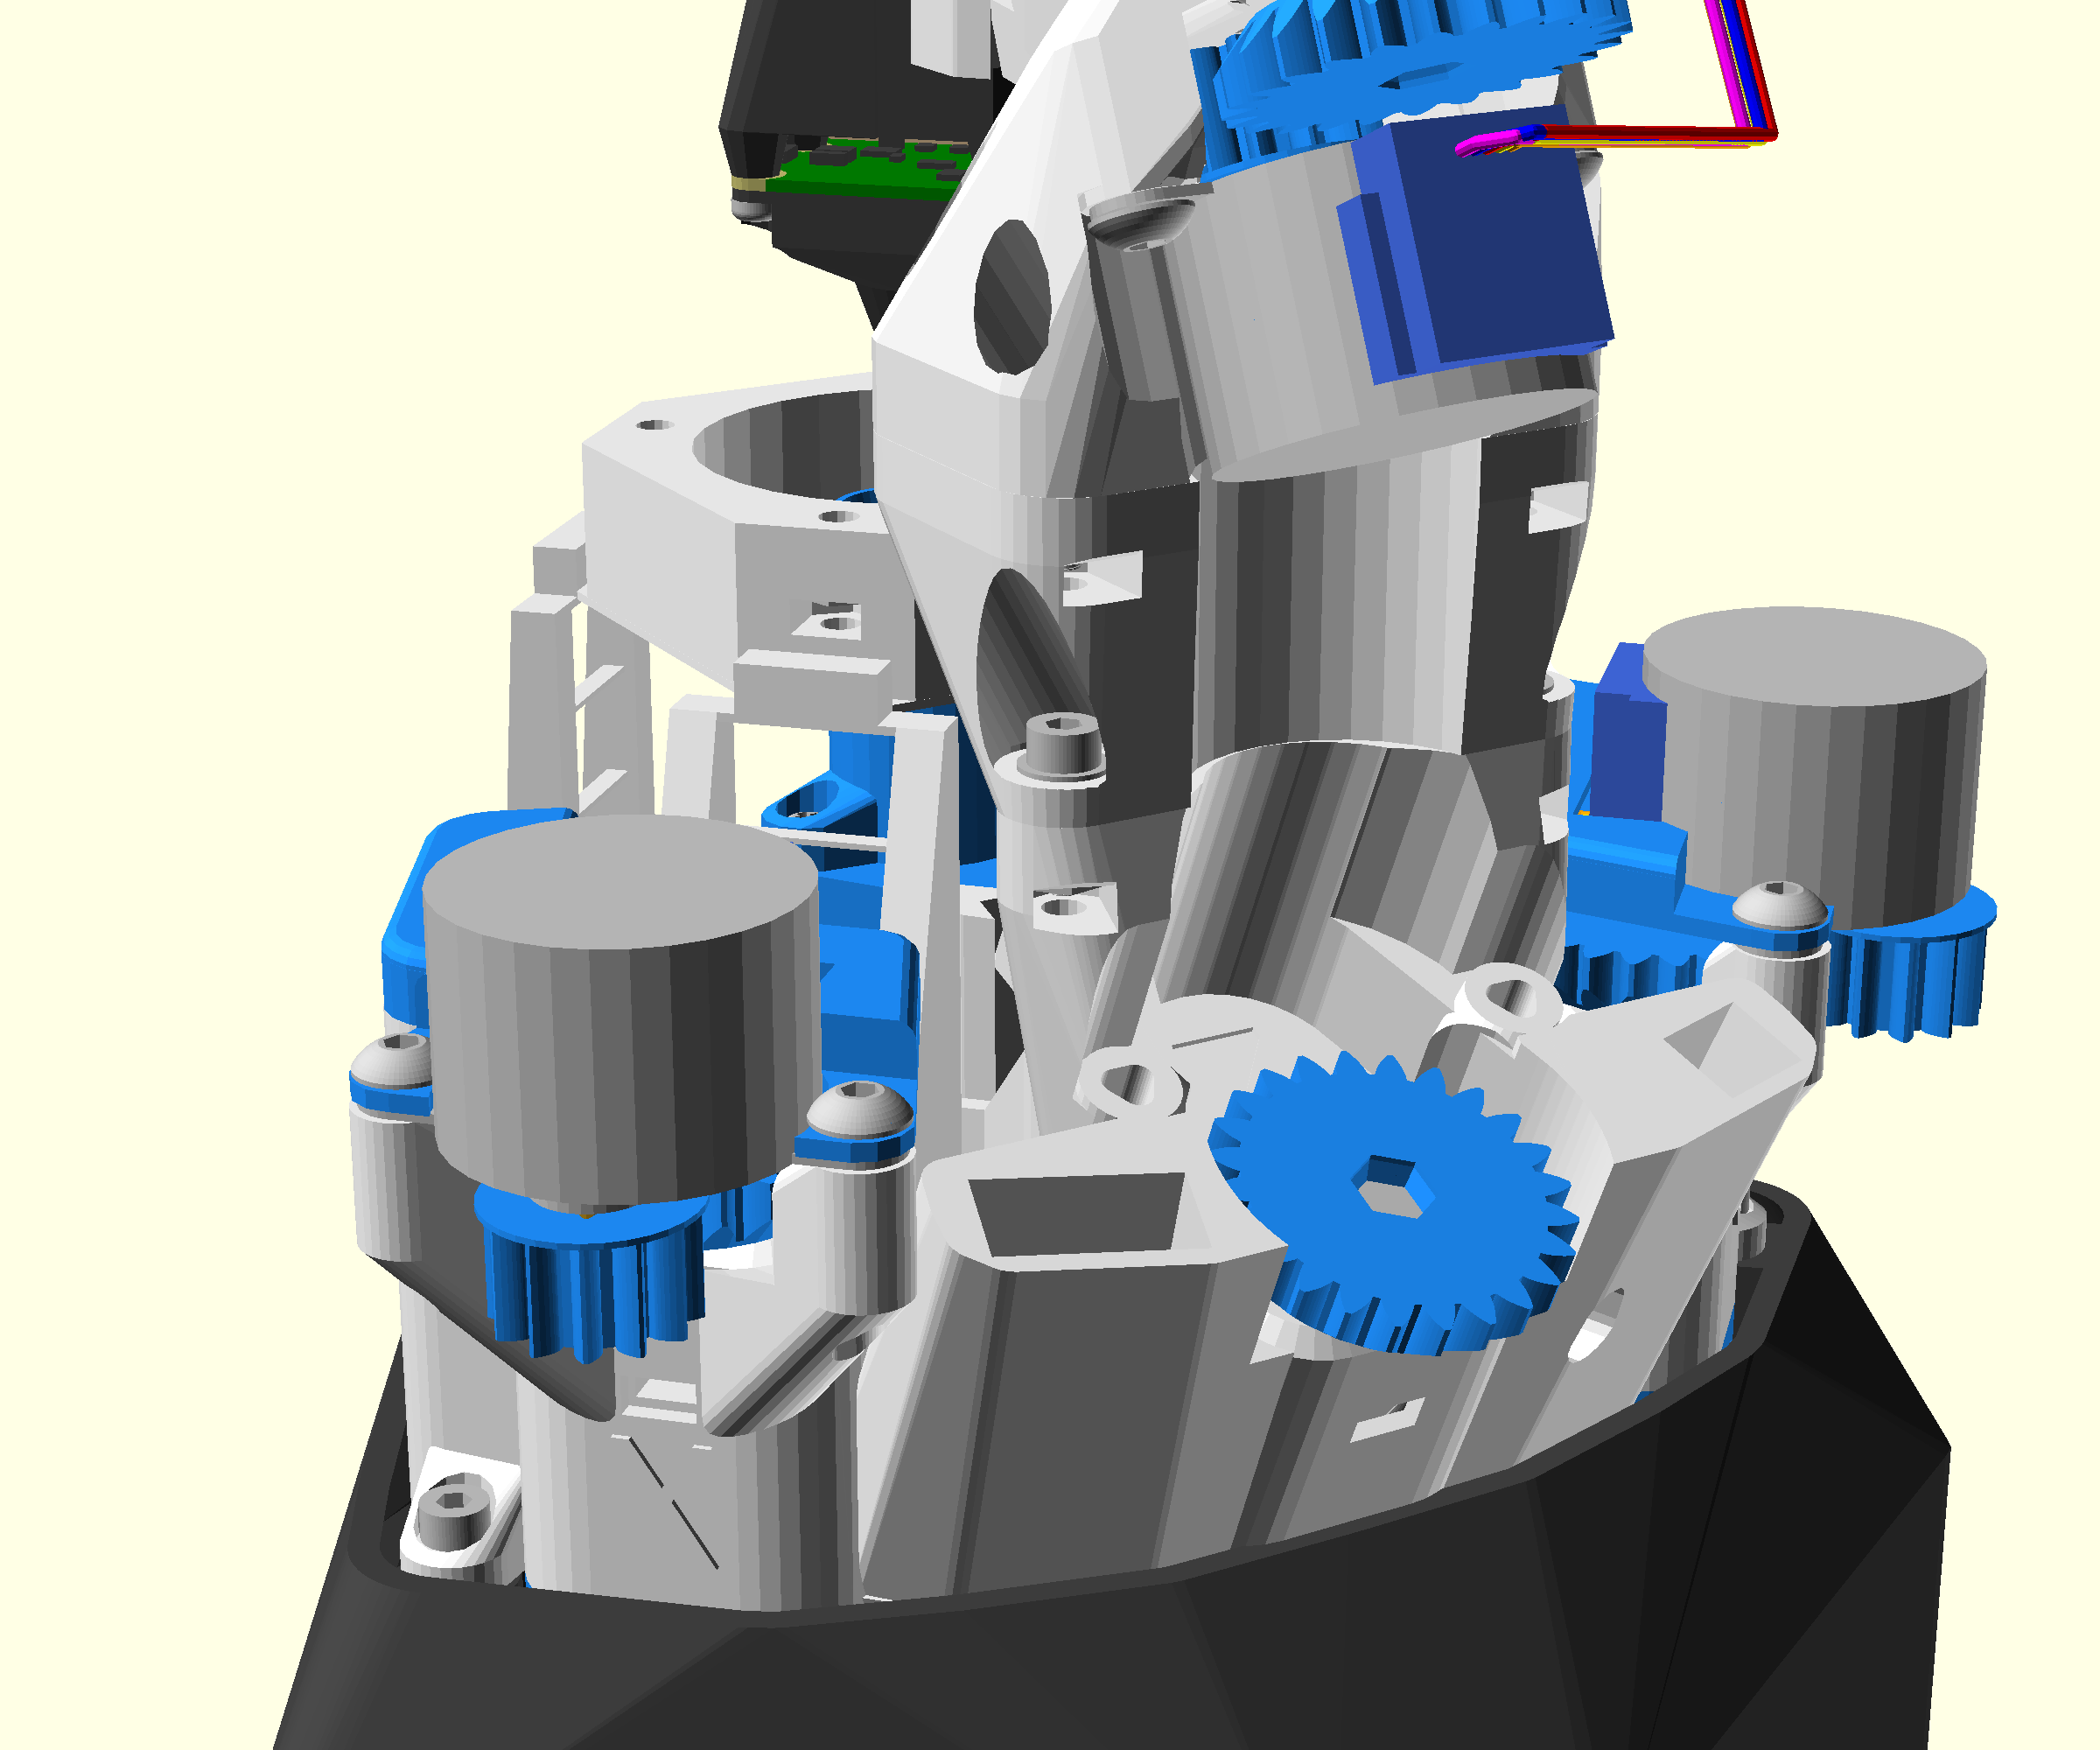

There is no motor attached to the z-actuator on the main body
- Feed the cable of the z motor down the rectangular slot to the left of the z actuator on the main body
- Attach the motor to the z-actuator of the separate z-actuator in the same way as the x and y actuators
- Attach the z cable tidy cap to the motor lugs on the main body with two M3x10 cap head screws
Step 5: Secure the cable tidy caps
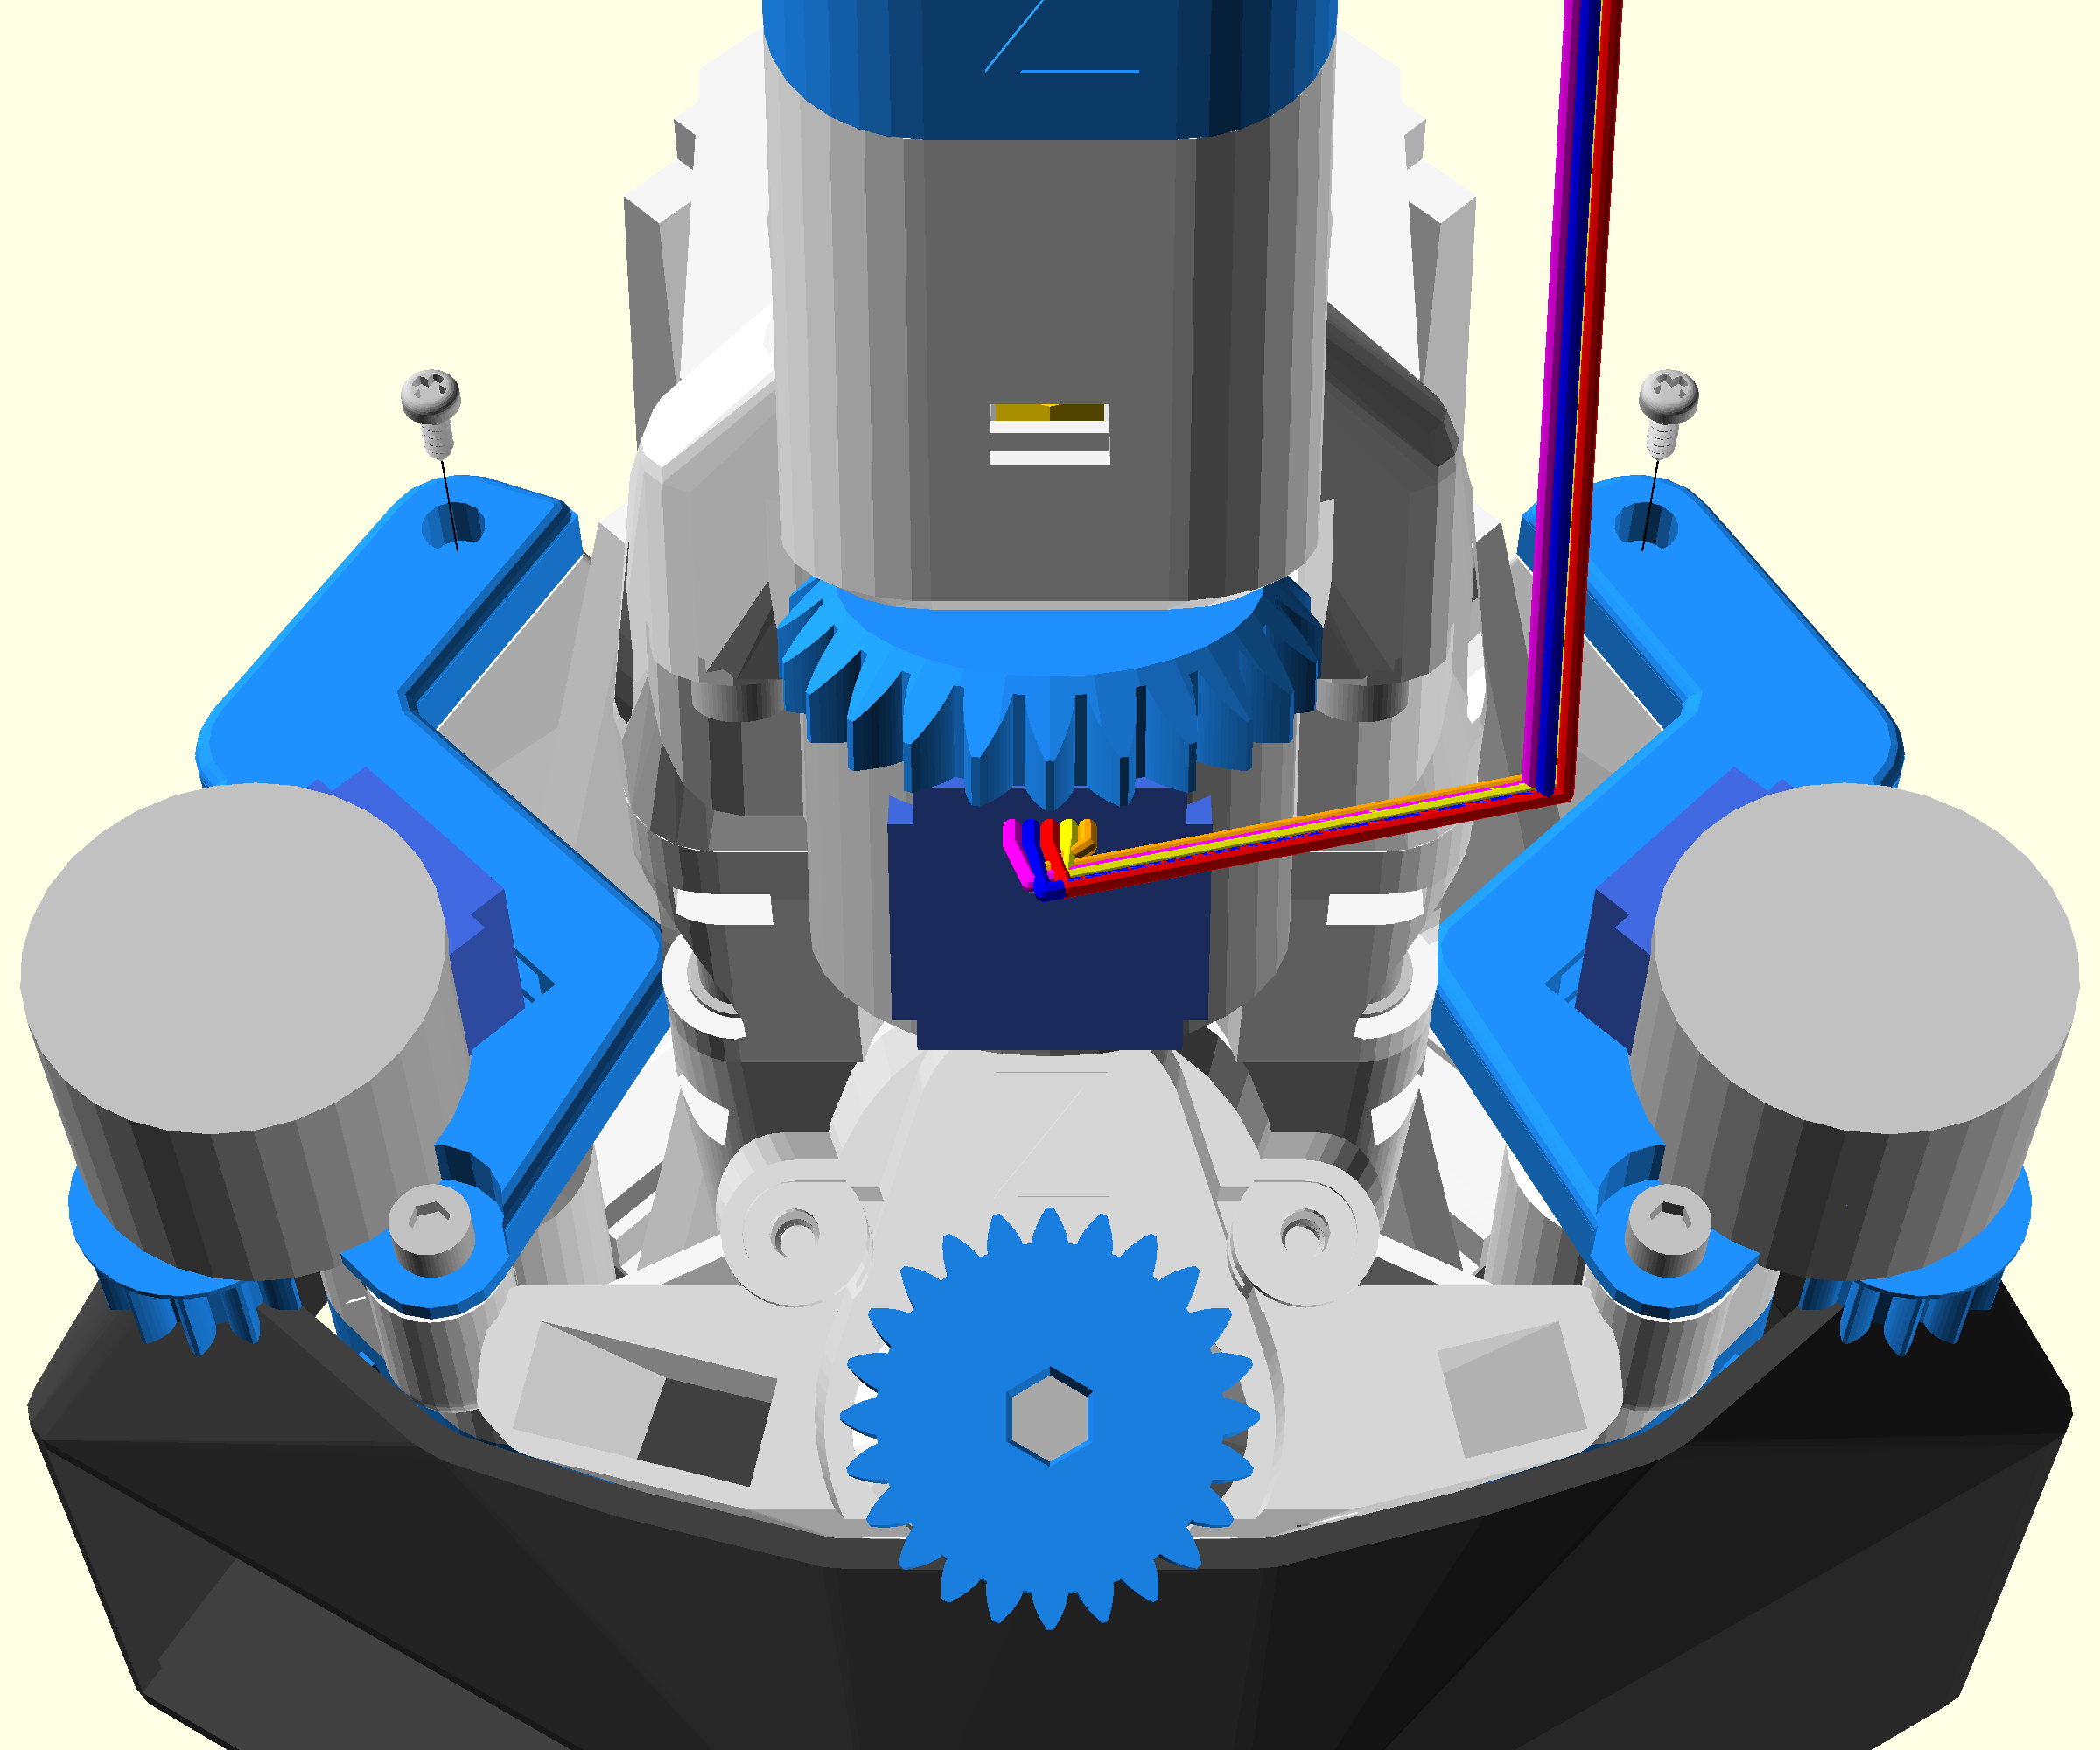
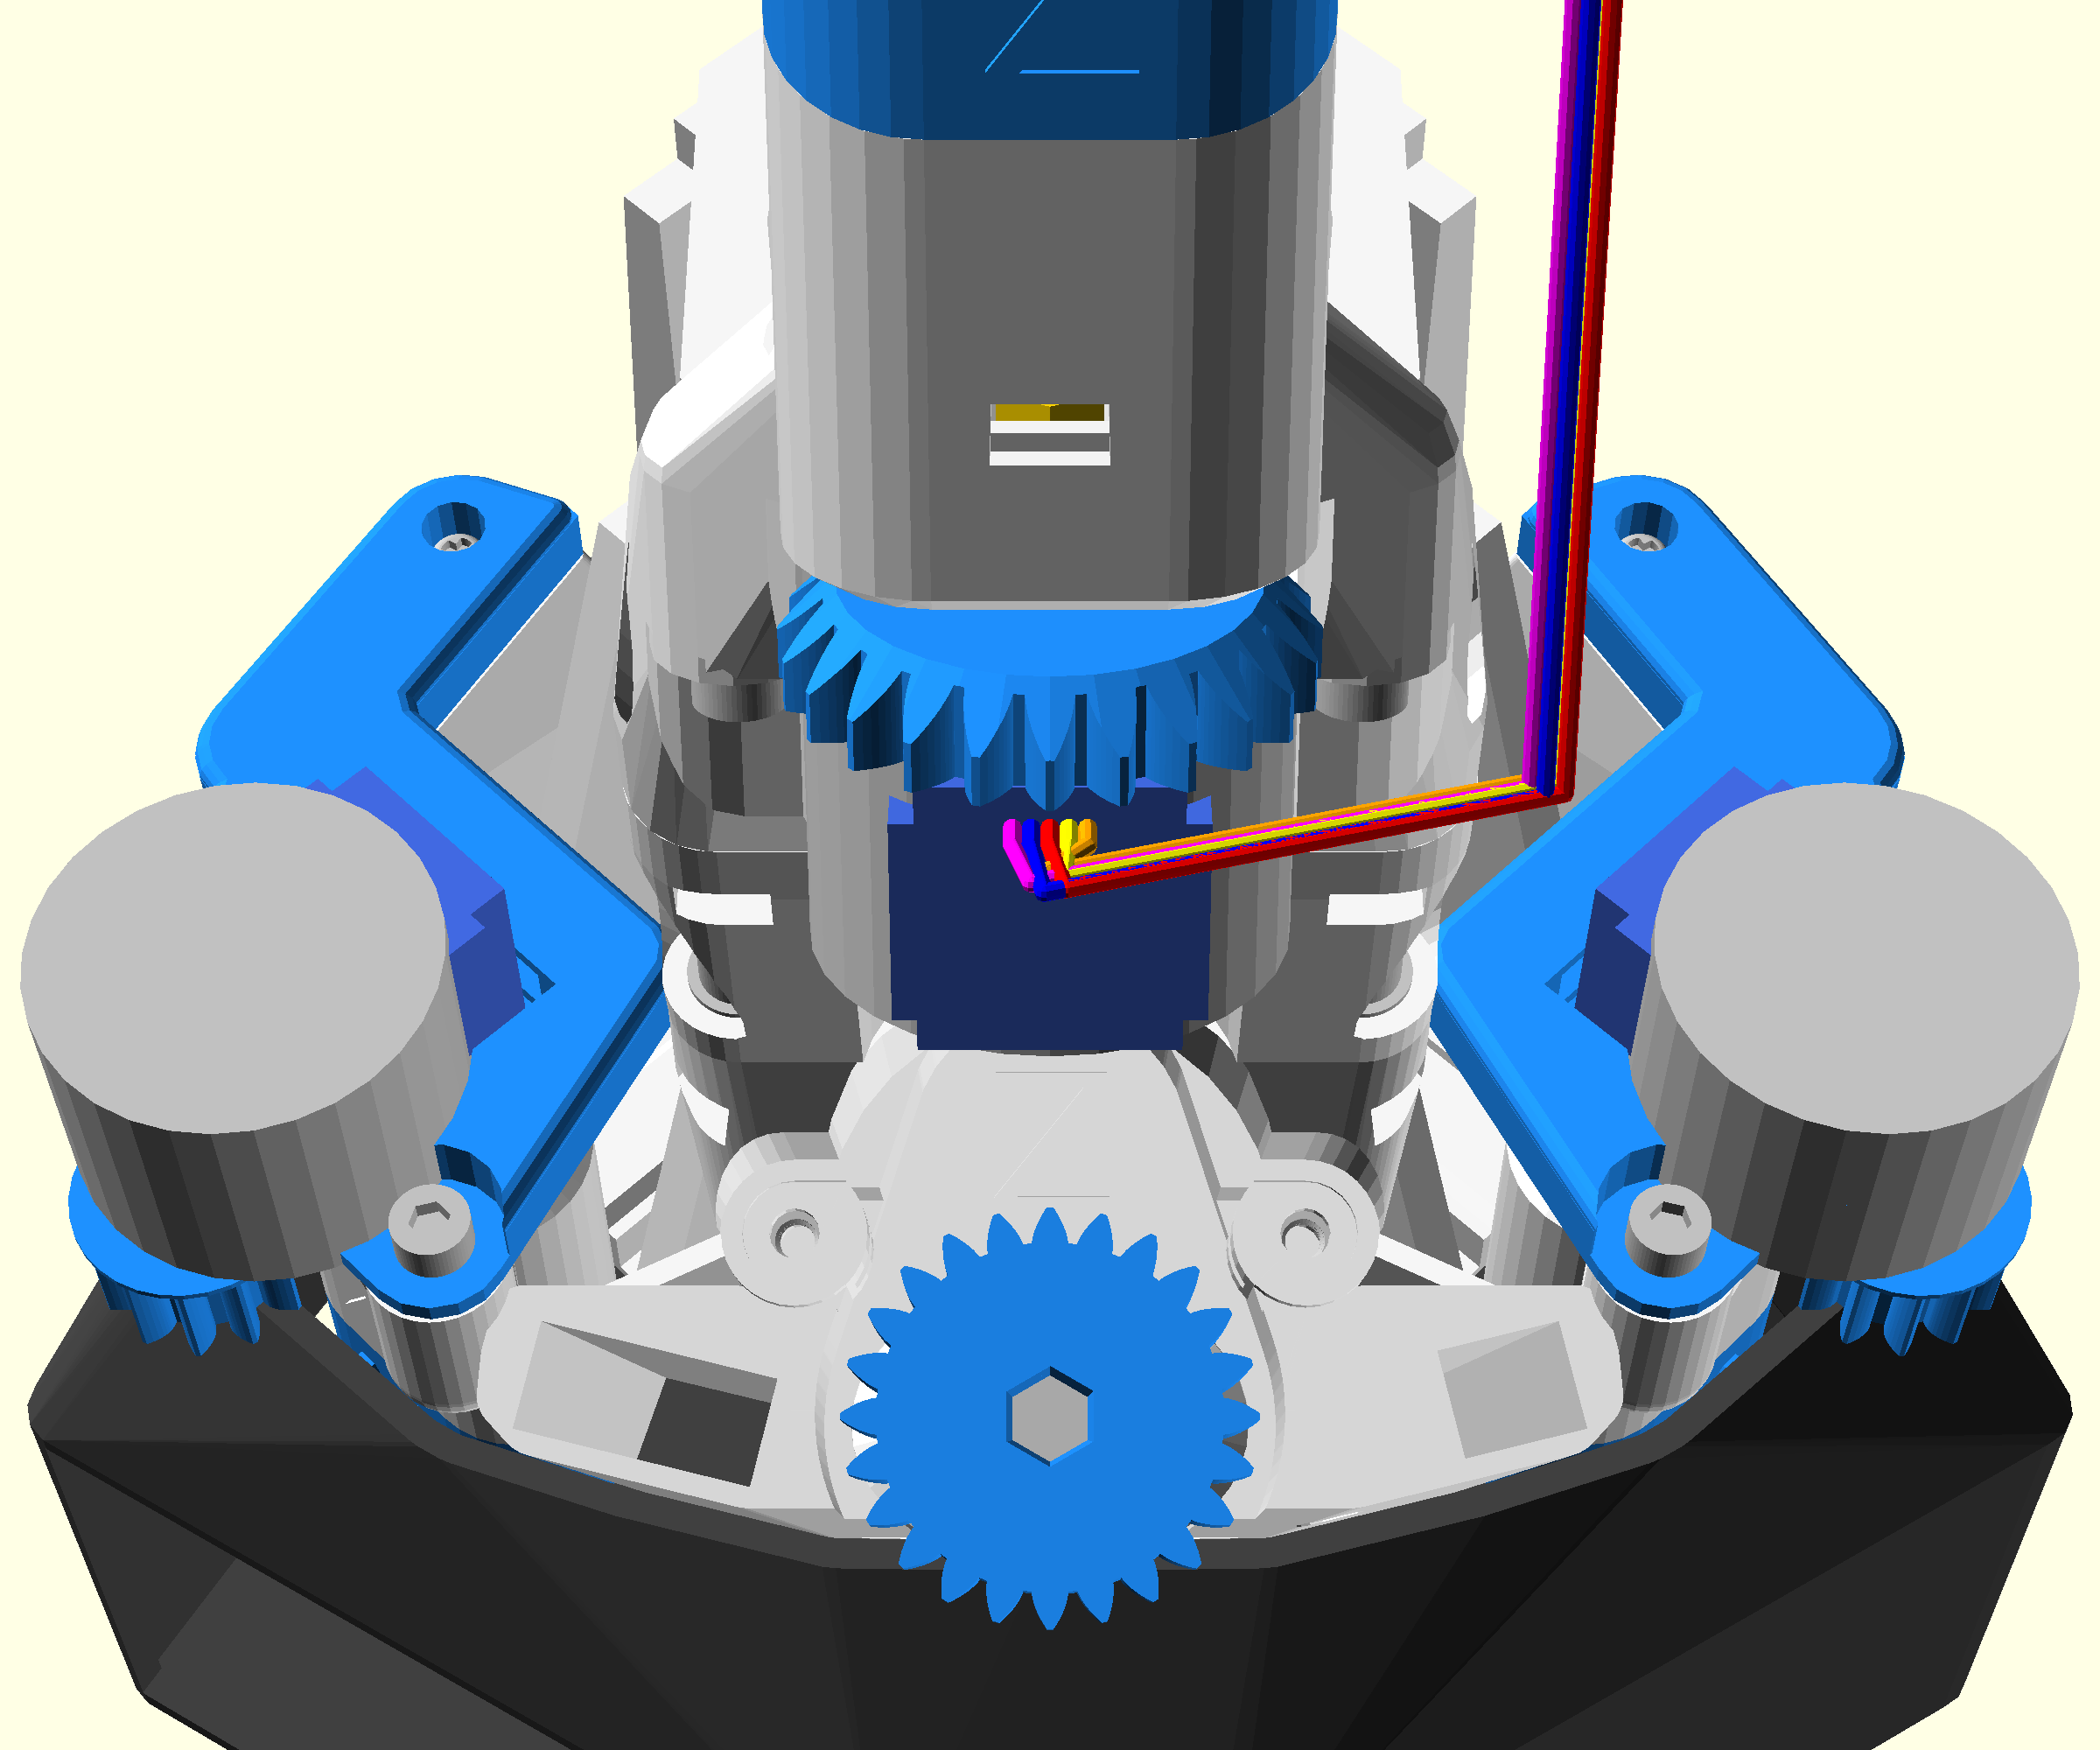

- Secure the x cable tidy cap with a self tapping screw using a #1 pozidrive screwdriver
- Repeat for the y cable tidy cap