
Upright microscope
This configuration of the microscope has the objective above the sample rather than below. It is newer and less well tested than other versions of the microscope.
These instructions detail assembling the upright microscope with a basic optics module, but other optics modules can also be used with this microscope, including modules for high resolution objective lenses.
For more information on the microscope and its performance see our paper in Biomedical Optics Express. If you use this microscope for research please consider citing this paper.
For known bugs, building tips, and advice, please use our Forum. If you find any problems with the build, please let us know on GitLab or on the Forum.
Before you start building the microscope you will need to source all of the components listed in the bill of materials (![]() ,
, ![]() ).
).
If are not confident of acquiring all of the correct parts, or you would like to get everything in a single place, there are several vendors offering kits of parts.
The assembly is broken up into several steps:
- Configure and test your printer
- Print the plastic parts
- Prepare the main body
- Prepare the separate z-actuator
- Prepare the upright z-actuator mount
- Prepare the microscope stand
- Assemble the actuators
- Assemble the basic optics module
- Assemble the illumination
- Mount the illumination and the microscope
- Mount the optics
- Assemble the motors
- Attach the sample clips
- Prepare the Raspberry Pi and Sangaboard
- Complete the wiring
- Assembly complete
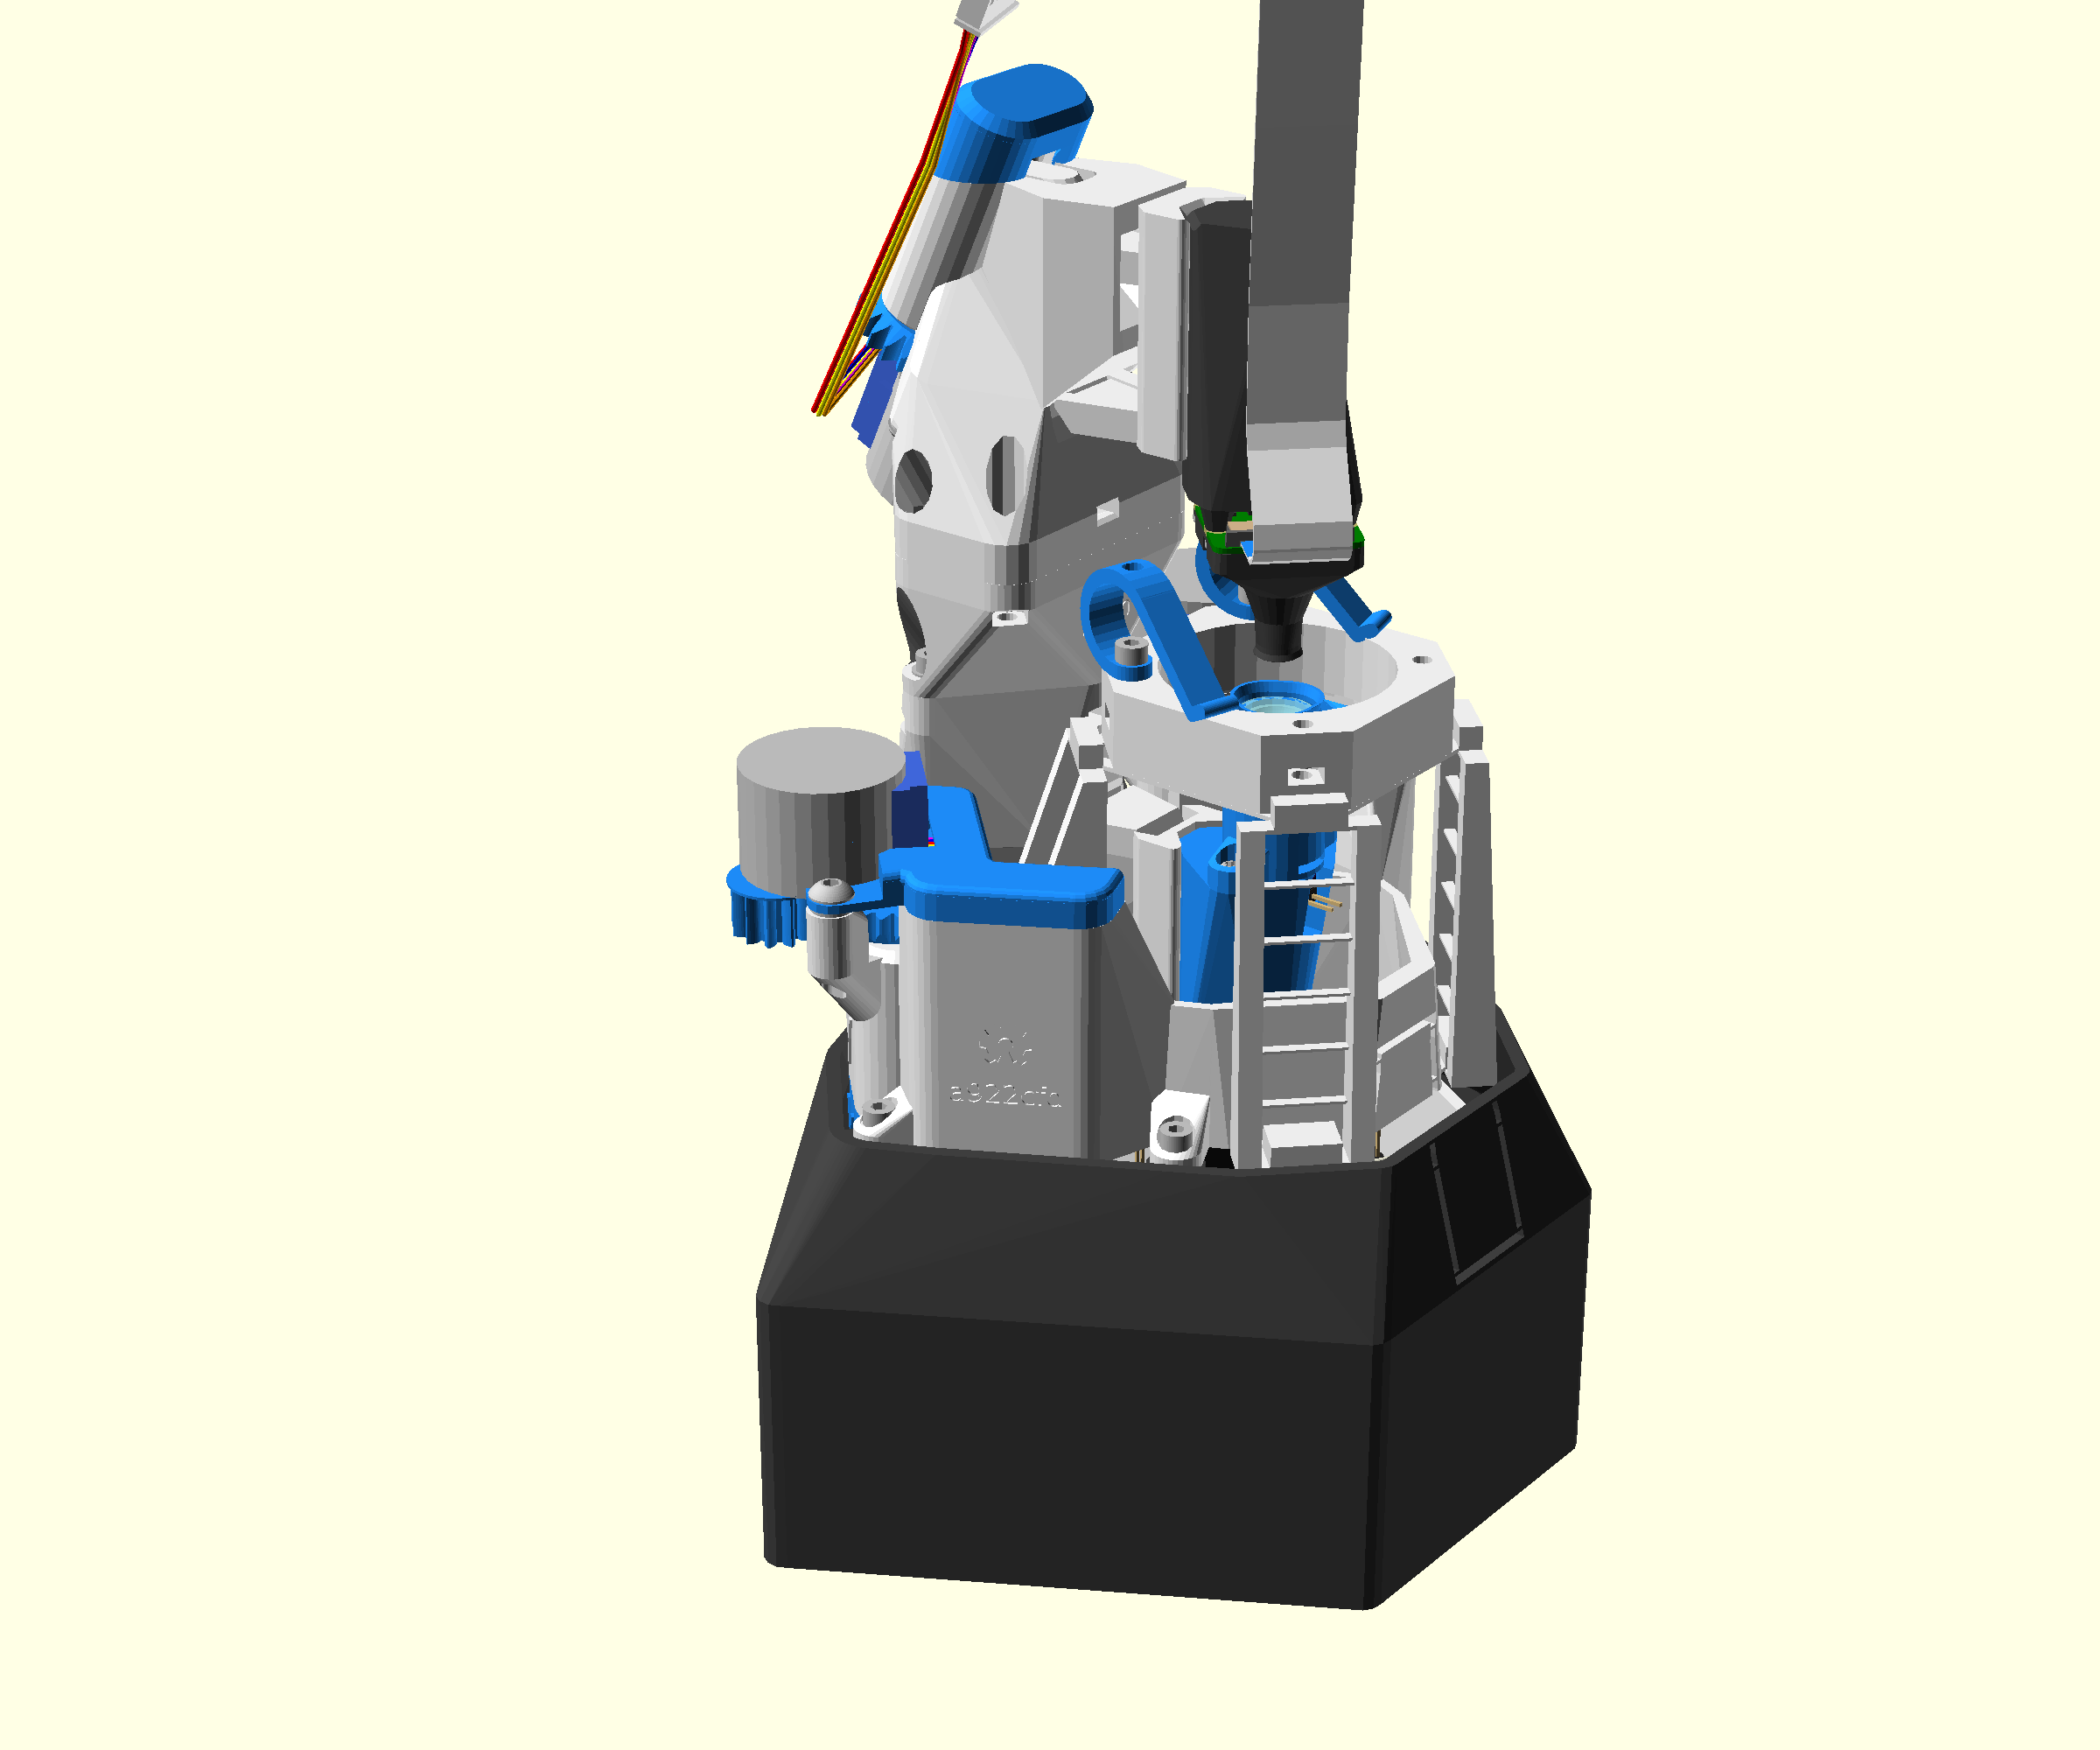
There is also an interactive 3D view of the finished microscope.
These instructions assume you will build the upright microscope with a basic optics module. You can also use the high resolution optics module (with an RMS objective) on the upright microscope, or other options from the customisations page.
If using the high resolution optics module, a 400mm Raspberry Pi ribbon cable is preferable due to the additional height.