Mount the optics
For this section you will need:
Printed Parts
Sub-Assemblies
Mechanical Components
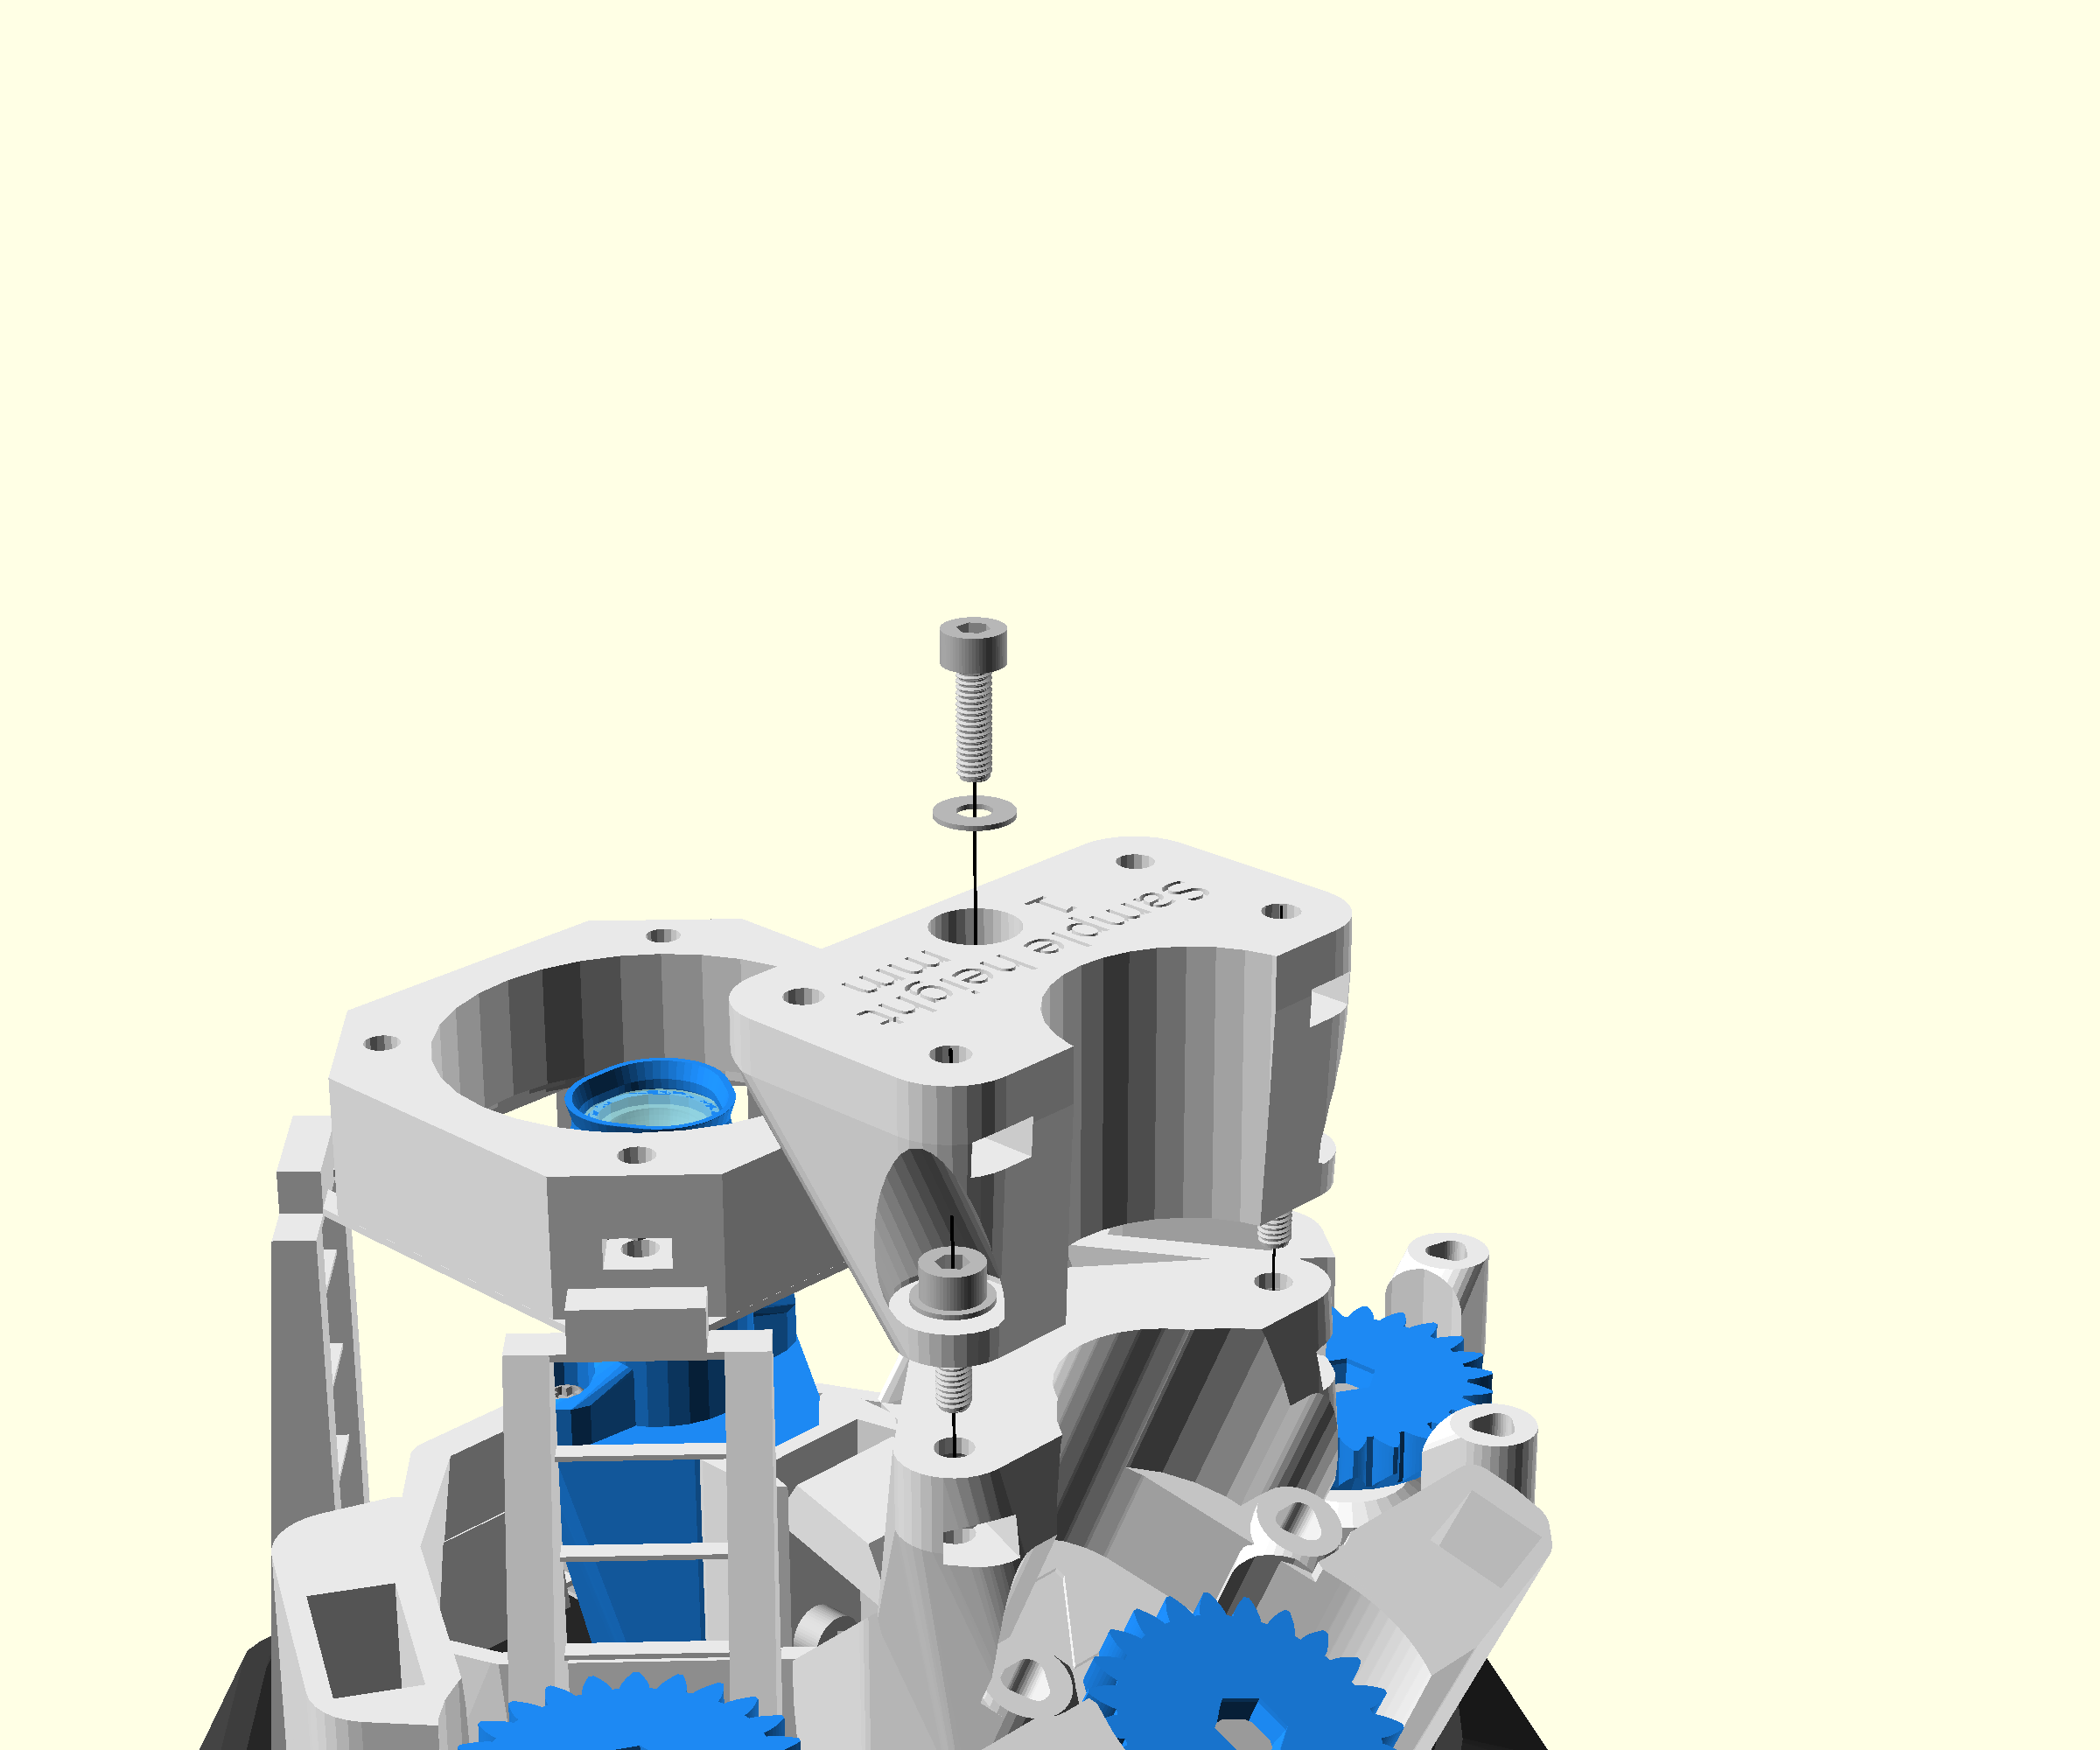
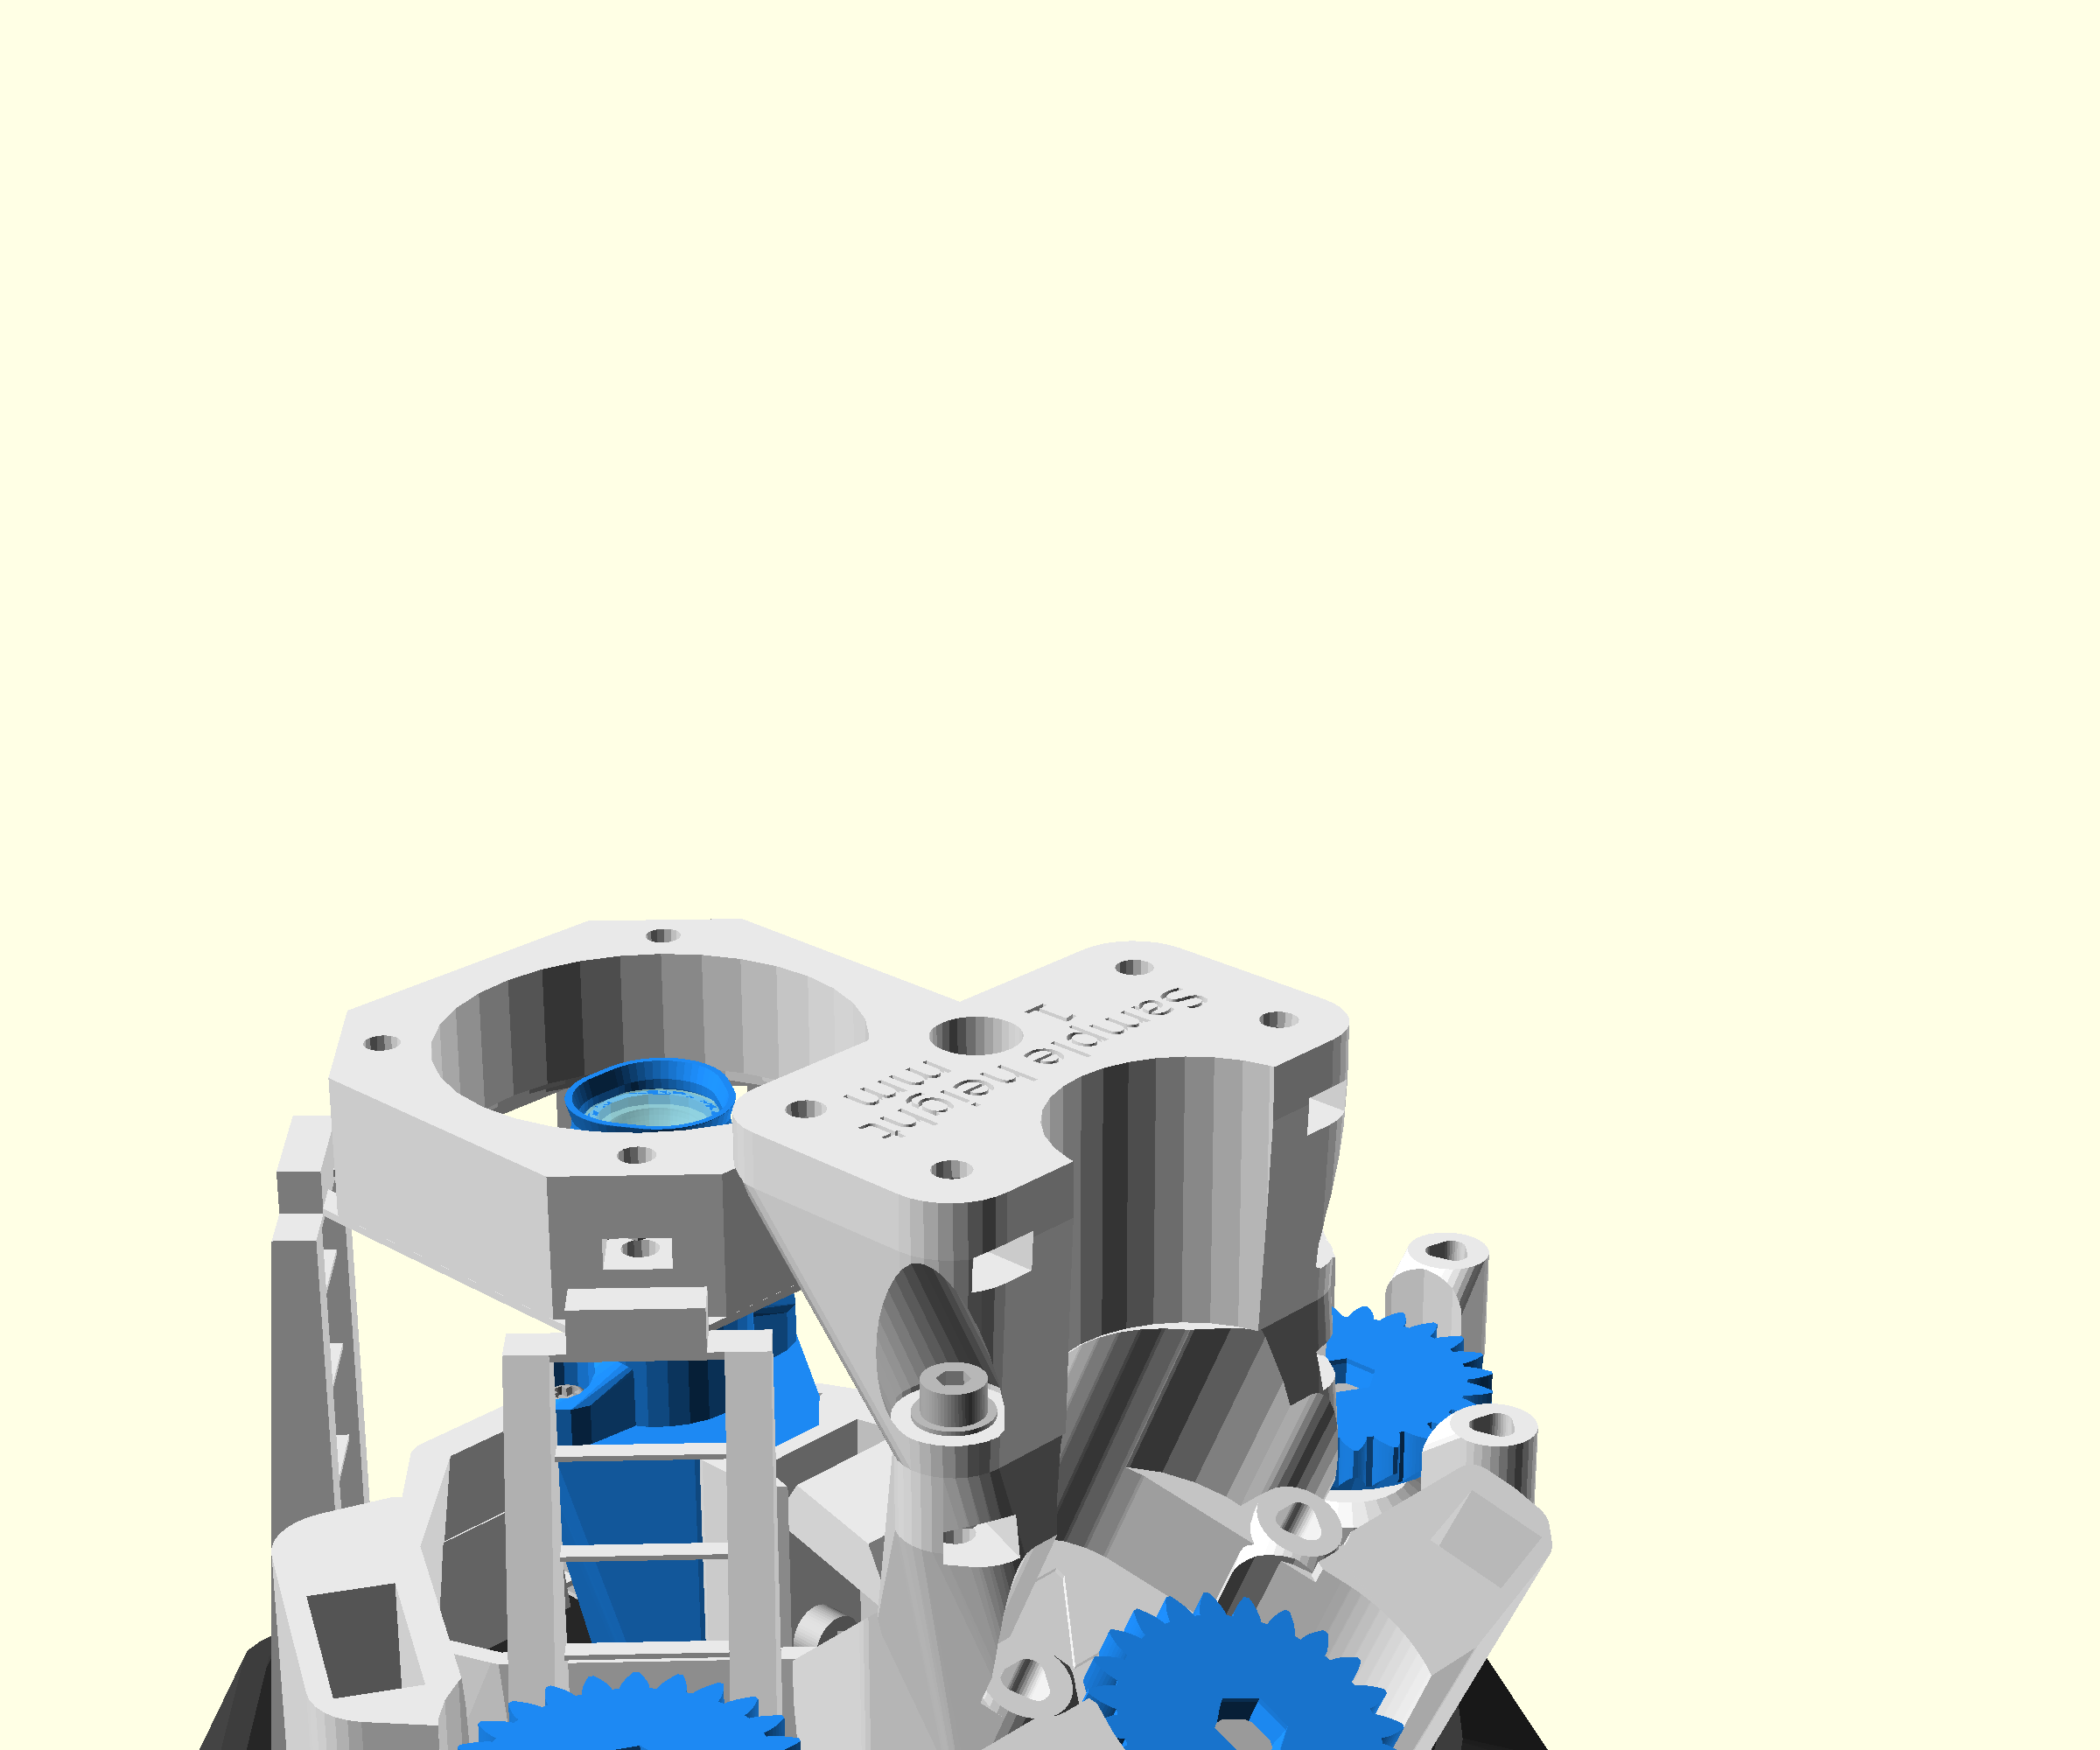
Step 1: Mount the z-actuator mount onto the main body
- Take the prepared upright z-actuator mount with the triangular face down
- Place two M3x10 cap head screws and M3 washers into the two externally showing holes
- Place the mount onto the main body, and start to screw the two screws in using a 2.5mm Ball-end Allen key
- Both screws must be started together, and screwed in alternately bit by bit. Do not tighten fully
- Place another M3x10 cap head screw and washer through the top of the vertical bored hole
- Tighten all three screws using the 2.5mm Ball-end Allen key
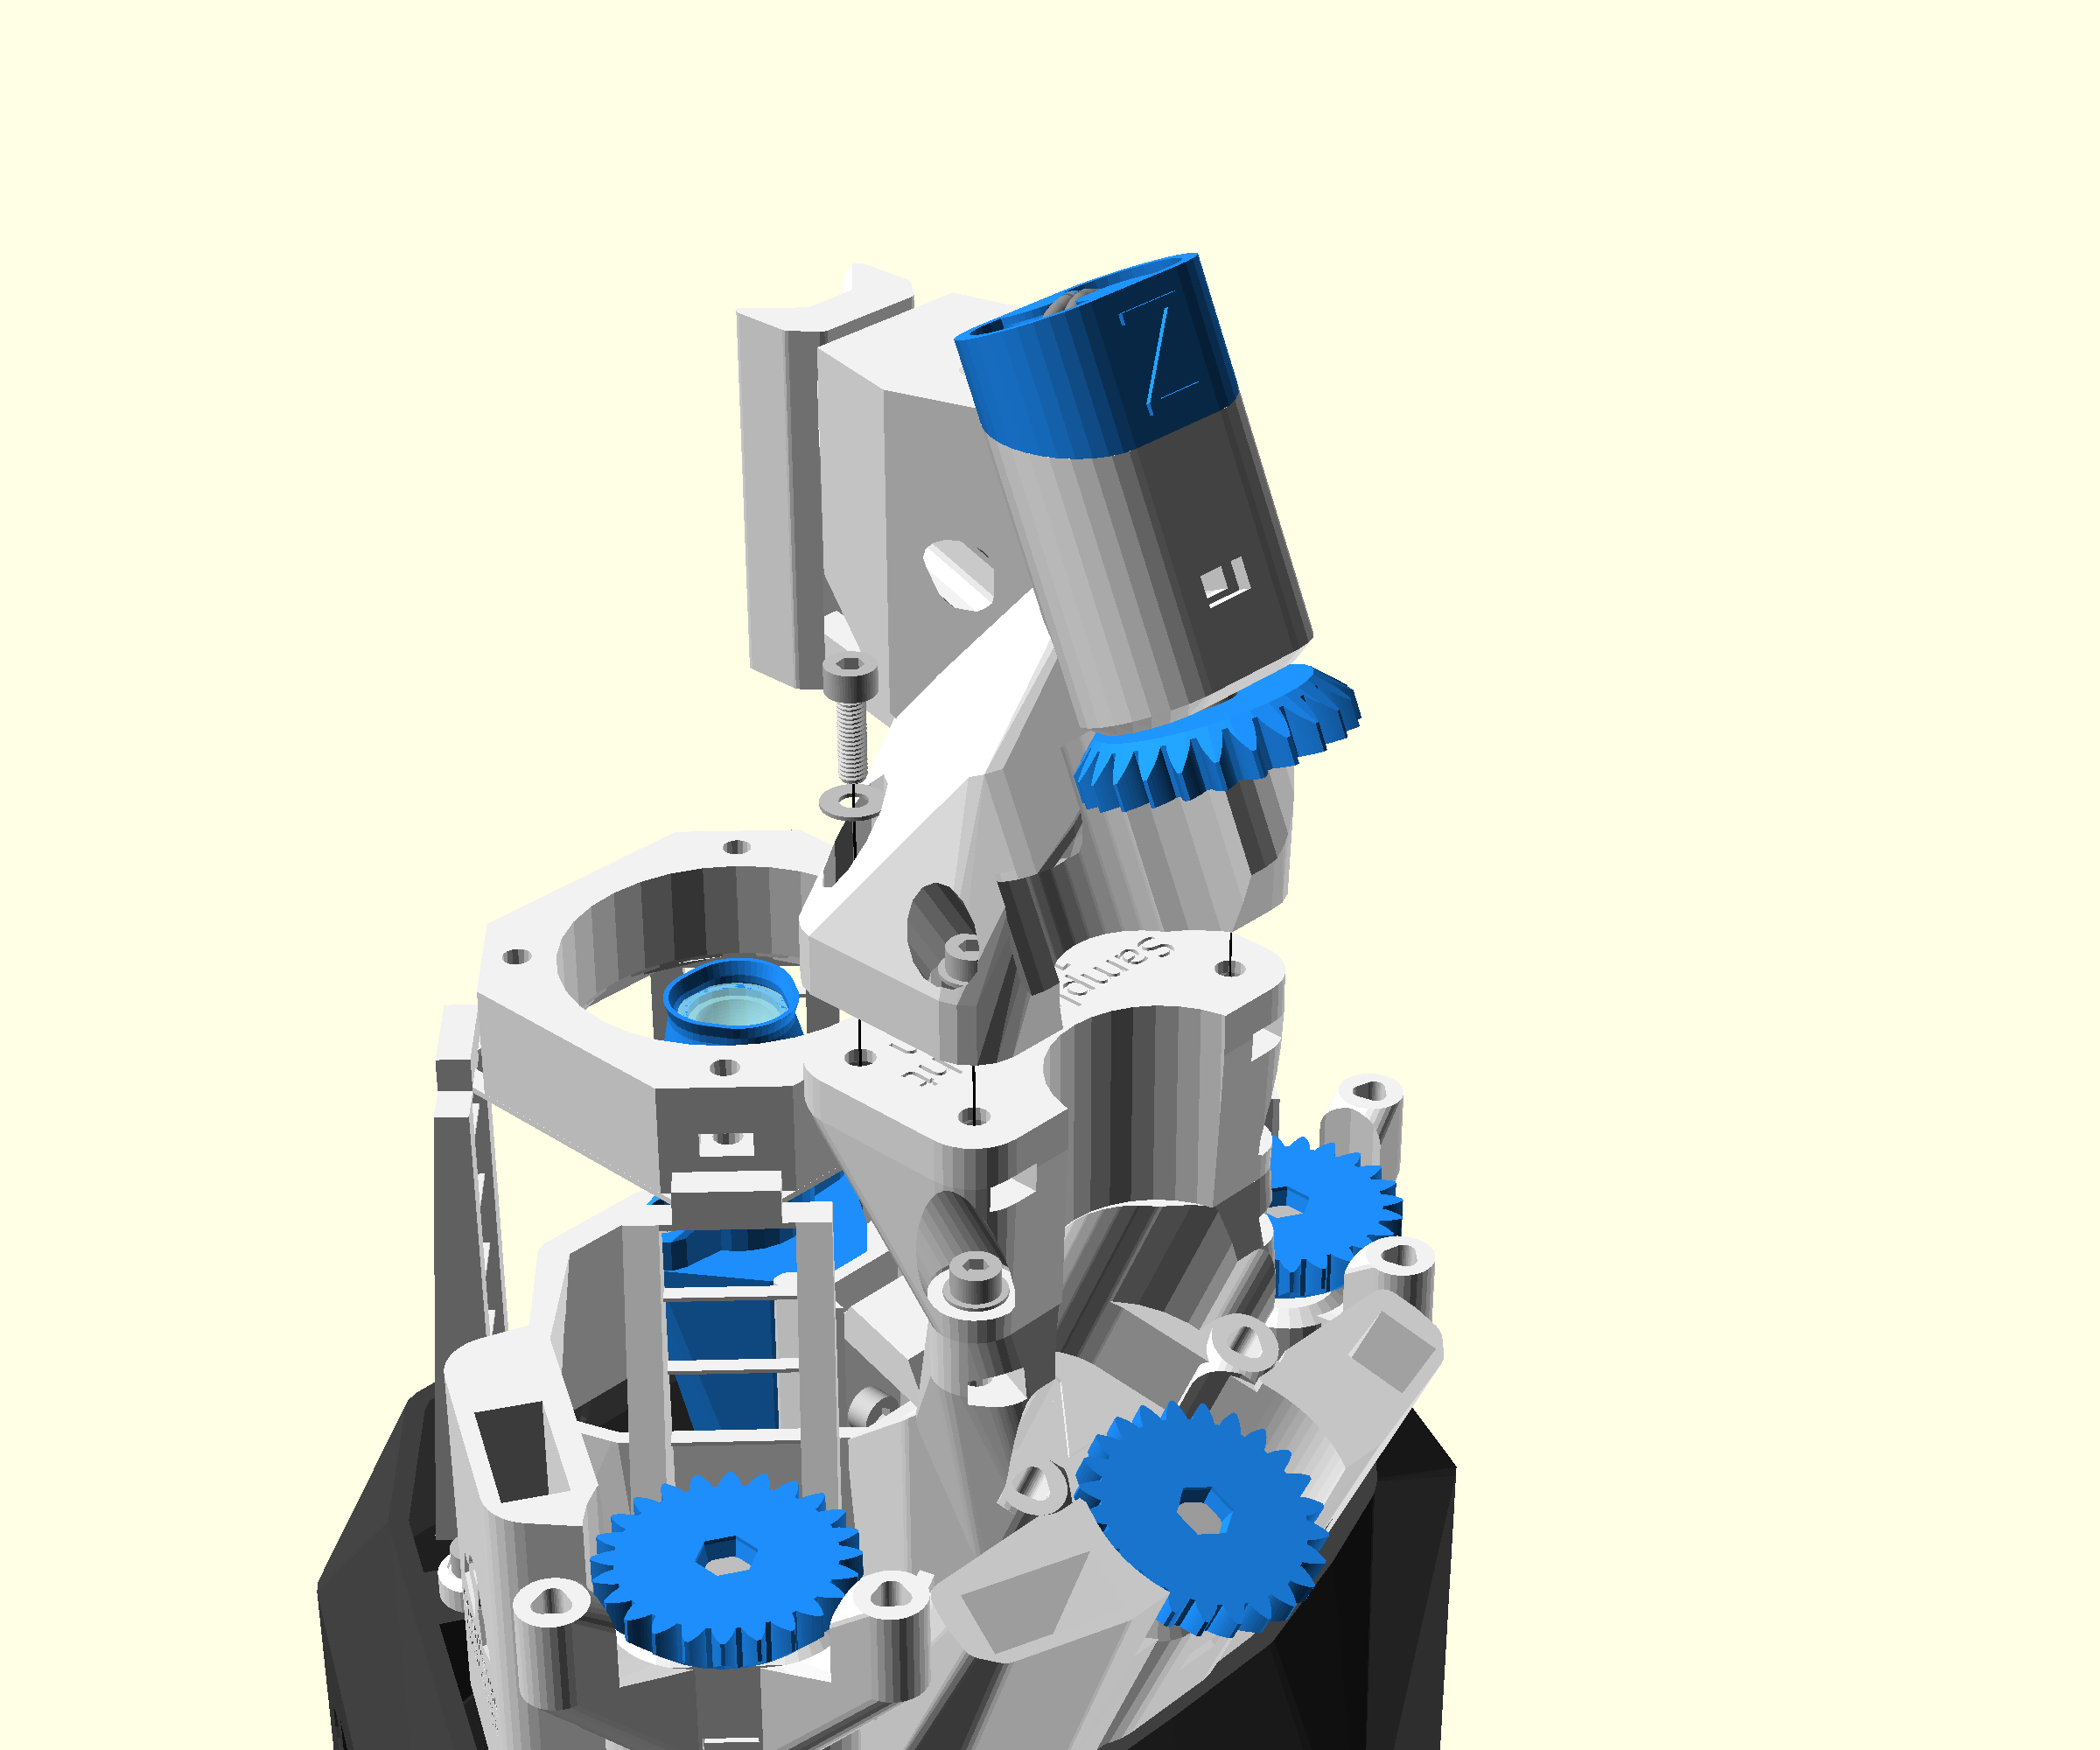
Step 2: Mount the separate z-axis
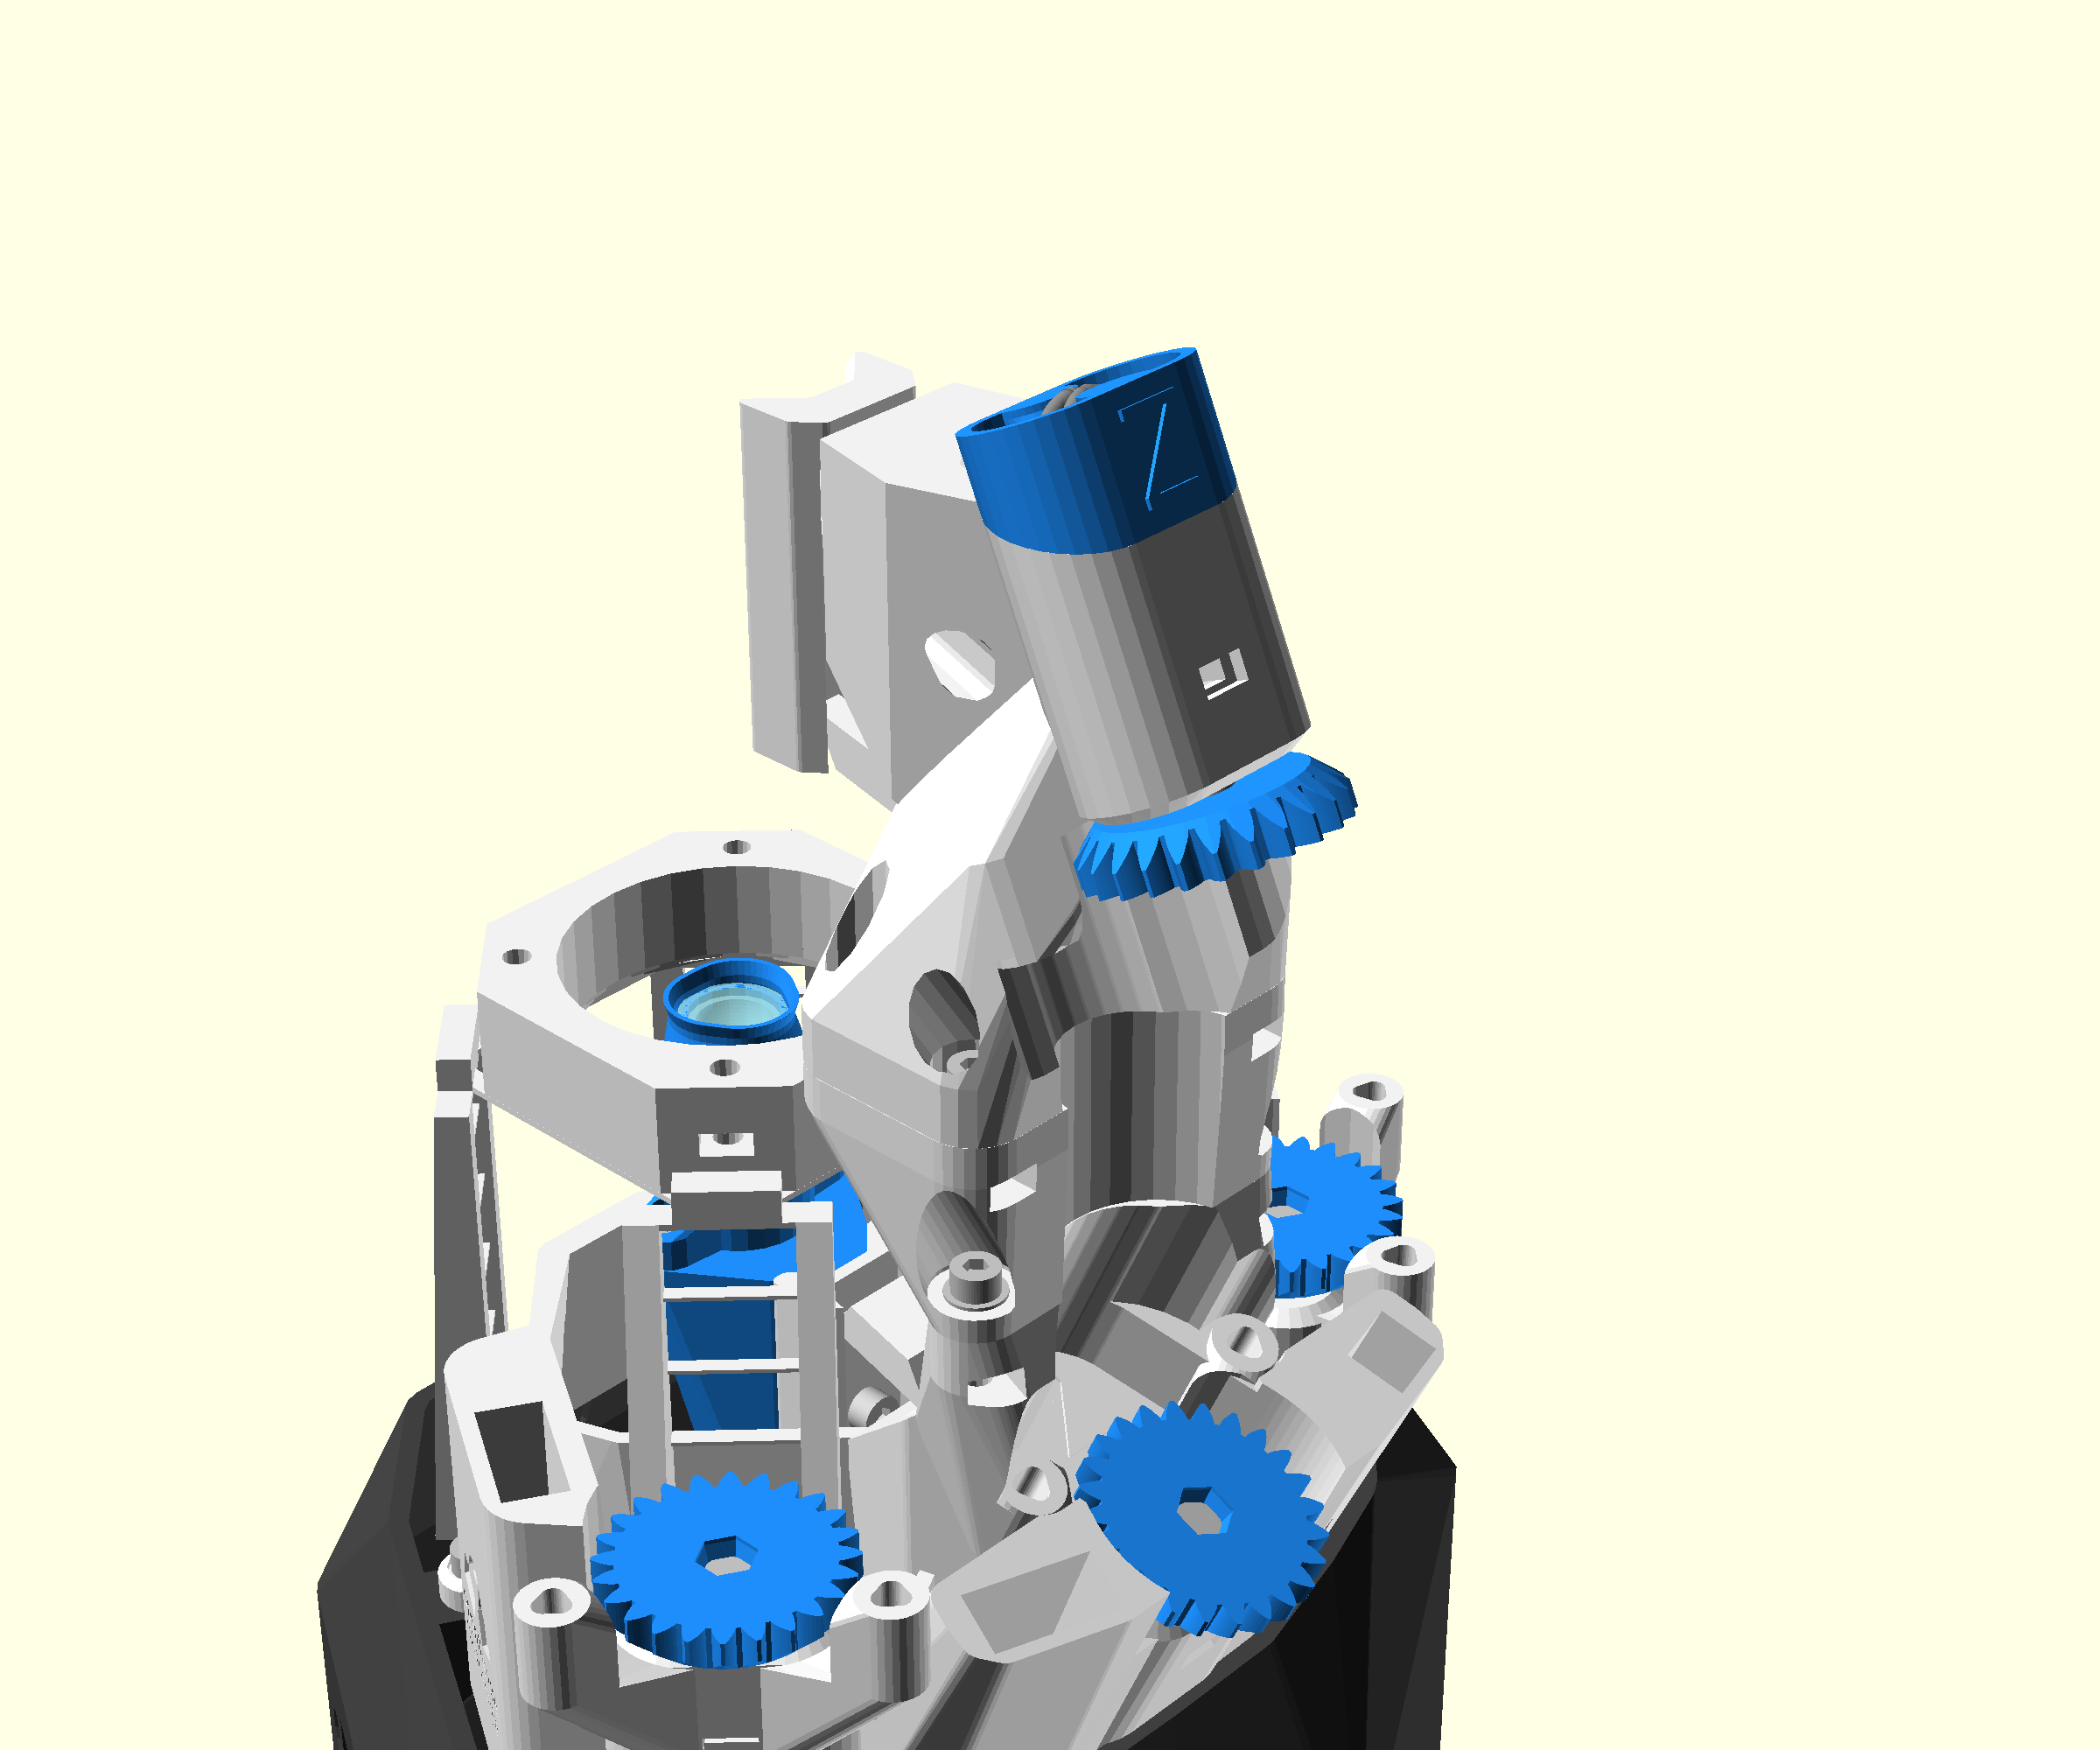
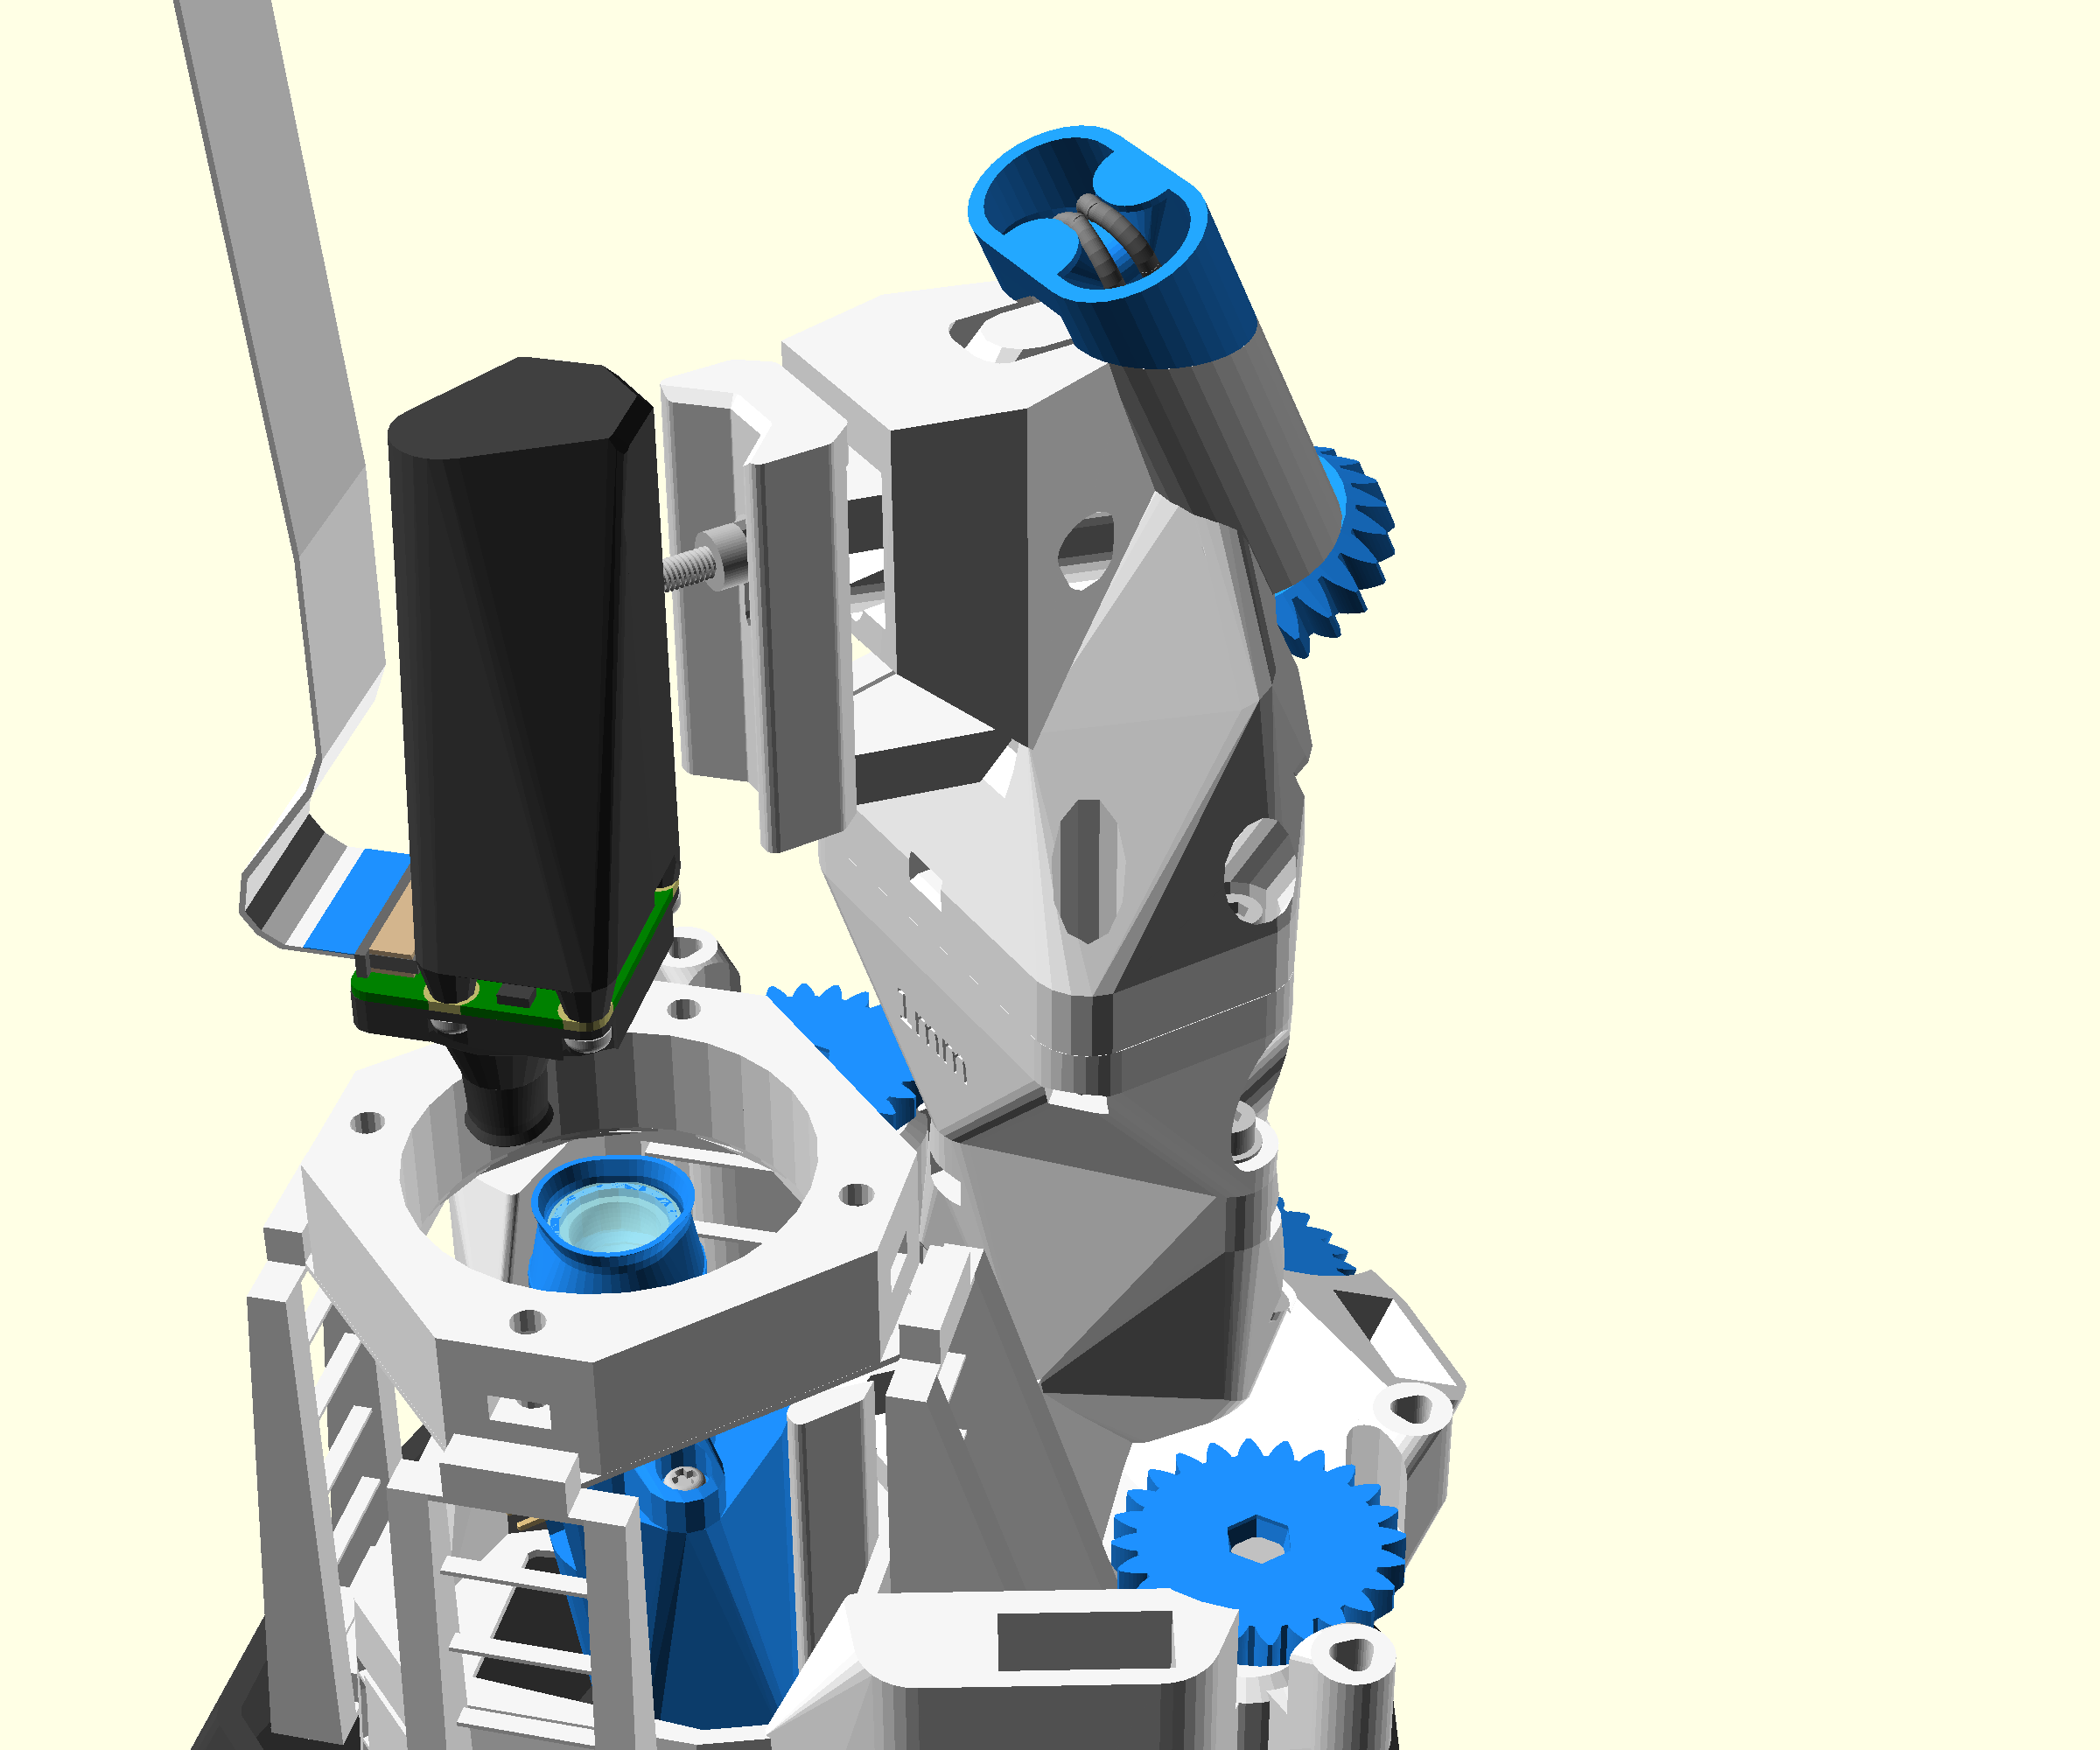
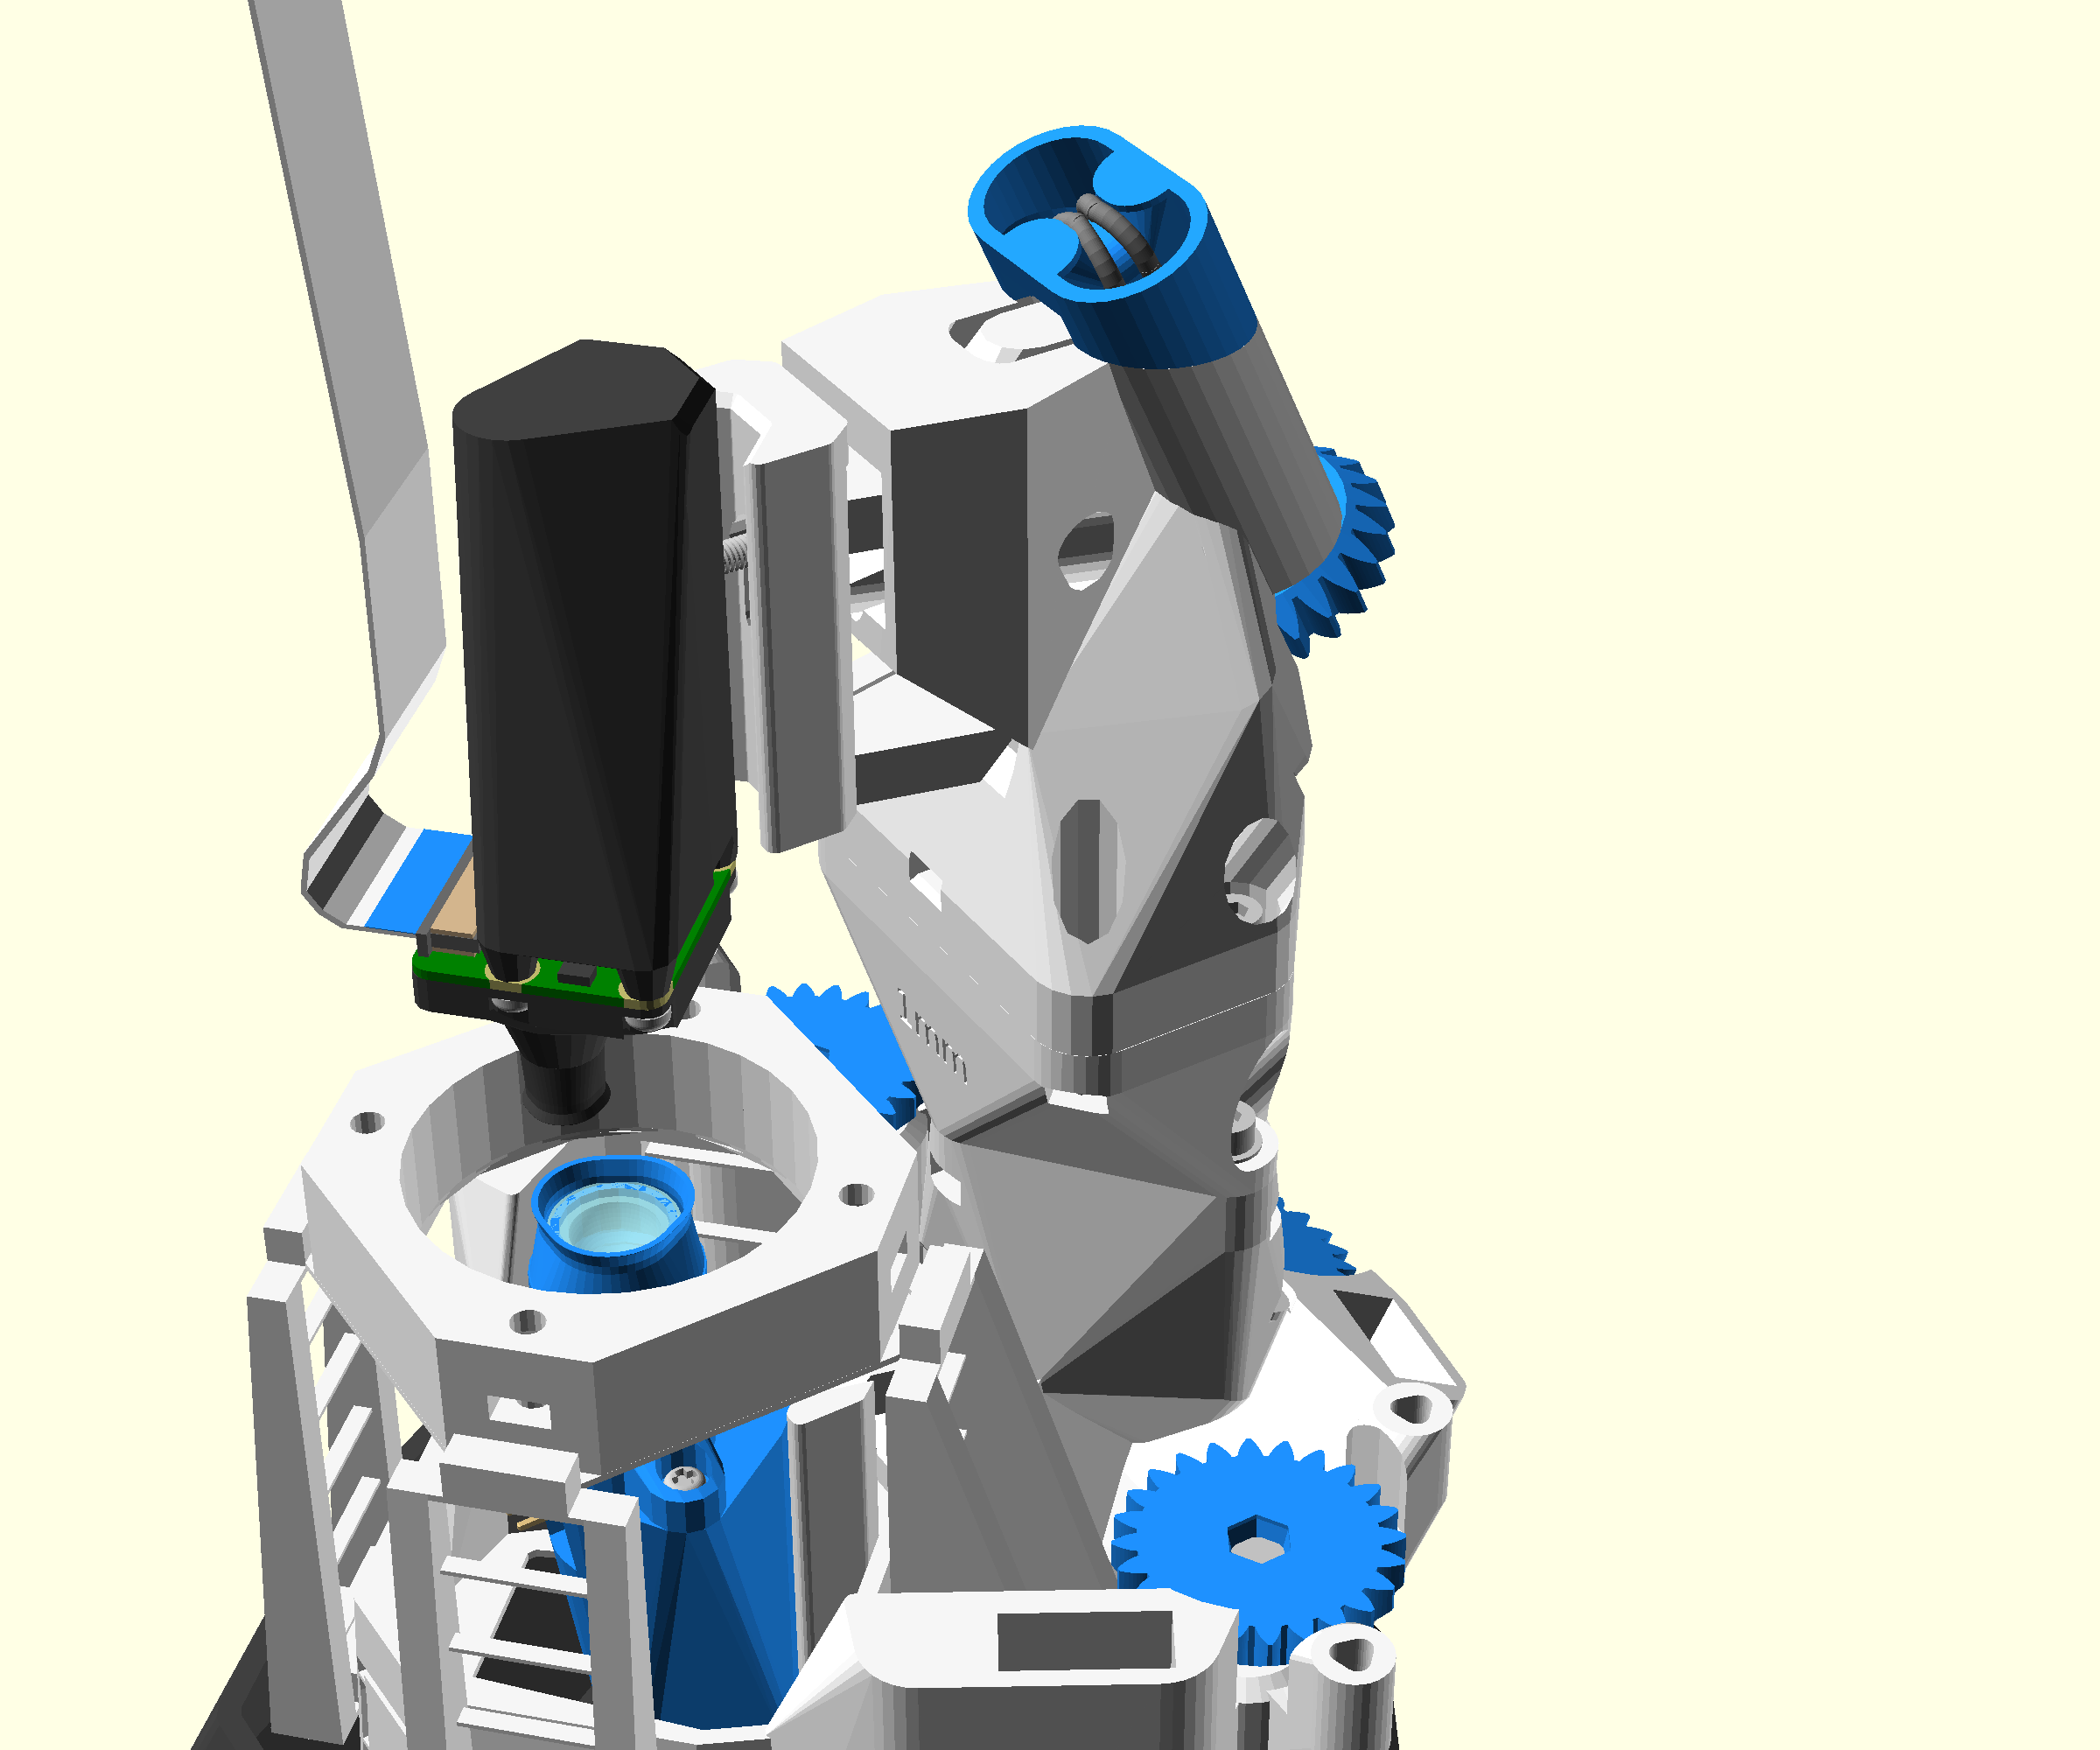
Step 3: Place the optics module
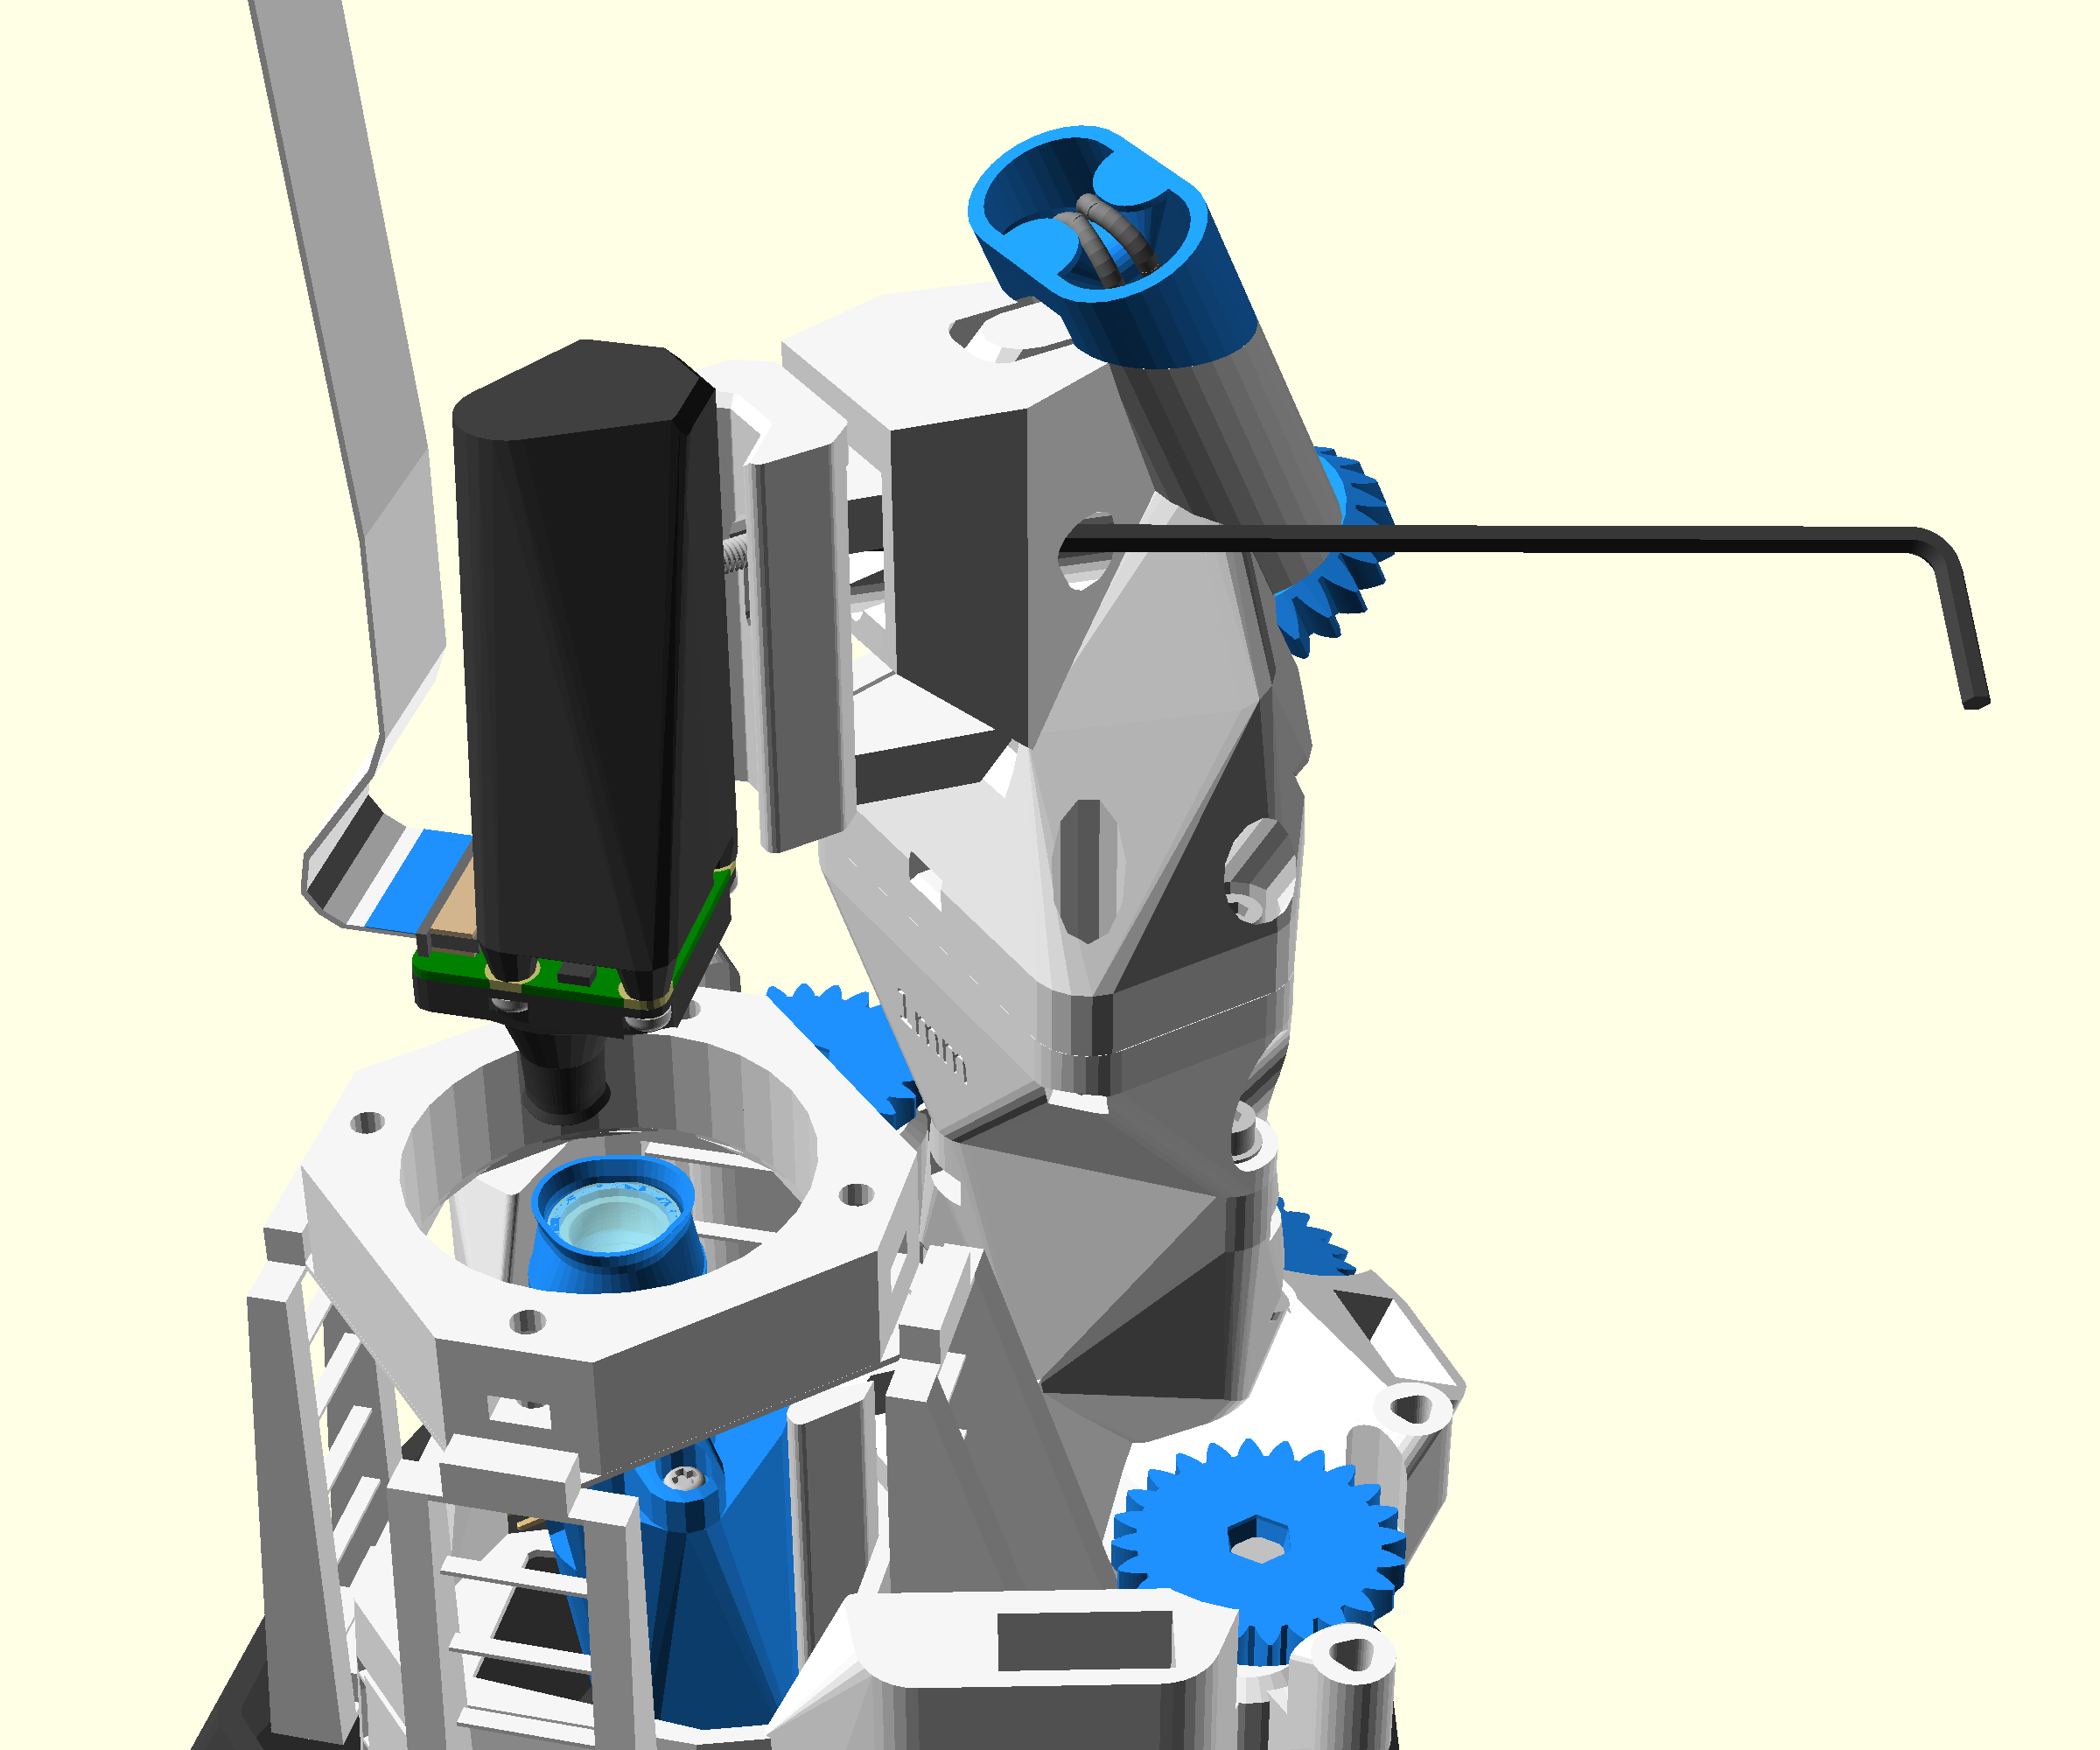
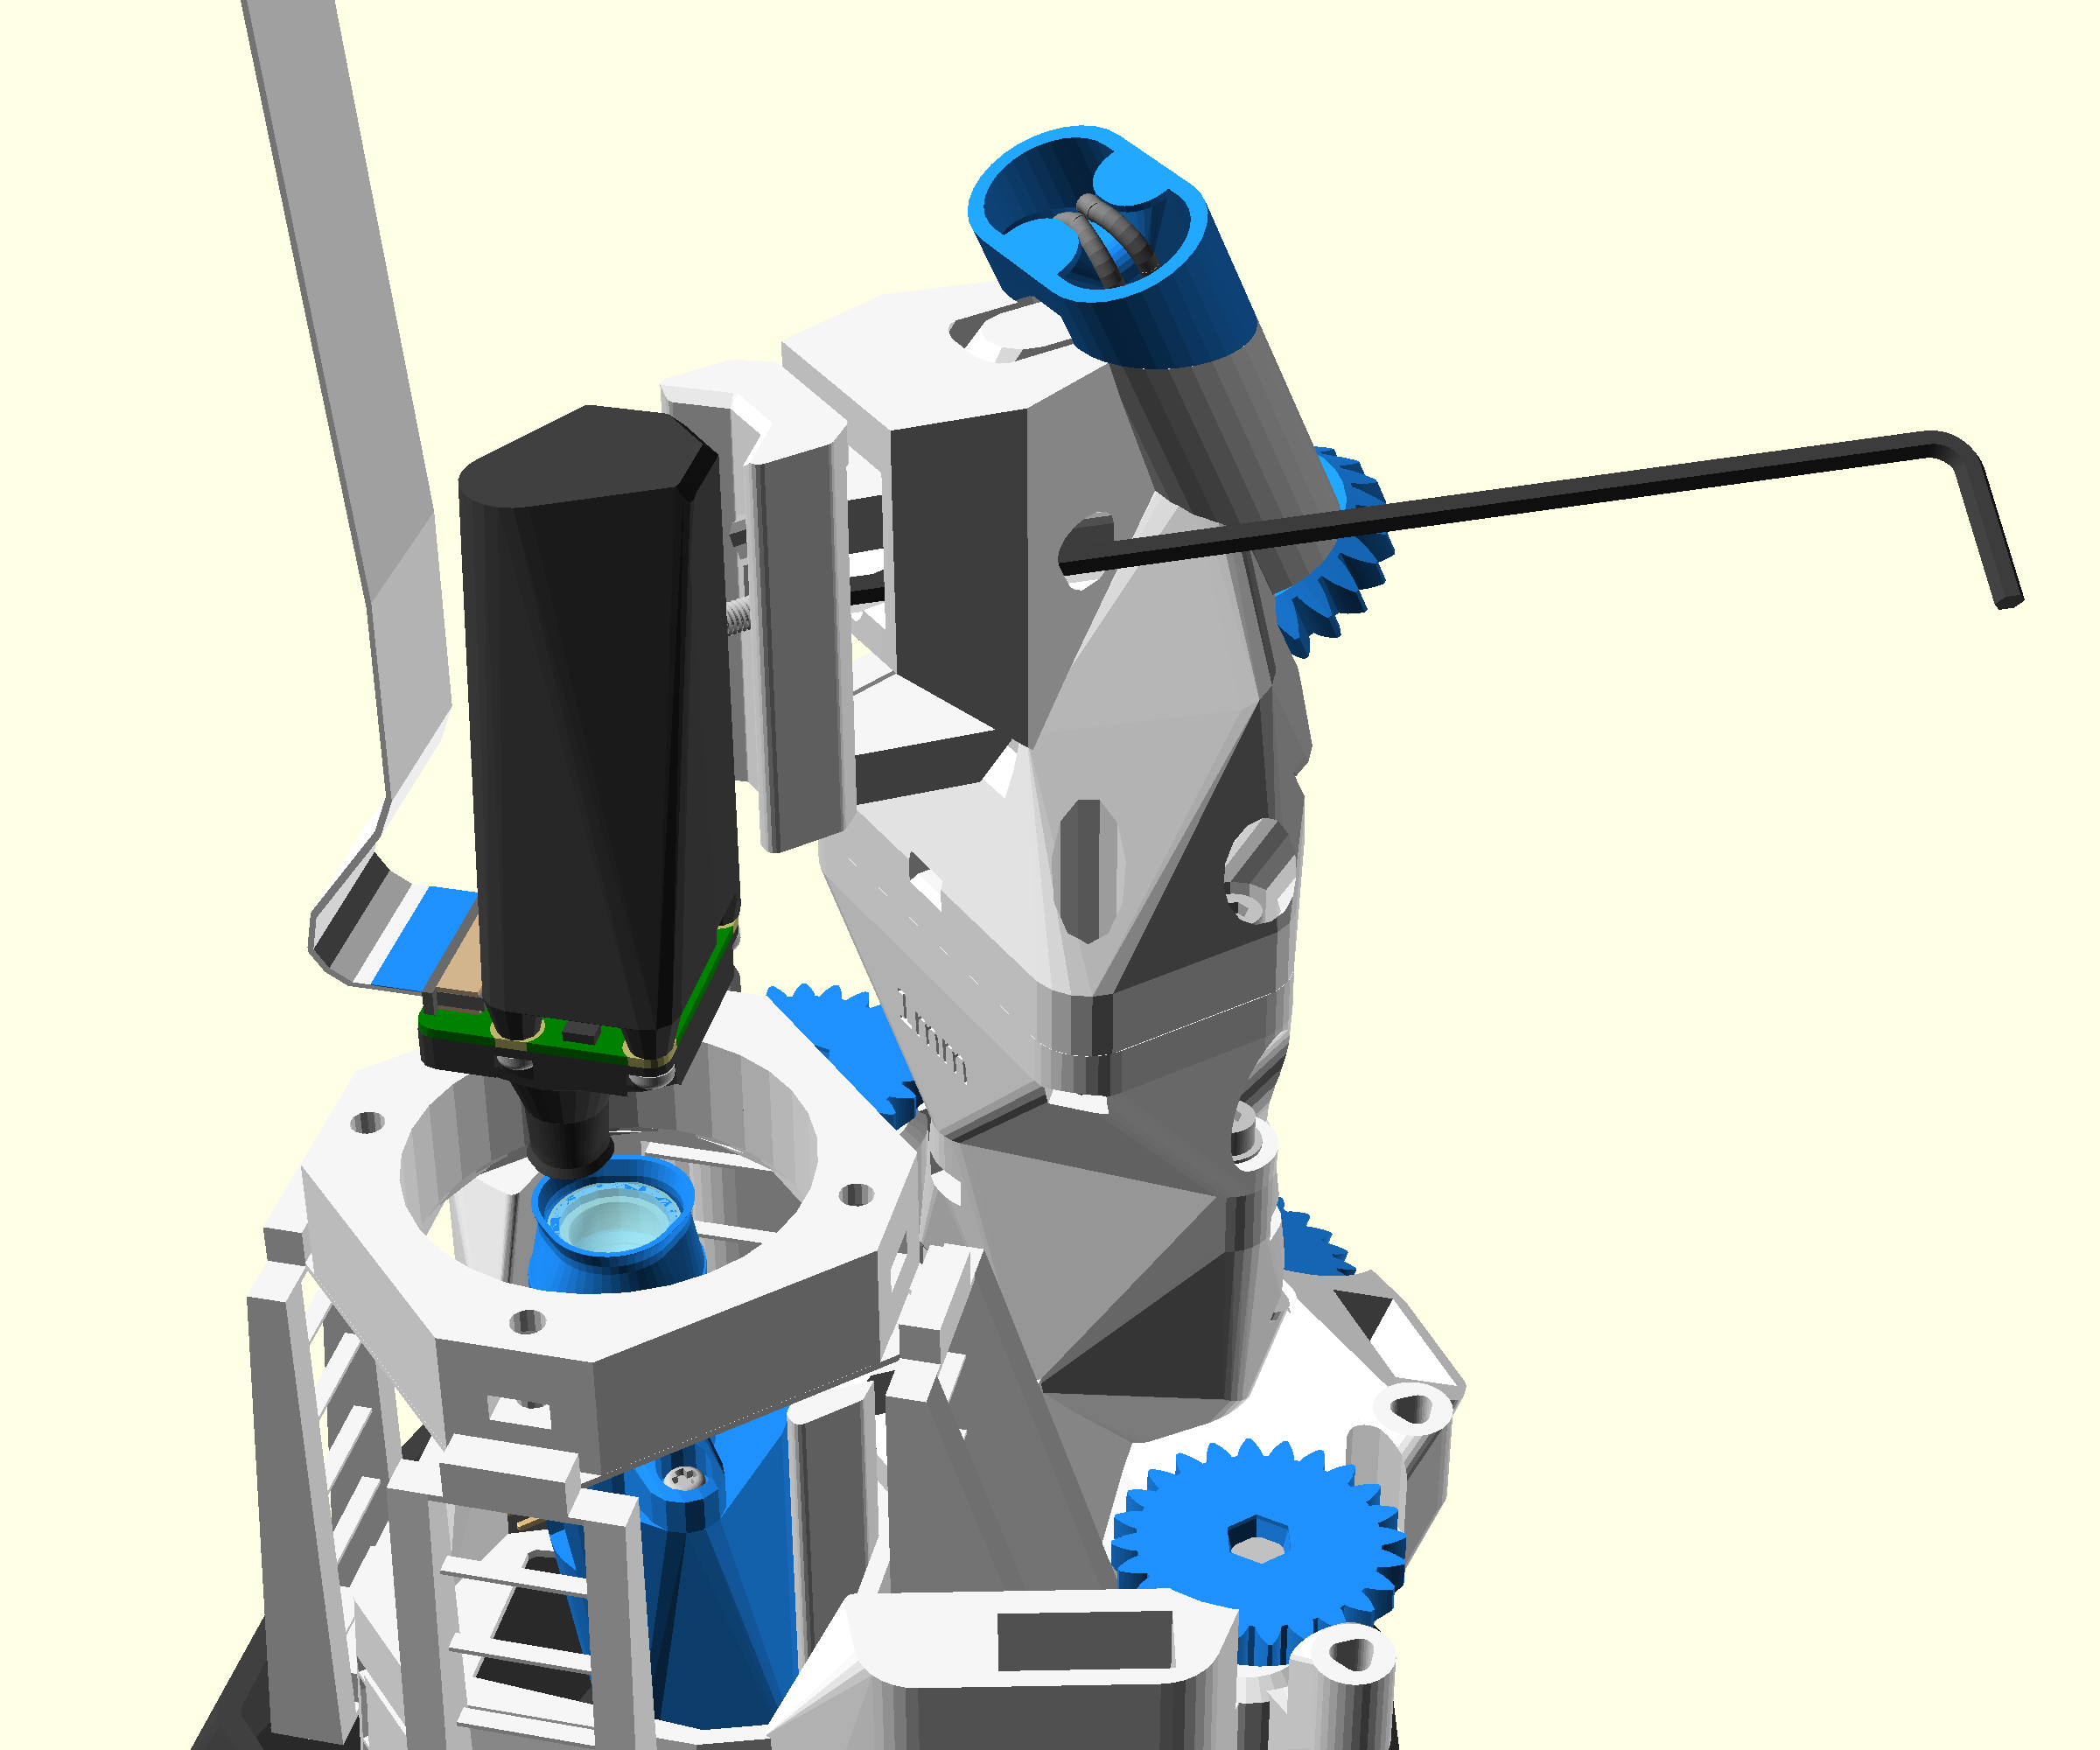
Step 4: Secure the optics module
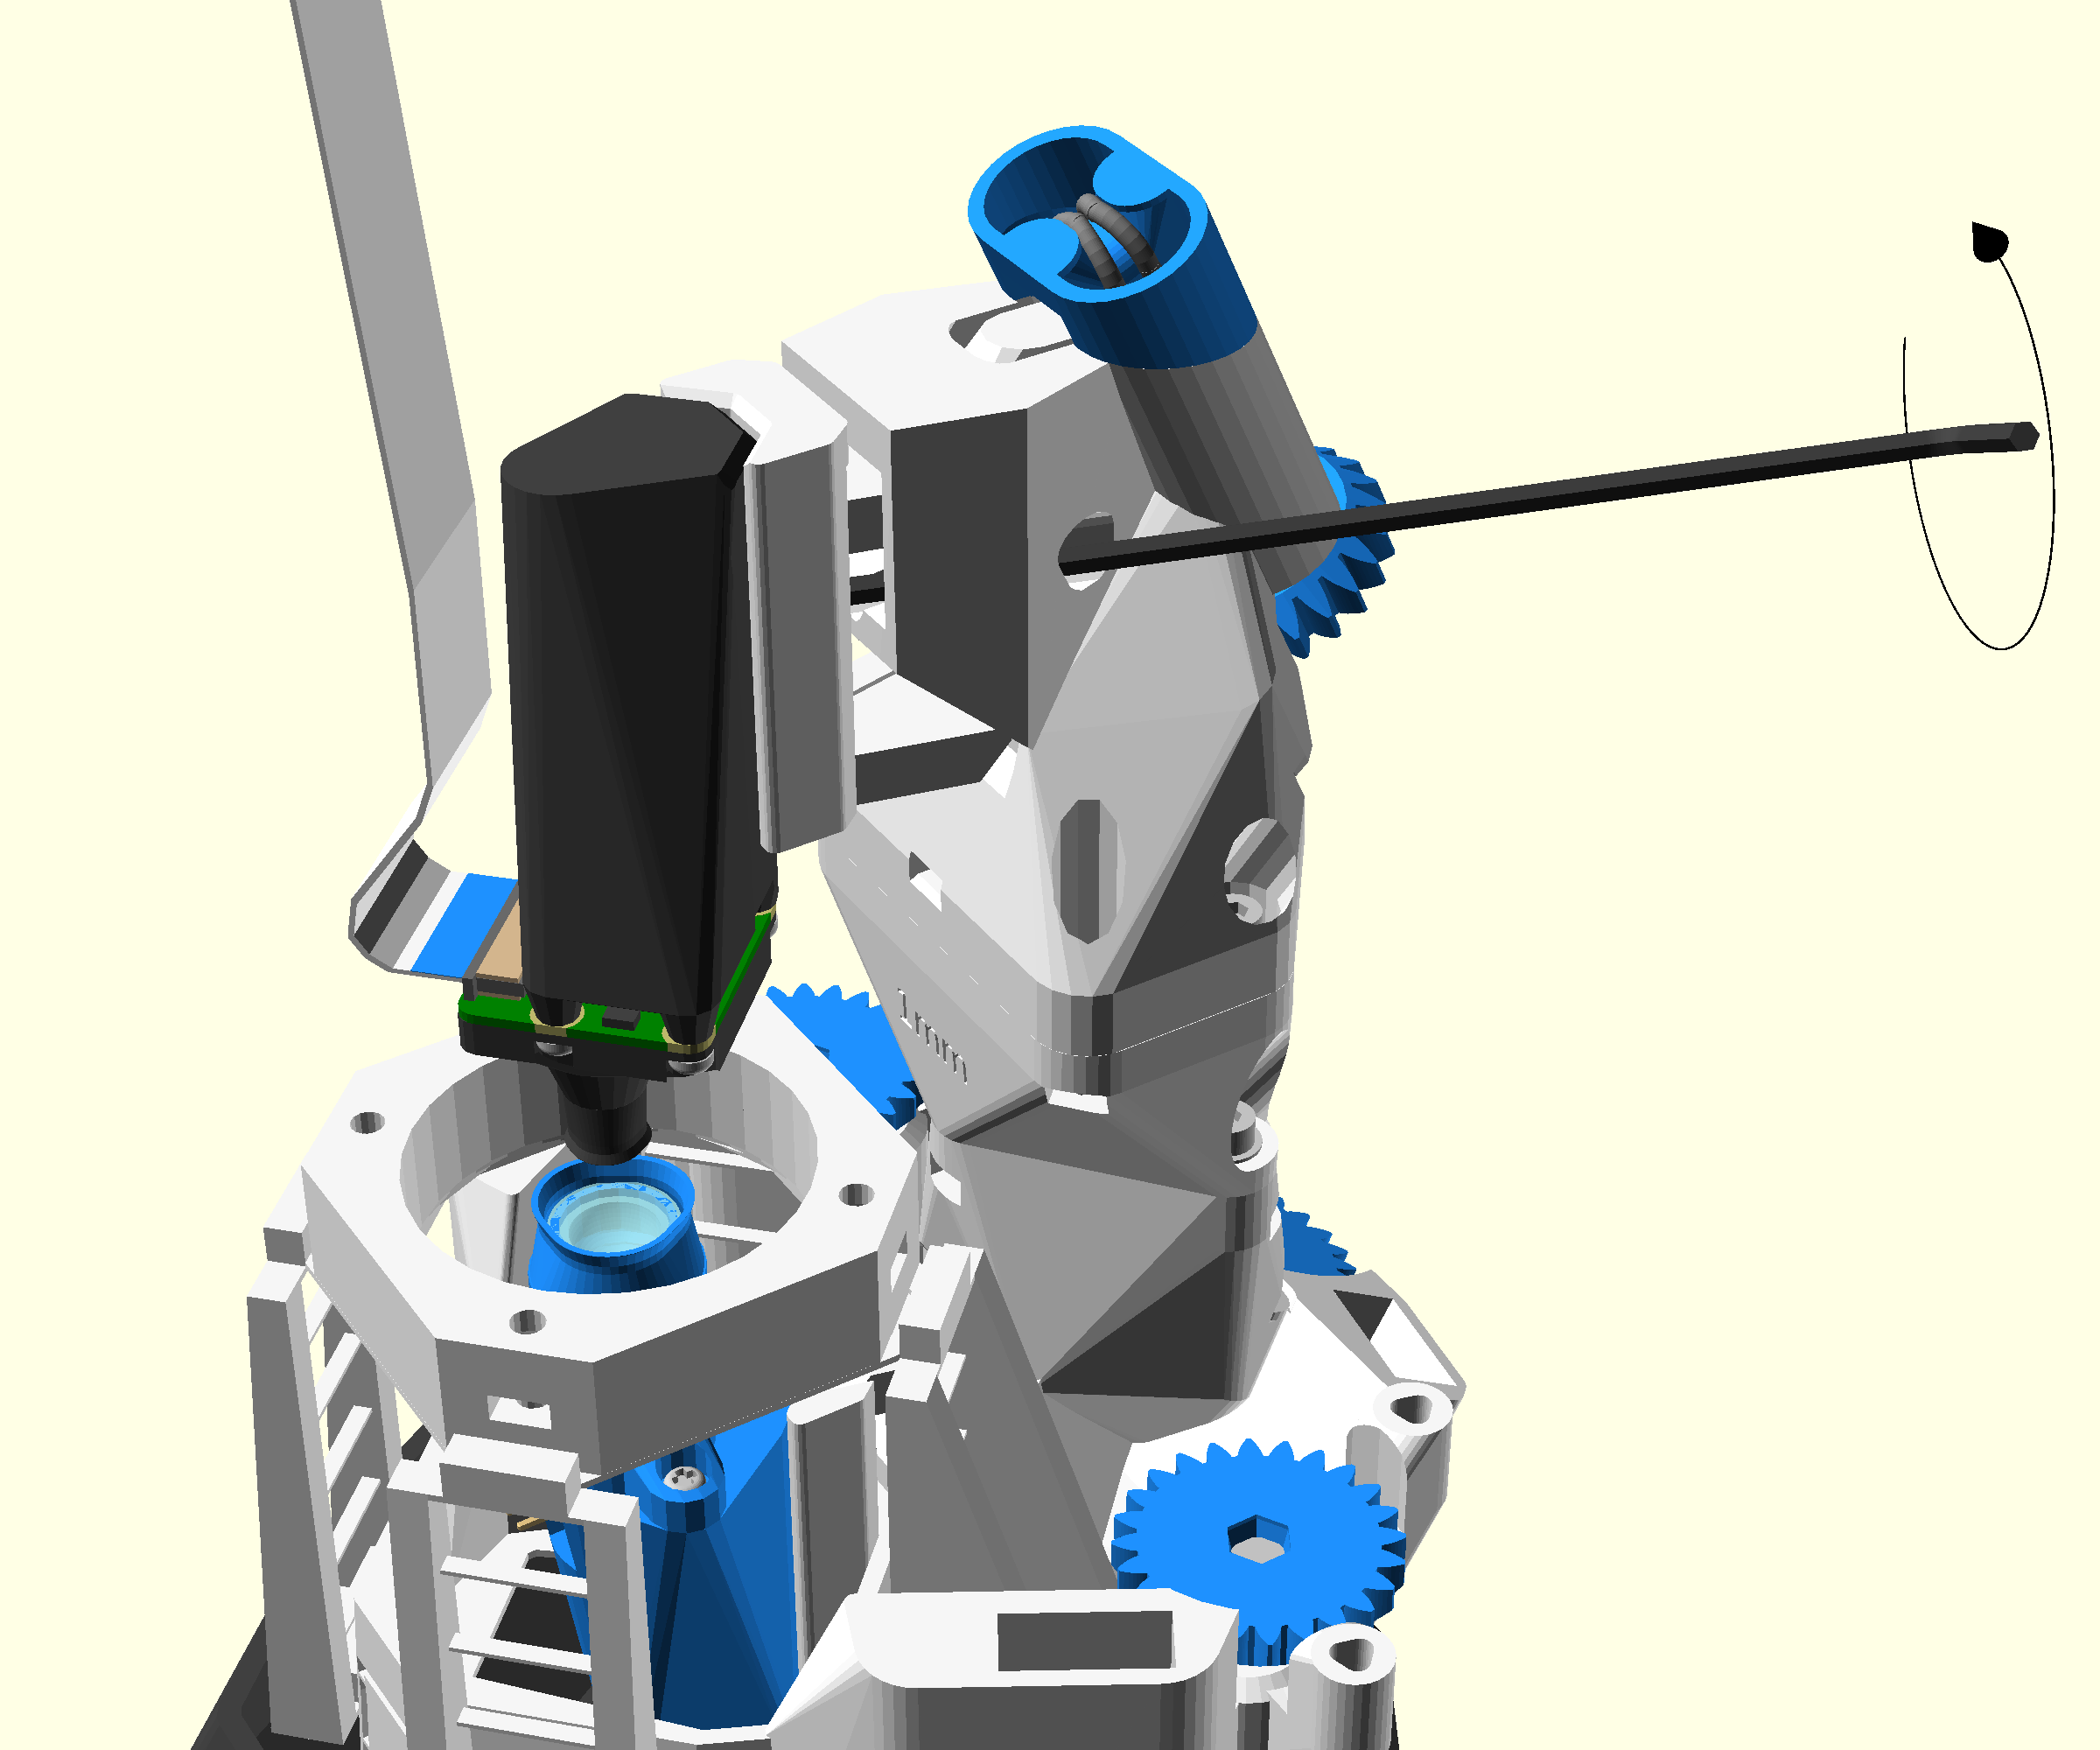
- Insert the 2.5mm Ball-end Allen key through the teardrop shaped hole on the back of the separate z-actuator, until it engages with the mounting screw
- Slide optics module down the keyhole to the bottom, while keeping the Allen key engaged with the screw
- Tighten the screw with the Allen key to lock the optics in place
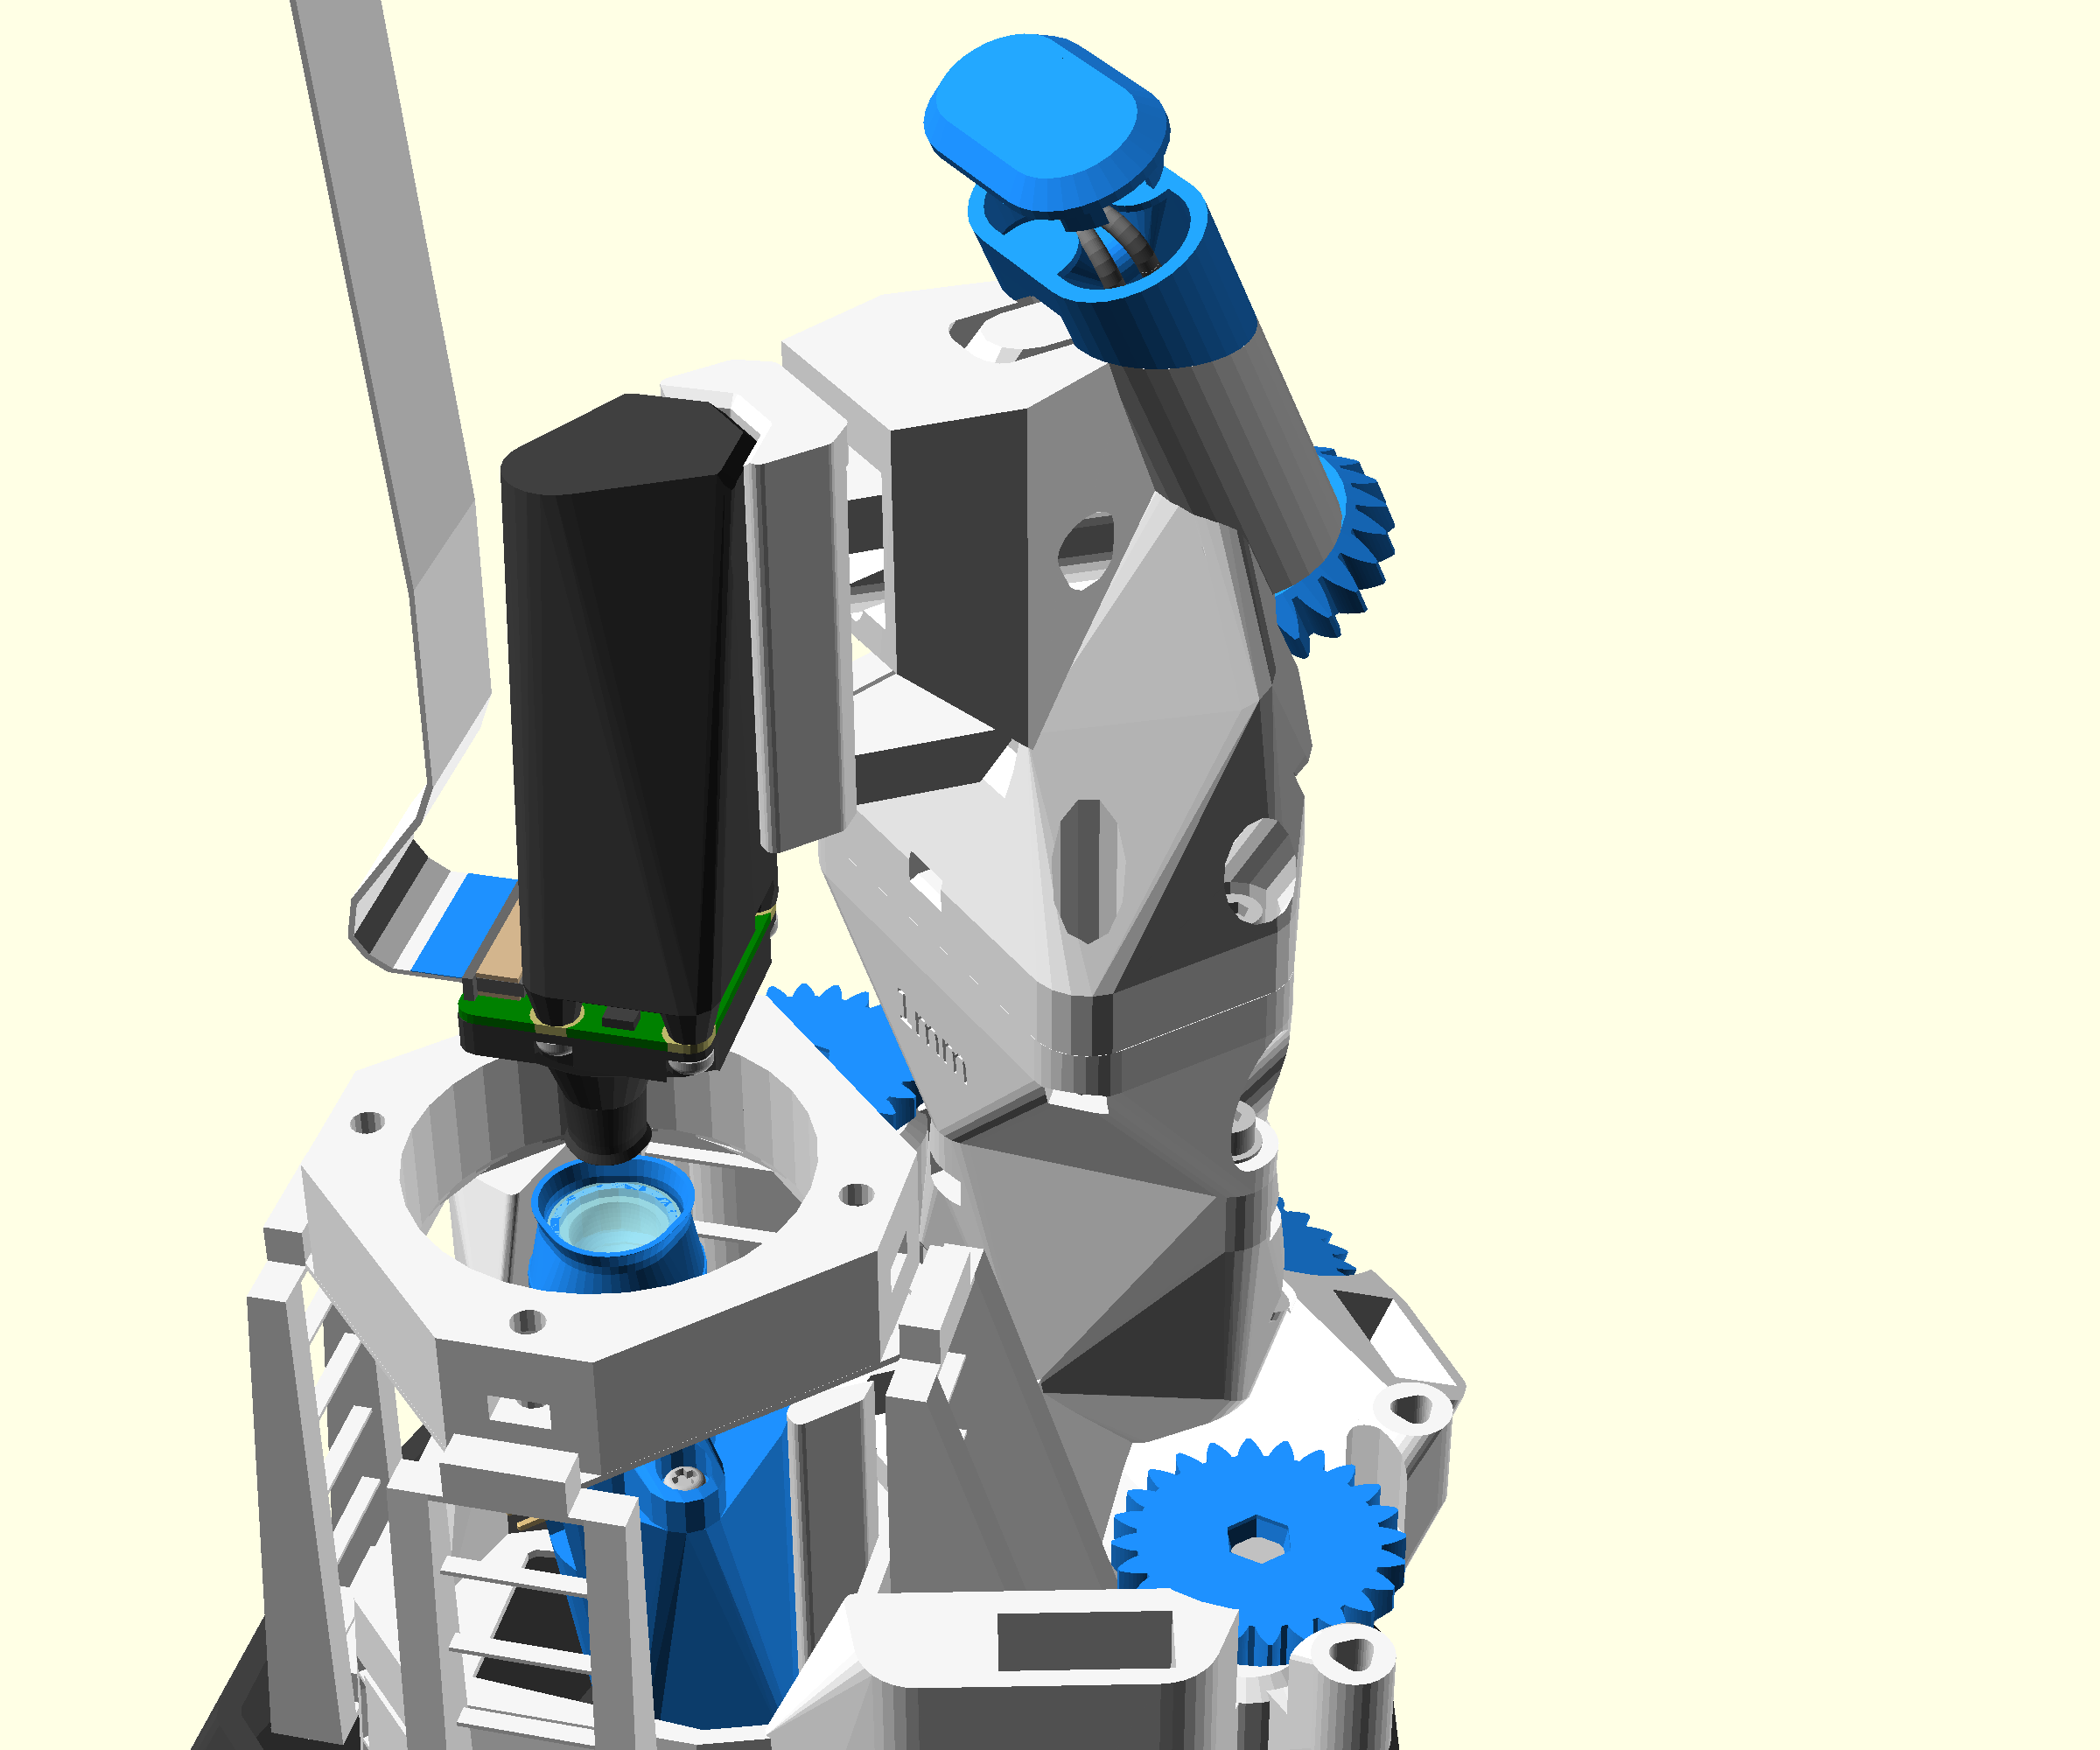
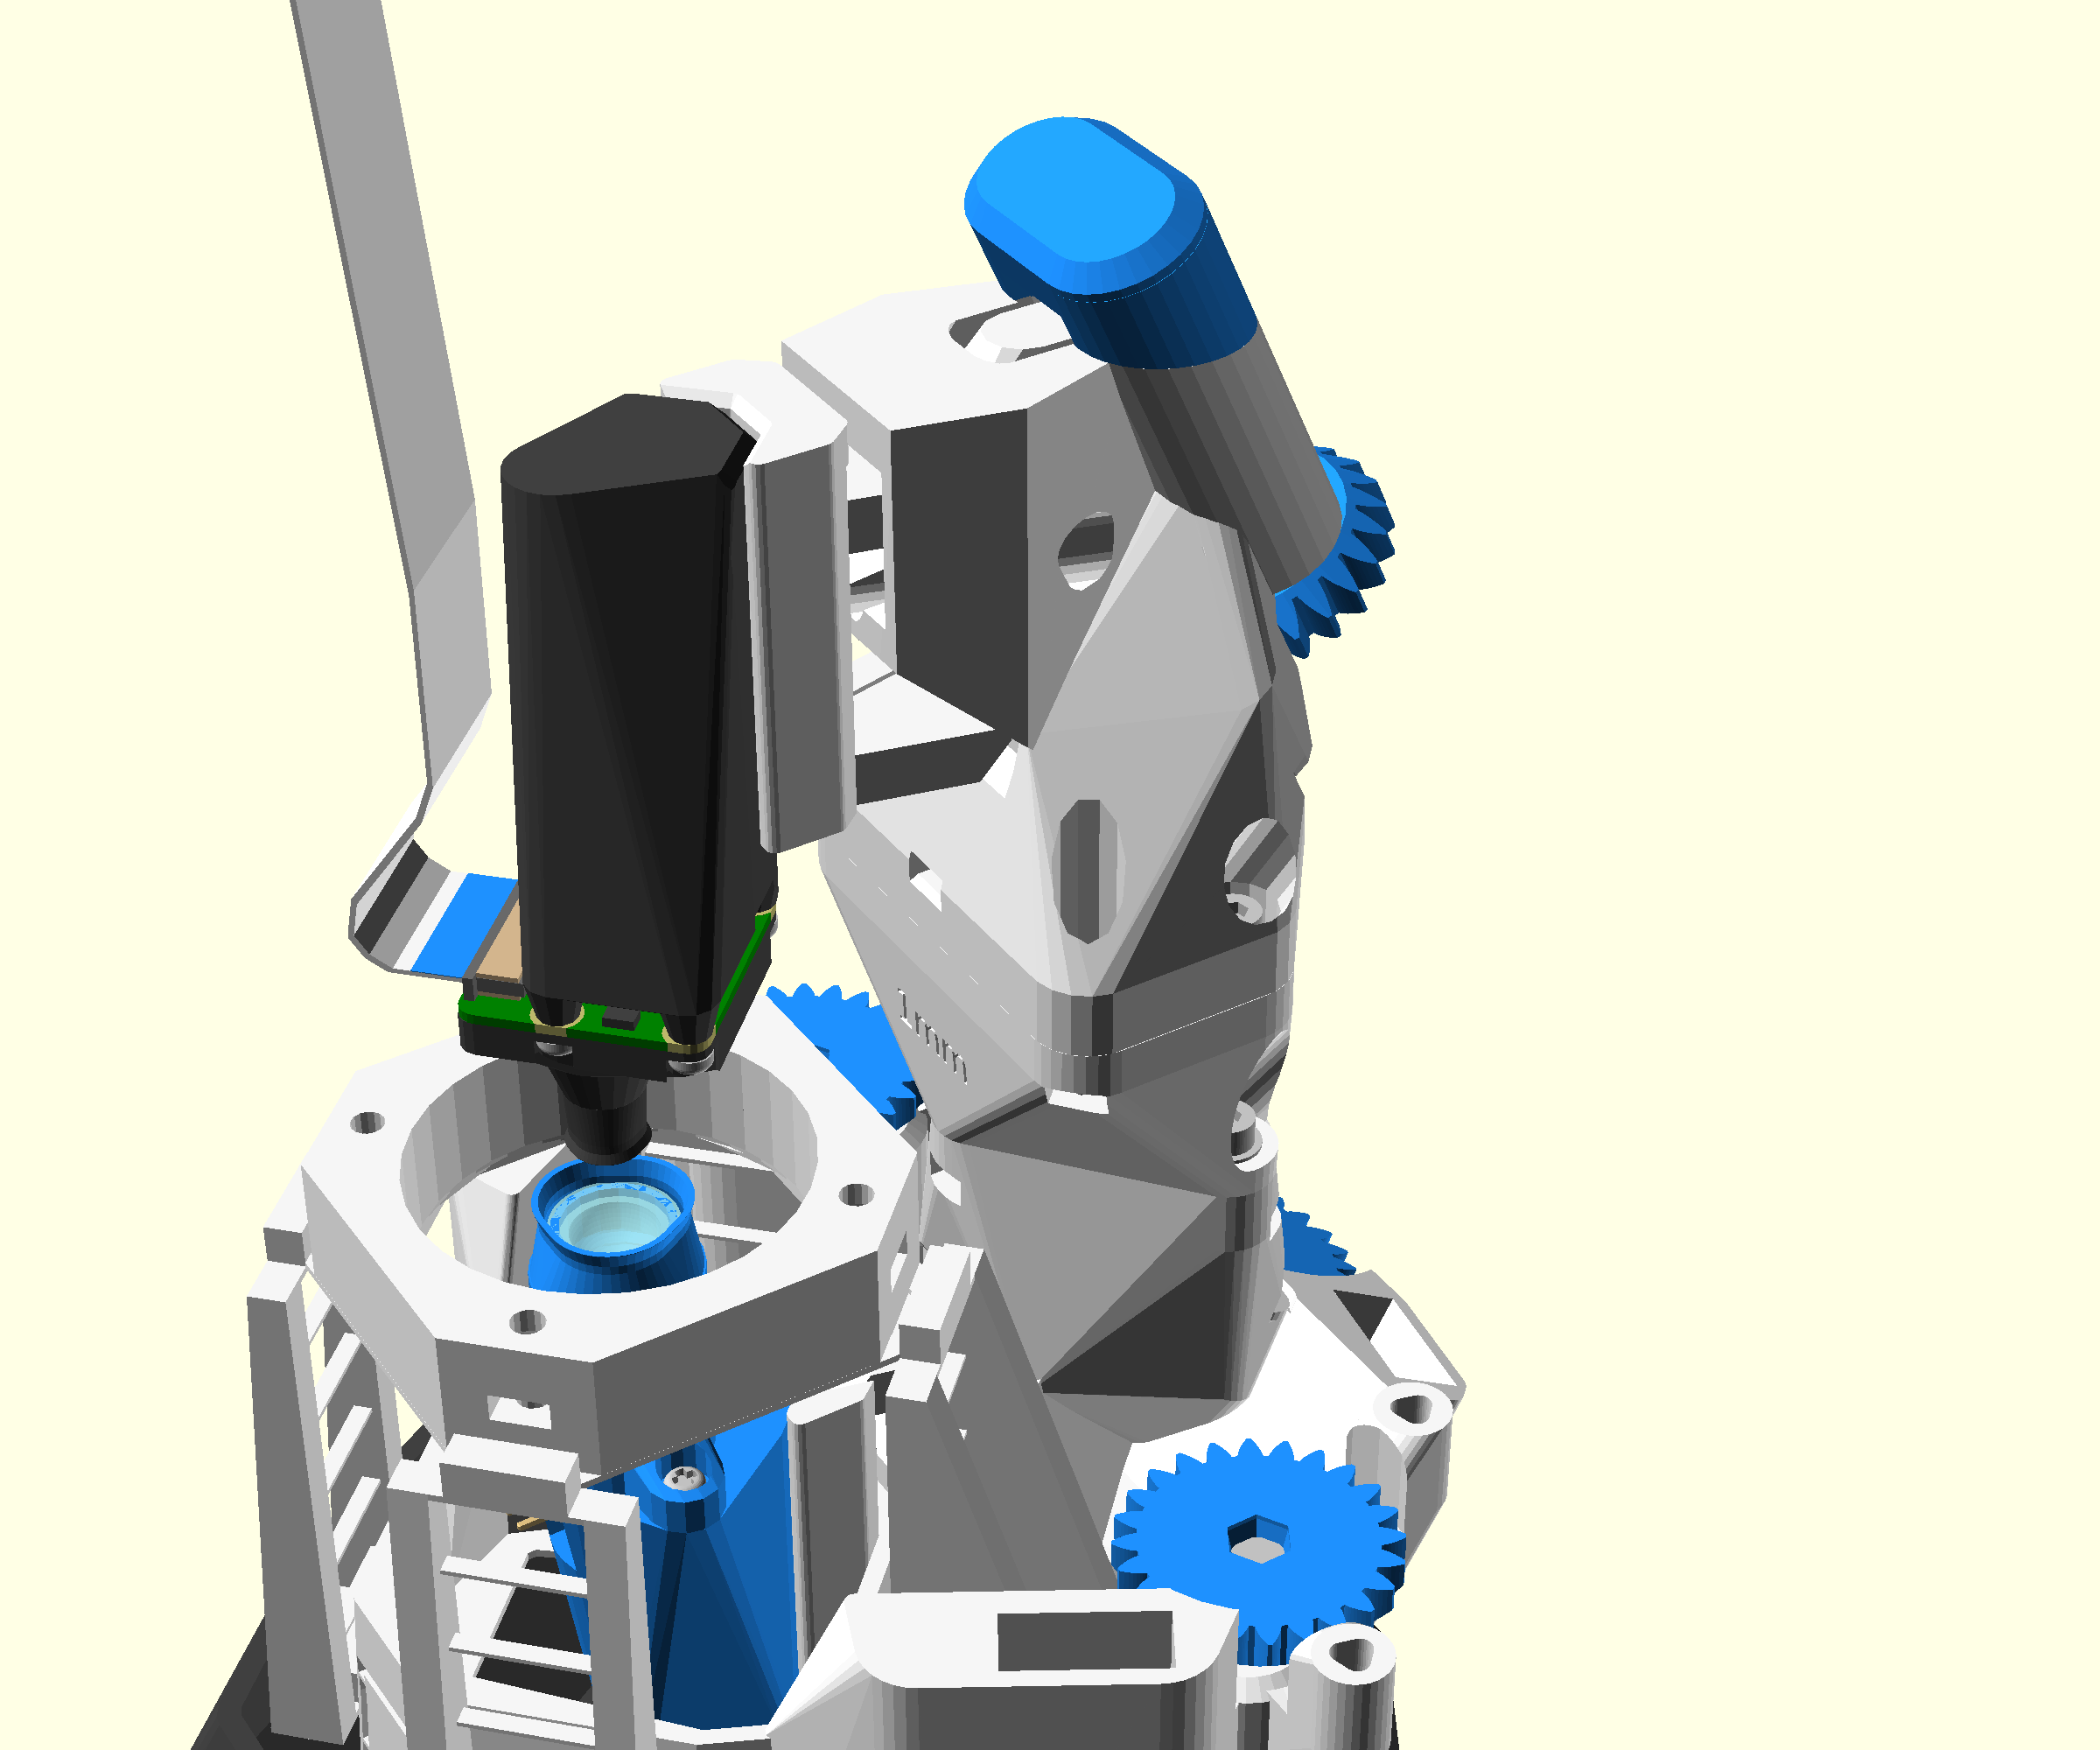
- Take the foot cap and locate it over the exposed foot at the top of the microscope
- Push the cap in to place
Previous page | Next page