
Assembly complete
Congratulations, you have now assembled your OpenFlexure Microscope.
Step 1: The completed microscope
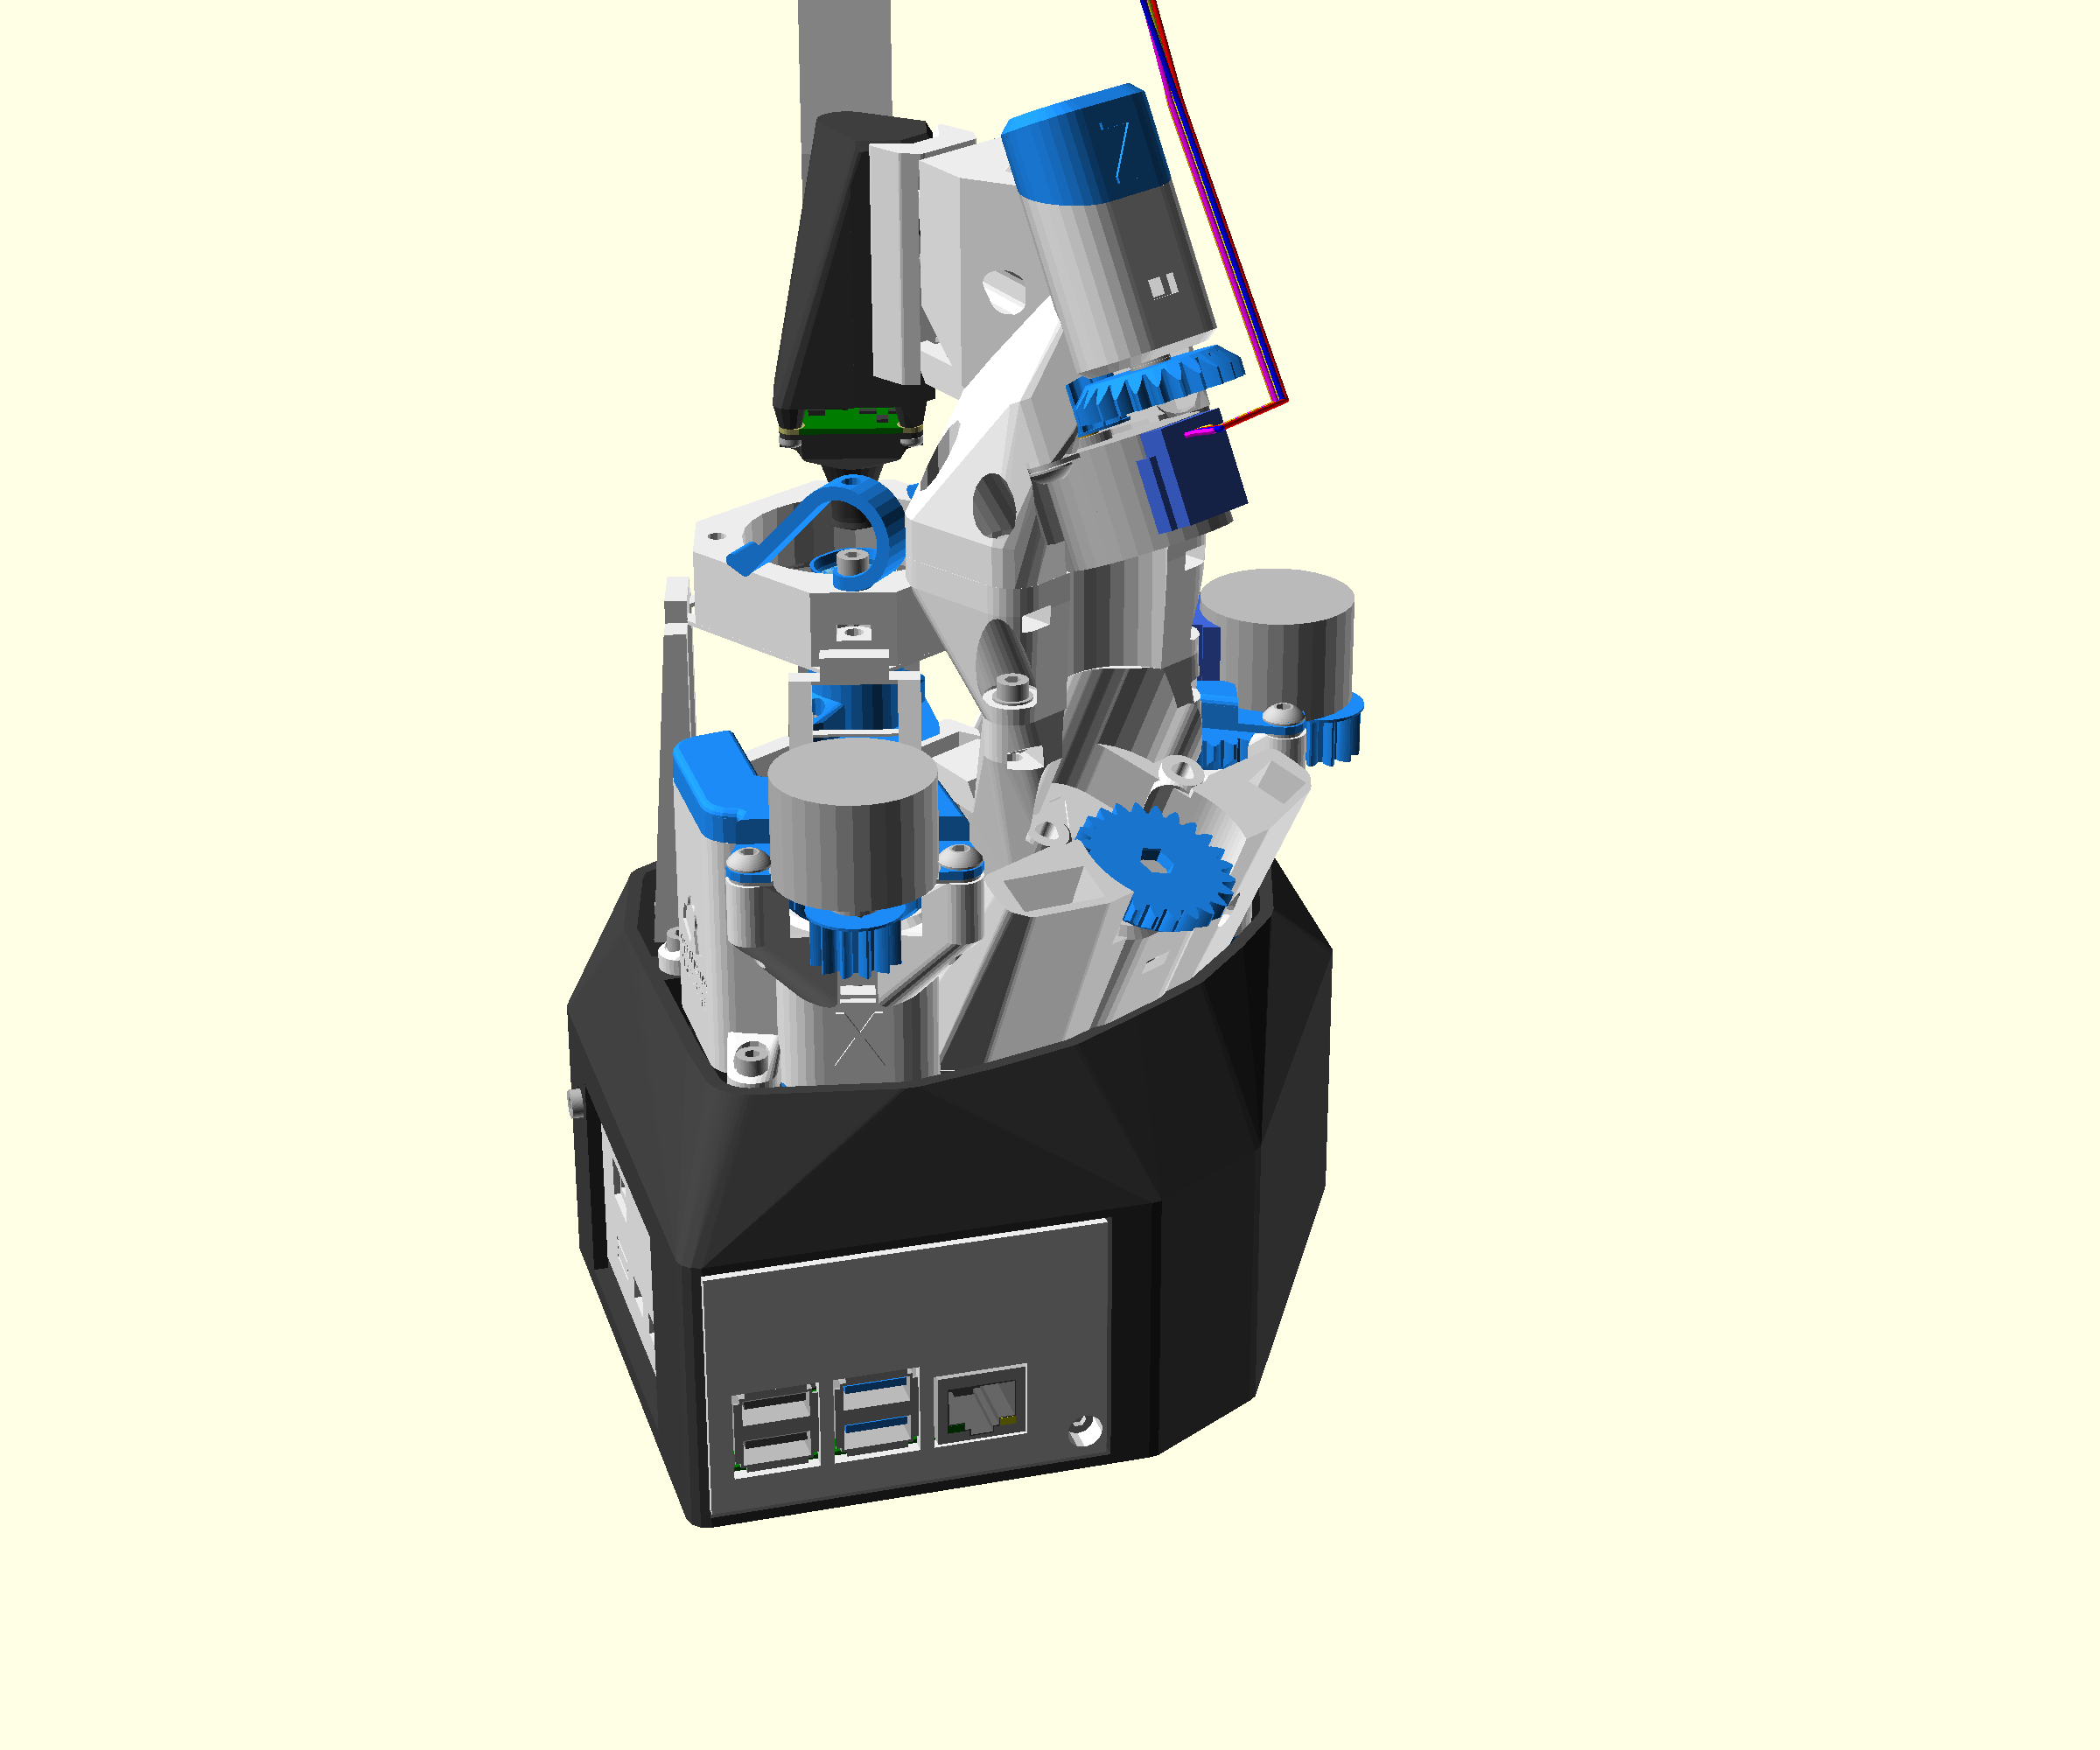
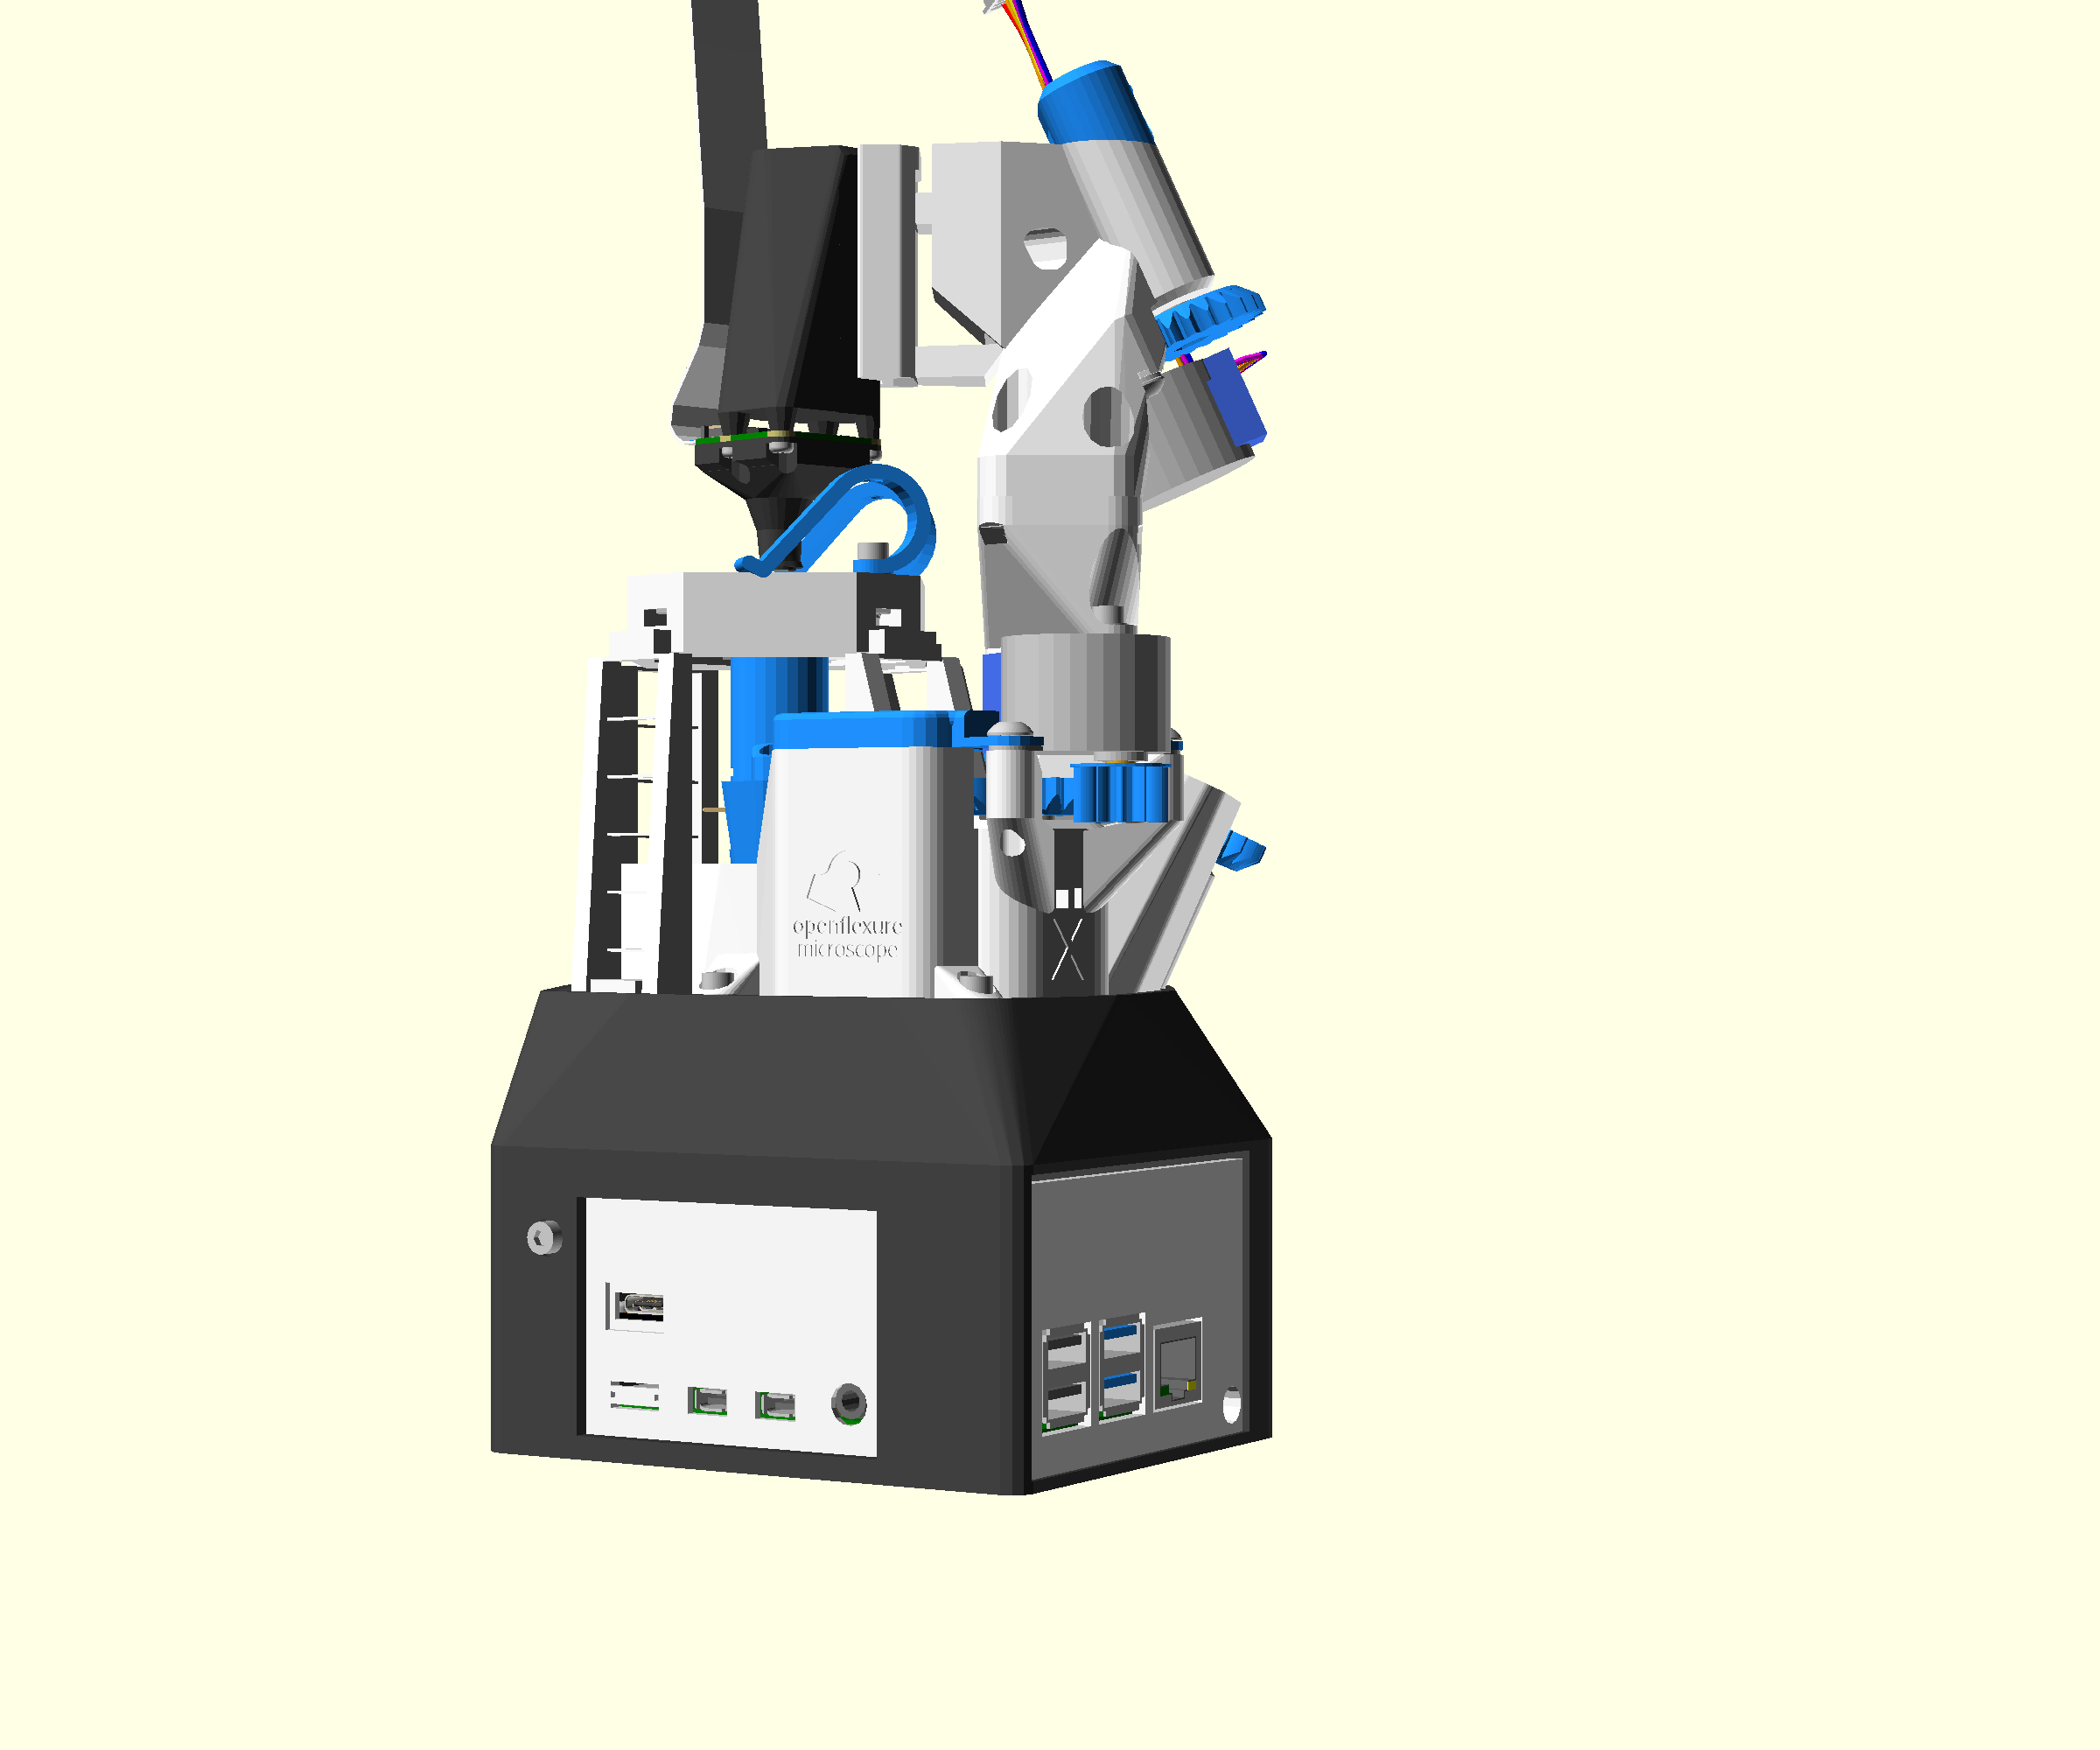
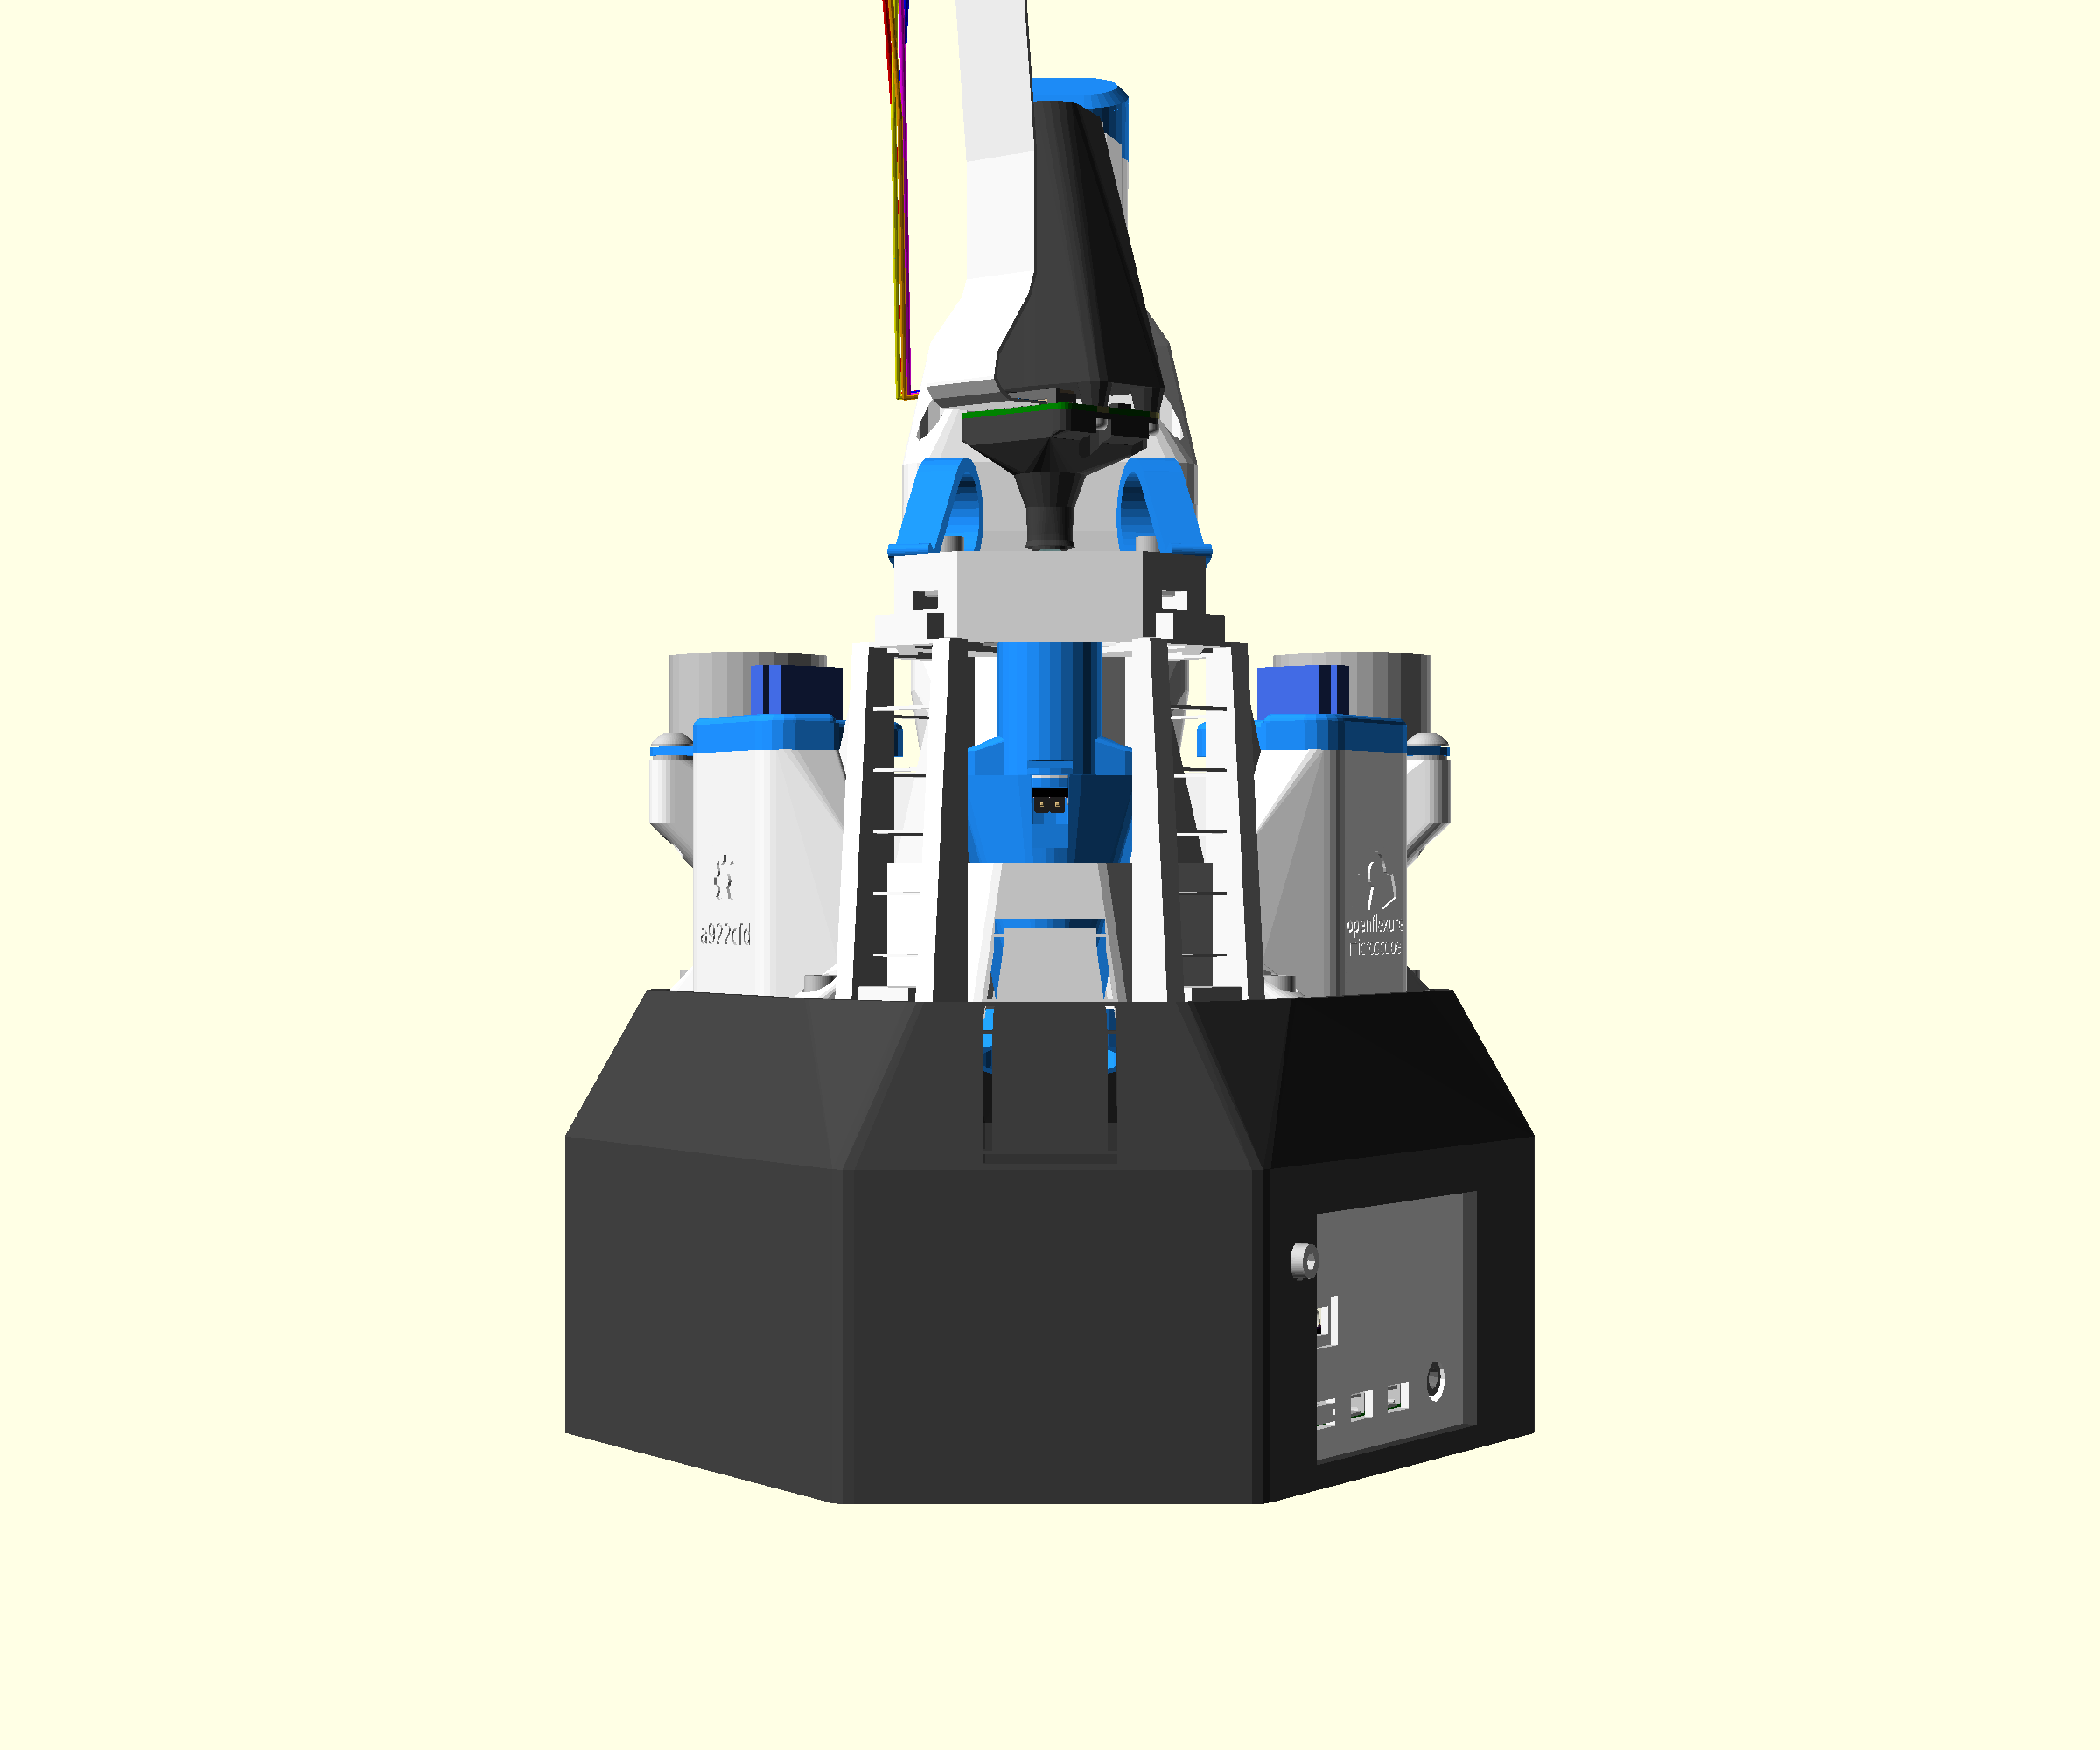
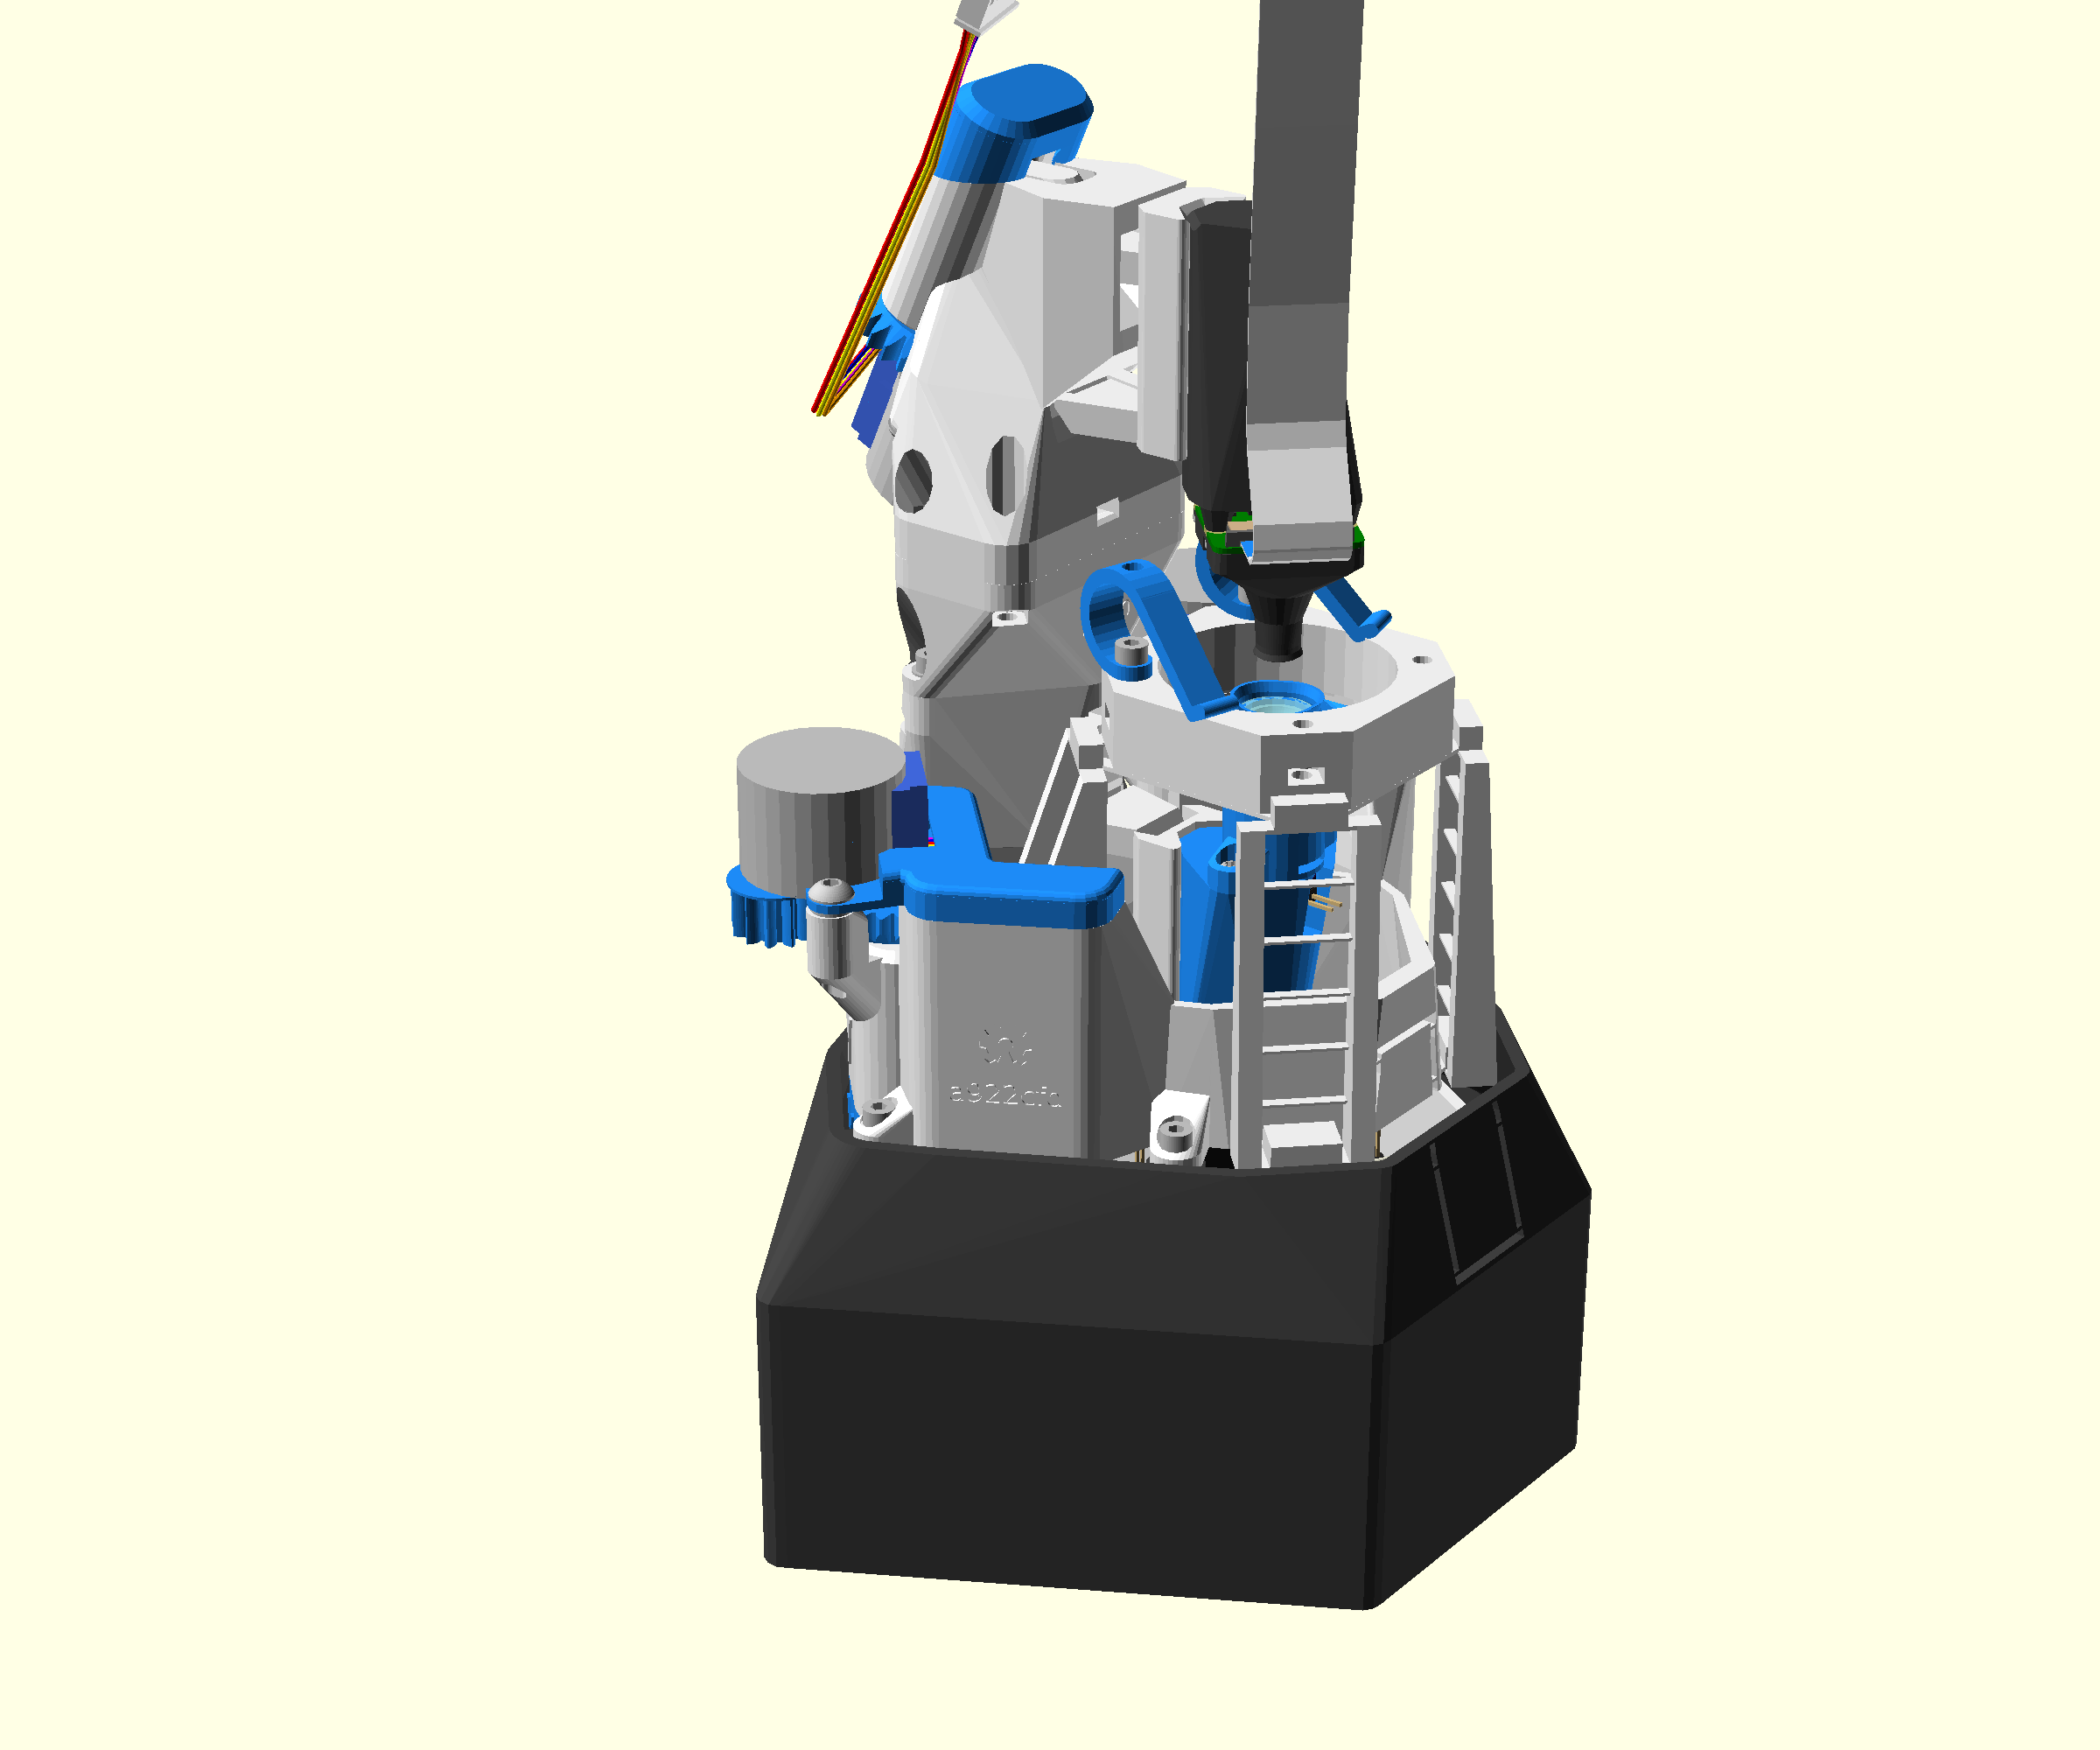
Your completed microscope should now look like these pictures.
There is also an interactive 3D view of the finished microscope.
Step 2: Getting started with your microscope
Connecting to your microscope is detailed on the website, in the 'control' page, or just use any web browser. If you access your microscope from another computer it will be helpful to install OpenFlexure Connect on your computer to identify your microscope on your local network. OpenFlexure Connect will also allow you to find and connect to more than one OpenFlexure Microscope on your network simultaneously.
For your first use you will need to set up and calibrate your camera and microscope. The OpenFlexure Microscope Handbook will help to guide you through the process. Note that the the handbook covers the OpenFlexure Server pre-release v3, not the stable release, v2.11. The setup and calibration process are similar, but v2.11 does not have the software wizard to guide you through the process.
Step 3: Join the community
OpenFlexure is community project, and we are always delighted to hear from people who have built a microscope on the OpenFlexure forum. The forum is also a great resource for things to do with your microscope, tips and tricks, and others who have built it. Posting photos of your build, pictures taken with the microscope, or even just the fact that you've built it, will all help to keep the project thriving.