Assemble the Arducam B0196 basic optics module
This section describes how to assemble an optics module consisting of an Arducam B0196 webcam and the lens from the camera. To create a microscope the wide angle lens is reversed and separated from the camera. This makes quite a good microscope objective with a field of view about 750×560μm, similar to using a 20x objective.
For this section you will need:
Parts
Tools
Materials
- 20 g of Black PLA filament
- 20 g of PLA filament
Mechanical Components
Step 1: Print the lens spacer and camera platform
Using a Fused Filament 3D printer, print the following parts using PLA filament.
- lens_spacer_arducam_b0196.stl - The lens gripper may require custom print settings - This must be printed in black!

- camera_platform_arducam_b0196.stl
Step 2: Visually inspect the lens spacer
Take the lens spacer and confirm that:
- It has been printed in black

- It is dust free (You can blow air through to clean it)
- The central shaft is not obstructed by strings of plastic.
Step 3: Push-fit the lens
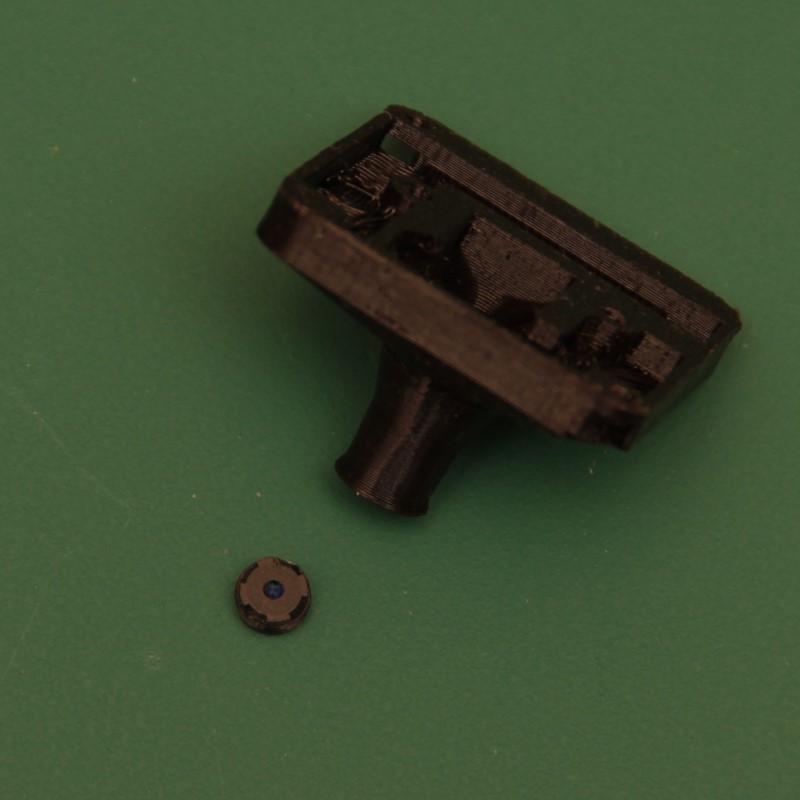
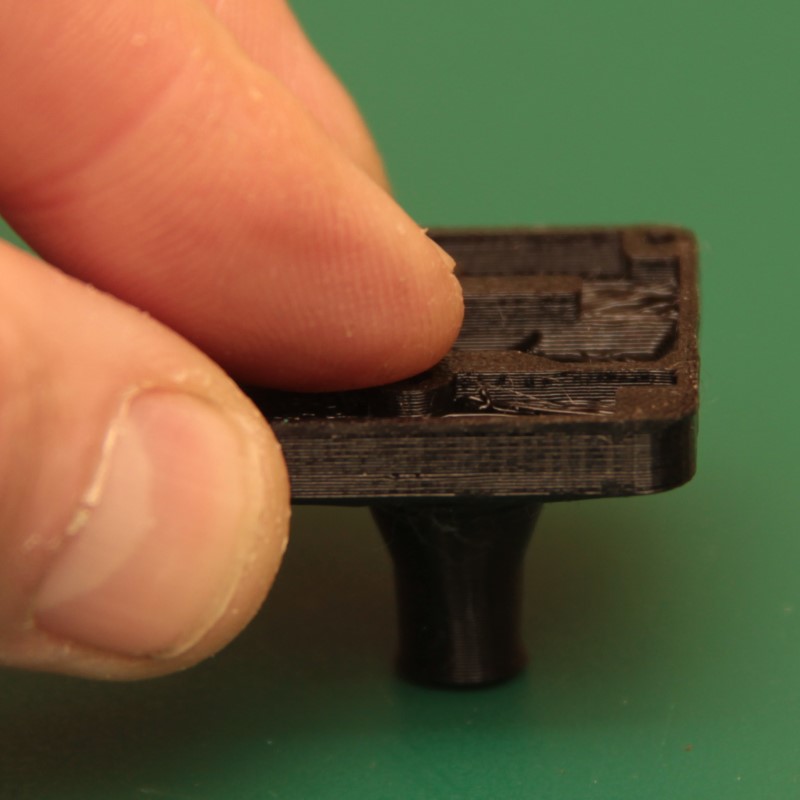
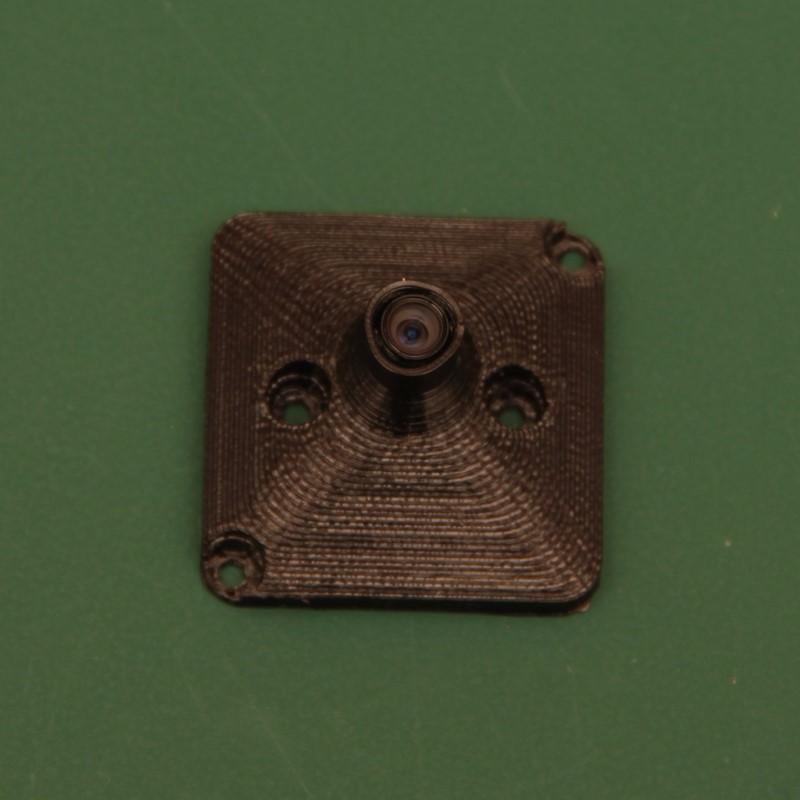

- Work out which side of the Arducam B0196 camera lens used to be facing the camera sensor (This is the side with more lens visible).
- Place the lens on a clean surface with the side that was next to the camera sensor on the bottom.
- Push the lens spacer down onto the lens until the lens clicks into place. The lens should be flat in the holder and sticking out a little.
Step 4: Attach the Arducam camera
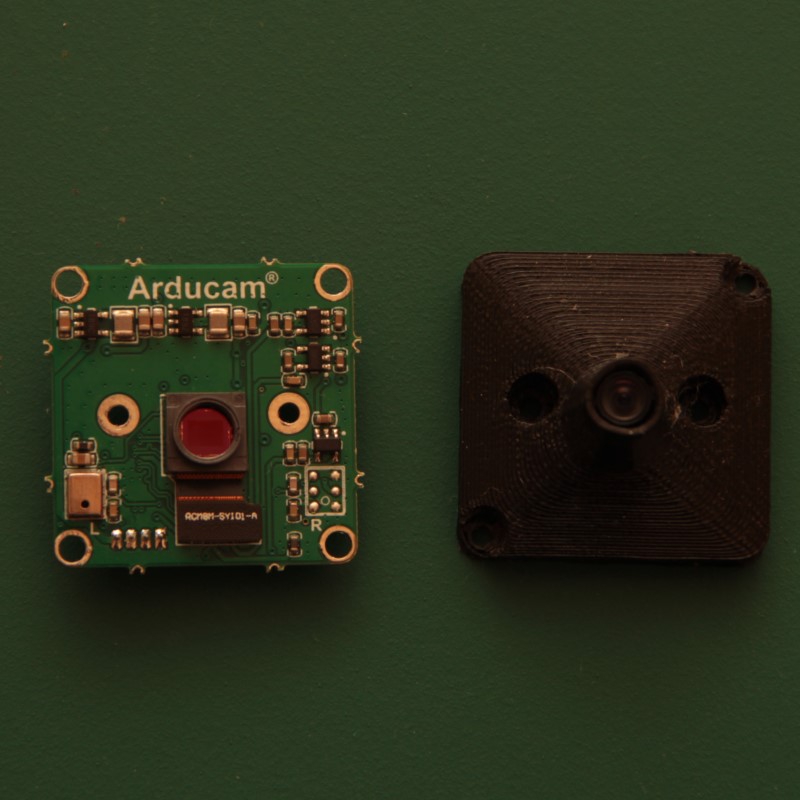
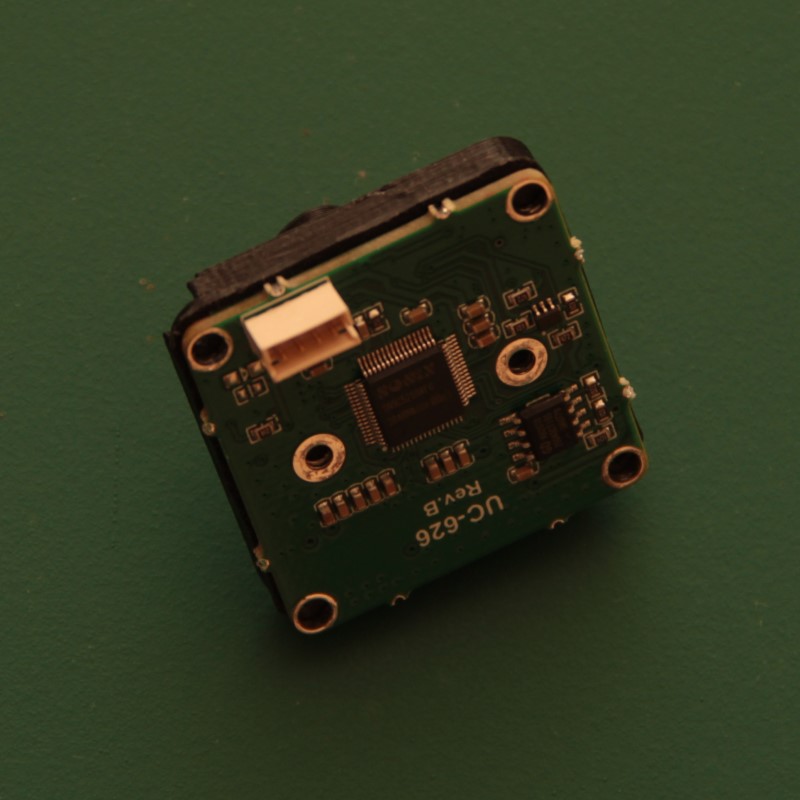
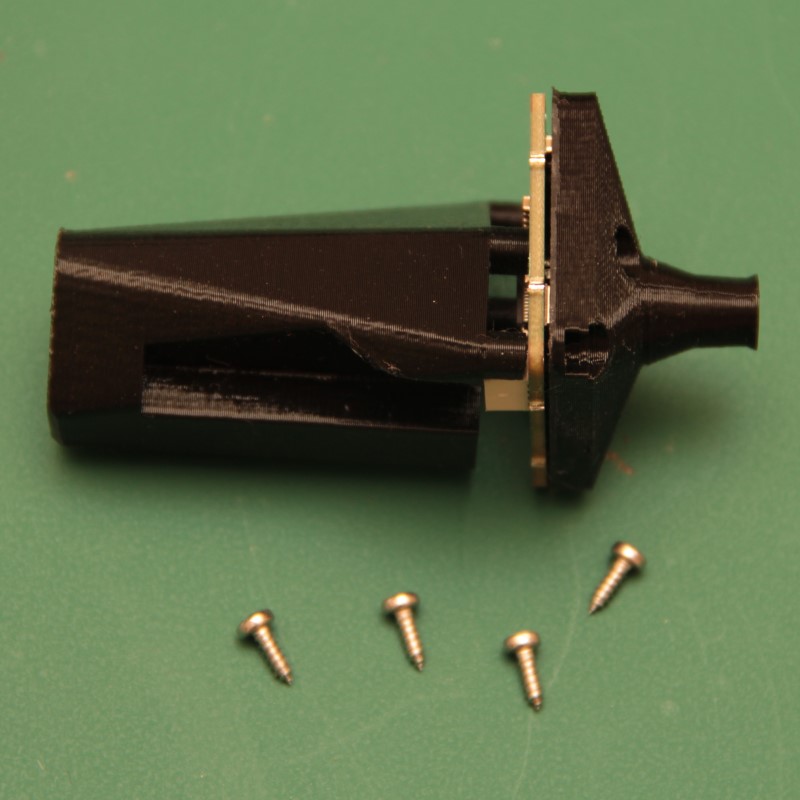

- Take the Arducam and the assembled lens spacer and fit them together.
- Place them together onto the camera platform. Make sure that the connector is above the channel in the side of the camera platform.
- Use four No 2 6.5mm self tapping screws to secure the three parts together using a #1 pozidrive screwdriver
- Take care to not over torque the screws.
Step 5: Attach the mounting screw and cable
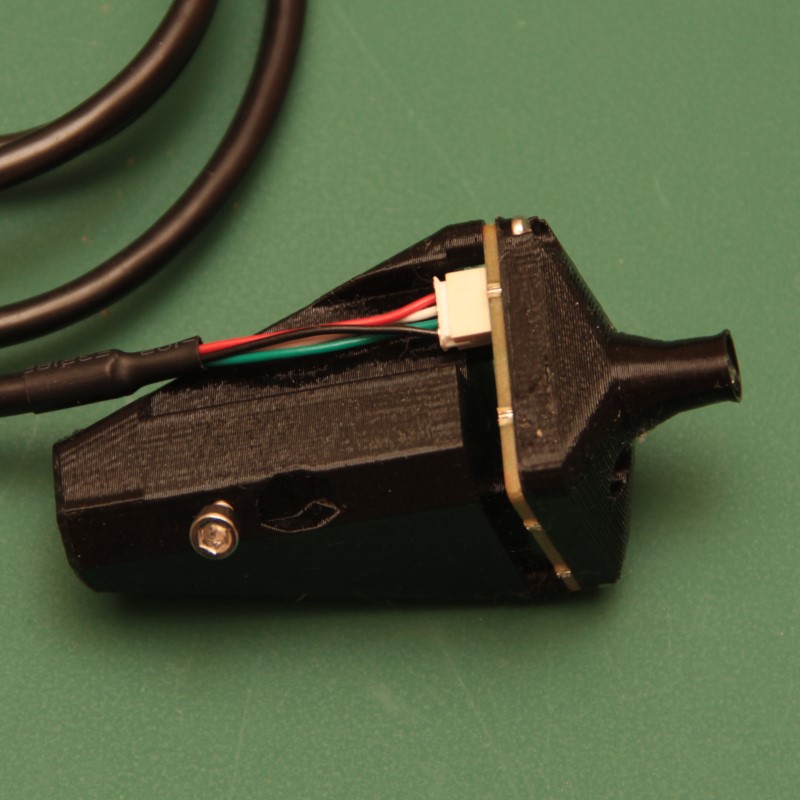
- Take an M3 nut and push it into the nut trap from the top
- Take an M3x10 cap head screws and screw it into the nut.
- Only screw it in a couple of turns. About 5 mm of thread should still be visible.
- Attach the USB cable supplied with the camera.
Step 6: Mount the optics module in the microscope
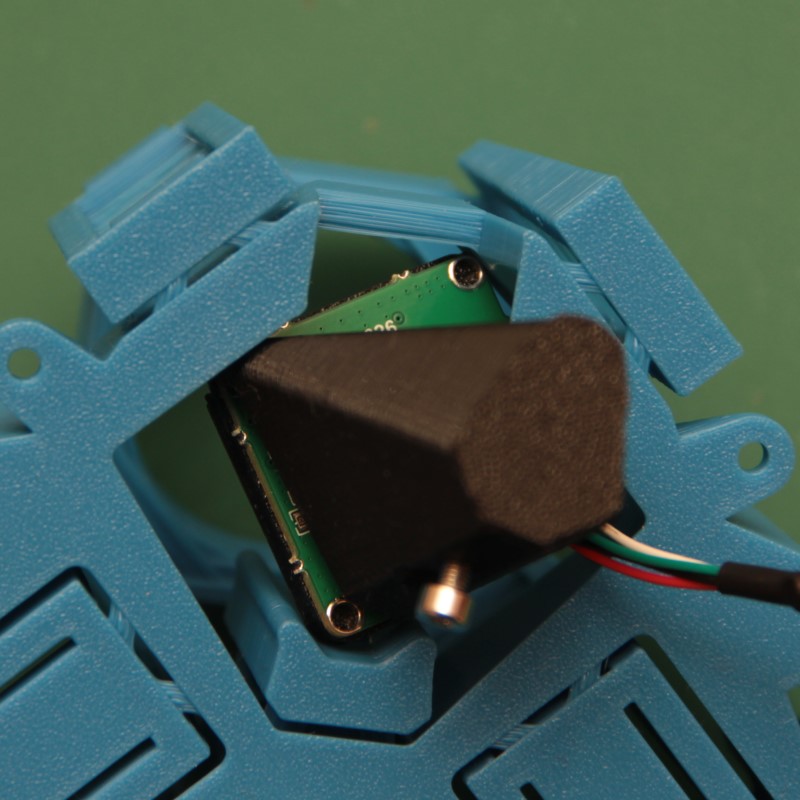
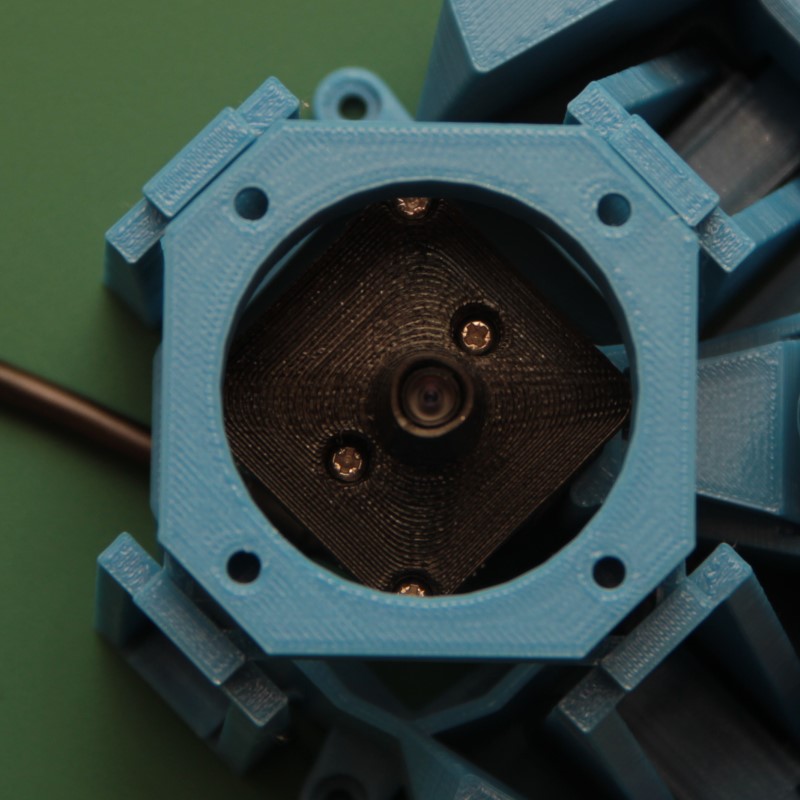

(see mounting the basic optics module for more details of this method)
- Insert the complete optics module into the microscope body from below. It is a close fit and will need to be angled to get it through the gap between the body and the z-actuator.
- Fit the M3 screw head into the keyhole slot in the z-actuator .
- Insert a 2.5mm Ball-end Allen key through the teardrop shaped hole on the front of the microscope until it engages with the mounting screw.
- Slide the optics module up until the base of the camera platform is level with the base of the dovetail.
- Tighten the M3 screw with the Allen key