Prepare the Arducam B0196 USB webcam for mounting
This section describes how to prepare an Arducam B0196 USB camera module to use with versions of Openflexure optics modules. The Arducam B0196 module uses the same Sony IMX219 sensor as the Picamera V2.1, but gives a USB interface instead of the Raspberry Pi camera interface. It is not supported in the Openflexure software, but it can be used with many simple webcam programs.
For this section you will need:
Tools
- 1 Pi Camera lens tool - This would come with a Raspberry Pi Camera Module v2. If you have not got one, you can 3D print a workaround lens removal tool.
- 1 pliers
Electronic Components
Step 1: Remove the outer board surround
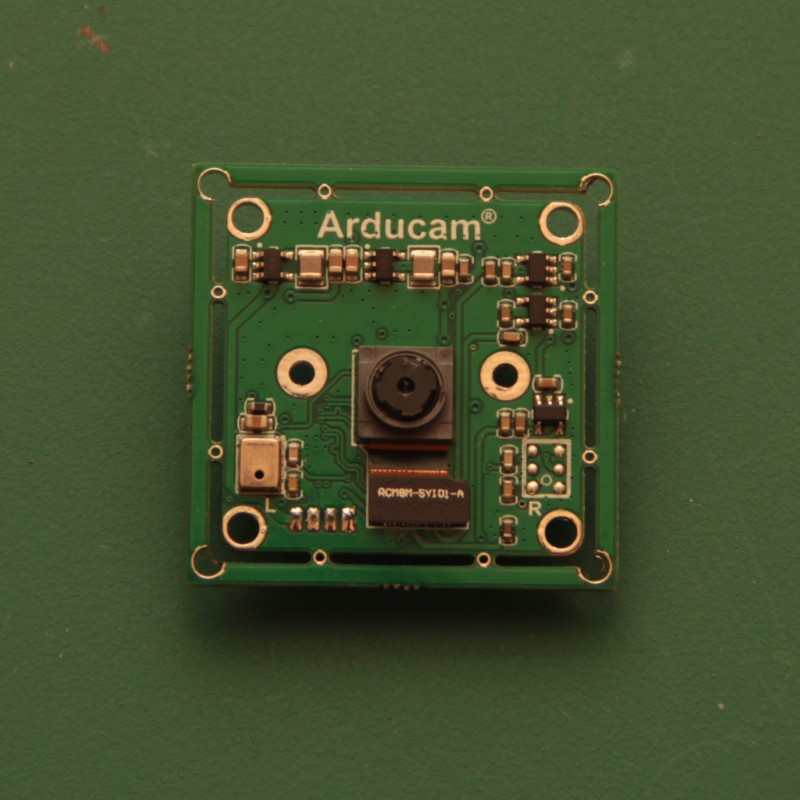
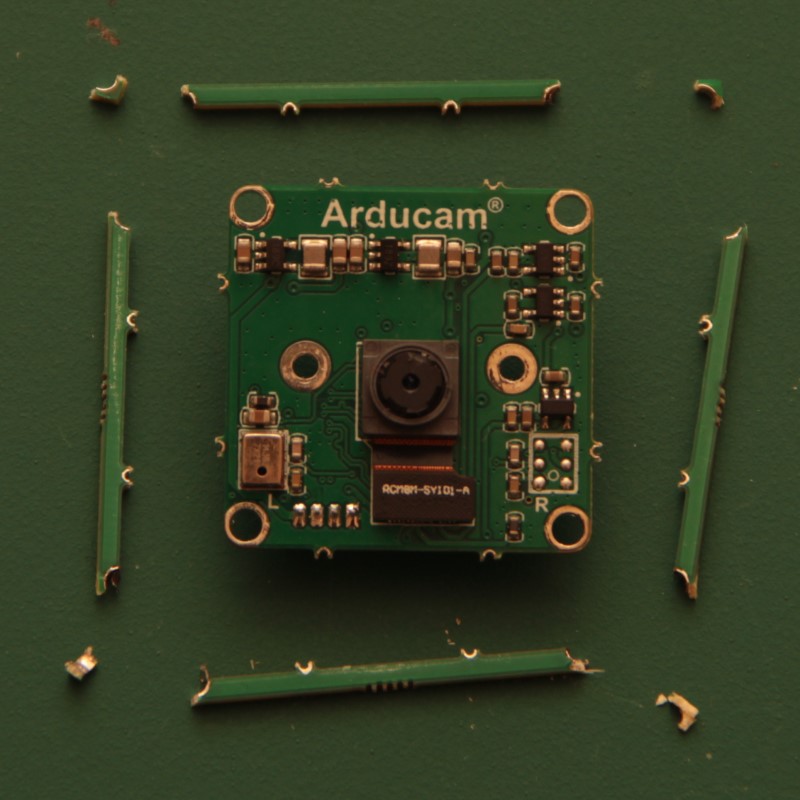
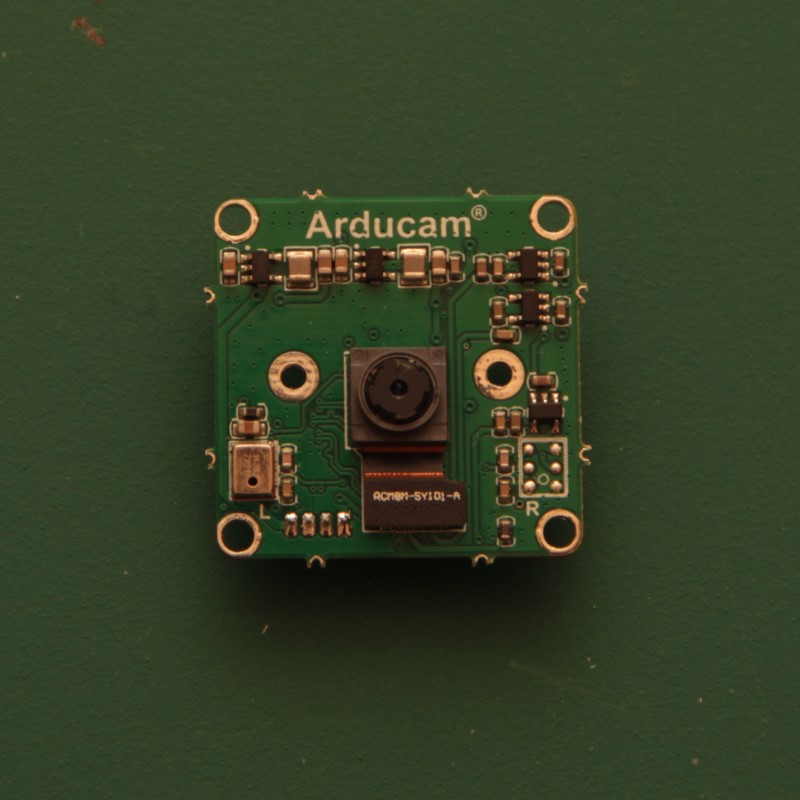

Caution!
The camera board is static sensitive.
- Before touching the camera board touch a metal earthed object. If you own one, consider wearing and anti-static strap.
- Take the Arducam B0196 USB camera and place it on a clean surface.
- Break off the outer board surround of the camera board with pliers.
Step 2: Remove the lens

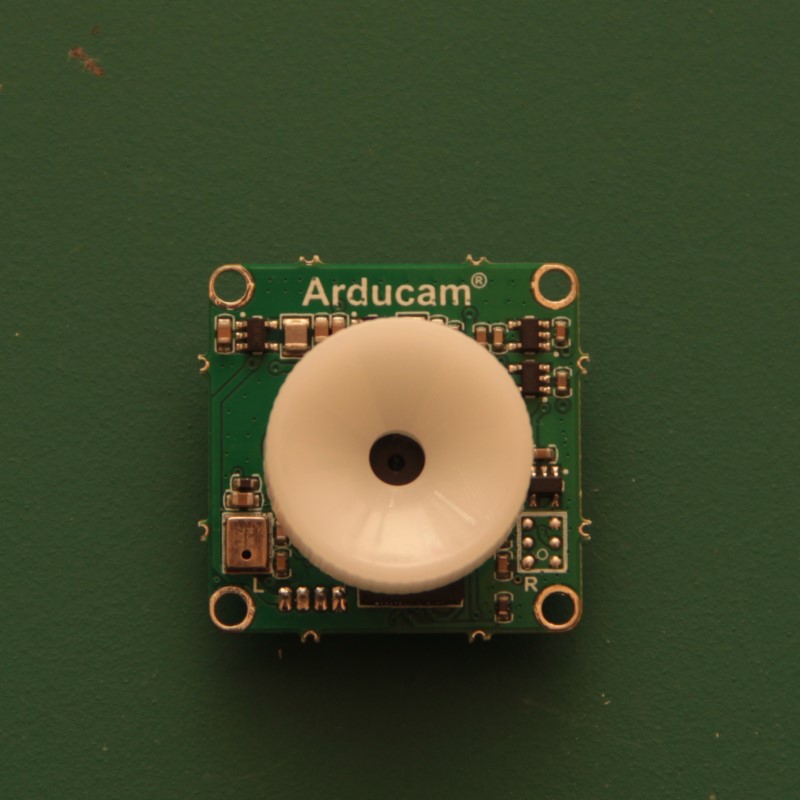
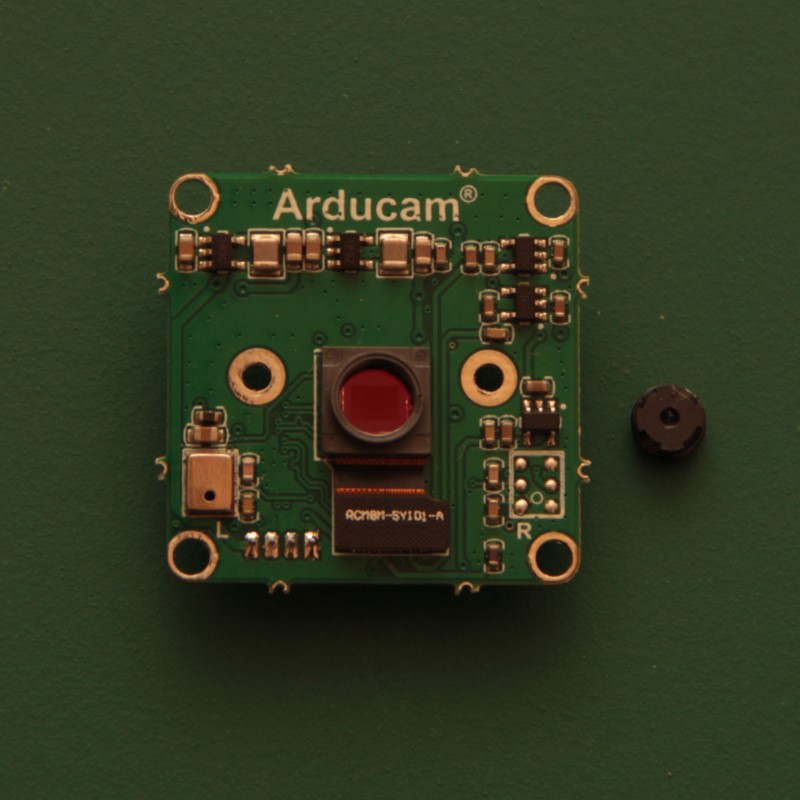

Caution!
The camera sensor is very delicate
Work in a dust-free area
- Take the protective film off the lens.
- Take the Pi Camera lens tool and place it over the lens.
- Slowly unscrew the lens (About 4 full turns of the tool). There is some force required to start to unscrew the lens as it is held in place with a little glue.
- Carefully lift off the lens.
- Save the camera. Save the lens if you are going to use this camera with a lens spacer in the microscope.
Caution!
Attach the camera sensor to your optics module as soon as possible so that it does not collect dust
The prepared Arducam B0196 camera and lens are now ready to attach to your optics module or lens spacer.