
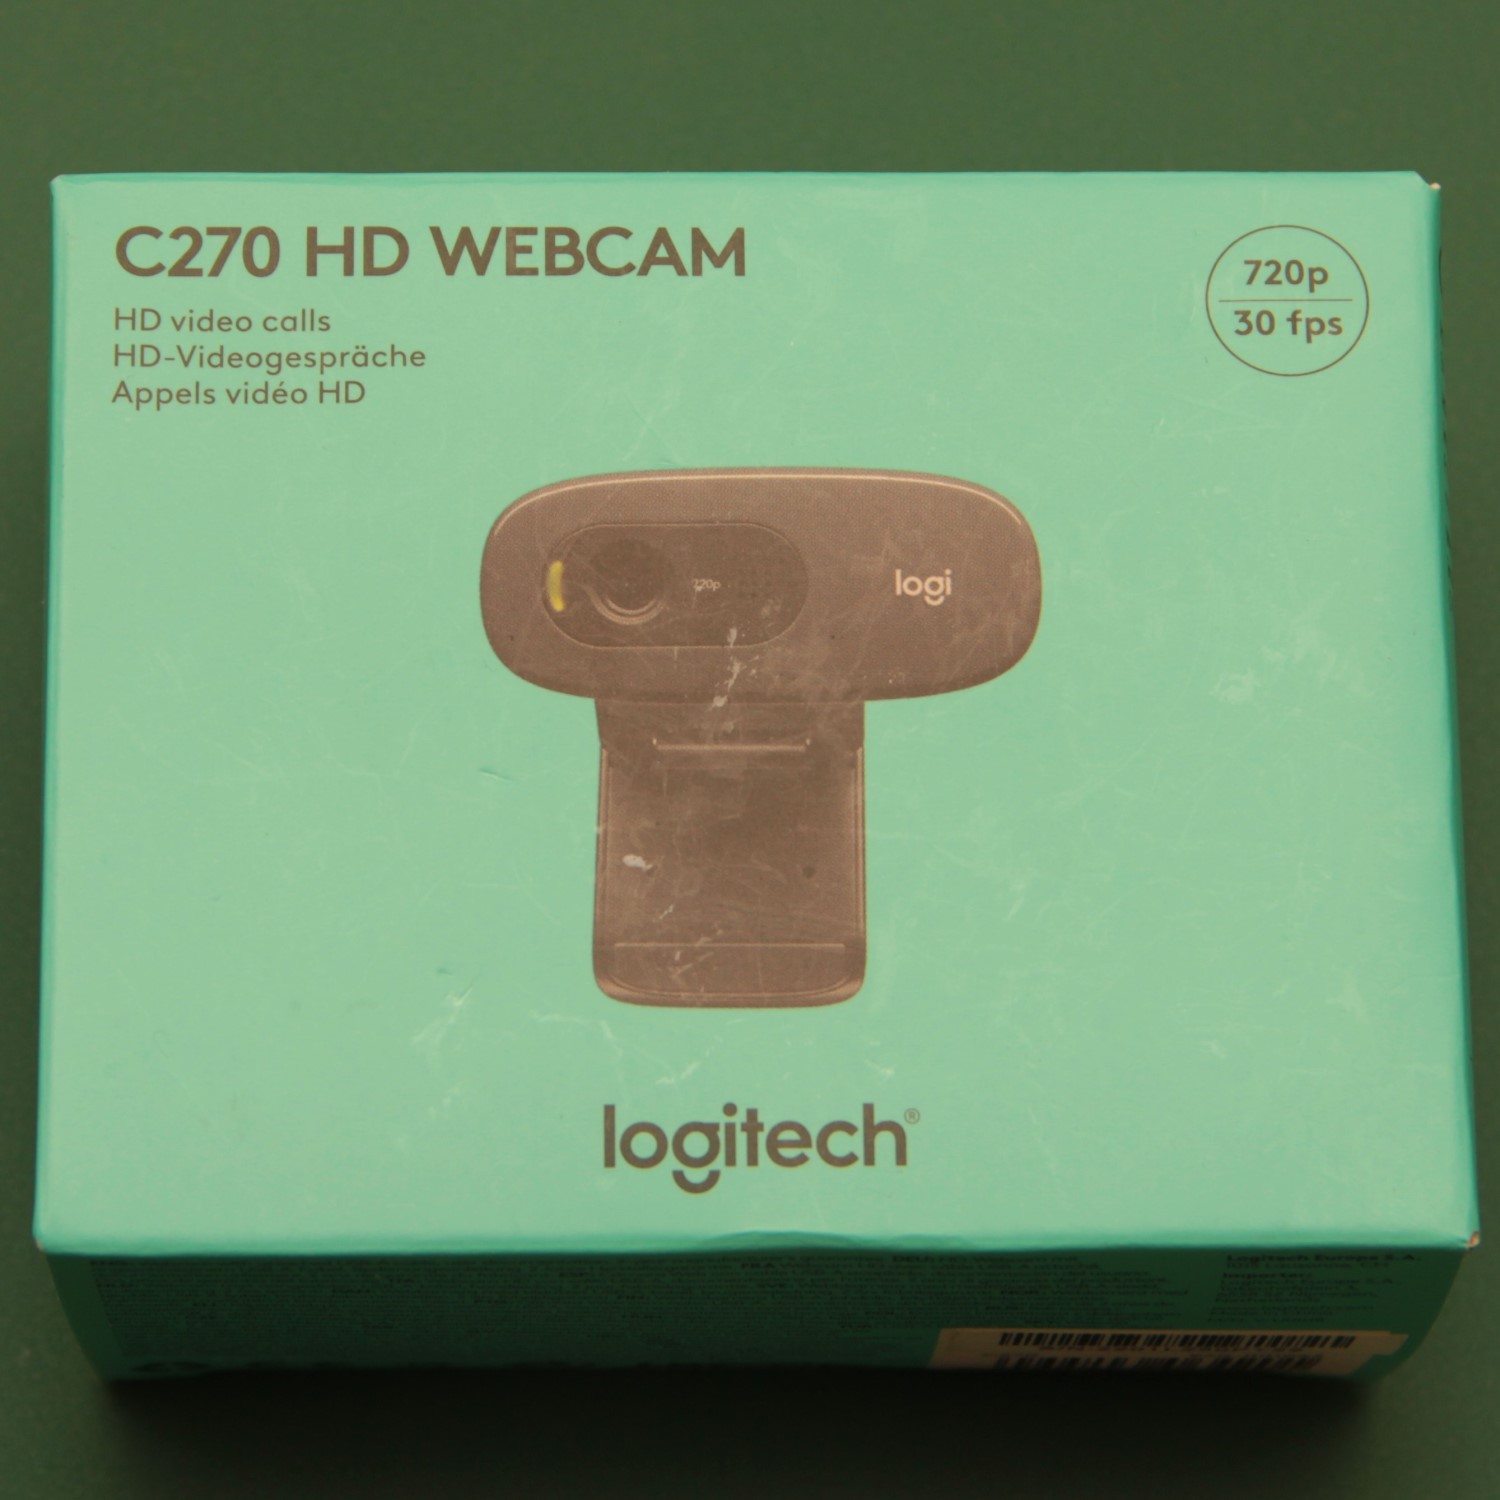
Prepare the Logitech C270 HD webcam for mounting
This section describes how to disassemble a Logitech C270 HD webcam and prepare it to use with C270 versions of Openflexure optics modules. The Logitech C270 HD webcam is not supported in the Openflexure software, but it can be used with many simple webcam programs.
For this section you will need:
Tools
Electronic Components
Warning
You will need to break the case of the camera, and you will need to take care not to damage the camera board and sensor.
Do this at your own risk
These instructions guide you through assembling the manual microscope with most compact and low cost optics system, using a Logitech C270 webcam in a basic optics module.
STLs for using an Arducam B0196 webcam or a Raspberry Pi camera v2 in a similar module can be found in the list of basic optics modules on the optics customisations page.
Step 1: Open the C270 case
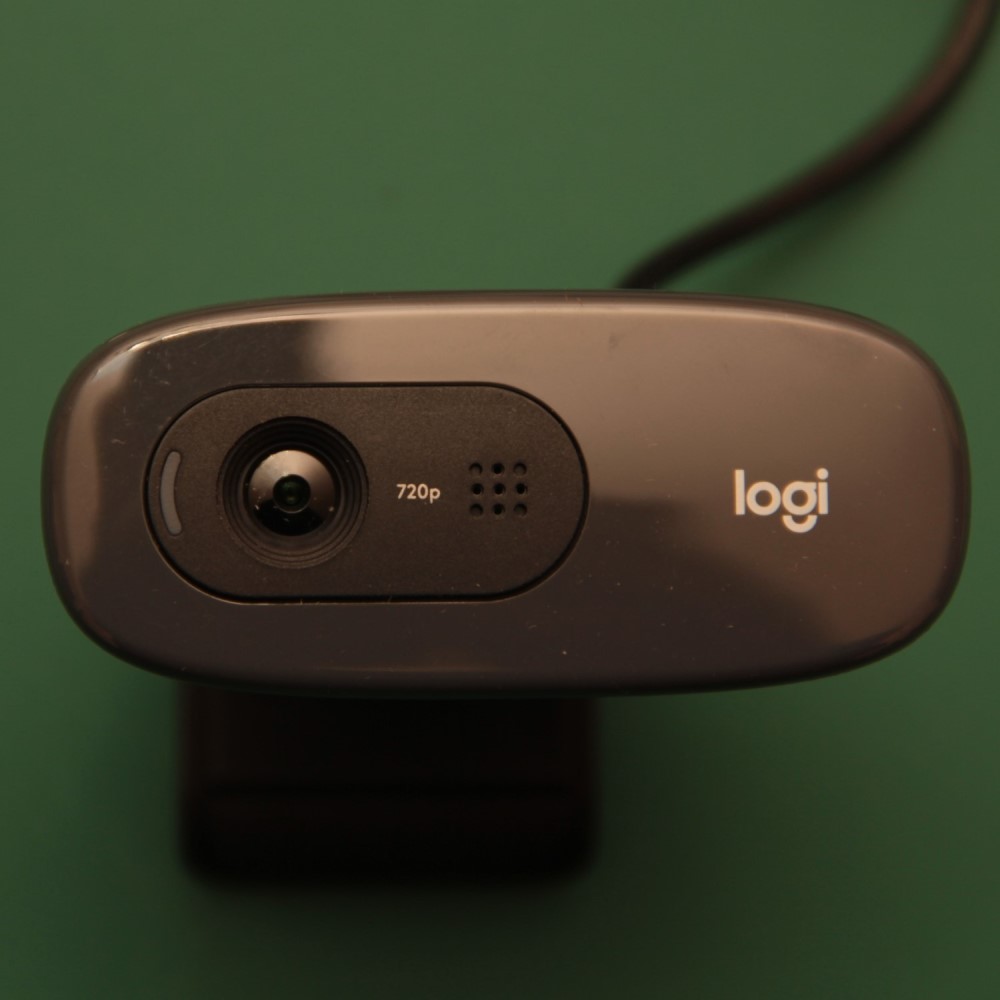
- Take the Logitech C270 webcam and place it on a clean surface
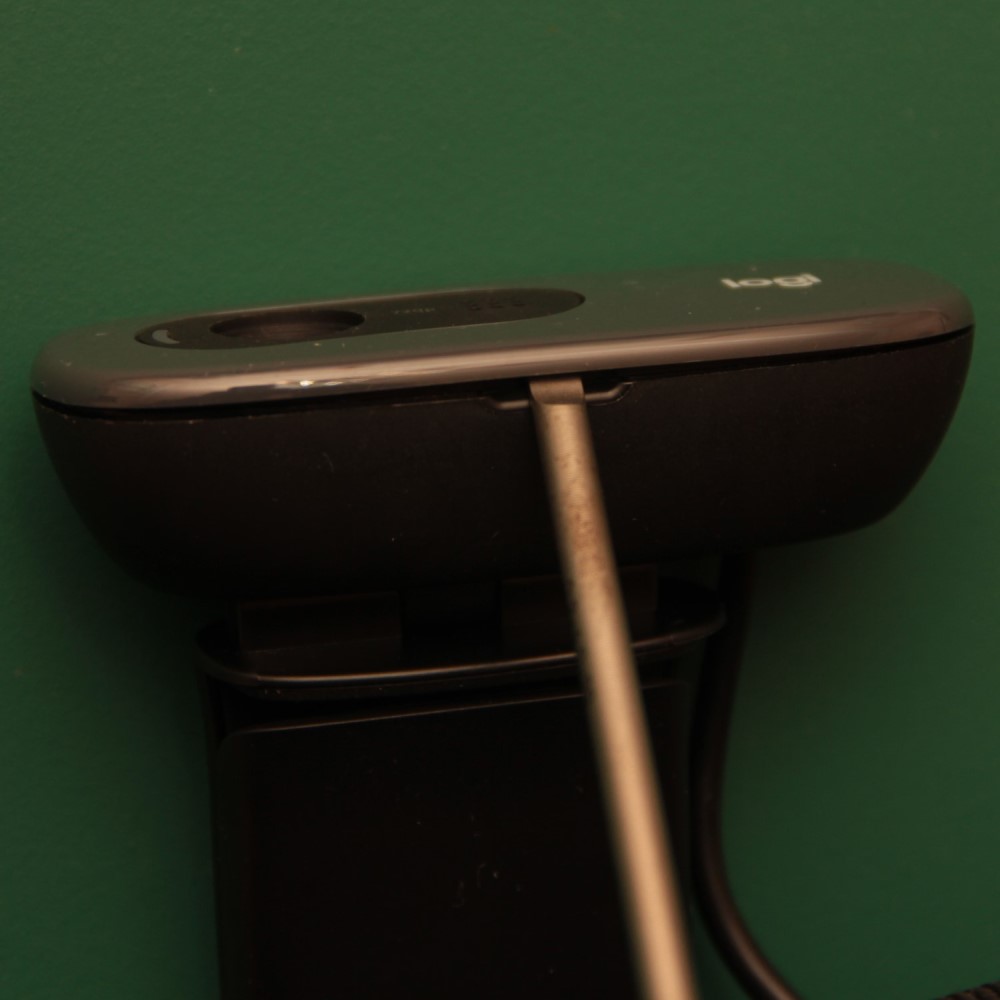
- Release the outer bezel with a flat blade screwdriver
- Remove the bezel and discard it
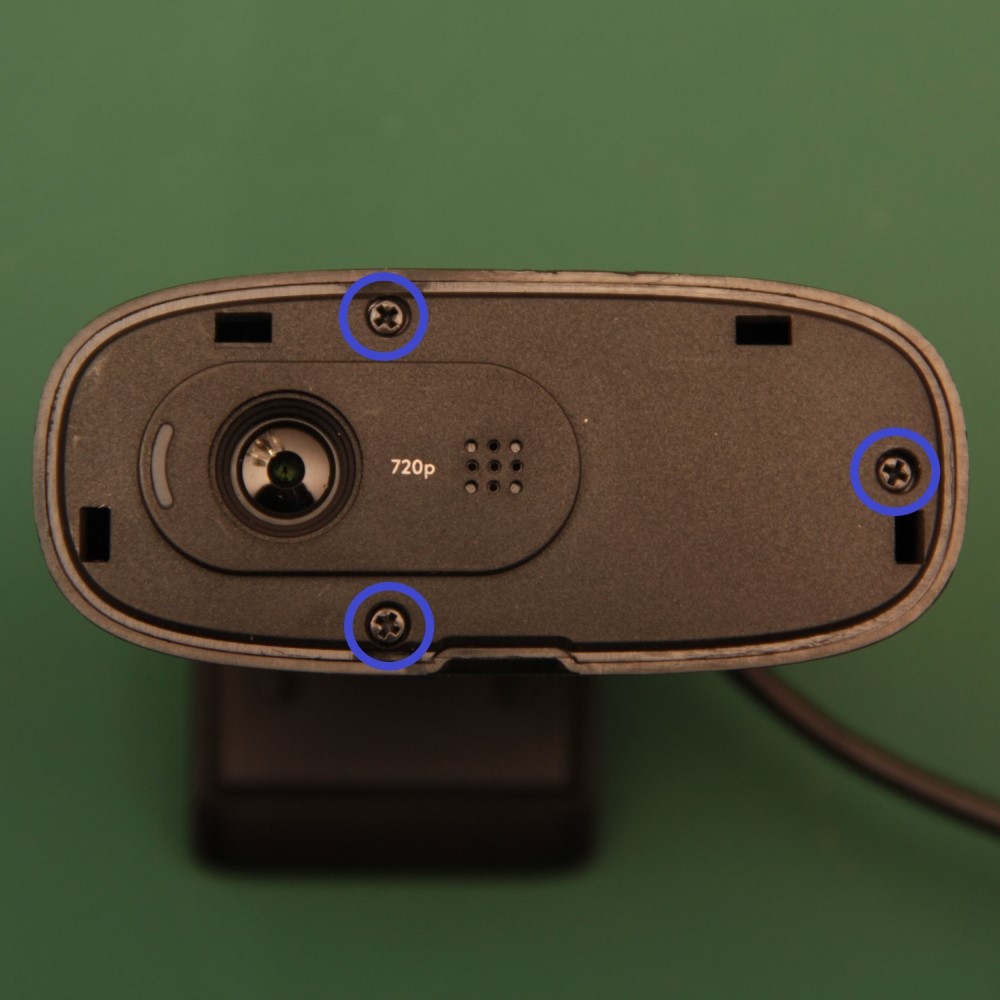
- Unscrew three screws holding the inner front cover, using a #0 Phillips screwdriver
- Save the screws
- Remove the inner cover and discard it
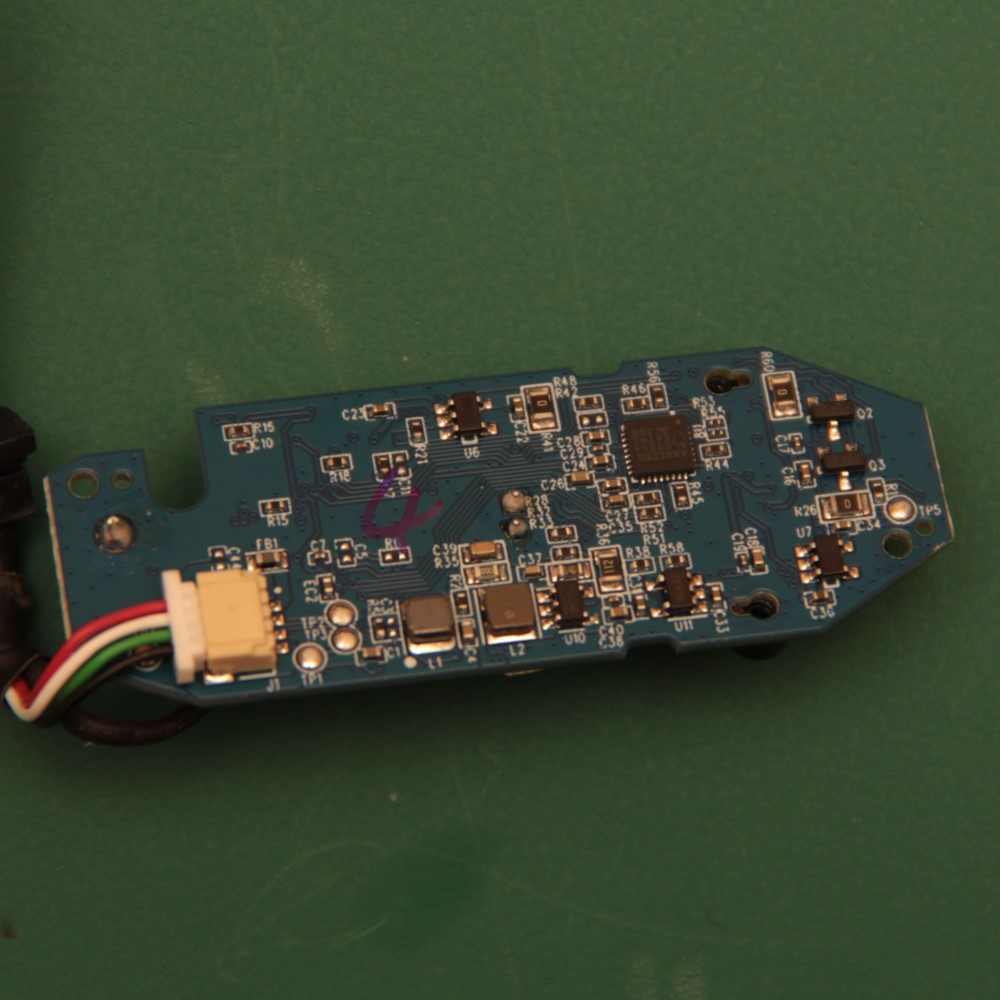
Step 2: Remove the camera board from the case
Caution!
The camera board is static sensitive.
- Before touching the camera board touch a metal earthed object. If you own one, consider wearing and anti-static strap
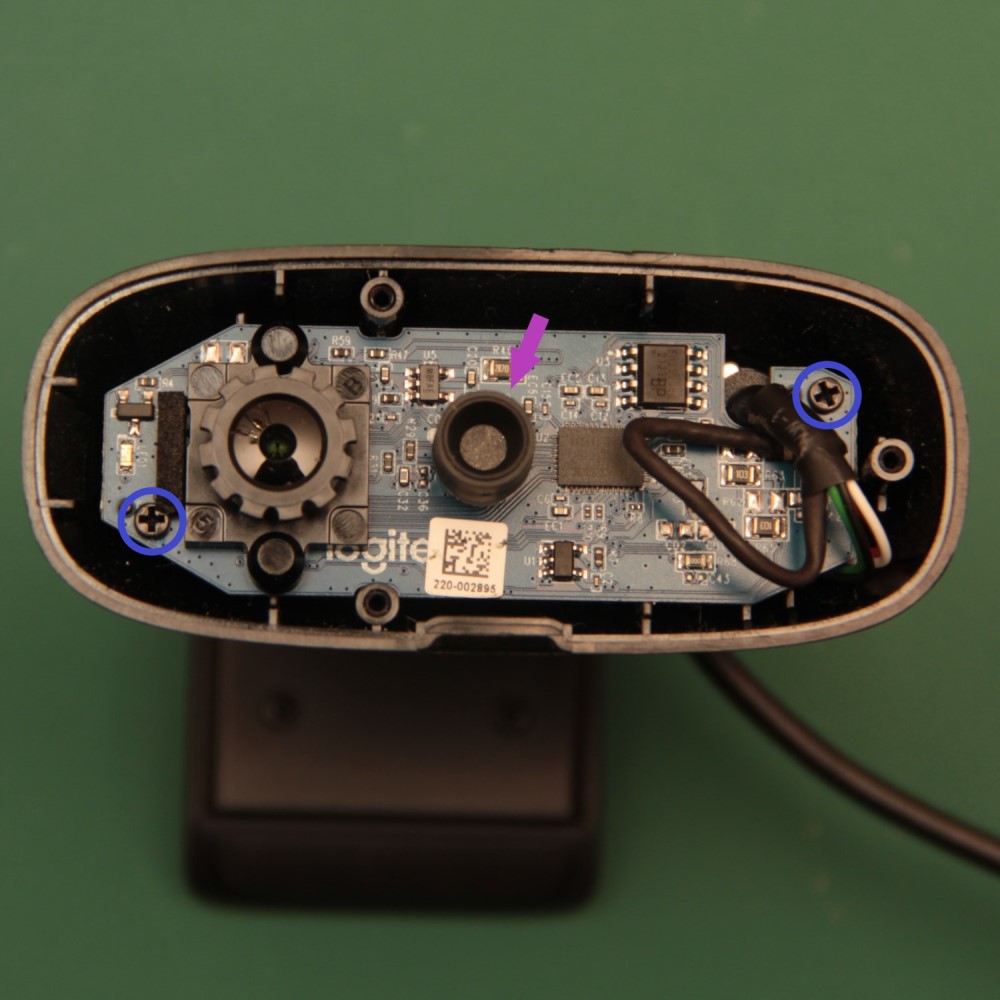
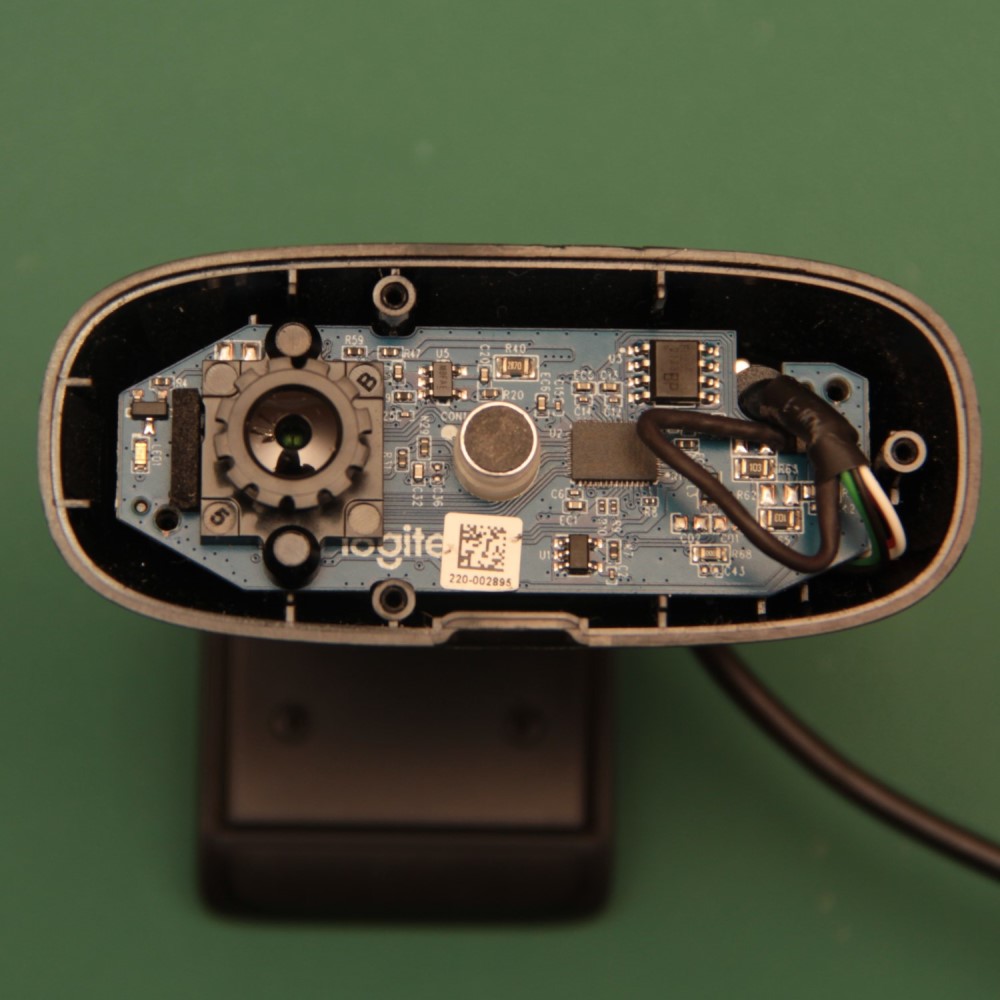
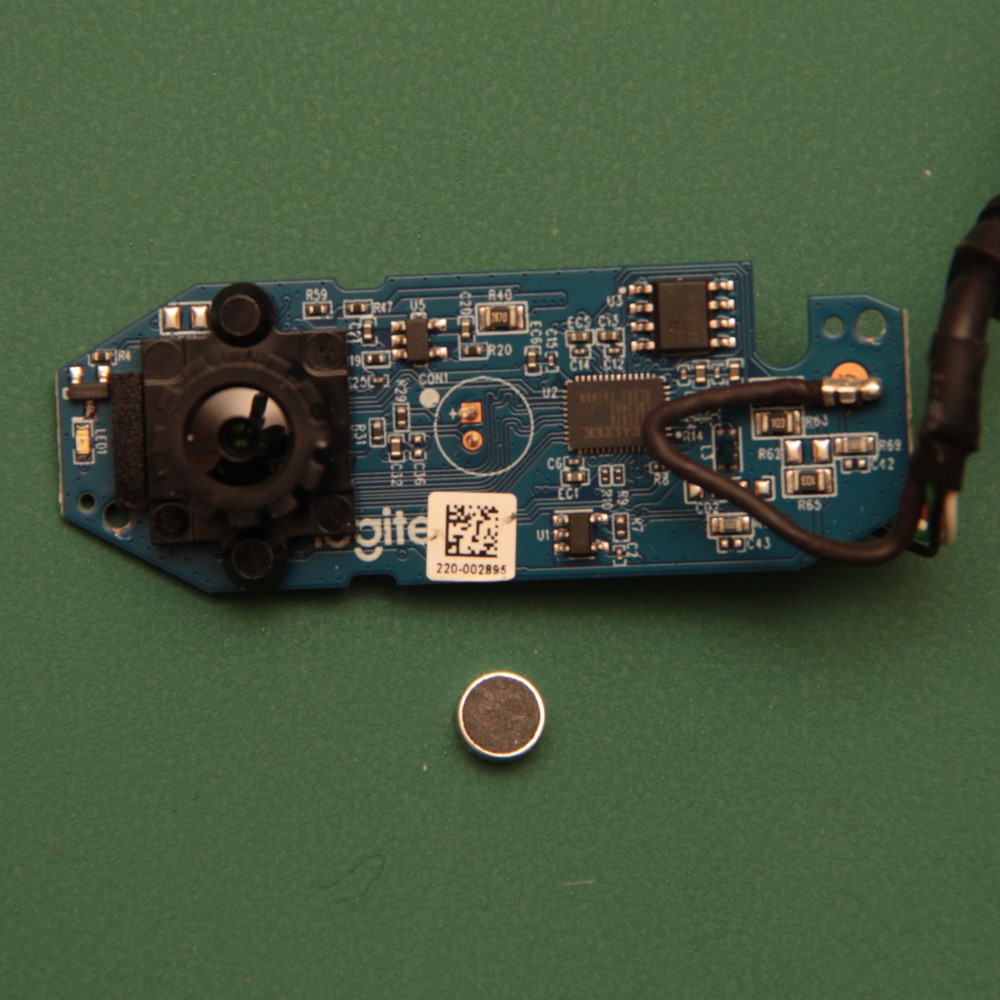
- Remove the small rubber tube from the microphone and discard it. The microphone is the cylindrical component in the middle of the board, it is the largest component other than the camera.
- Unscrew two screws holding the camera board, using a #0 Phillips screwdriver
- Save the screws. You will need four of the five that you have saved for mounting the camera if you are using a lens spacer. You will need one if you are using a high resolution optics module. Keep the rest as spares
- Release the board from the case. It is still attached to the case by the cable
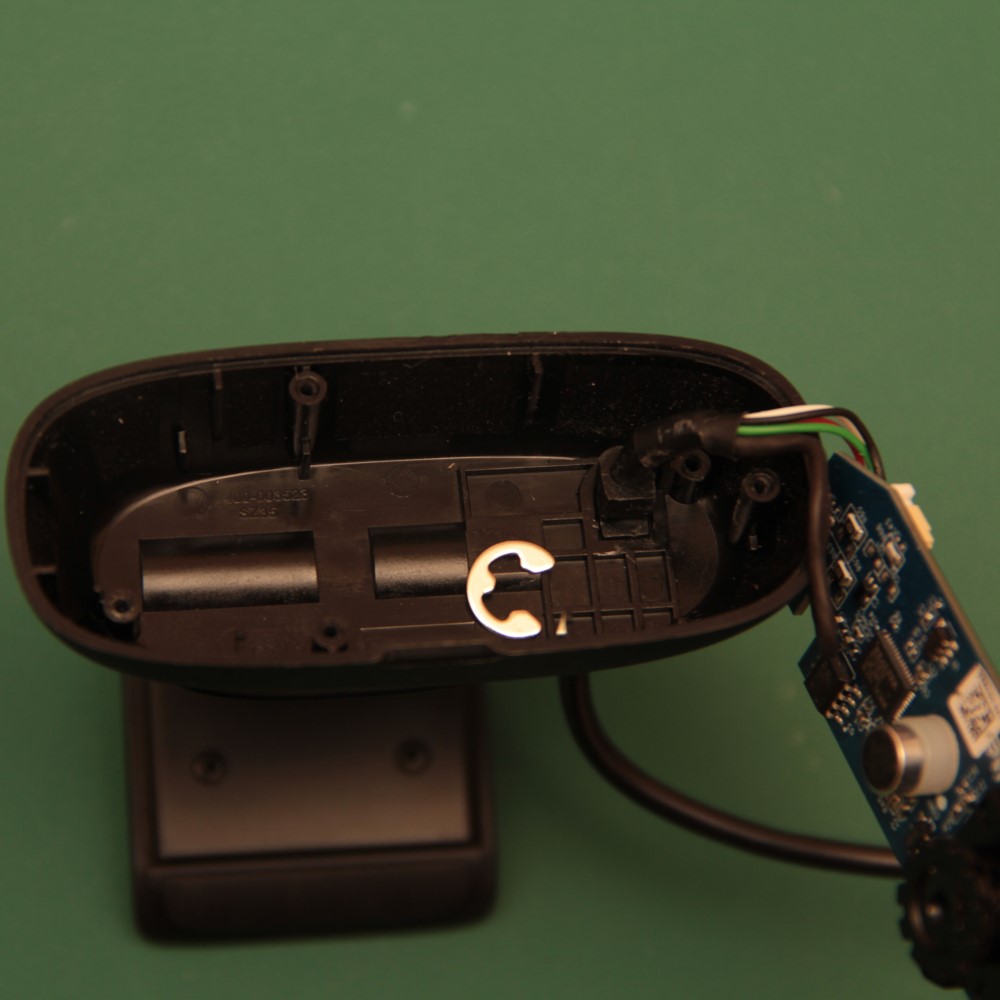
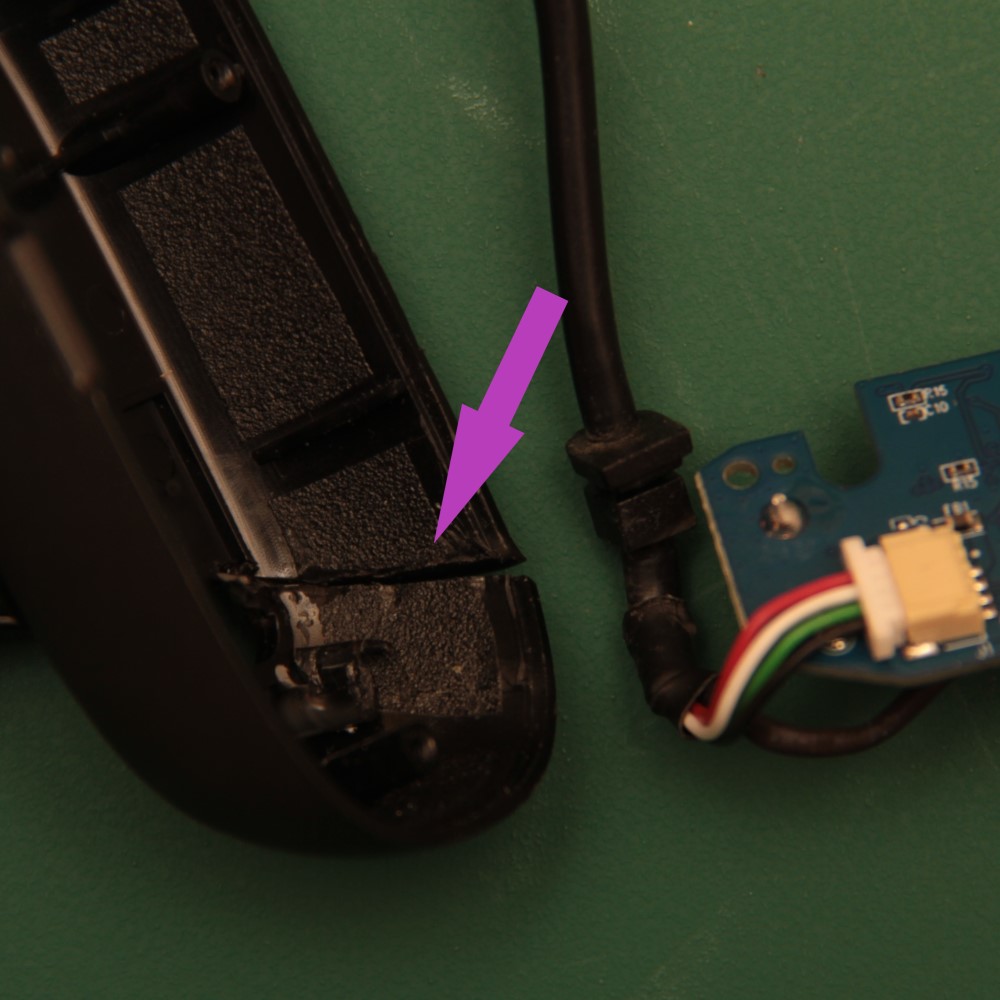
- Remove the E-clip from the cable retainer with a flat blade screwdriver
- Release the cable retainer from the case
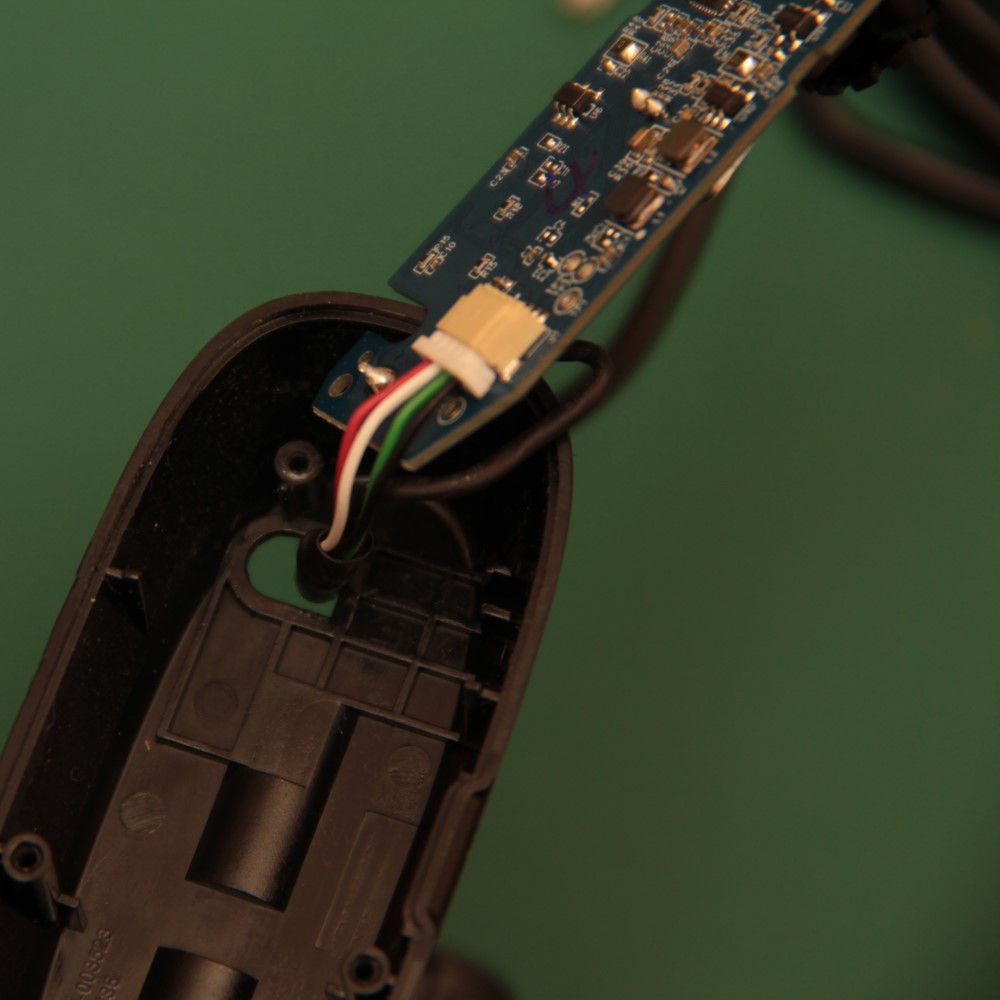
- Cut the case to make a slot from the cable hole to the edge, using side cutters. Take care not to cut the cable
- Remove the board cable from the case and discard the case.
Step 3: Remove the microphone

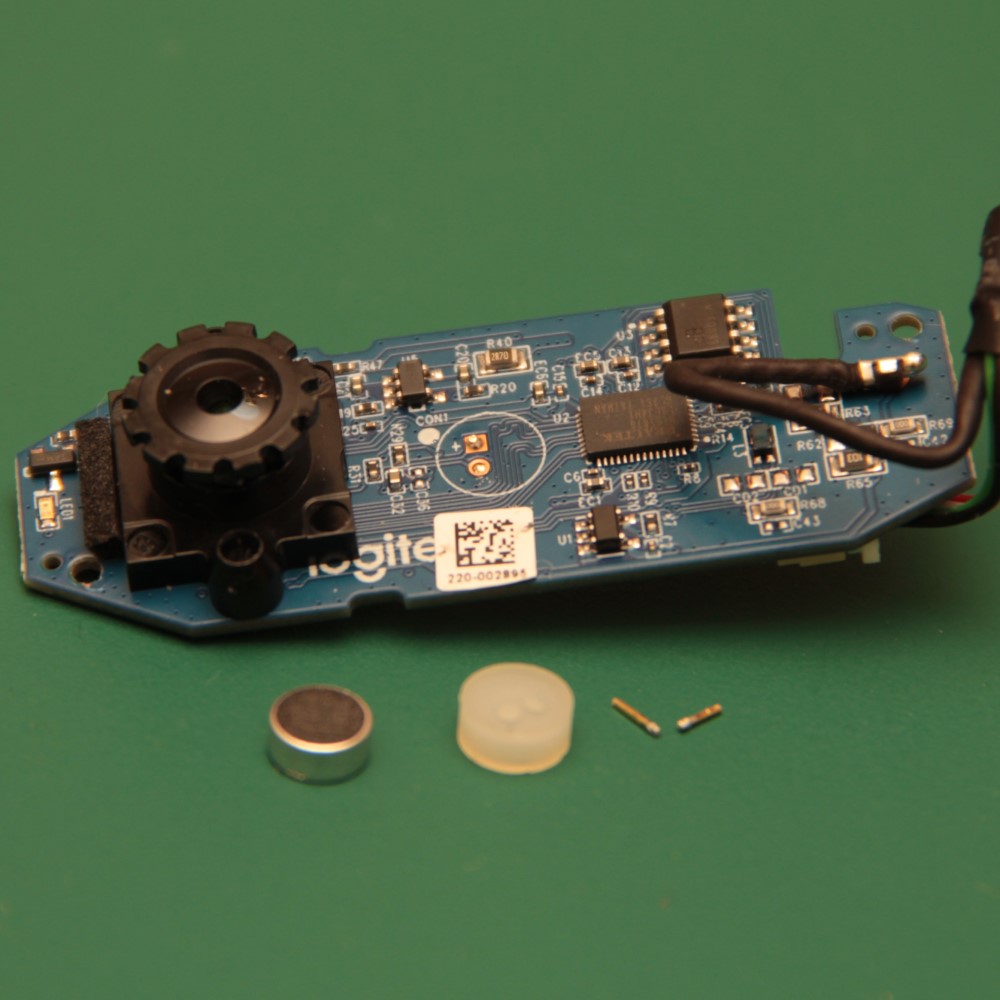
- Grasp the microphone with small pliers
- Carefully twist forwards and backwards to break the small wires connecting the microphone to the board (you could alternatively unsolder the wires from the back of the board). Discard the microphone
- Remove the white plastic spacer and discard it
- If the microphone wires remain attached to the PCB, grasp them with small pliers. Twist them to break and discard them
Step 4: Remove the lens
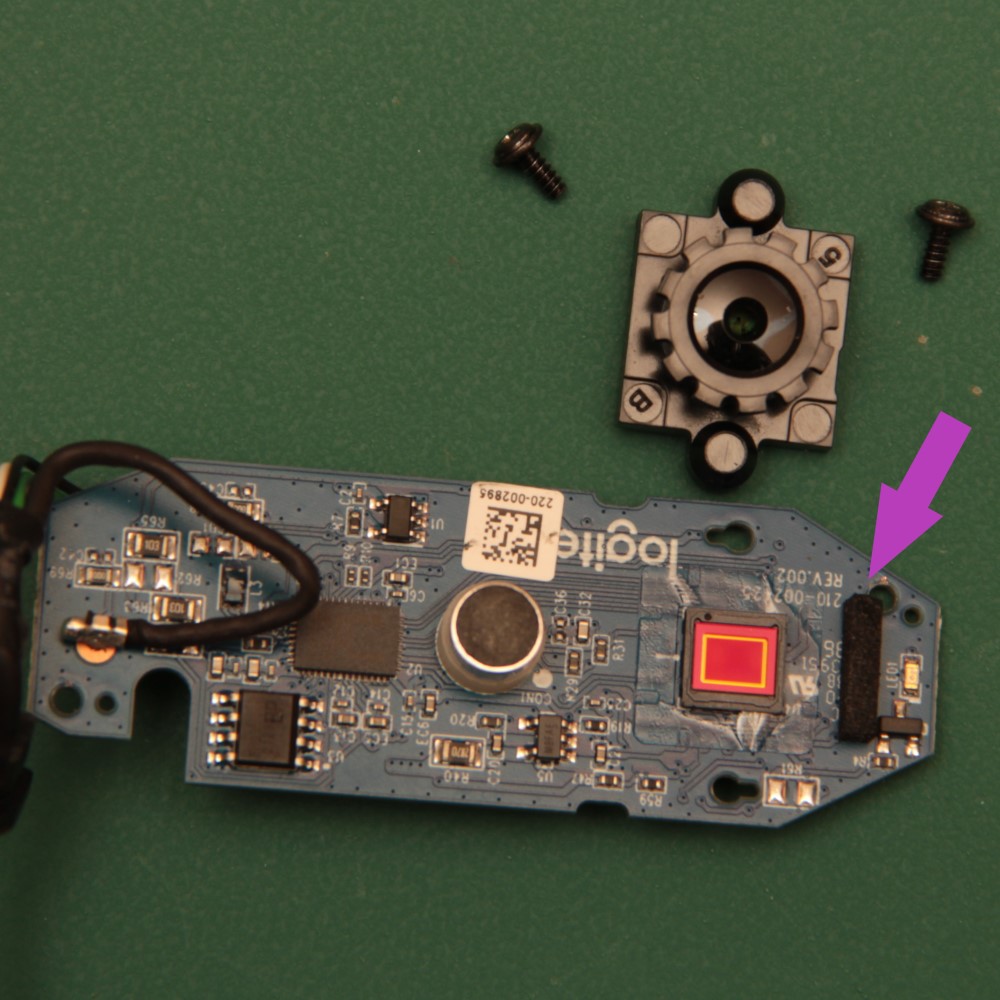
Caution!
The camera sensor is very delicate
Work in a dust-free area
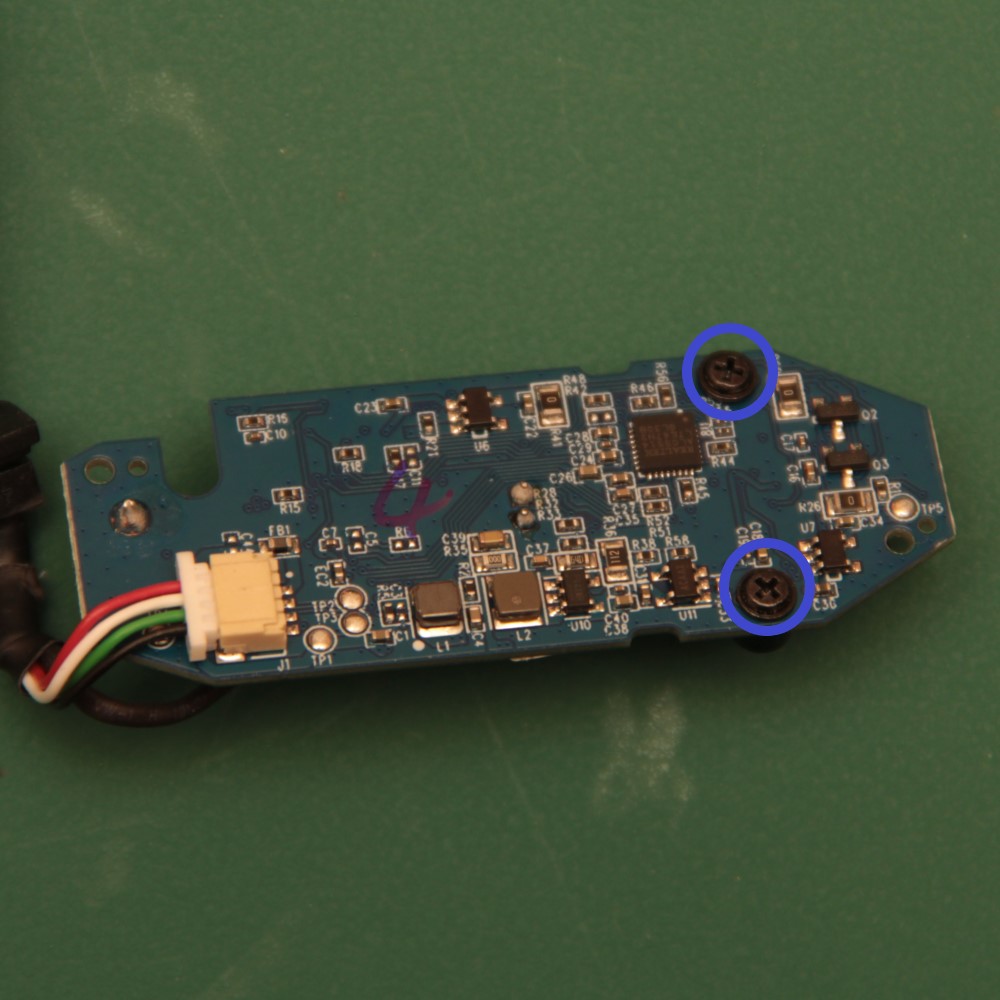
- Place the camera board with the lens facing down
- Unscrew two screws holding the lens mount to the camera board, using a #0 Phillips screwdriver
- Save both screws for mounting the camera if you are using an Openflexure RMS optics module. These screws are different from the others as they have a small flange
- Turn the camera board over
- Hold the lens assembly and carefully pull it from the board. The lens assembly is held with double-sided tape and requires a little force to remove.
- Retain the lens assembly if you are going to use the basic optics module with a lens spacer
- Remove the small foam pad from the board, next to the lens mount
Caution!
Attach the camera sensor to your optics module as soon as possible so that it does not collect dust
Step 5: Prepare the lens to use in the basic optics module
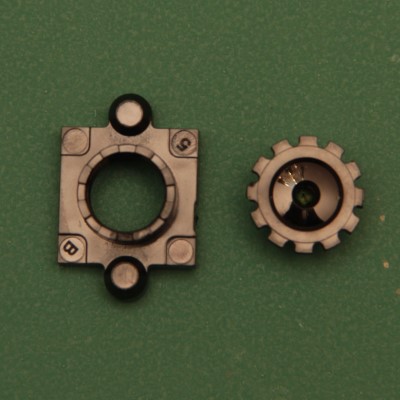
- Grasp the square lens mount and the knurled round lens holder
- Unscrew the lens from the mount. There is some force required to start to unscrew the lens as it is held in place with a little glue
- Sometimes the glue is too stiff to unscrew using fingers. Carefully use a pair of small pliers to hold the knurled round lens holder
The prepared Logitech C270 camera and lens are now ready to attach to your lens spacer