
Prepare the microscope stand
Step 1: Embed mounting nut in the stand


- Take the microscope stand
- Place an M3 nut in the slot under a mounting lug
- Put an M3x10 cap head screw into the hole above the nut
- Tighten with a 2.5mm Ball-end Allen key until you feel reasonable resistance
- Unscrew and remove the screw. The nut should stay mounted.
Step 2: Embed remaining mounting nuts in the stand


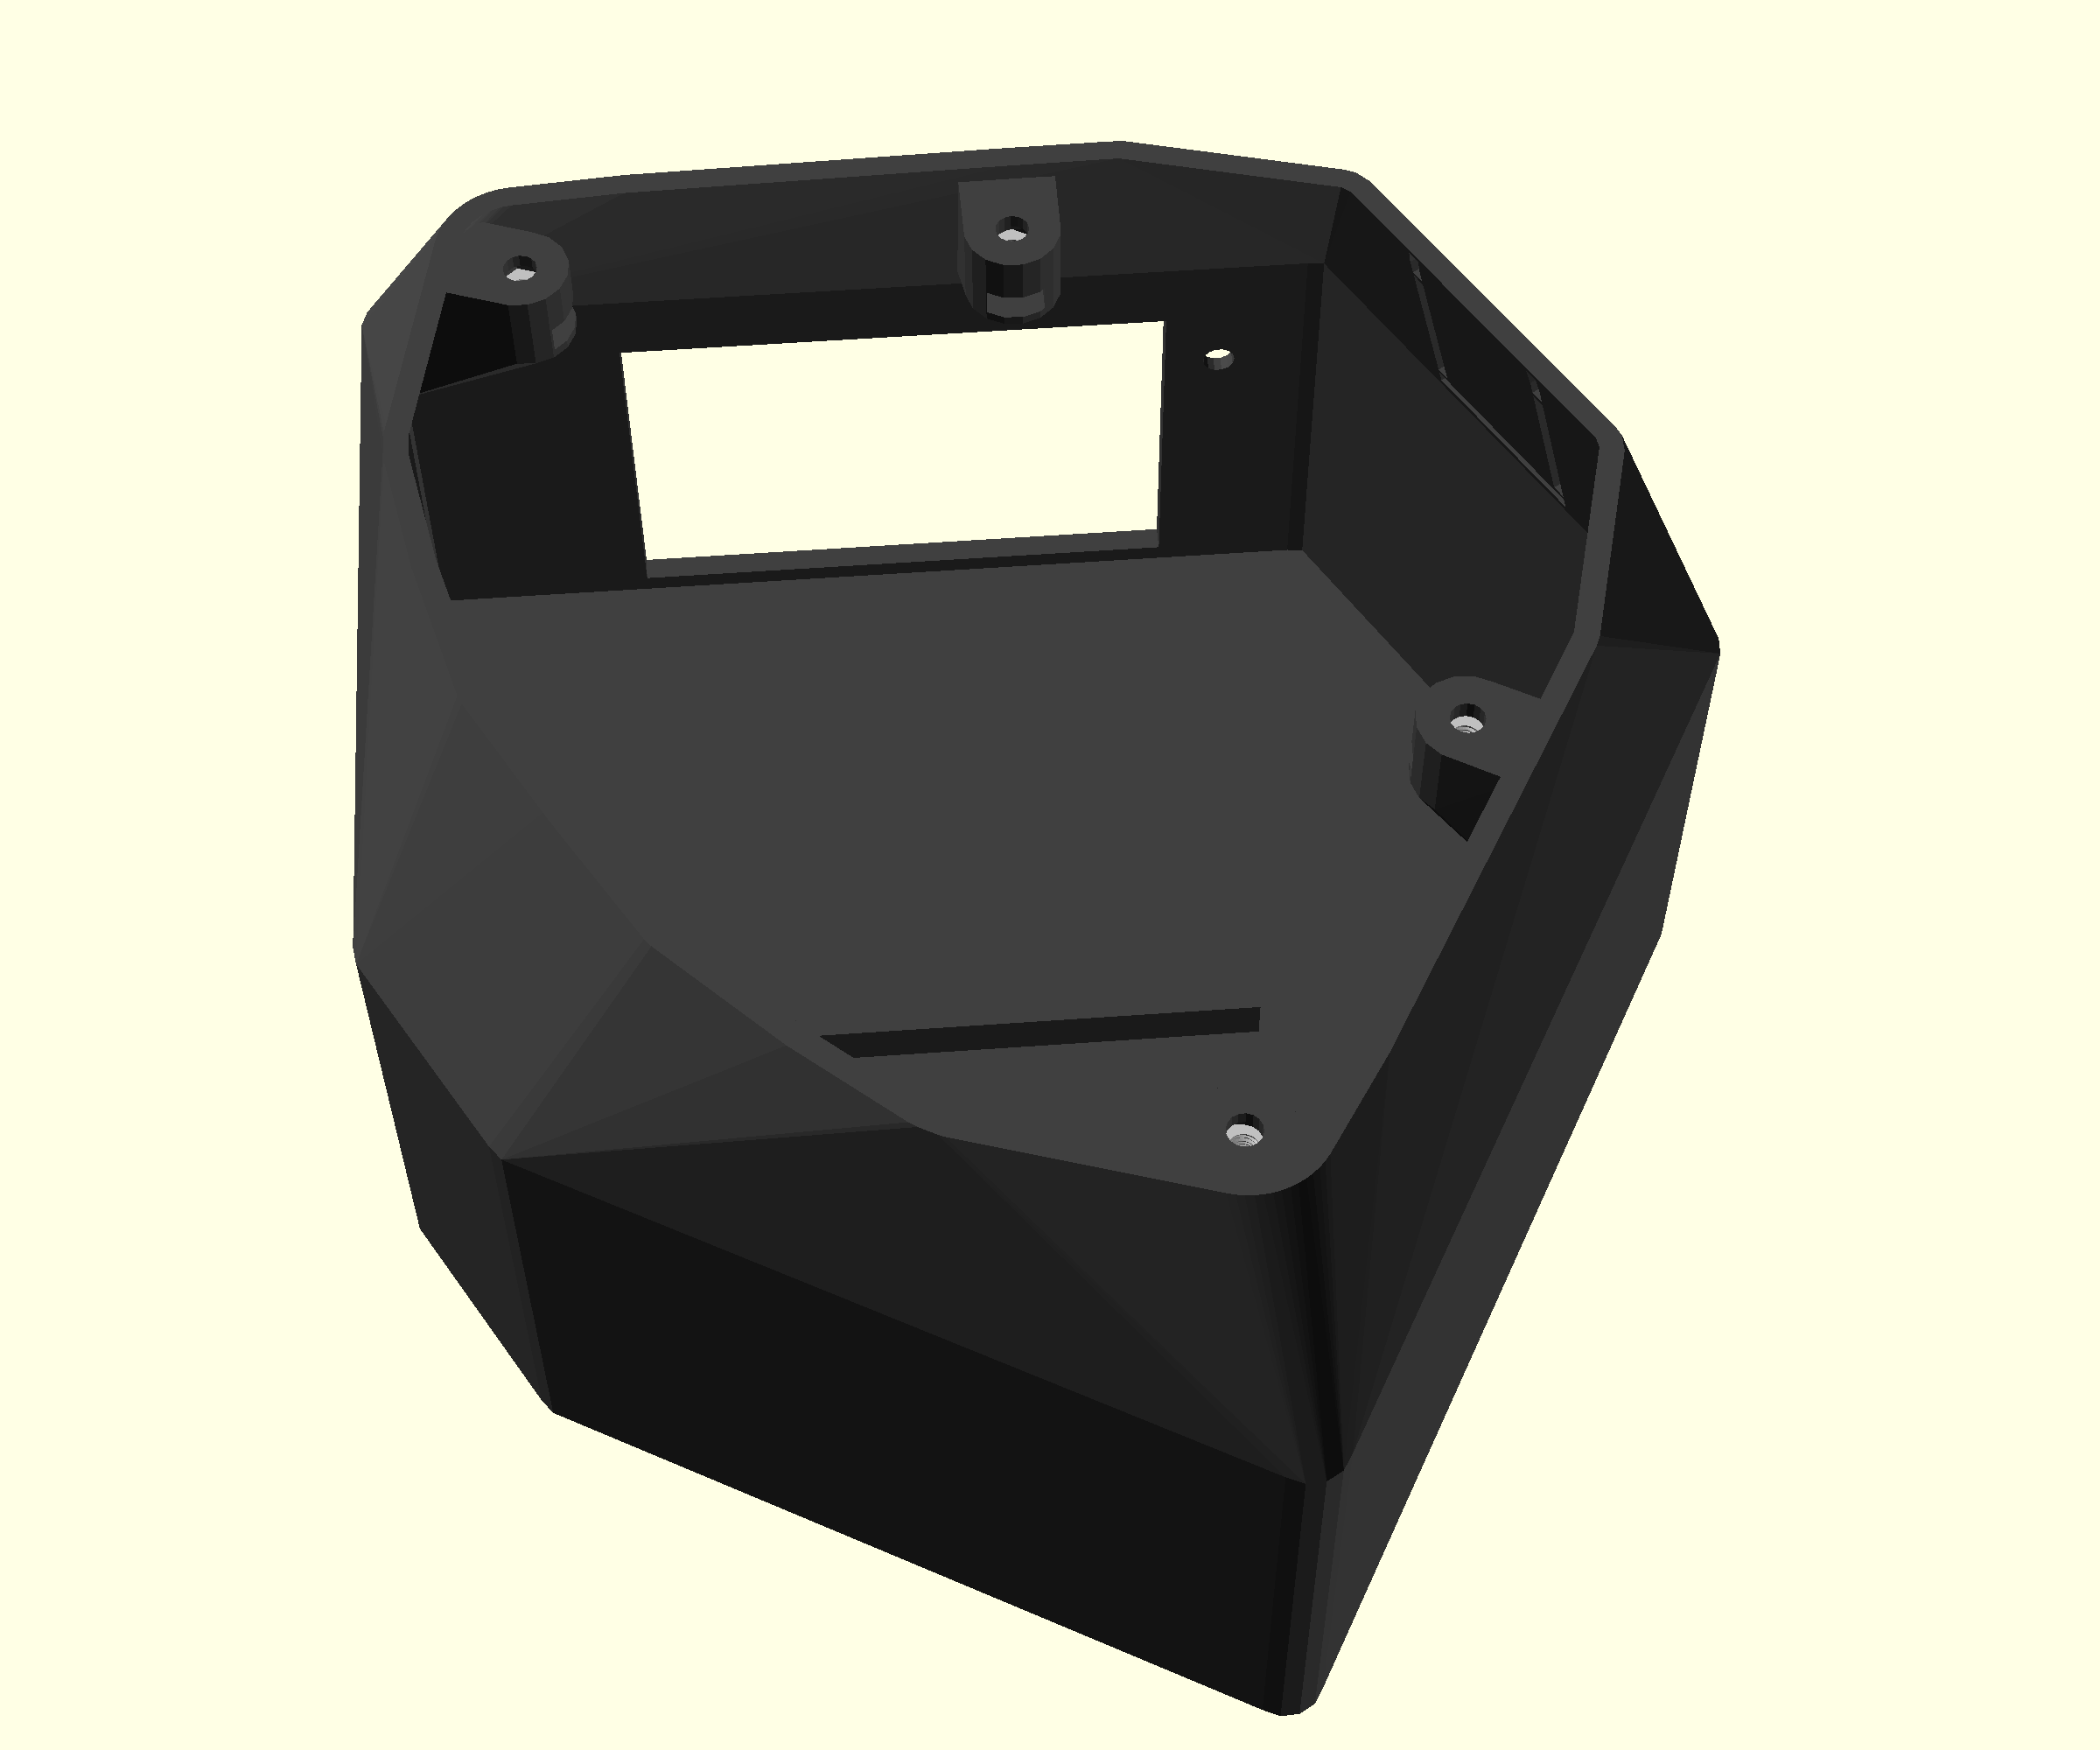
Repeat the above process for the other three mounting lugs