 Assembly Instructions
Prepare the main body
For this section you will need:
Tools
- 1 2.5mm Ball-end Allen key
- 1 extra M3x10 cap screw - For mounting trapped nuts
- 1 precision wire cutters - Can use a utility knife if these are unavailable.
- 1 utility knife
Printed Parts
Mechanical Components
- 6 M3 nut
Step 1: Removing brim and supports
The main body has some custom supports and a custom brim to remove. These are highlighted in red in the following images.
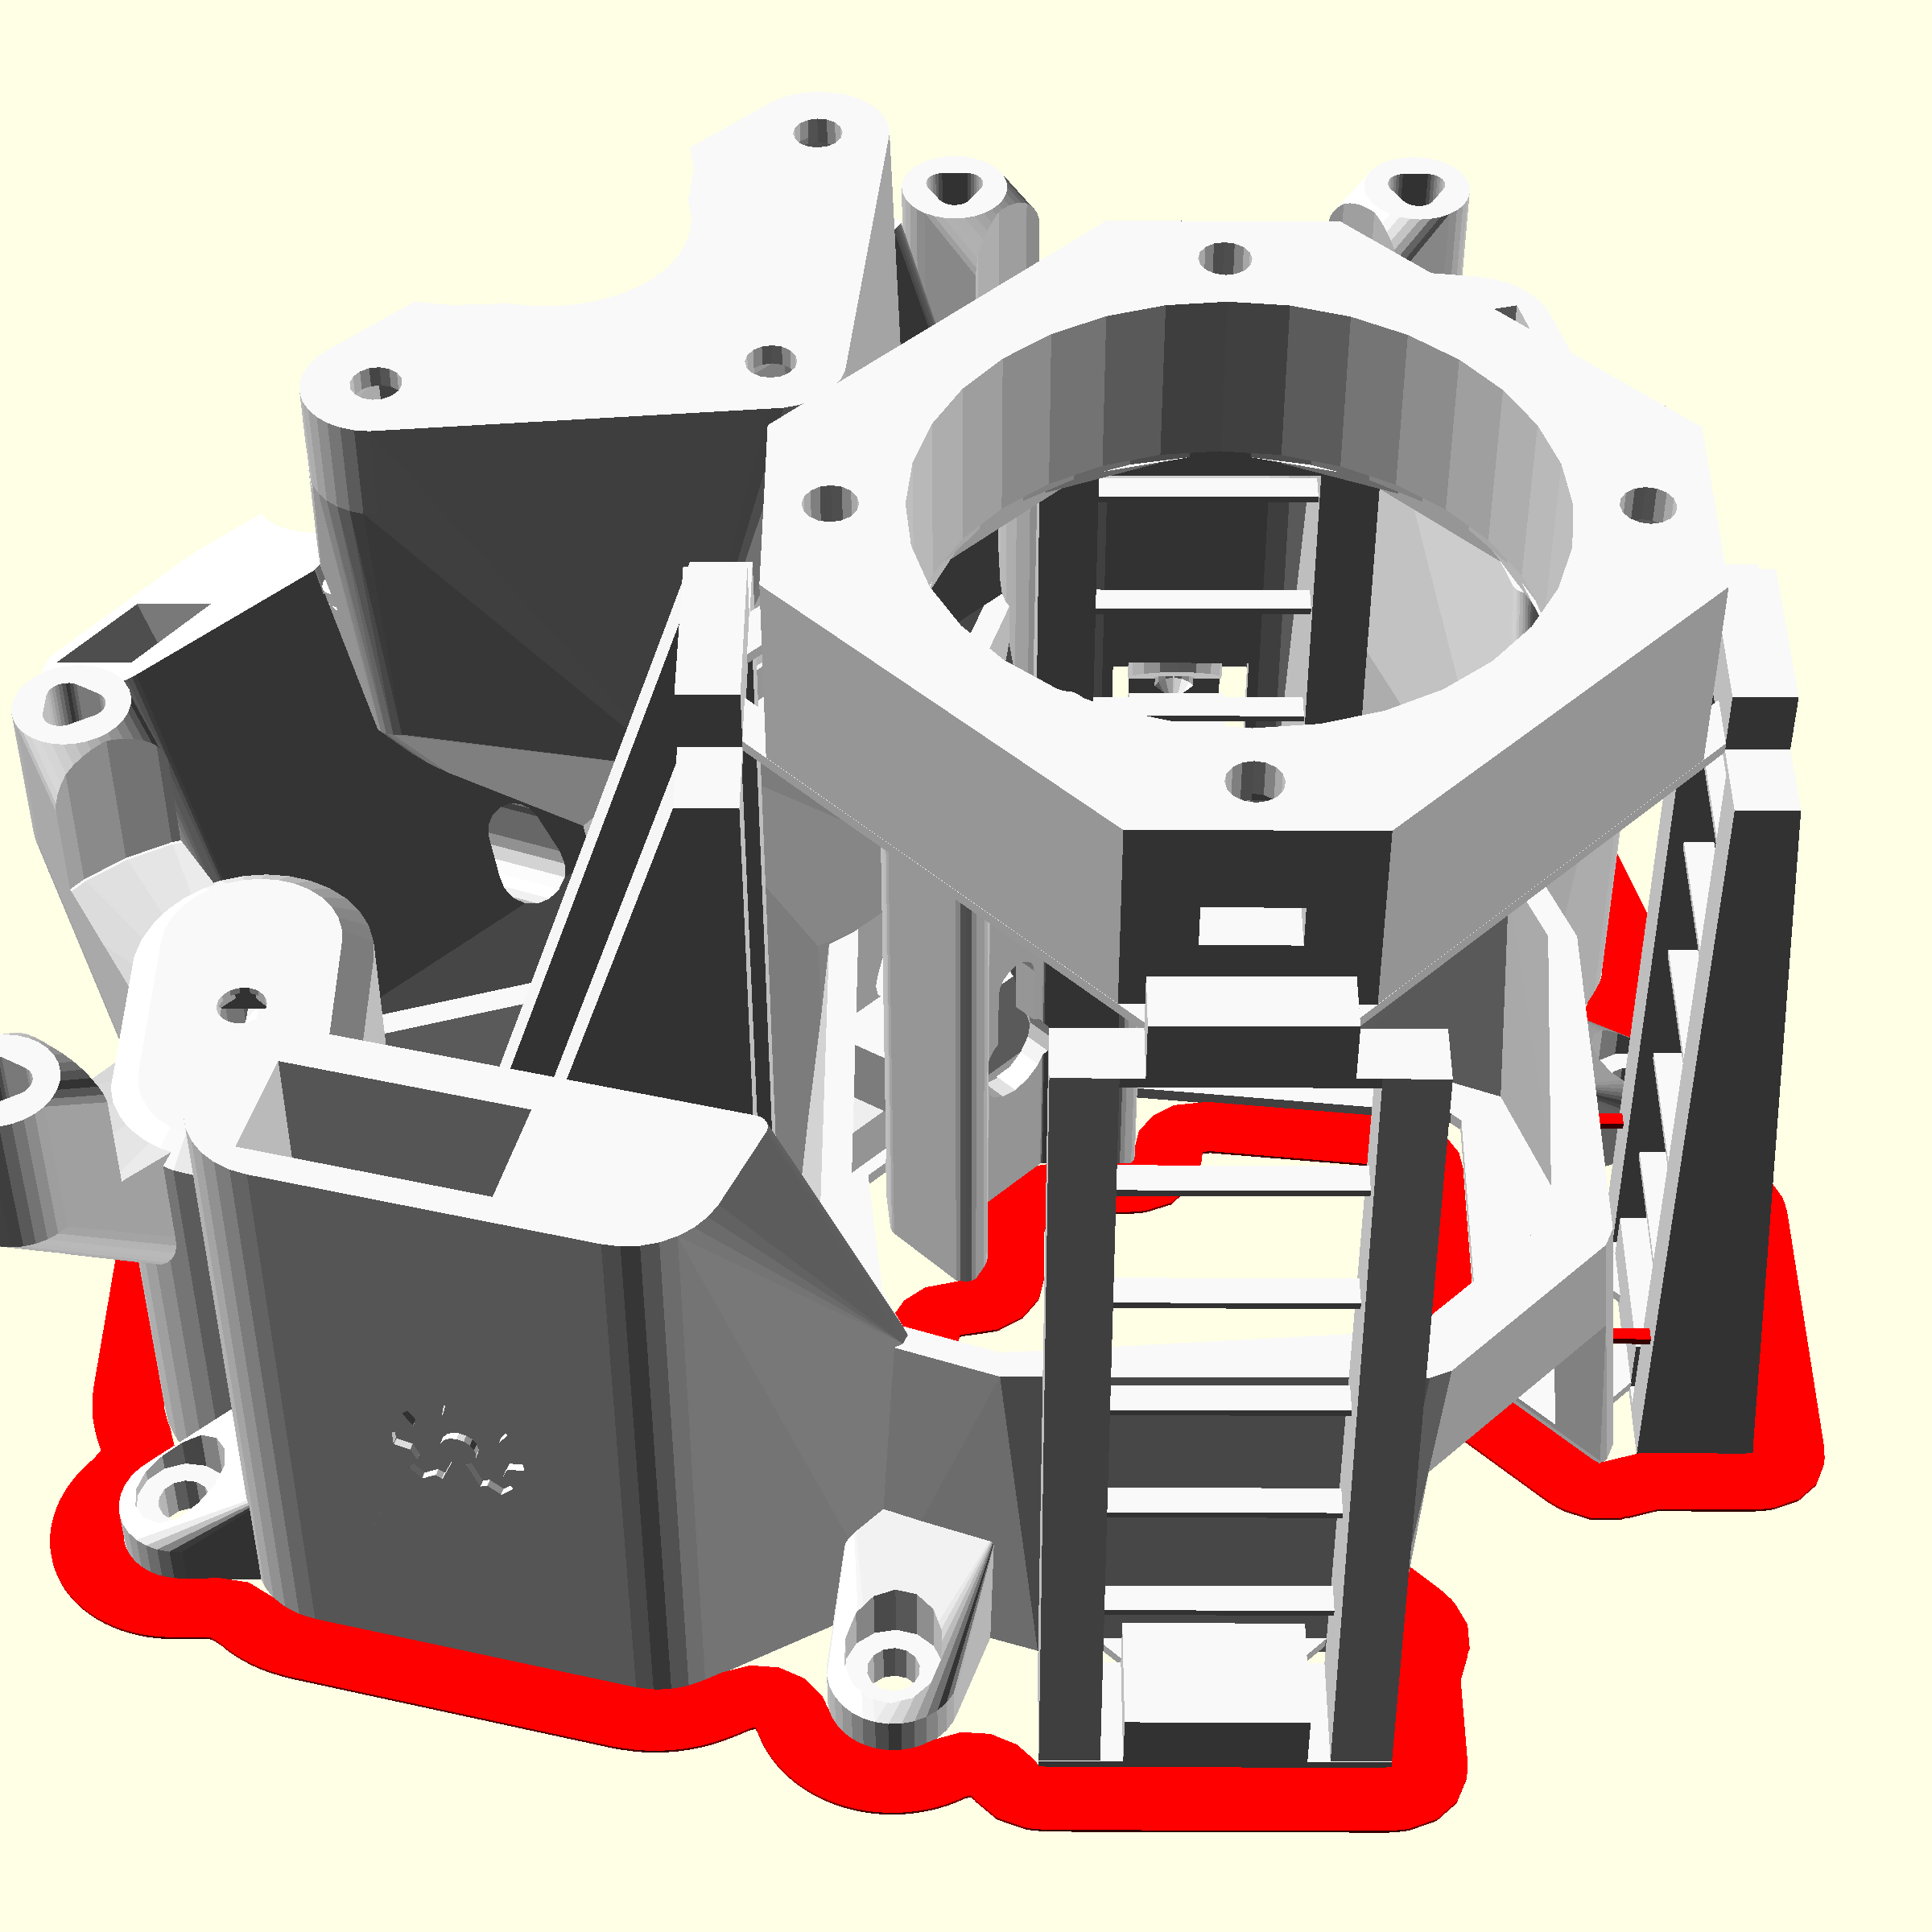
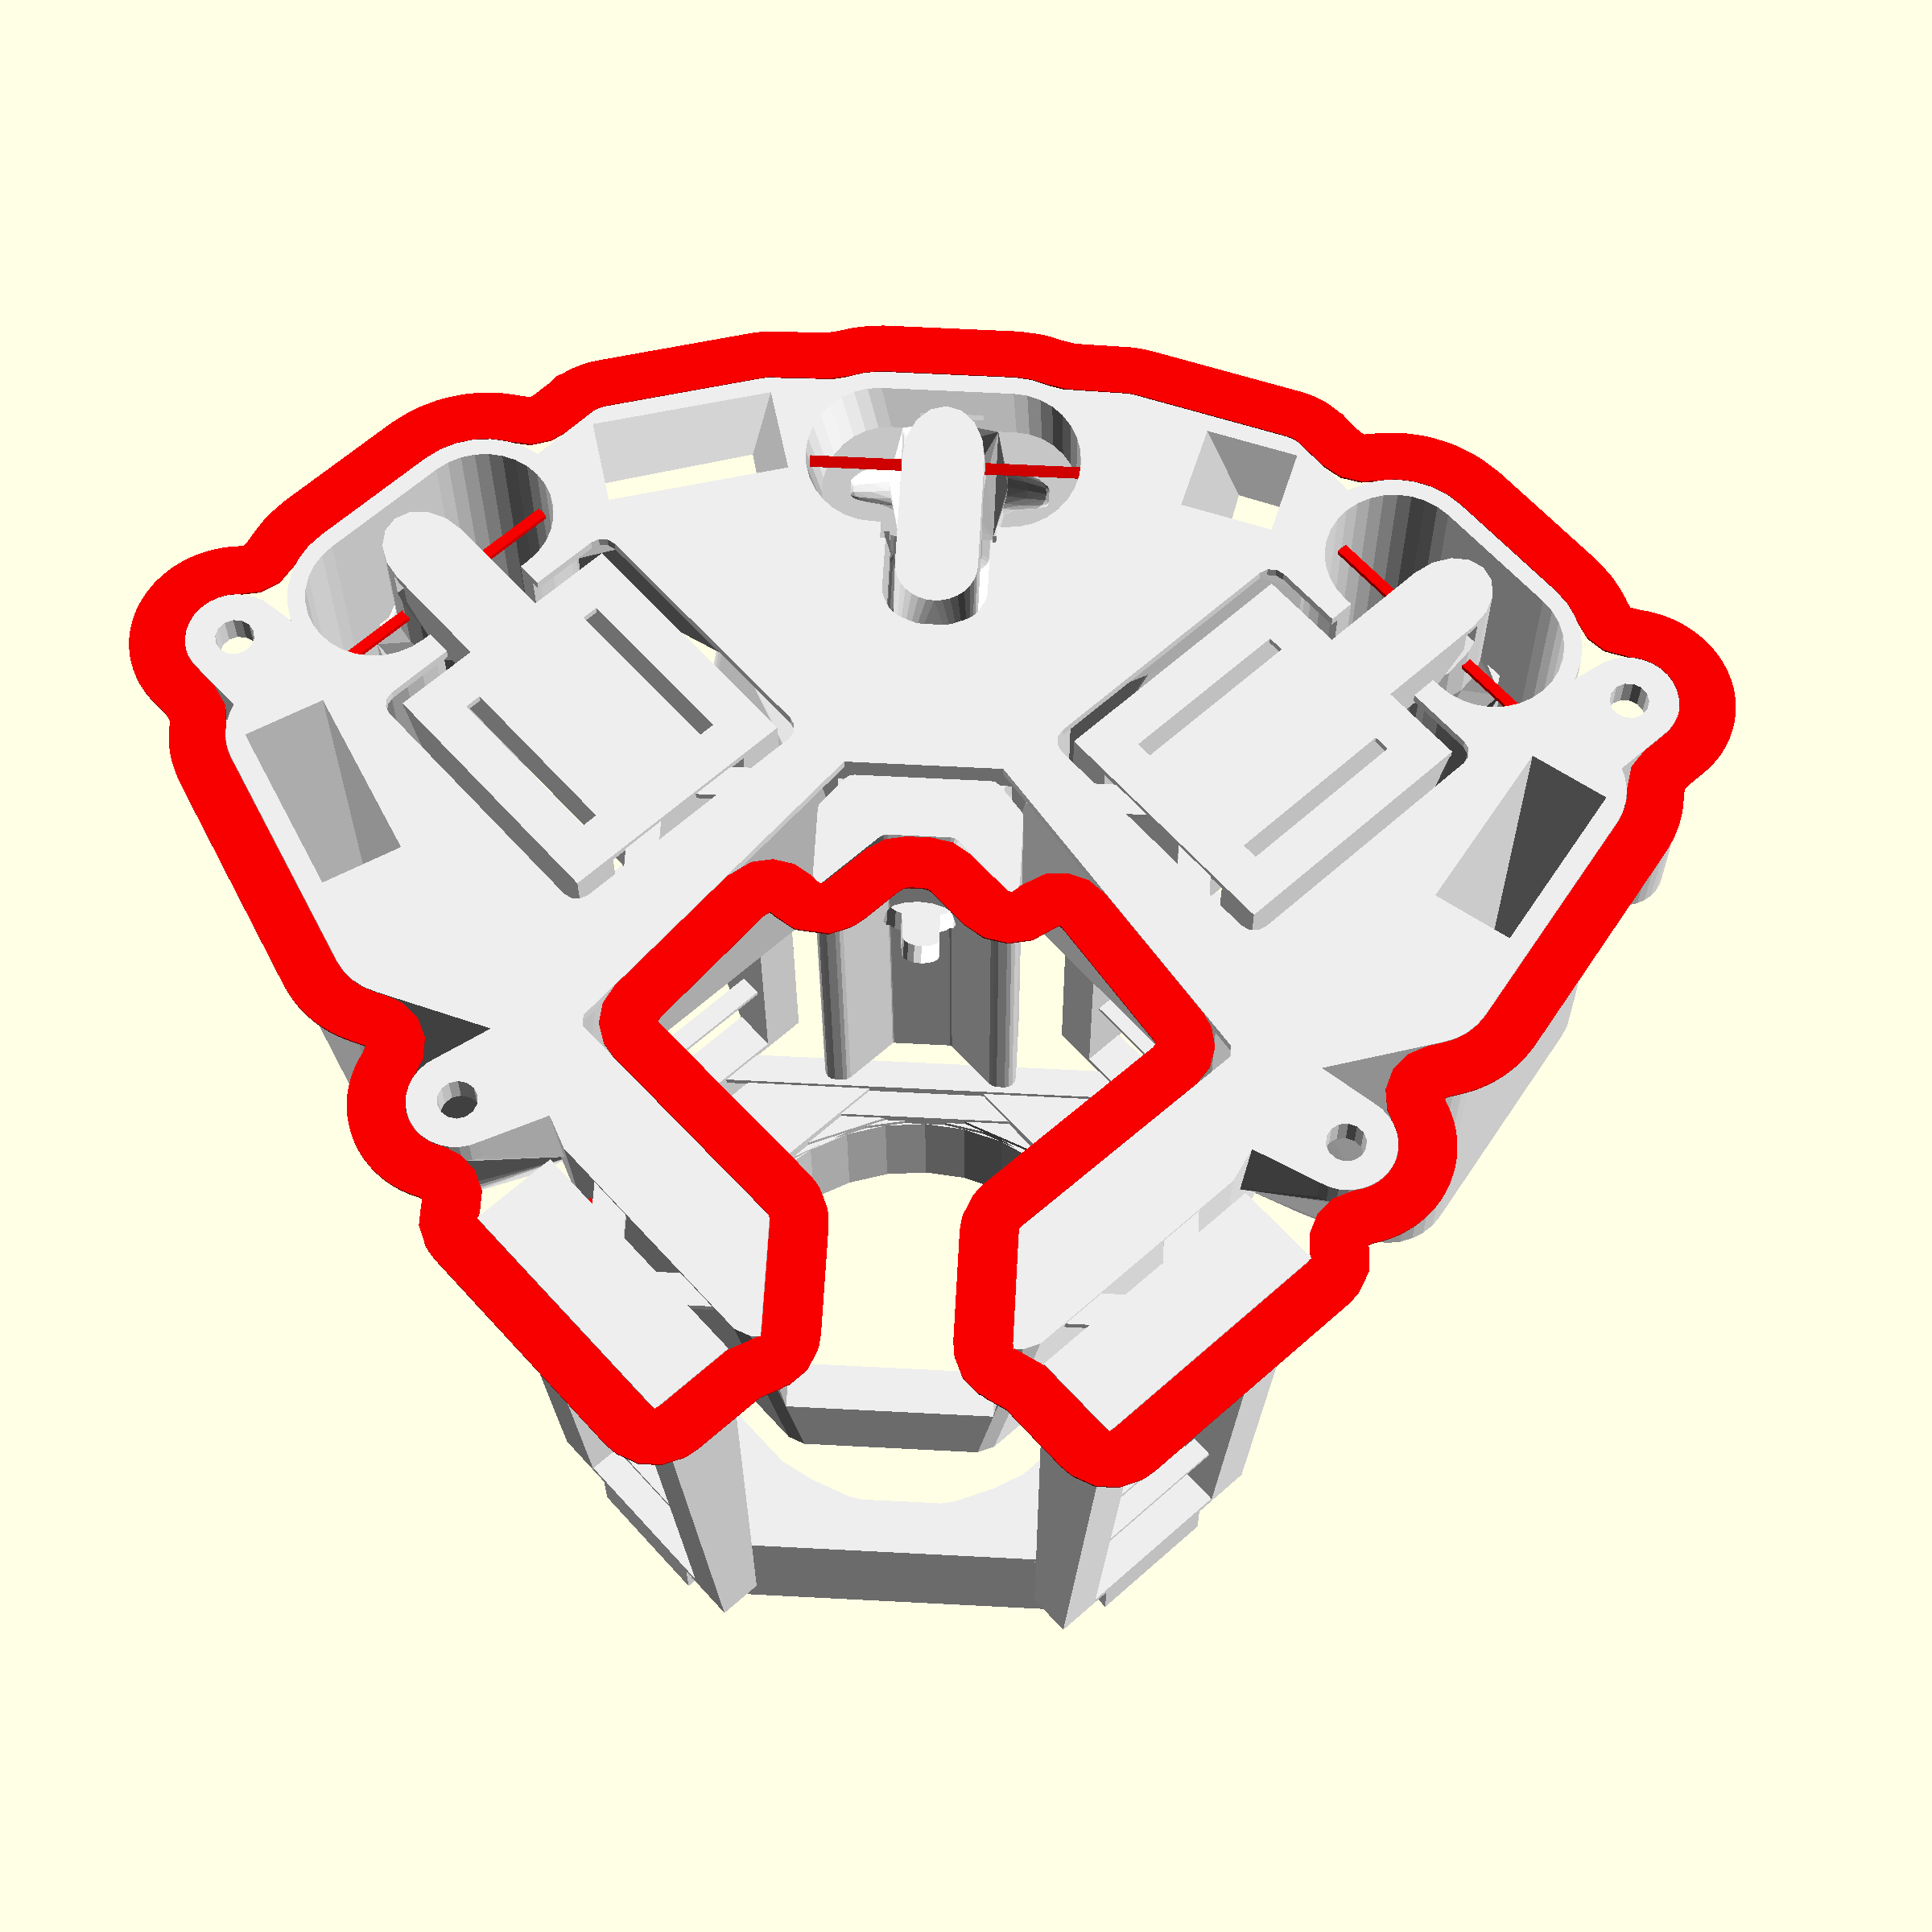
- Remove the brim with utility knife and precision wire cutters.
- Cut the ties inside actuator column (6 total) with the precision wire cutters
- Cut the ties for the rear legs (4 total) with the precision wire cutters
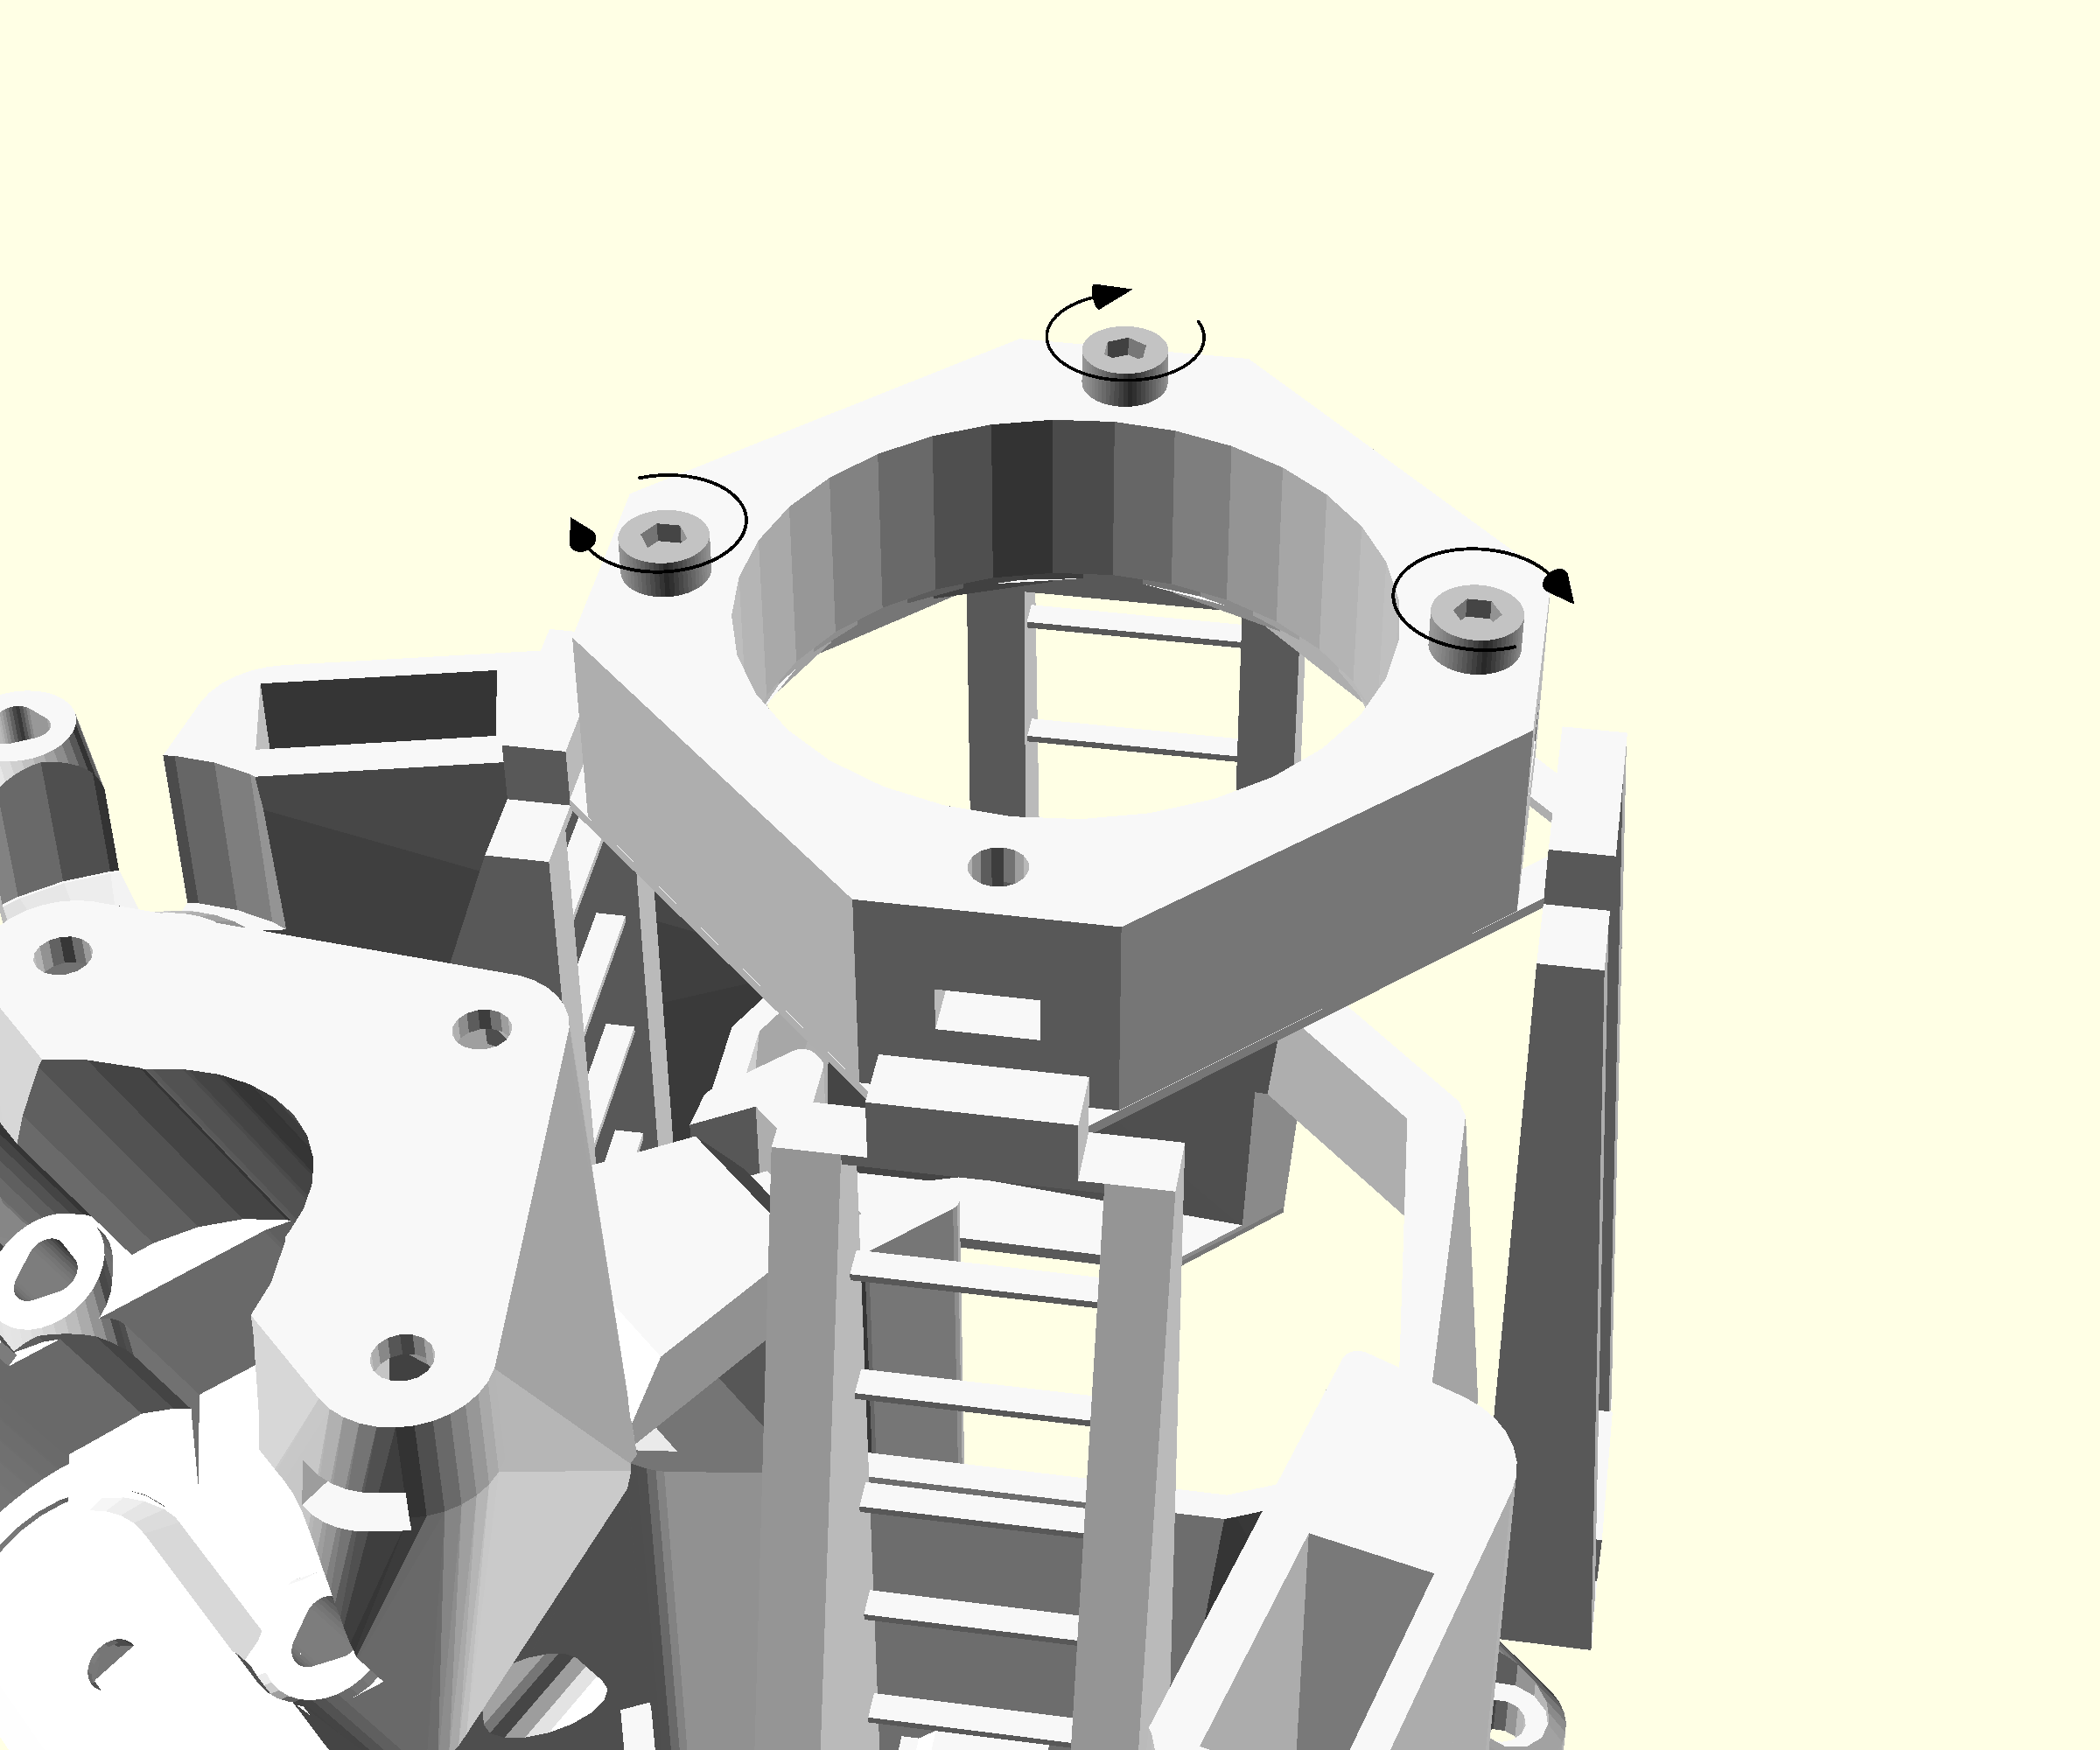
Step 2: Embed mounting nuts in the stage
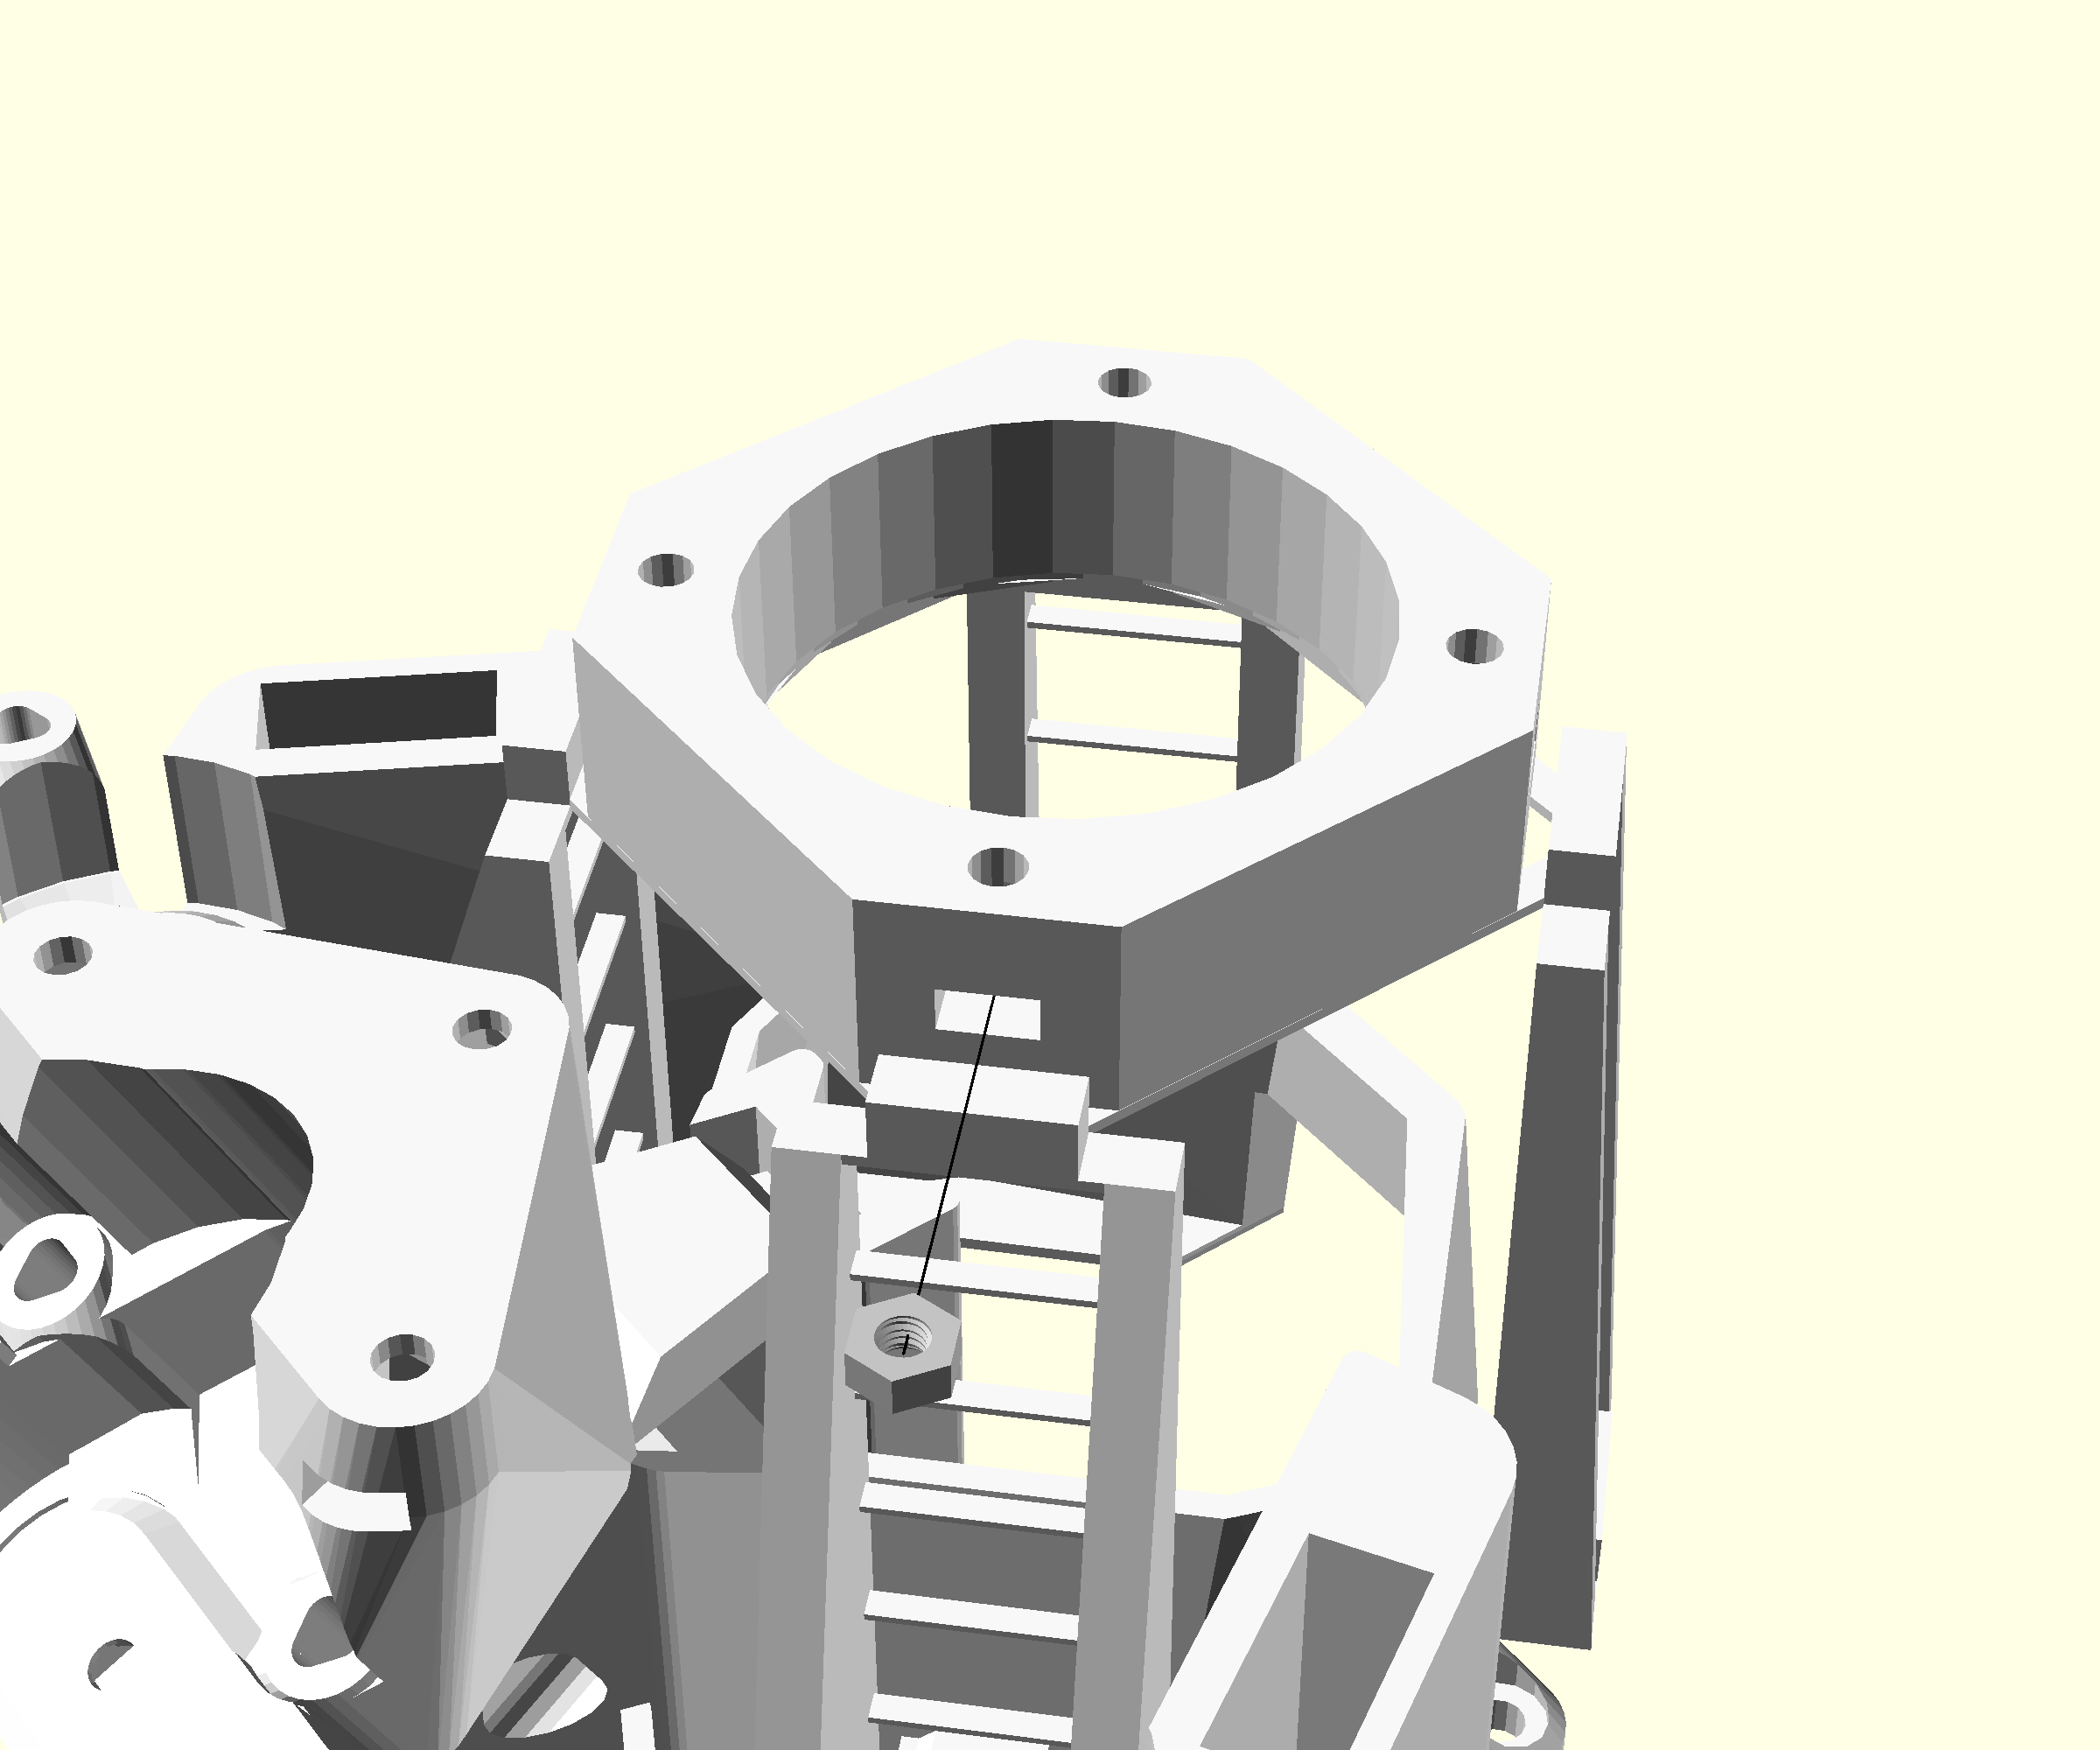
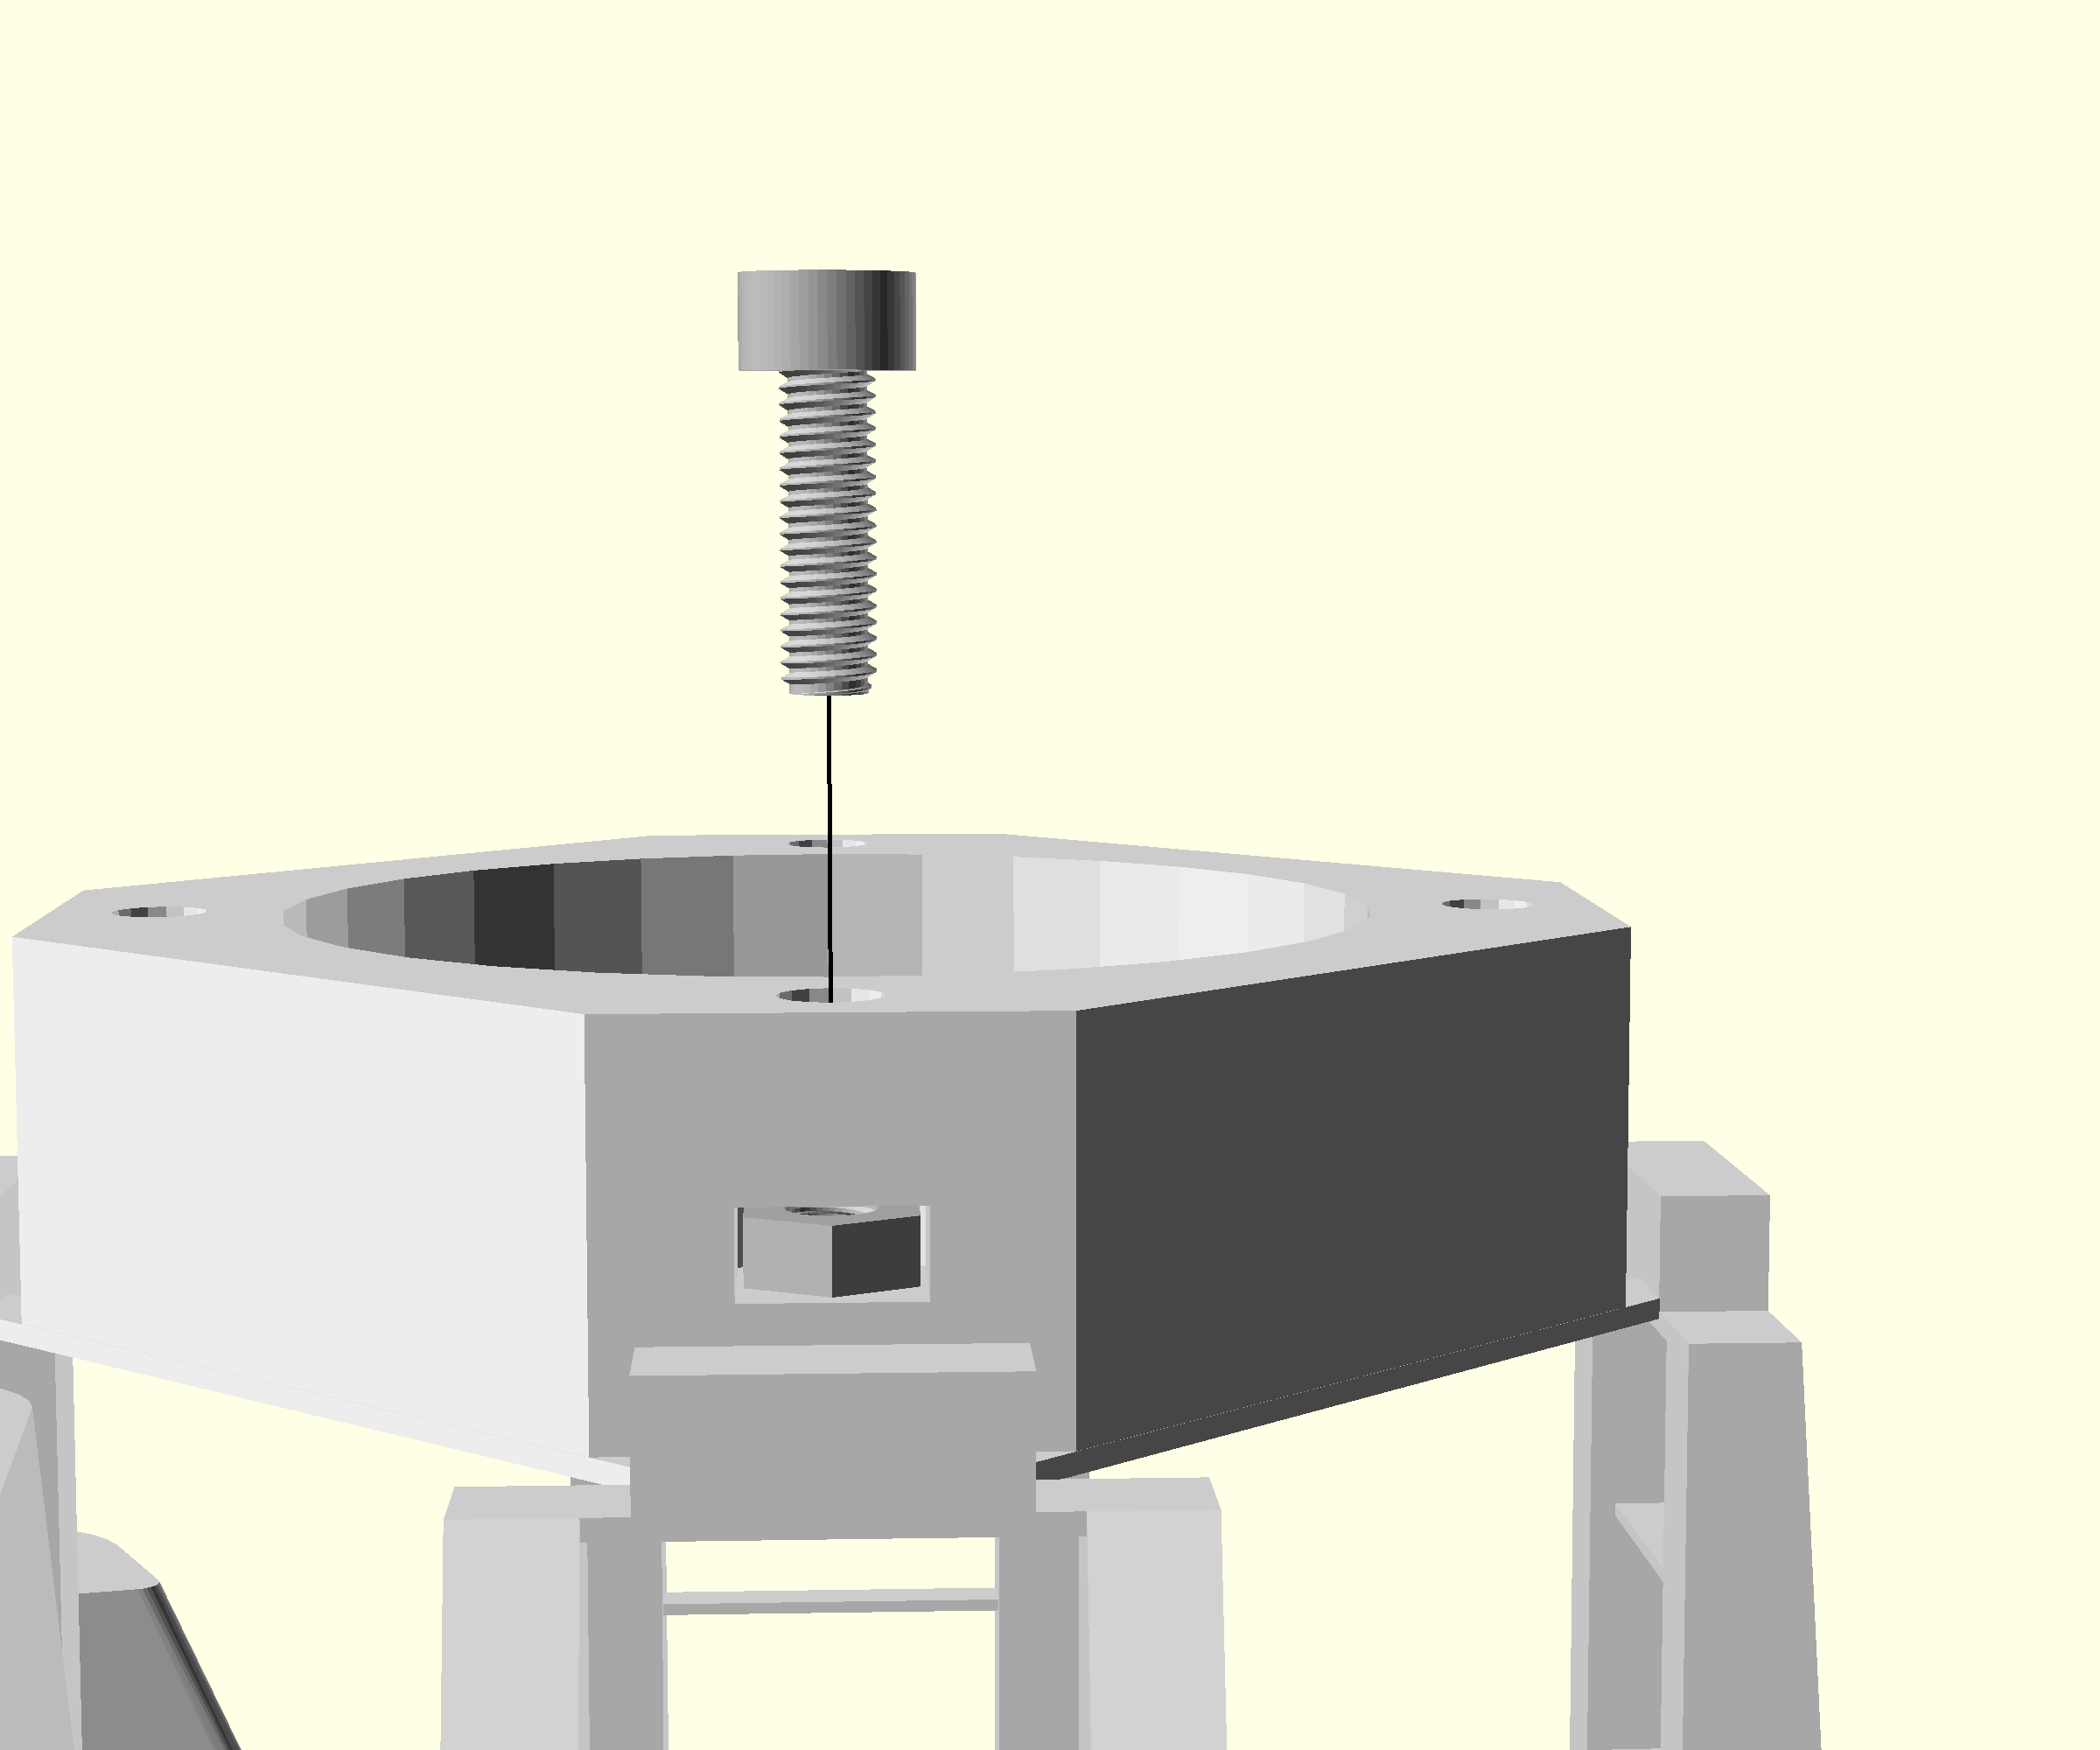
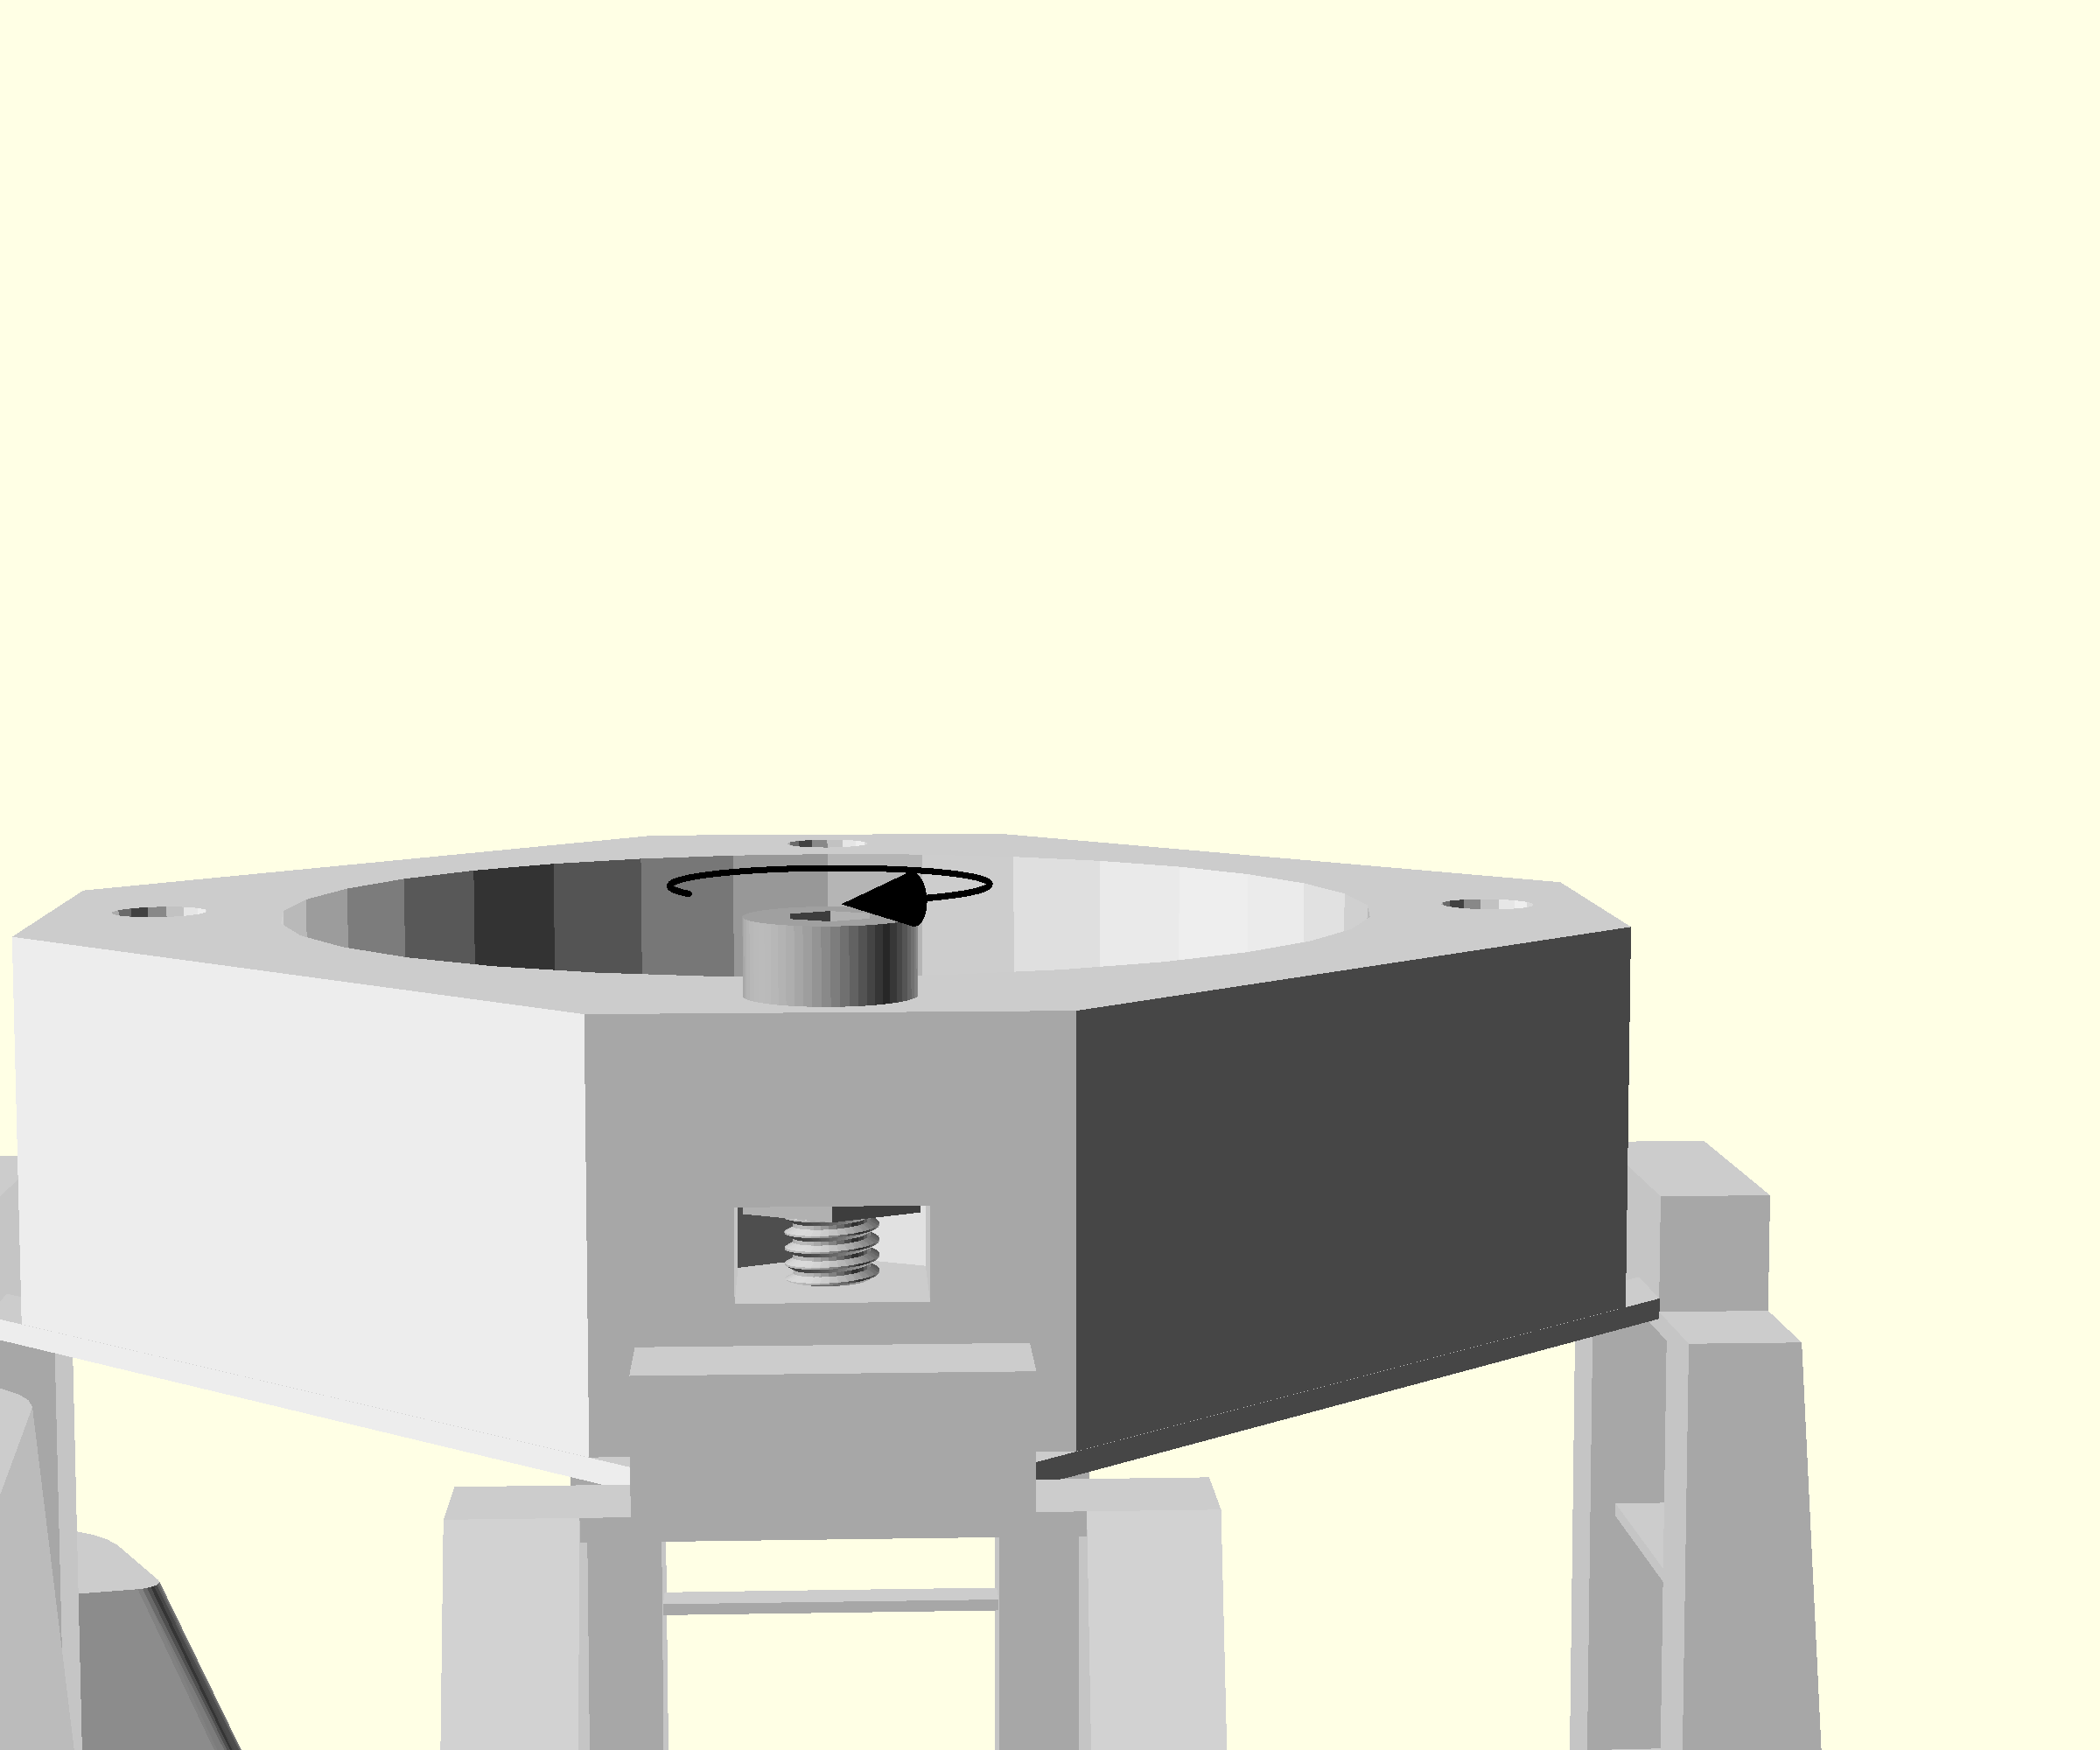
- Place an M3 nut one of the slots at the side of the stage
- Put an M3x10 cap head screw into the hole above the nut
- Tighten with a 2.5mm Ball-end Allen key until you feel reasonable resistance.
- Unscrew and remove the screw. The nut should stay mounted.
- Repeat for the other three holes in the stage.


Step 3: Embed mounting nuts illumination platform
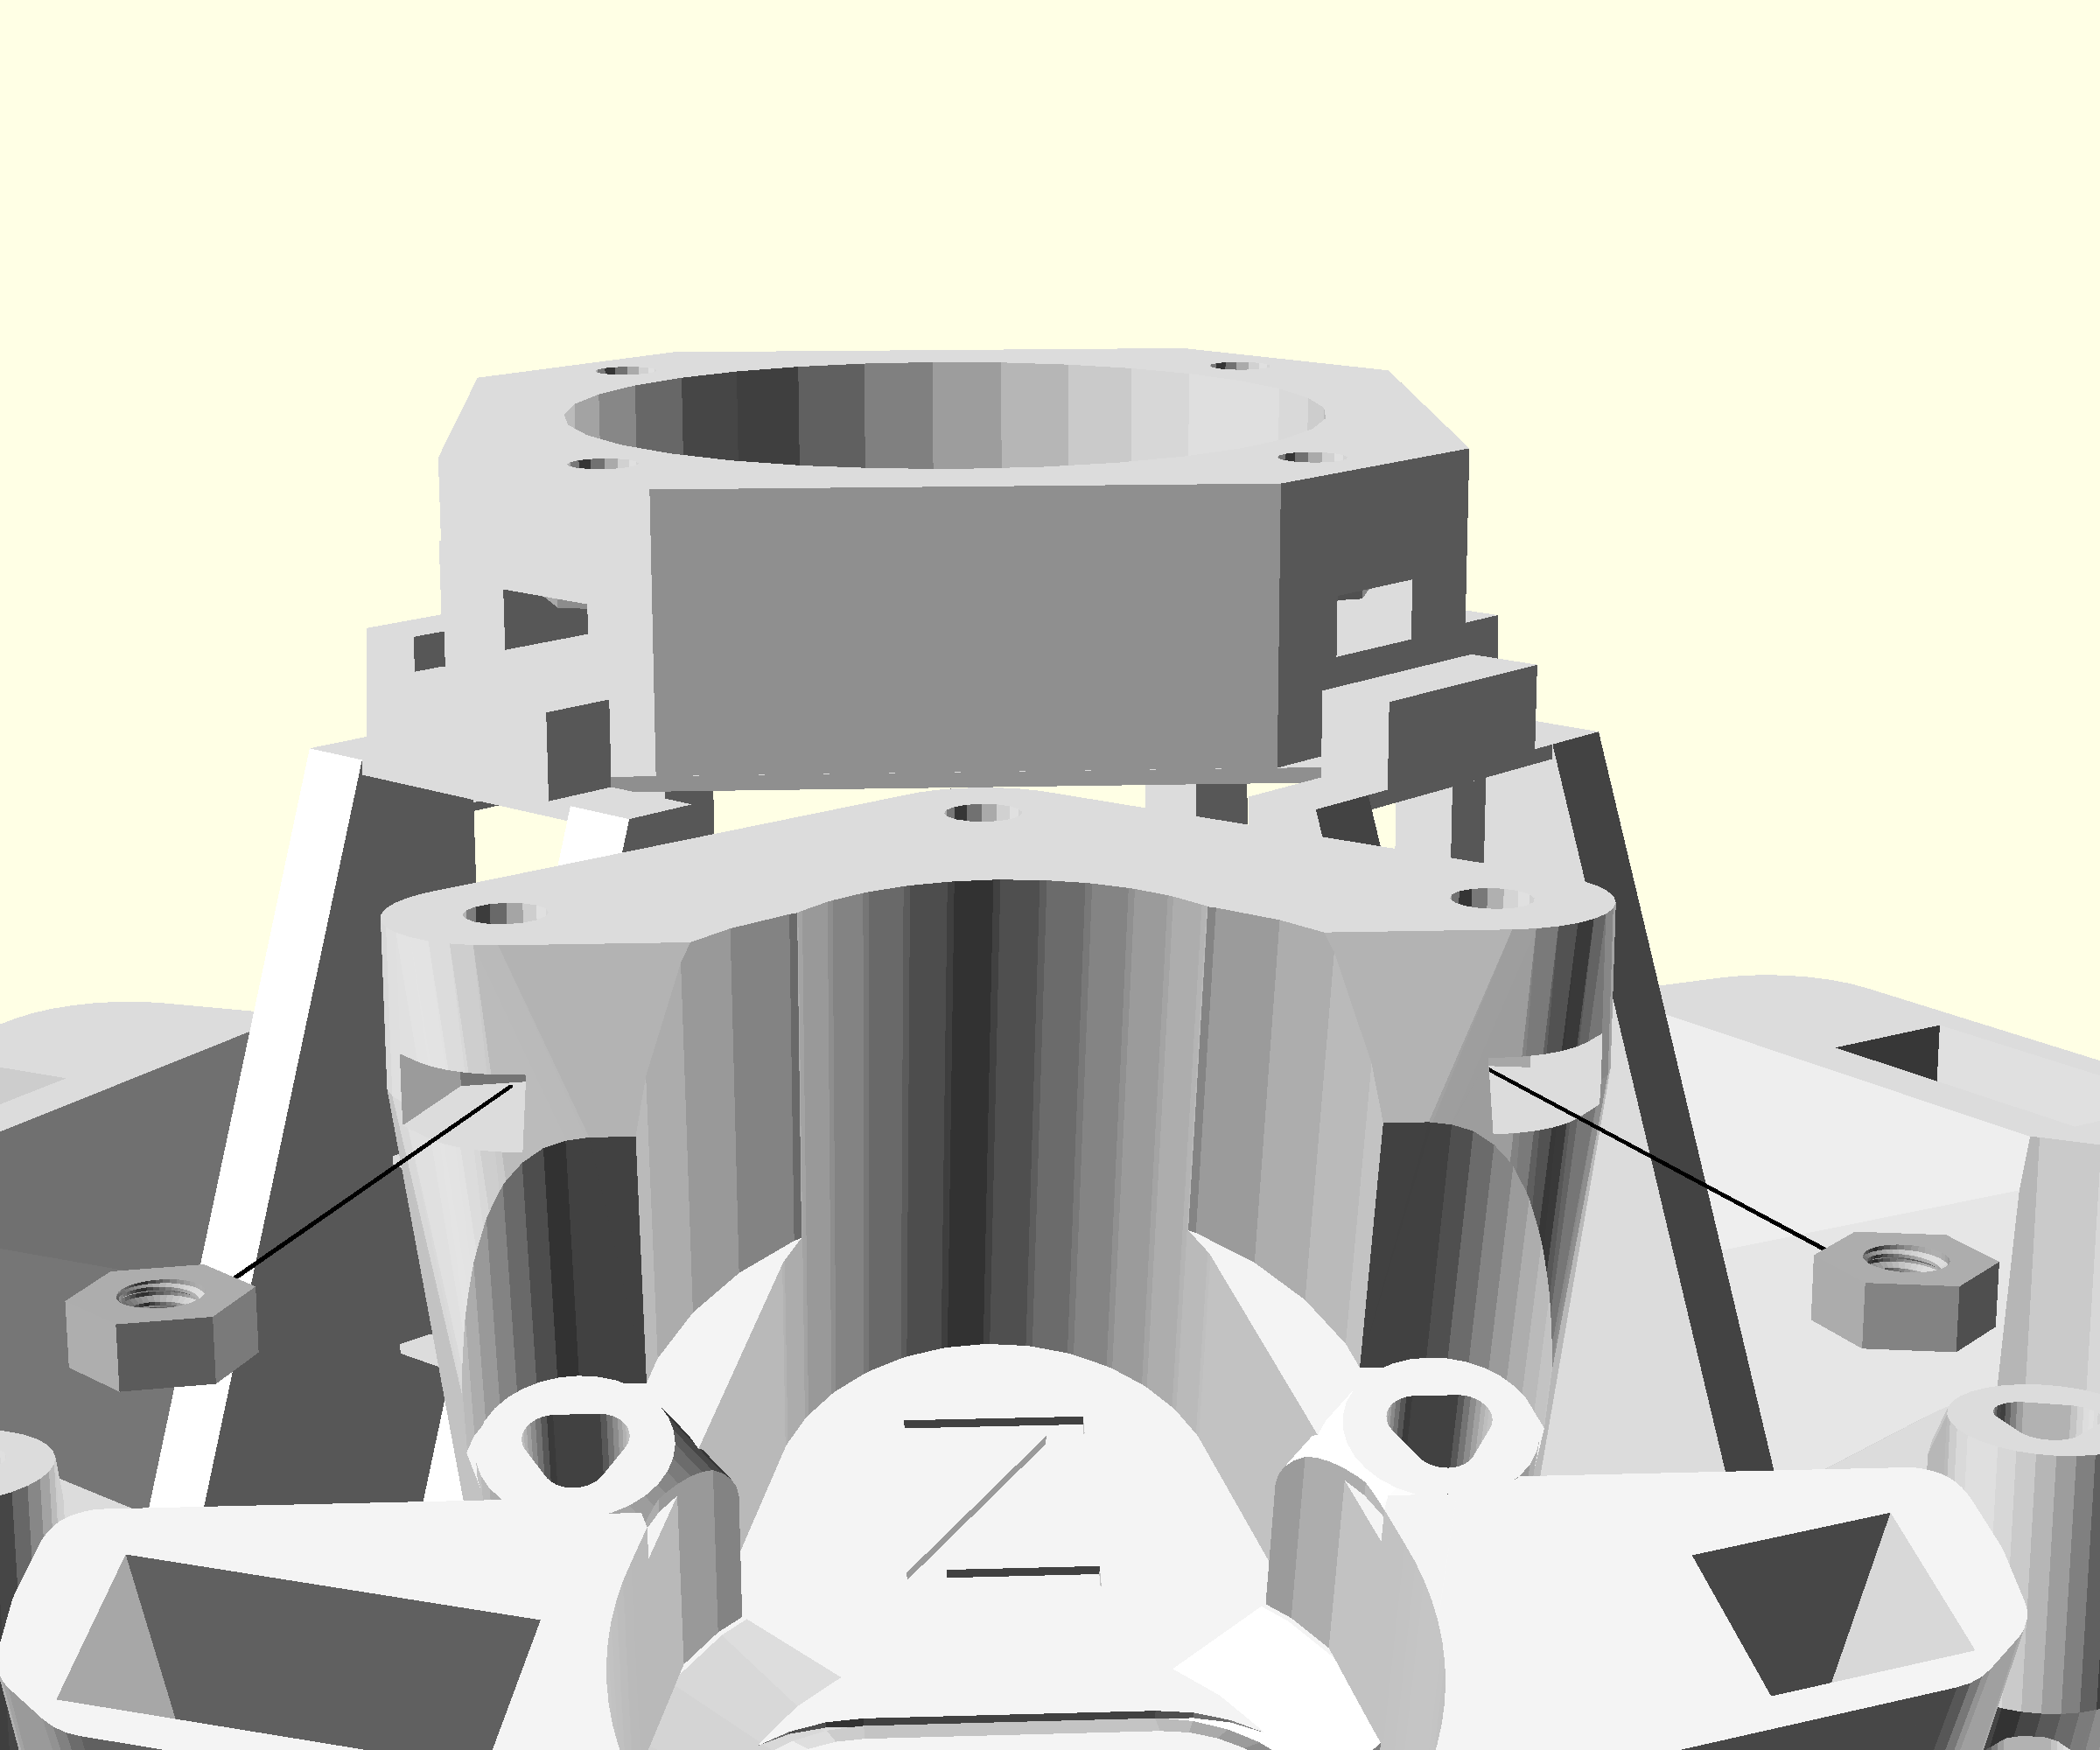
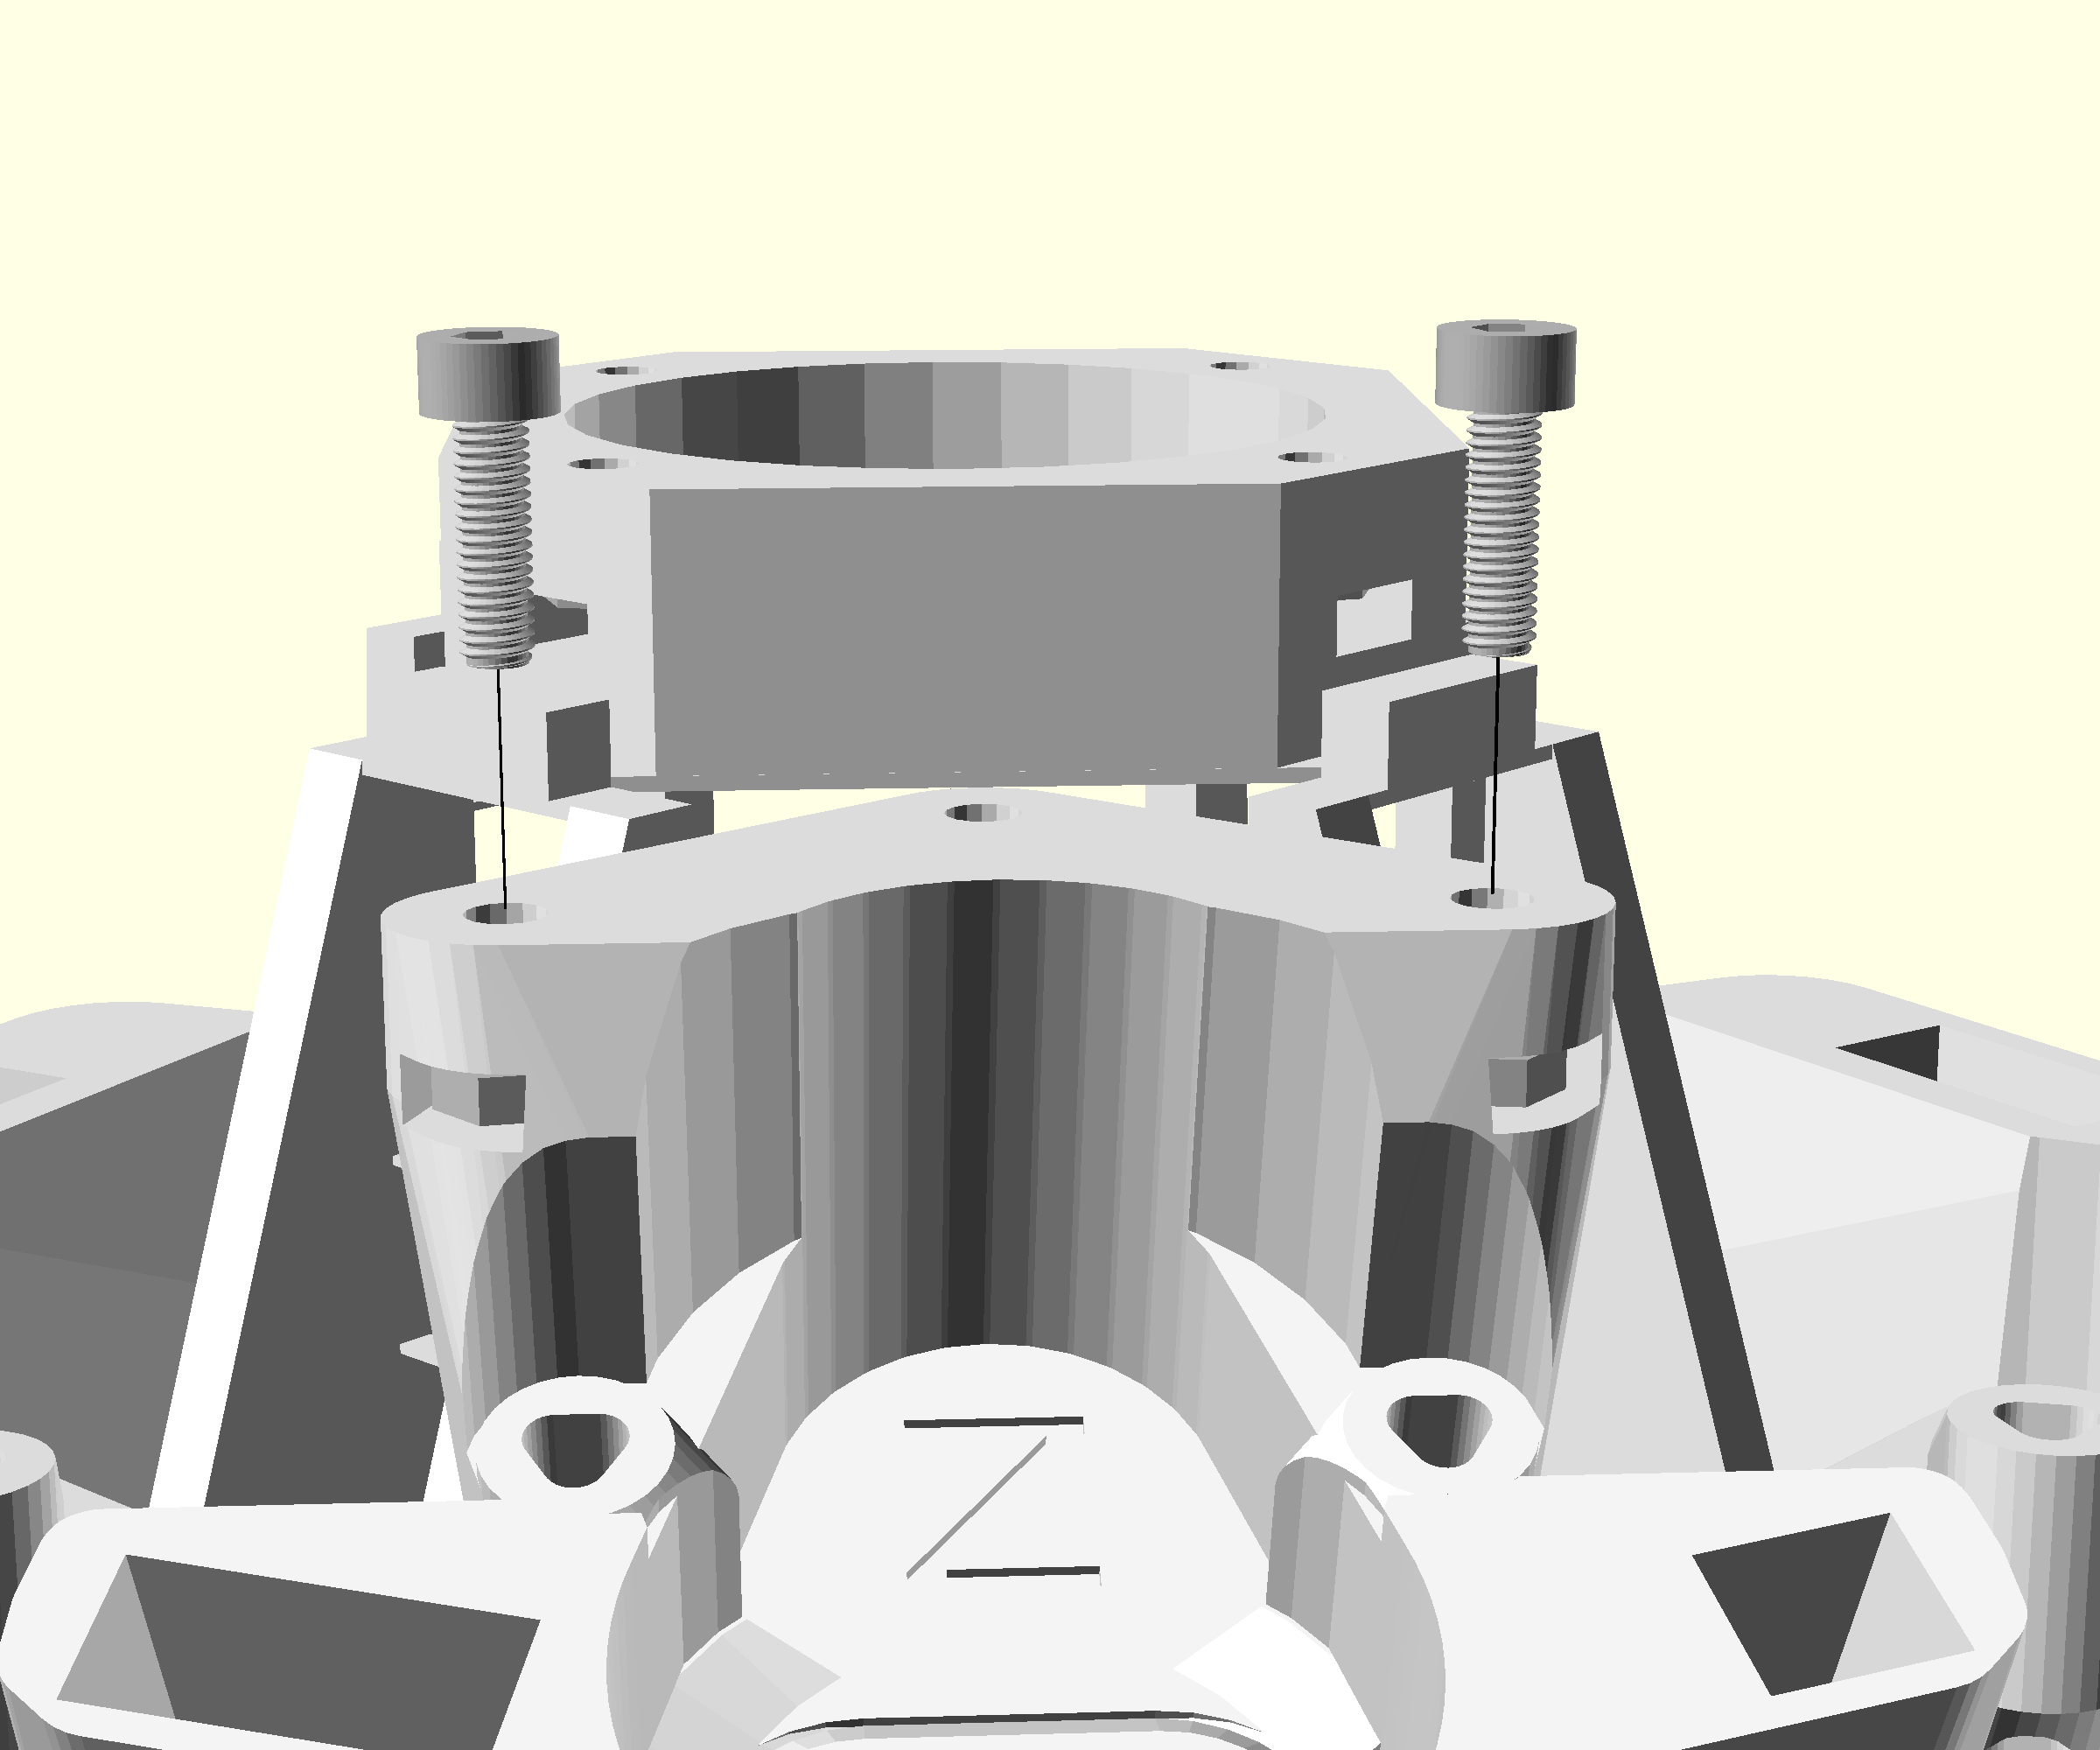
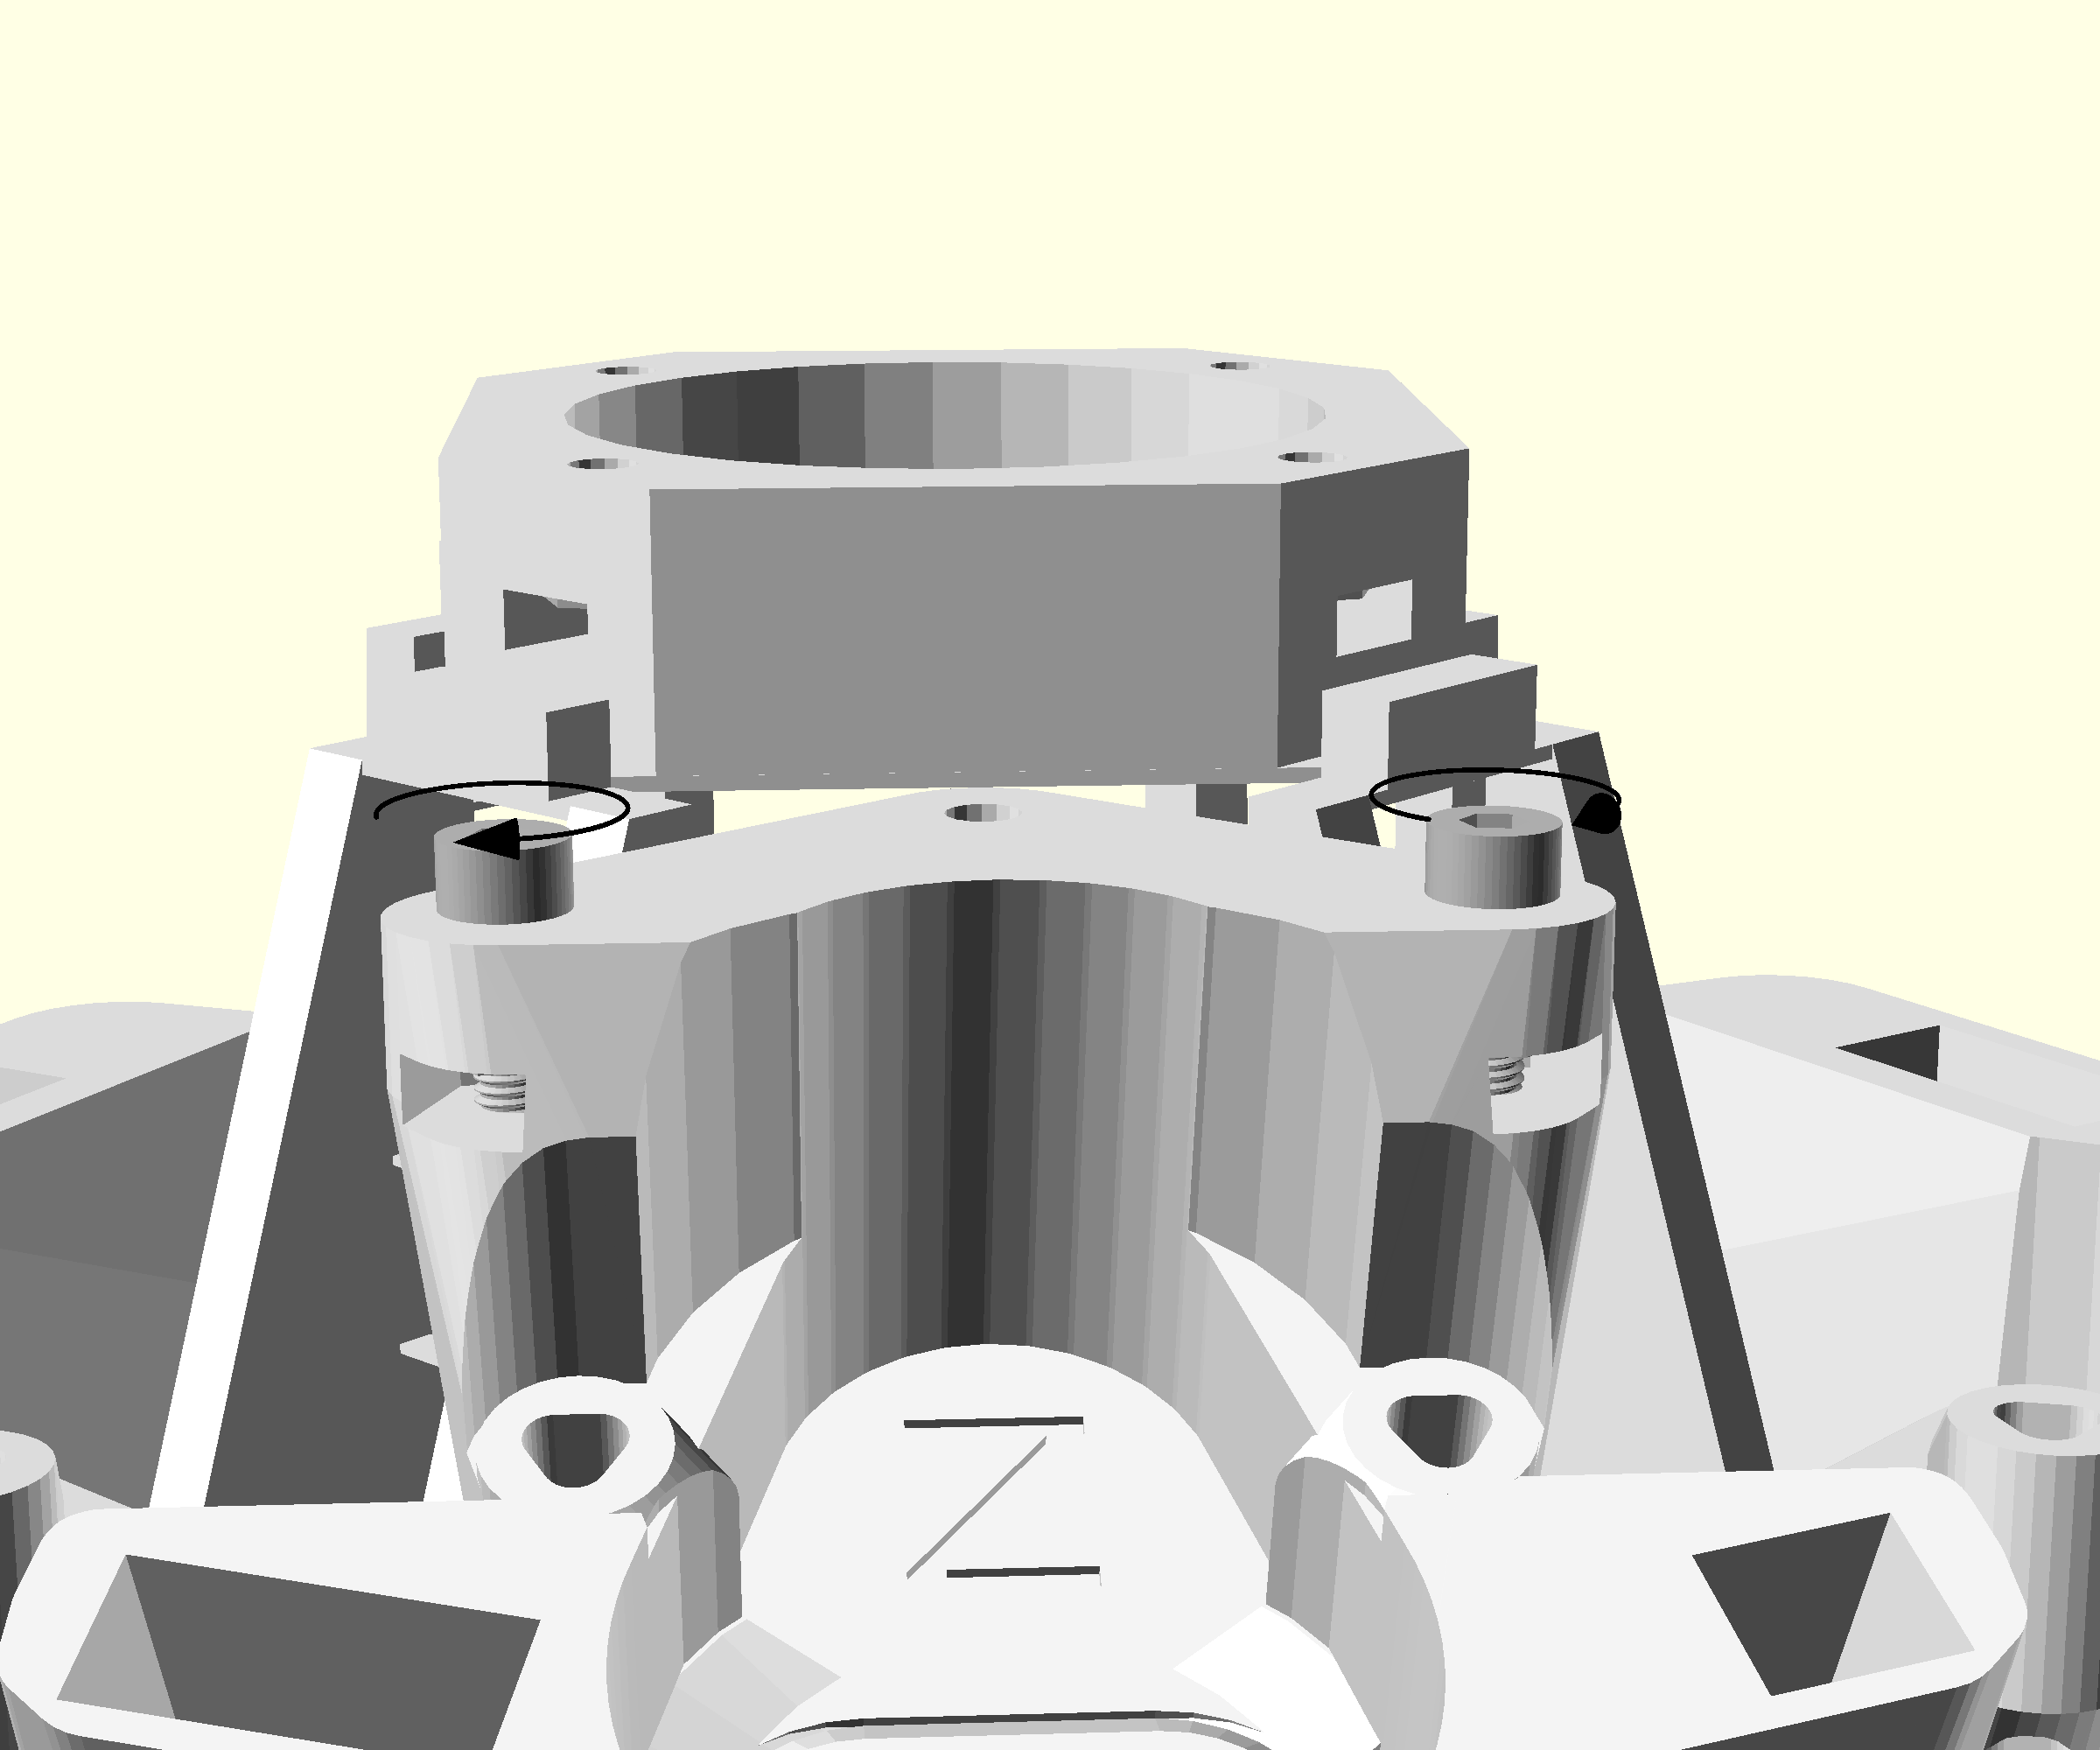
- Repeat the steps used above to add two M3 nuts into the platform above the z-axis
The prepared main body is now ready for assembly.