 Assembly Instructions
Assembly complete
Congratulations, you have now assembled your OpenFlexure Microscope.
Step 1: The completed microscope
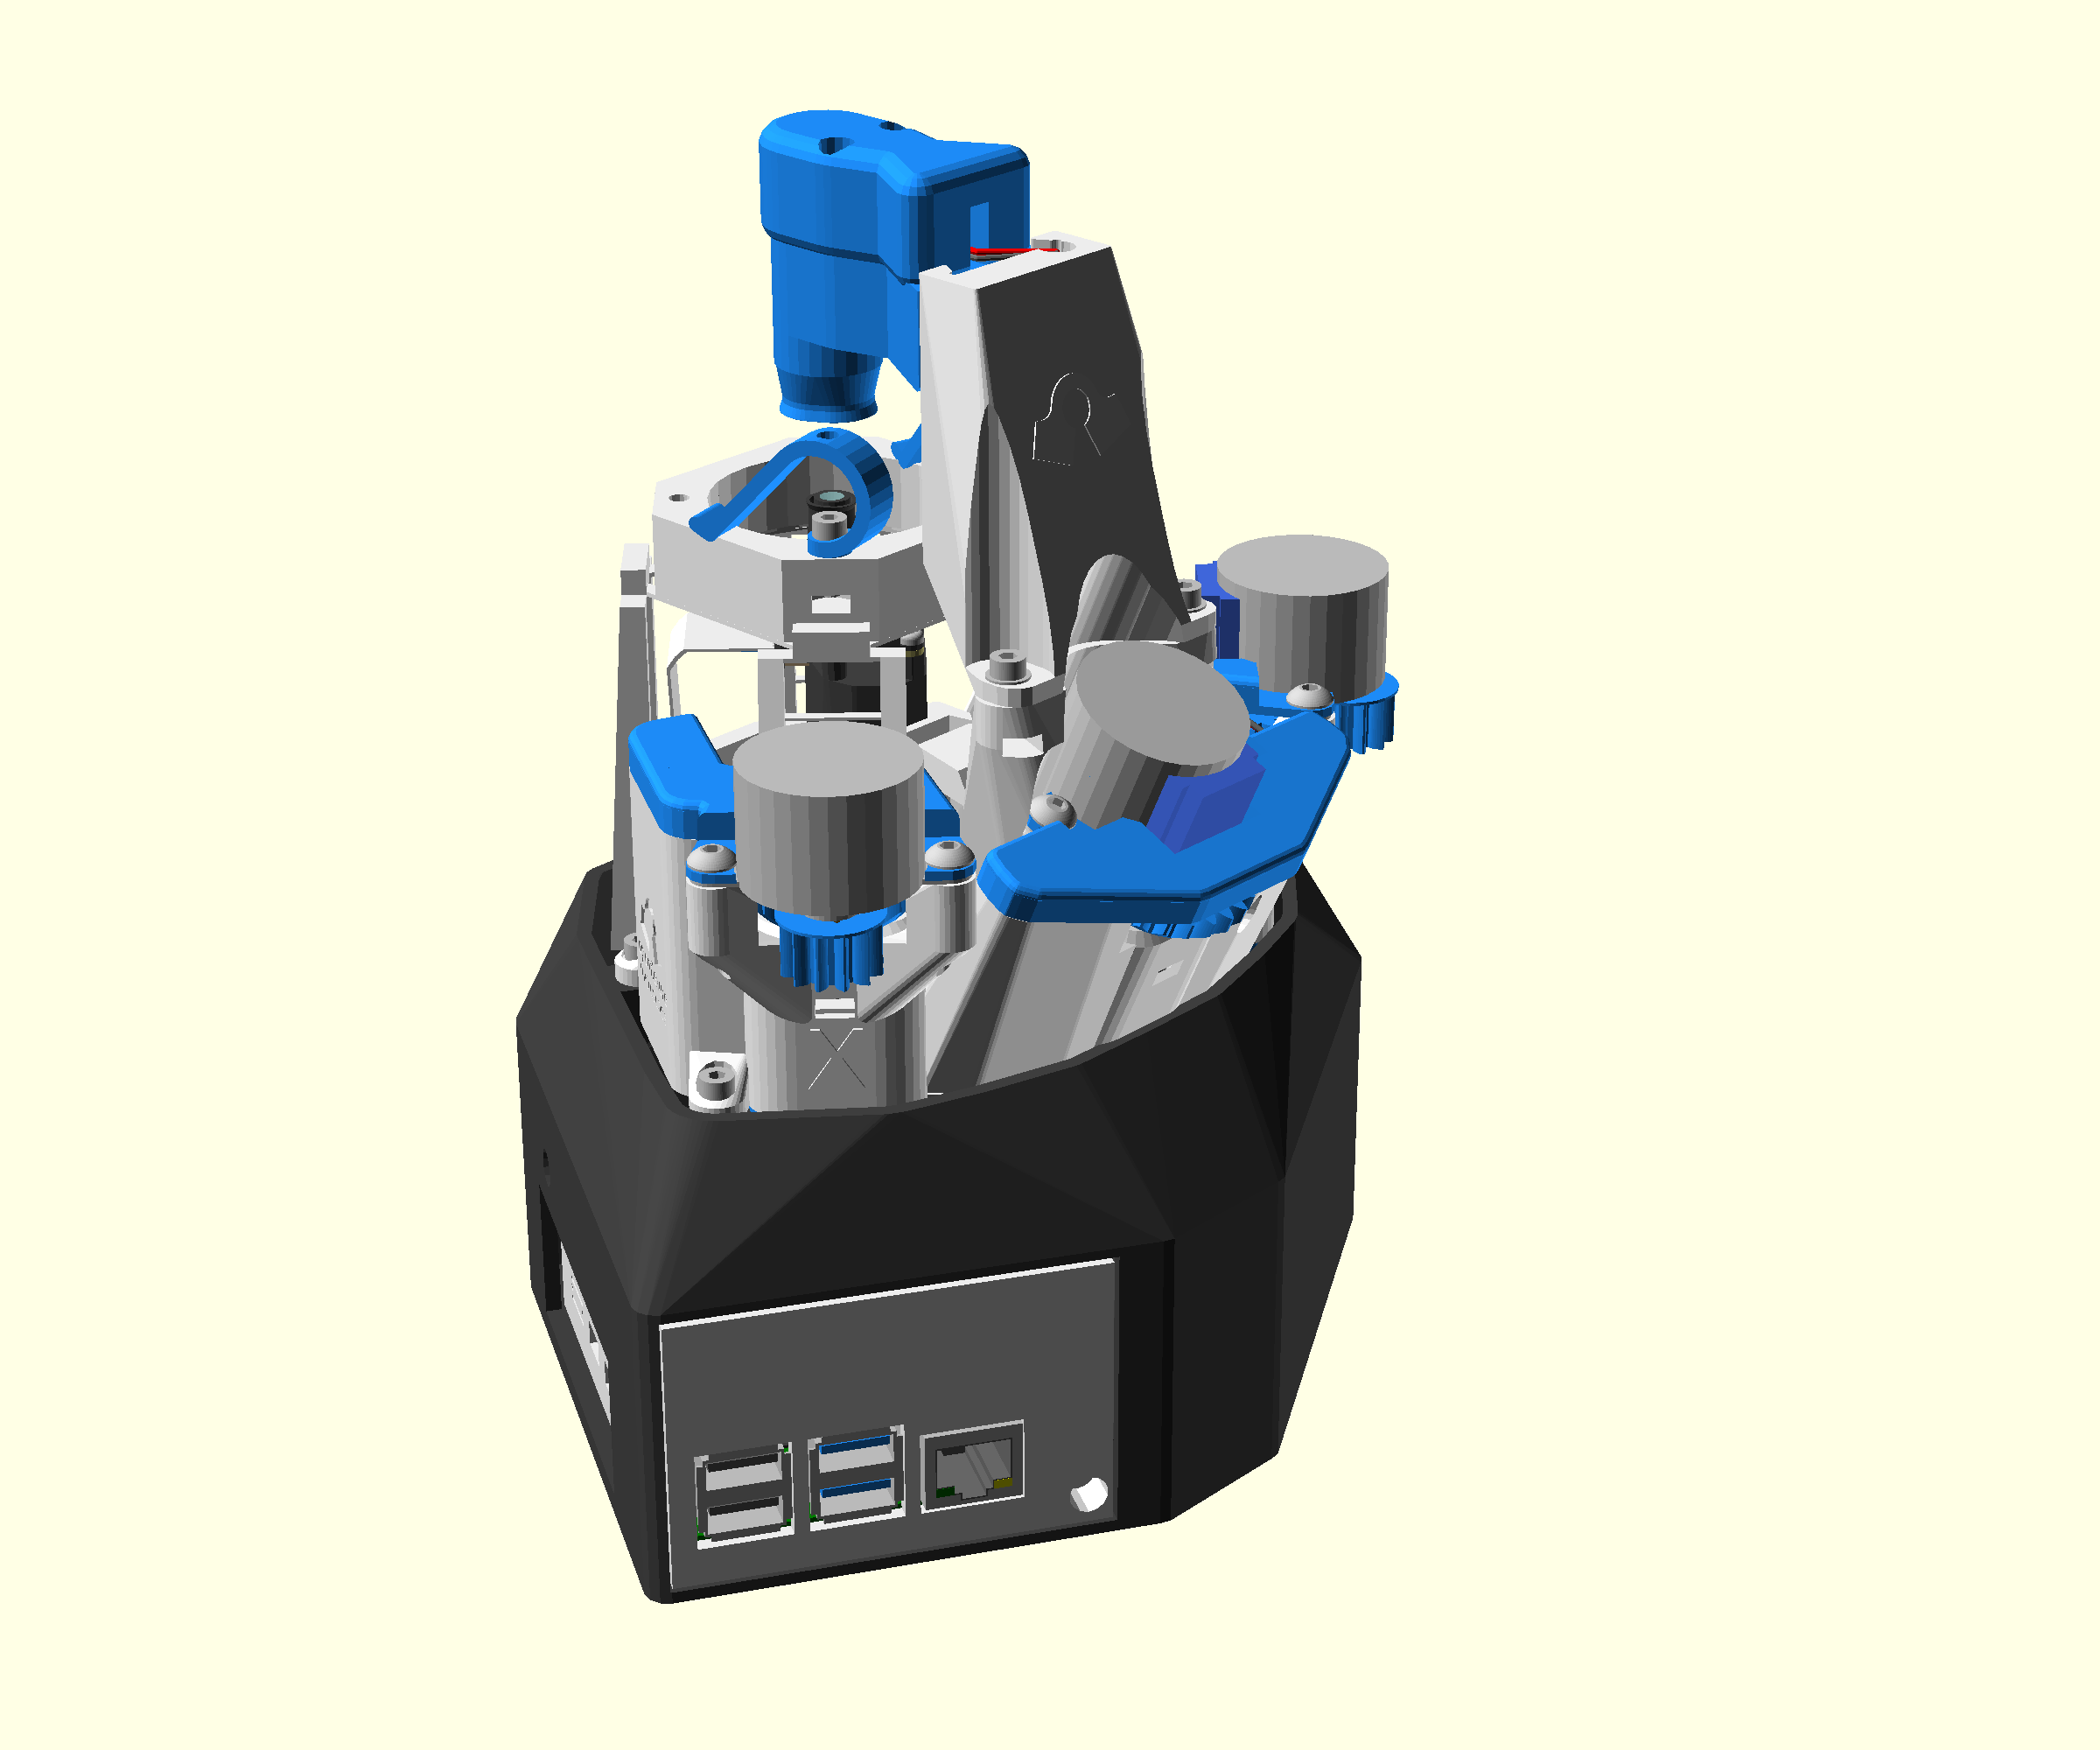
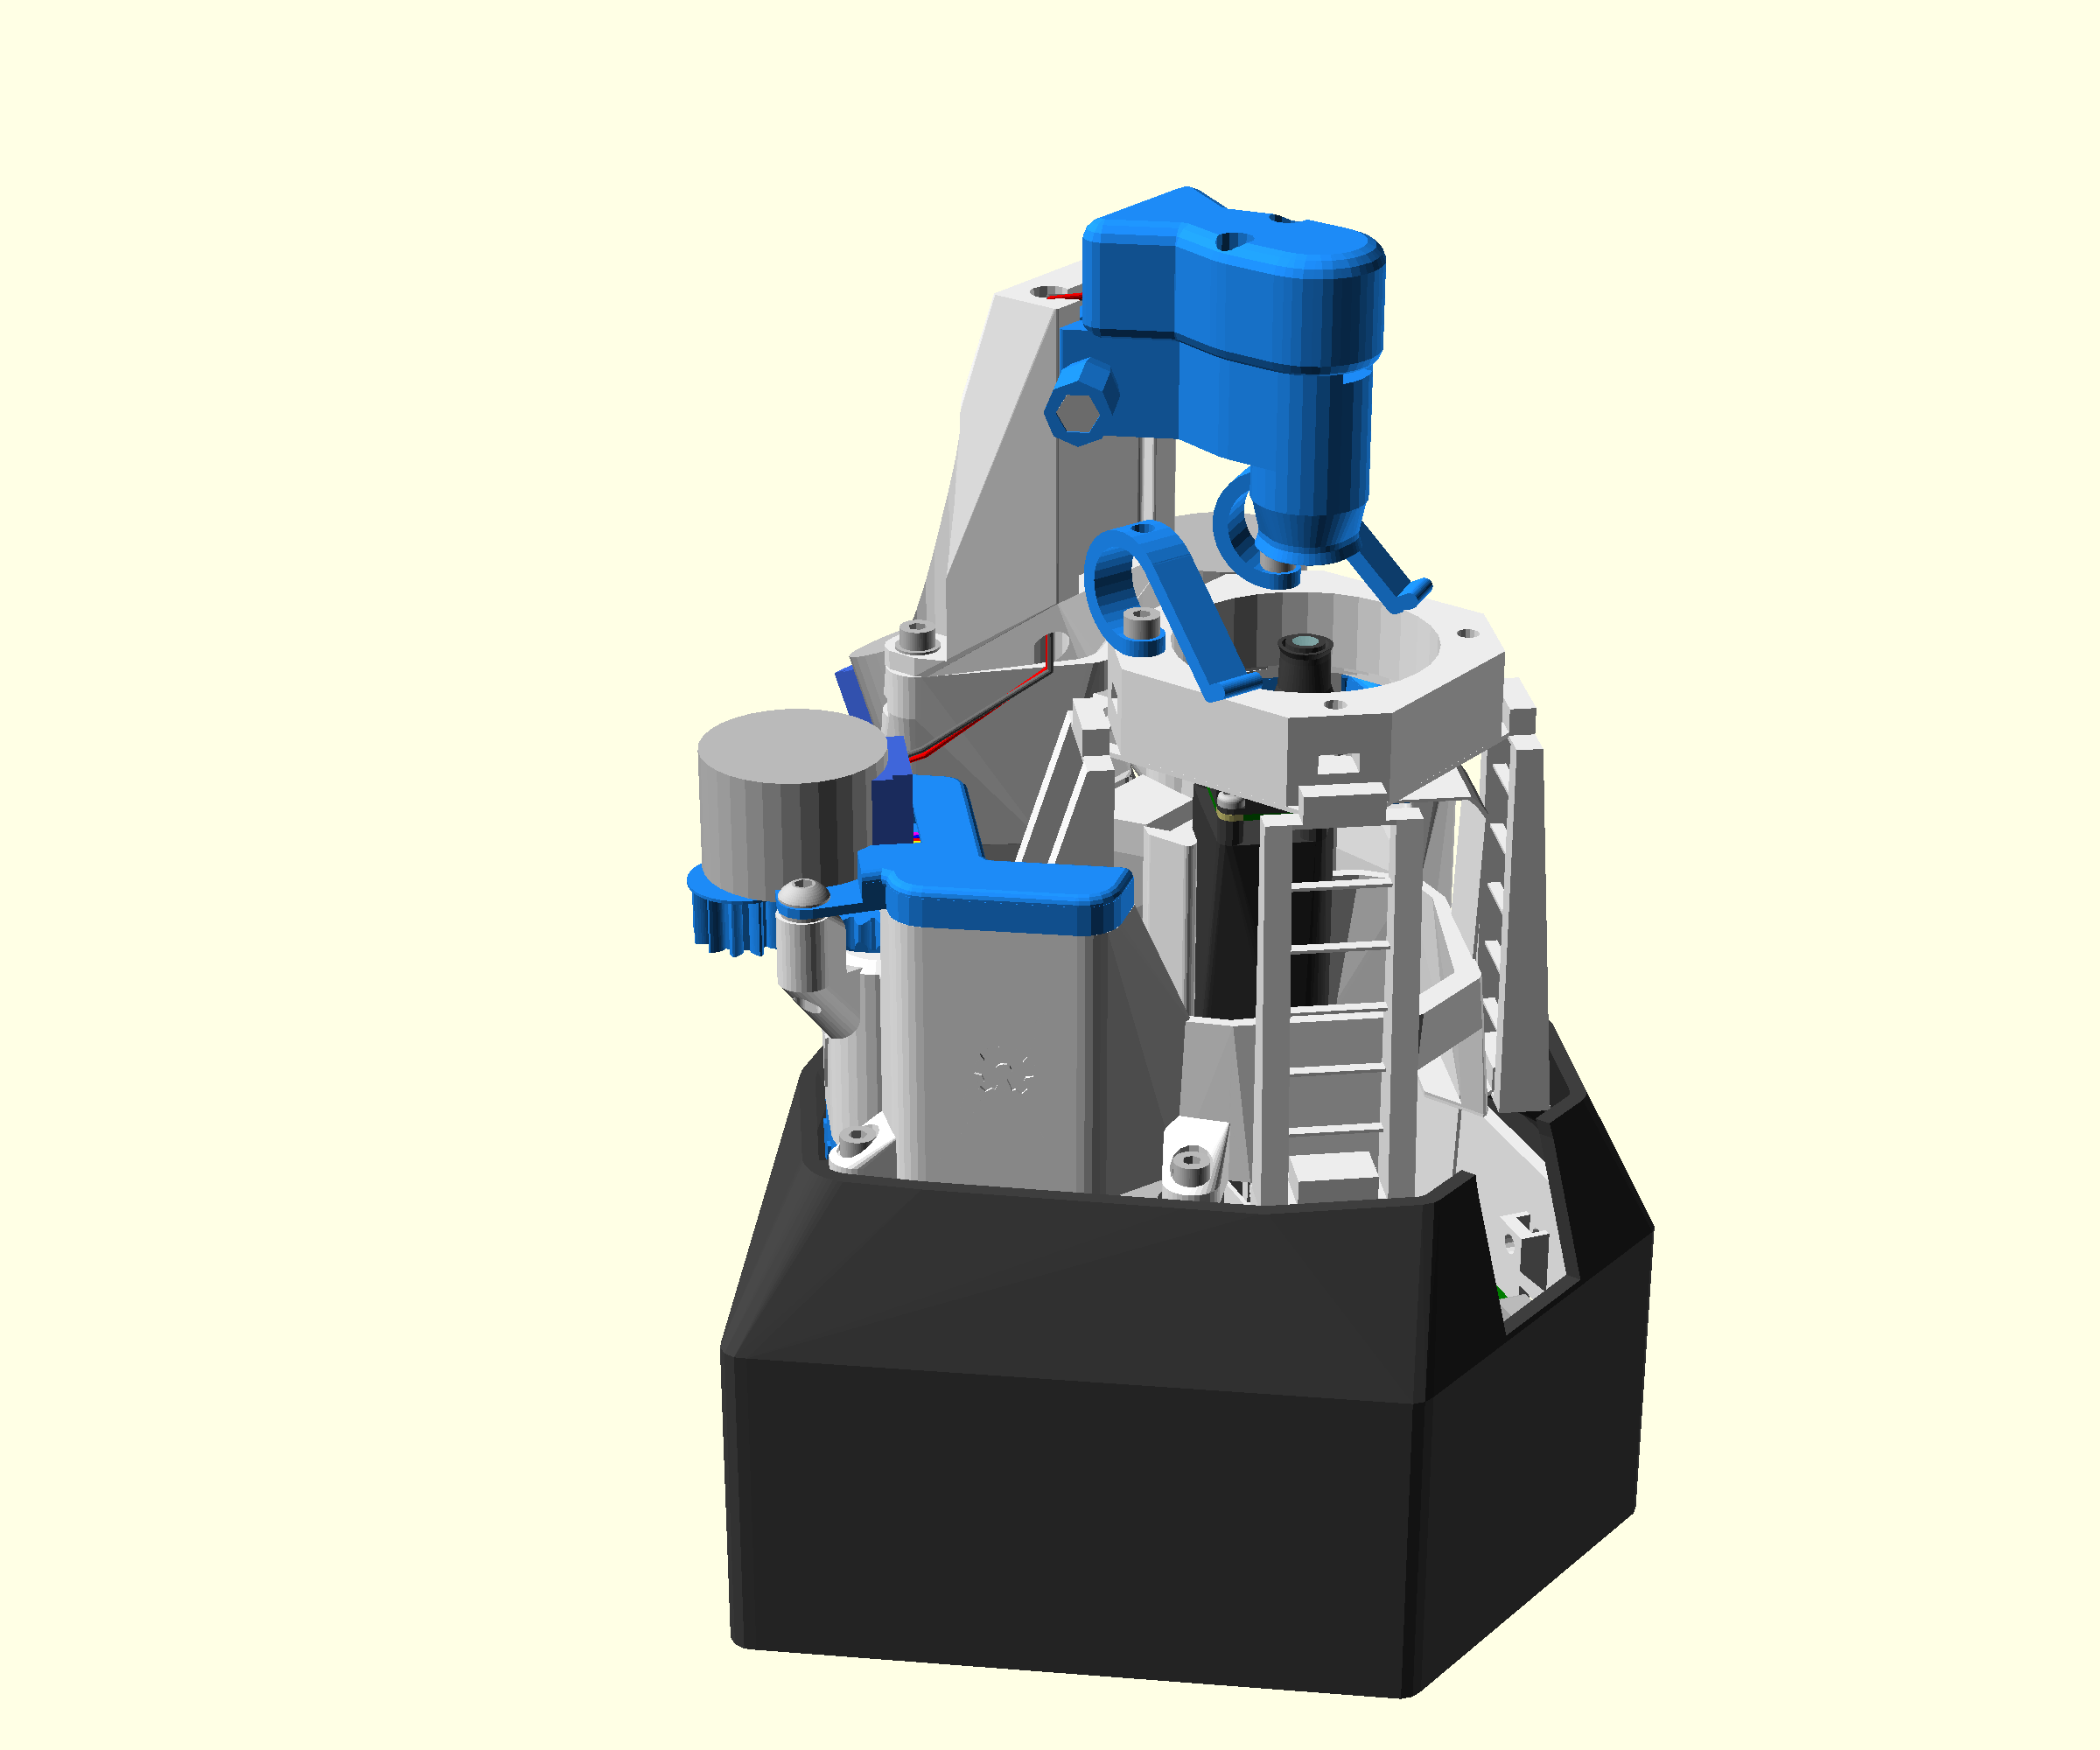
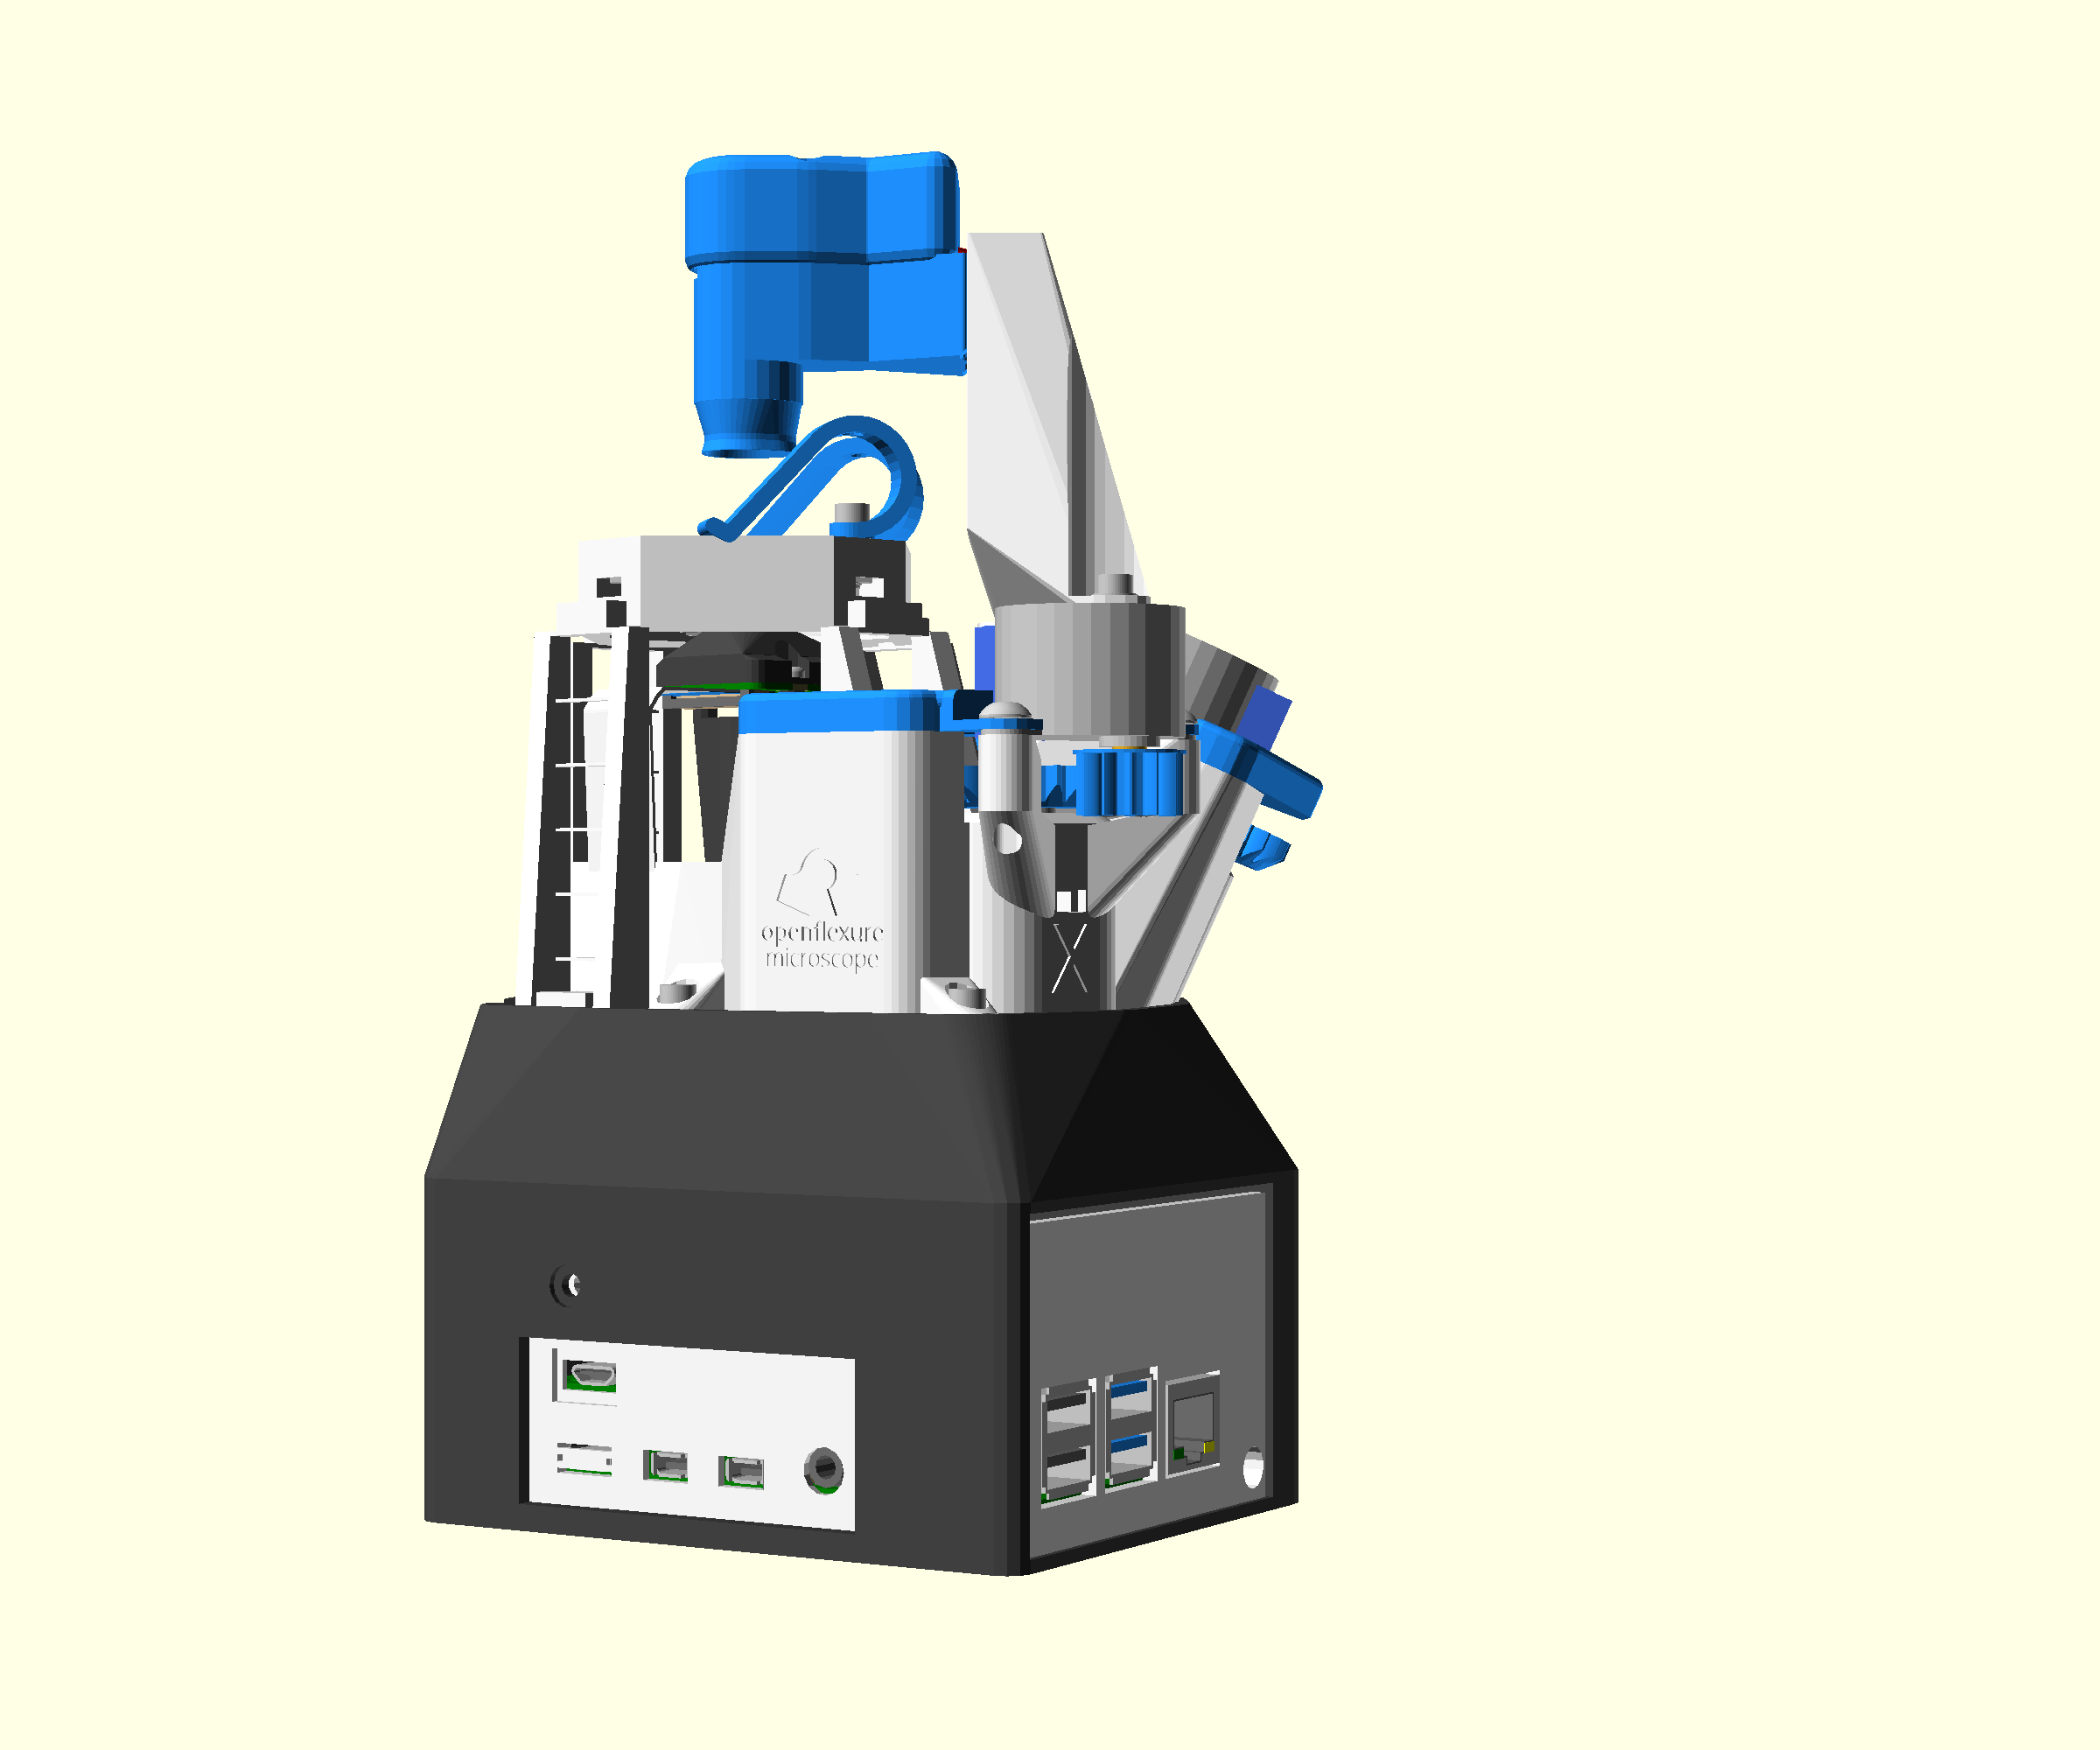
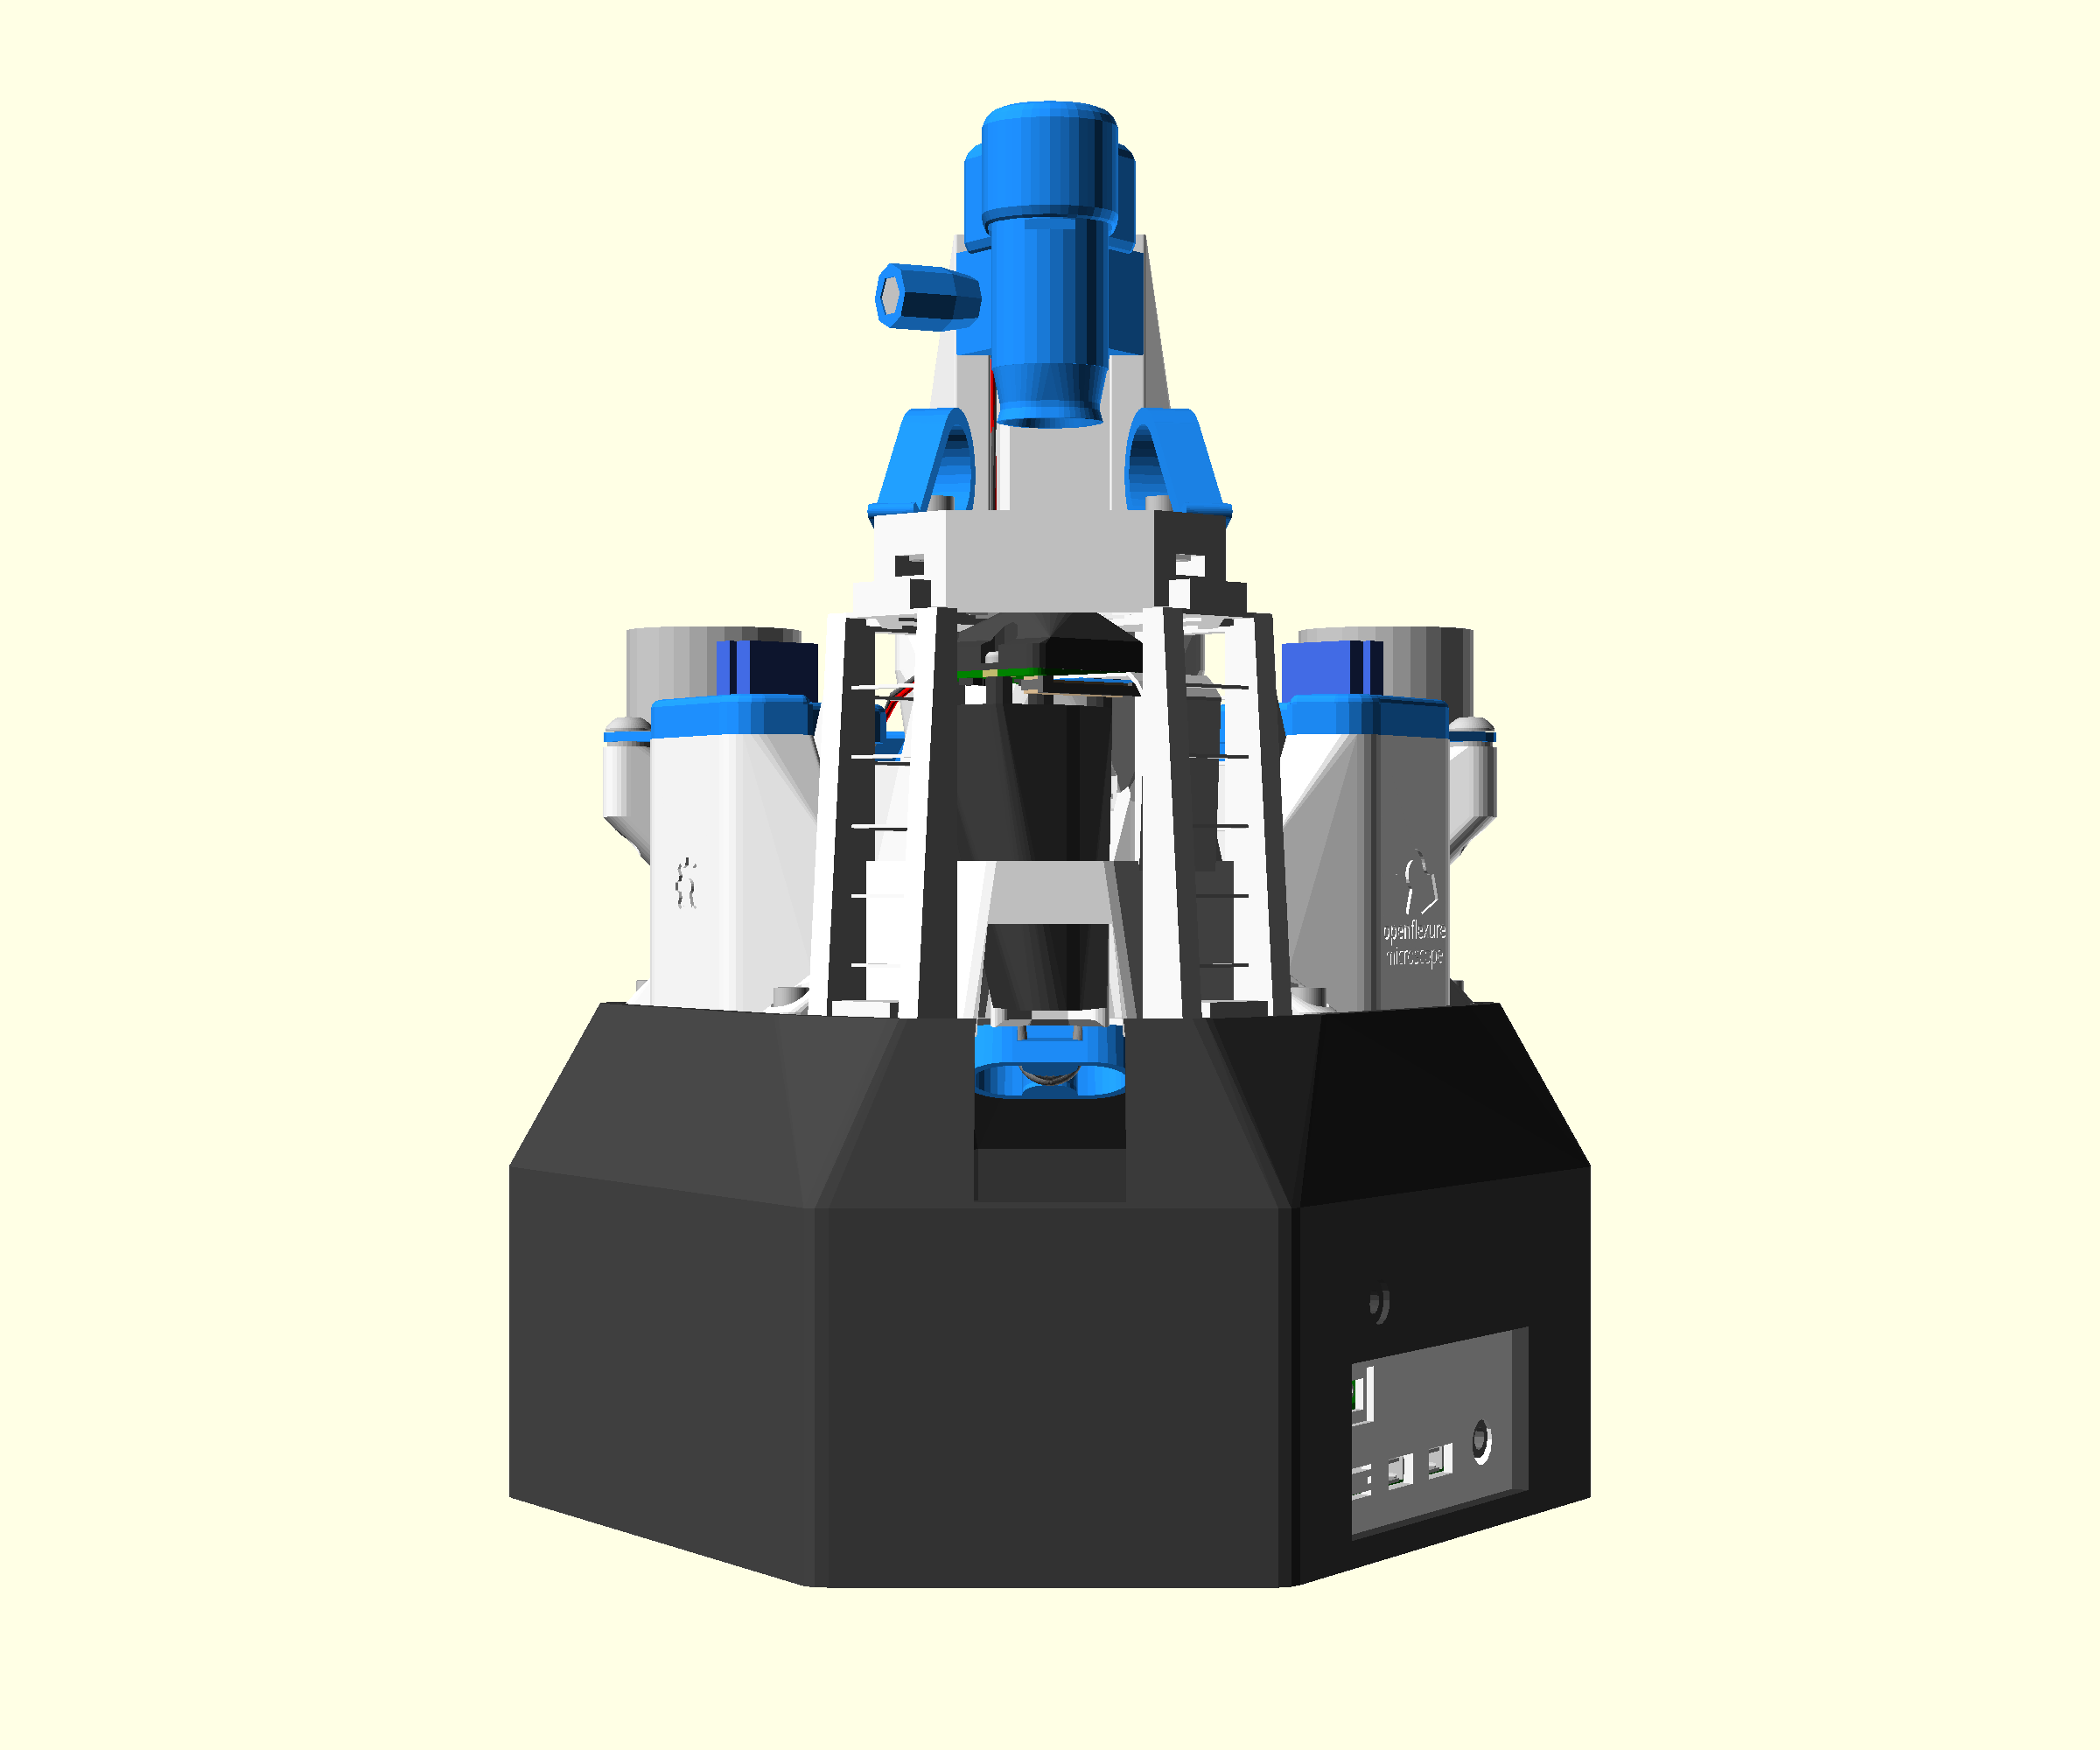
Your completed microscope should now look like these pictures.
Step 2: Software set-up
Setting up the software is not yet included in these instructions. It is detailed on the website, in the "Install" page. Using the software is described in the "control" page.