 Assembly Instructions
Test your printer
- 3D printing
If you have bought the plastic parts you can skip this step!
Step 1: Set your printer settings
All microscope parts can be printed out of PLA filament on most RepRap-style printers.
We recommend the following printer settings:
| Setting | Value |
|---|---|
| Material | PLA |
| Layer height | 0.2mm or less |
| Supports | None |
| Infill | Printer default |
| Brim | Recommended for all parts except main body. |
| Slice gap closing radius | 0.001mm |
Do not print with supports.
The microscope has been designed to print without supports. Supports will damage the mechanism.
The microscope body has a custom brim included in the STL, and the condenser lens and optics module also contain small gaps. This may require you to set the slice gap closing radius.
As a general rule, strength is more important than surface finish, so very thin layers (less than 0.15mm or so) are unlikely to result in a microscope that performs any better, though it may approve the appearance.
Step 2: Testing your printer
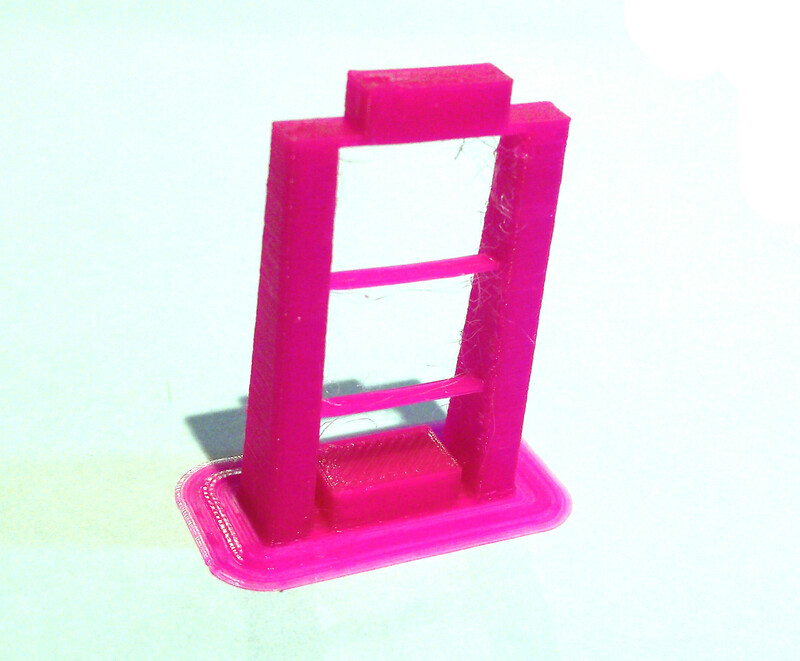
Now we will test whether your printer can print the bridges in the microscope. Download and print the leg test file this will only use about 5 grams of PLA:
The result should look like this (this has been printed with a brim):