Assembly Instructions
Print the plastic parts
If you have bought the plastic parts you can skip this step!
For this section you will need:
Tools
- 1 precision wire cutters
- 1 RepRap-style printer
- 1 utility knife - Not a scalpel!
Materials
- 50 g of Black PLA filament
- 200 g of PLA filament - Of any colour you want. Two contrasting colours may look best.
Step 1: Printing
The microscope body has a custom brim included in the STL. This may require custom print settings.
Now you have tested your printer and filament you can print the following parts:
- Actuator assembly tools (nut tool, band tool, and band tool cover): actuator_assembly_tools.stl
- Lens tool: lens_tool.stl
- Main body: main_body.stl - The smart brim may require custom print settings.
- 3 cable tidy caps: cable_tidies.stl
- Sample clips: sample_clips.stl
- Microscope stand: microscope_stand.stl
- Electronics drawer: electronics_drawer.stl
- 3 small gears: small_gears.stl
- Illumination dovetail: illumination_dovetail.stl
- Condenser arm: condenser.stl
- Condenser board spacer: condenser_board_spacer.stl
- Condenser lid: condenser_lid.stl
- Illumination thumbscrew: illumination_thumbscrew.stl
- 3 large gears: large_gears.stl
- 3 feet: feet.stl
- Optics module: optics_picamera_2_rms_f50d13.stl - This must be printed in black!

- pi camera cover: picamera_2_cover.stl
You can download all of the STLs as a single zipfile
Step 2: Clean-up of printed parts
Be careful when removing brim
To avoid injury first remove the bulk of the brim without a knife. Remove the remaining brim with a peeling action as described below.
Carefully remove the printing brim from all parts (except the main body).
To remove brim:
- Use precision wire cutters to remove most of the brim from the part.
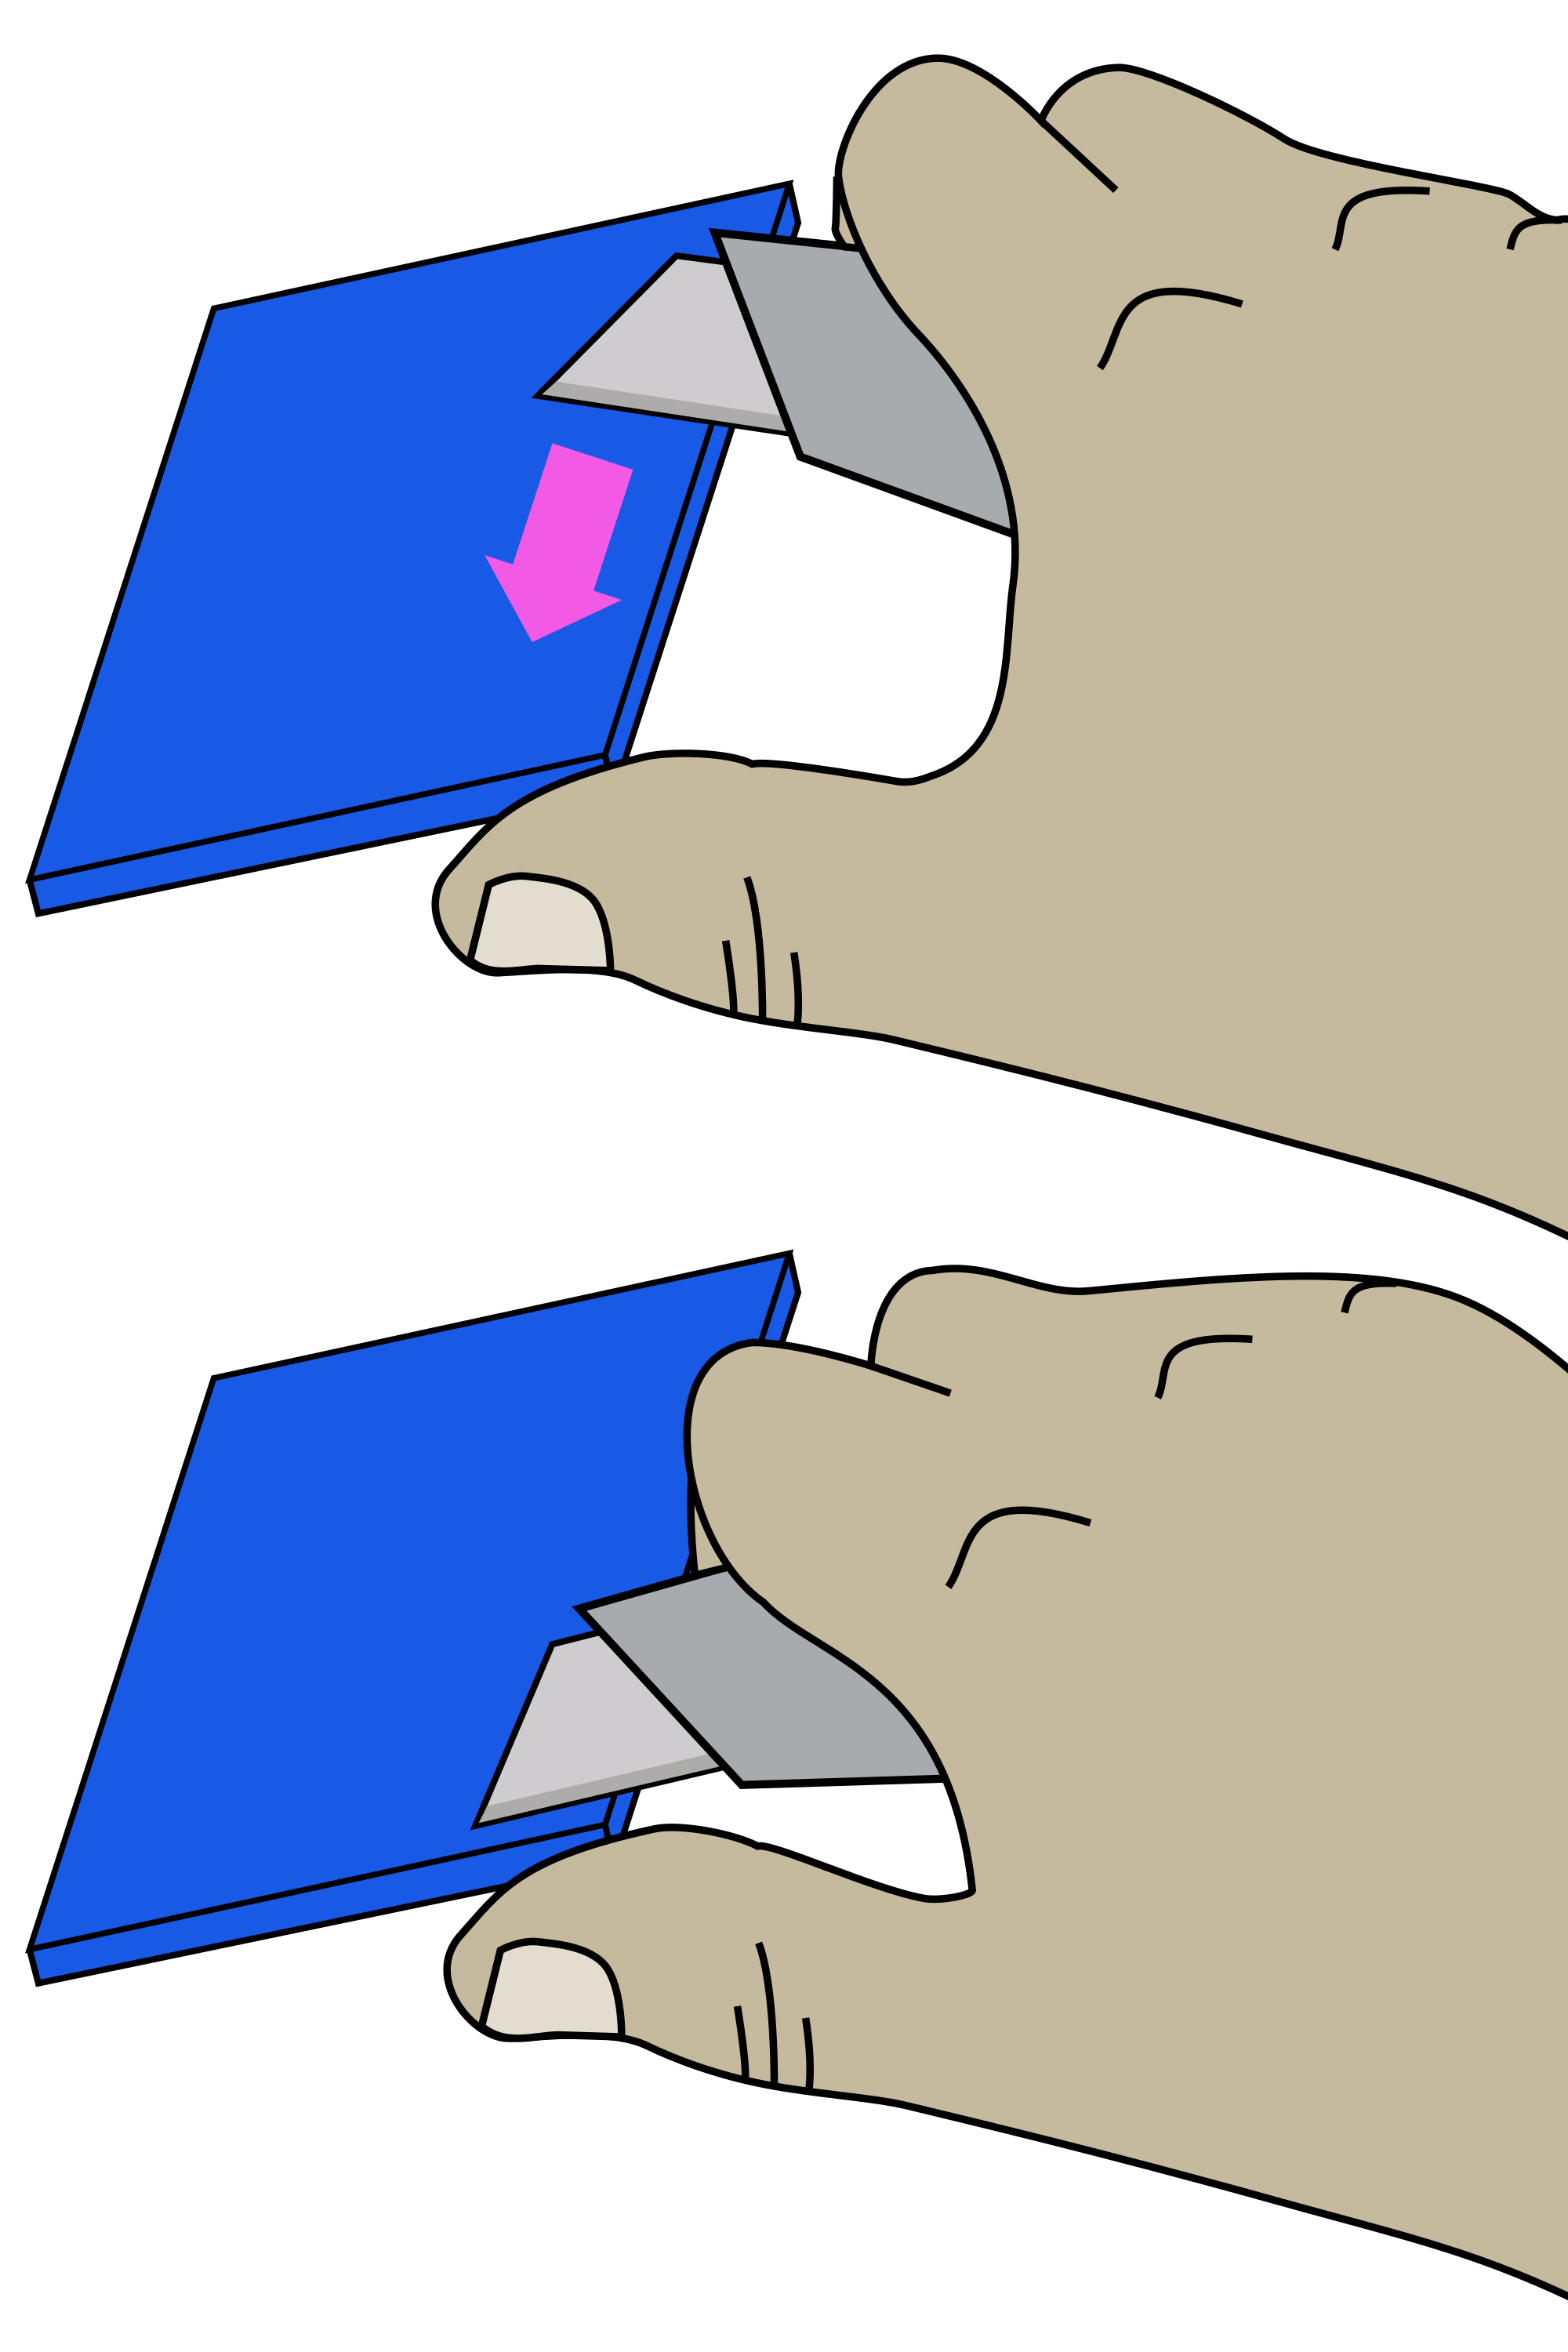
- Clean up remaining brim with a utility knife:
- Hold the knife in your dominant hand with 4 fingers curled around the handle, leaving thumb free.
- Hold the part in your other hand, as far away from the surface to be cut as possible.
- Support the part with the thumb of your dominant hand.
- Place blade on surface to be cut, and carefully close your dominant hand moving the blade, under control, towards your thumb.