Prepare the parts
Step 1: Remove brim
If you used any brim during printing, remove it with your fingers, or pliers. Deburring tools or other sharp tools can be used to trim off the remaining brim, but care must be taken to avoid injury. A small amount of residual brim will not adversely affect the block stage's operation.
Step 2: Cut the ties
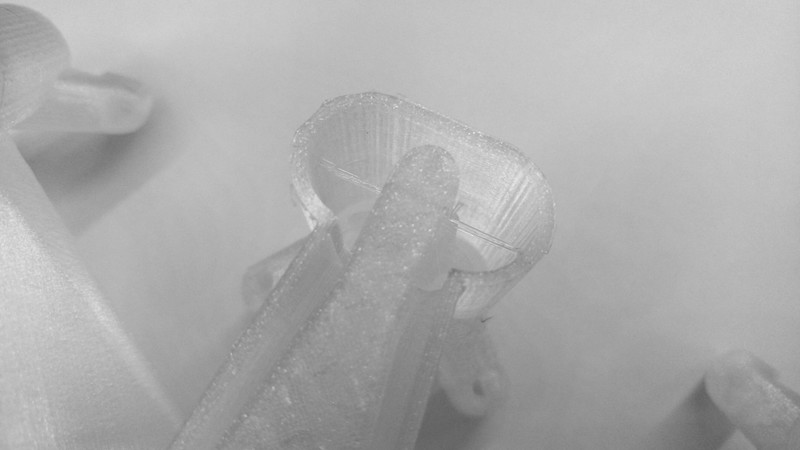
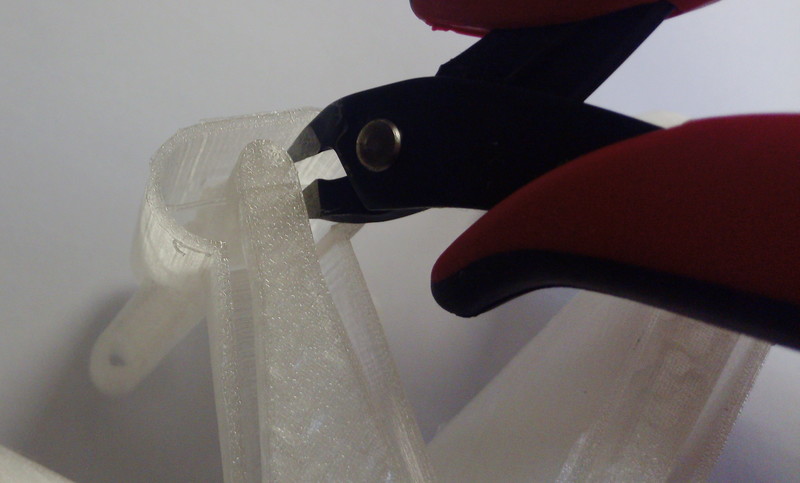
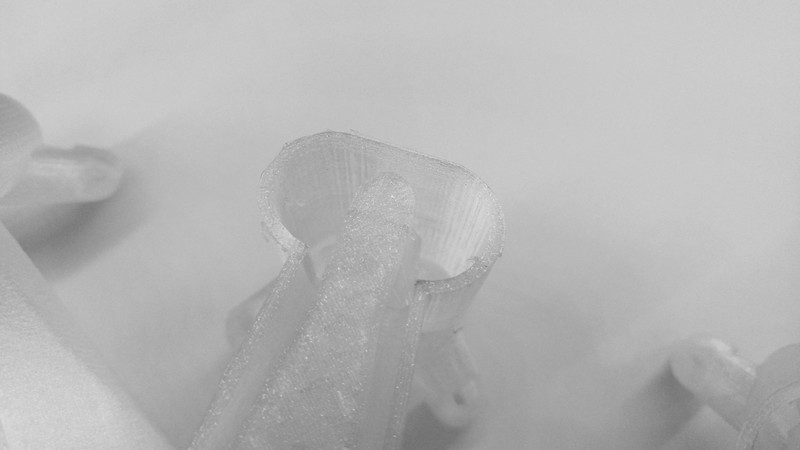
On the main body there are small plastic ties which help the actuator columns stay aligned when printing. Use precision wire cutters to cut these ties. There are two ties to cut inside each column.
Step 3: Tapping the holes at the sides of the the stages
The holes on the fixed stage are somewhat triangular. This is to allow a normal machine screw to easily make a thread.
Do not use a normal M3 tap, it will sit too low in the hole and damage the plastic.
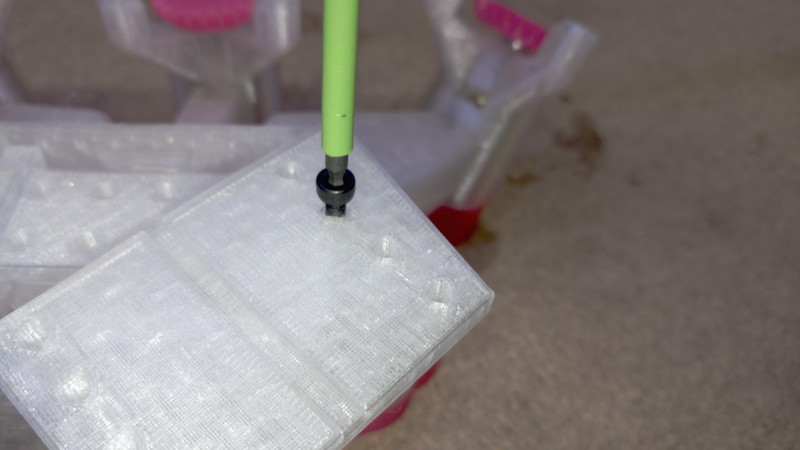
Tap a hole (make the tread) on the moving stage using a normal [M3x6mm screw] by screwing a screw into it. Make sure to hold the screw vertical and then drive it into the plastic until it reaches the bottom. Do not over torque the screw or you will damage the plastic. You can now remove the screw.
The holes do not go all the way through the stage, as they would not print properly otherwise. This means you must be very careful not to "bottom out" the screw: if you screw it in more than 3-4mm, you are likely to damage the part.
Repeat for all eight holes on the fixed stage.
Repeat this process to tap the 8 holes at the edge of the moving platform.