
Attach the sample clips
For this section you will need:
Parts
Tools
Mechanical Components
Step 1: Prepare the sample clips


- Take one sample clip.
- Insert an M3x10 cap screw through the hole at the end of the clip.
- Repeat for the other clip
Step 2: Attaching the sample clips

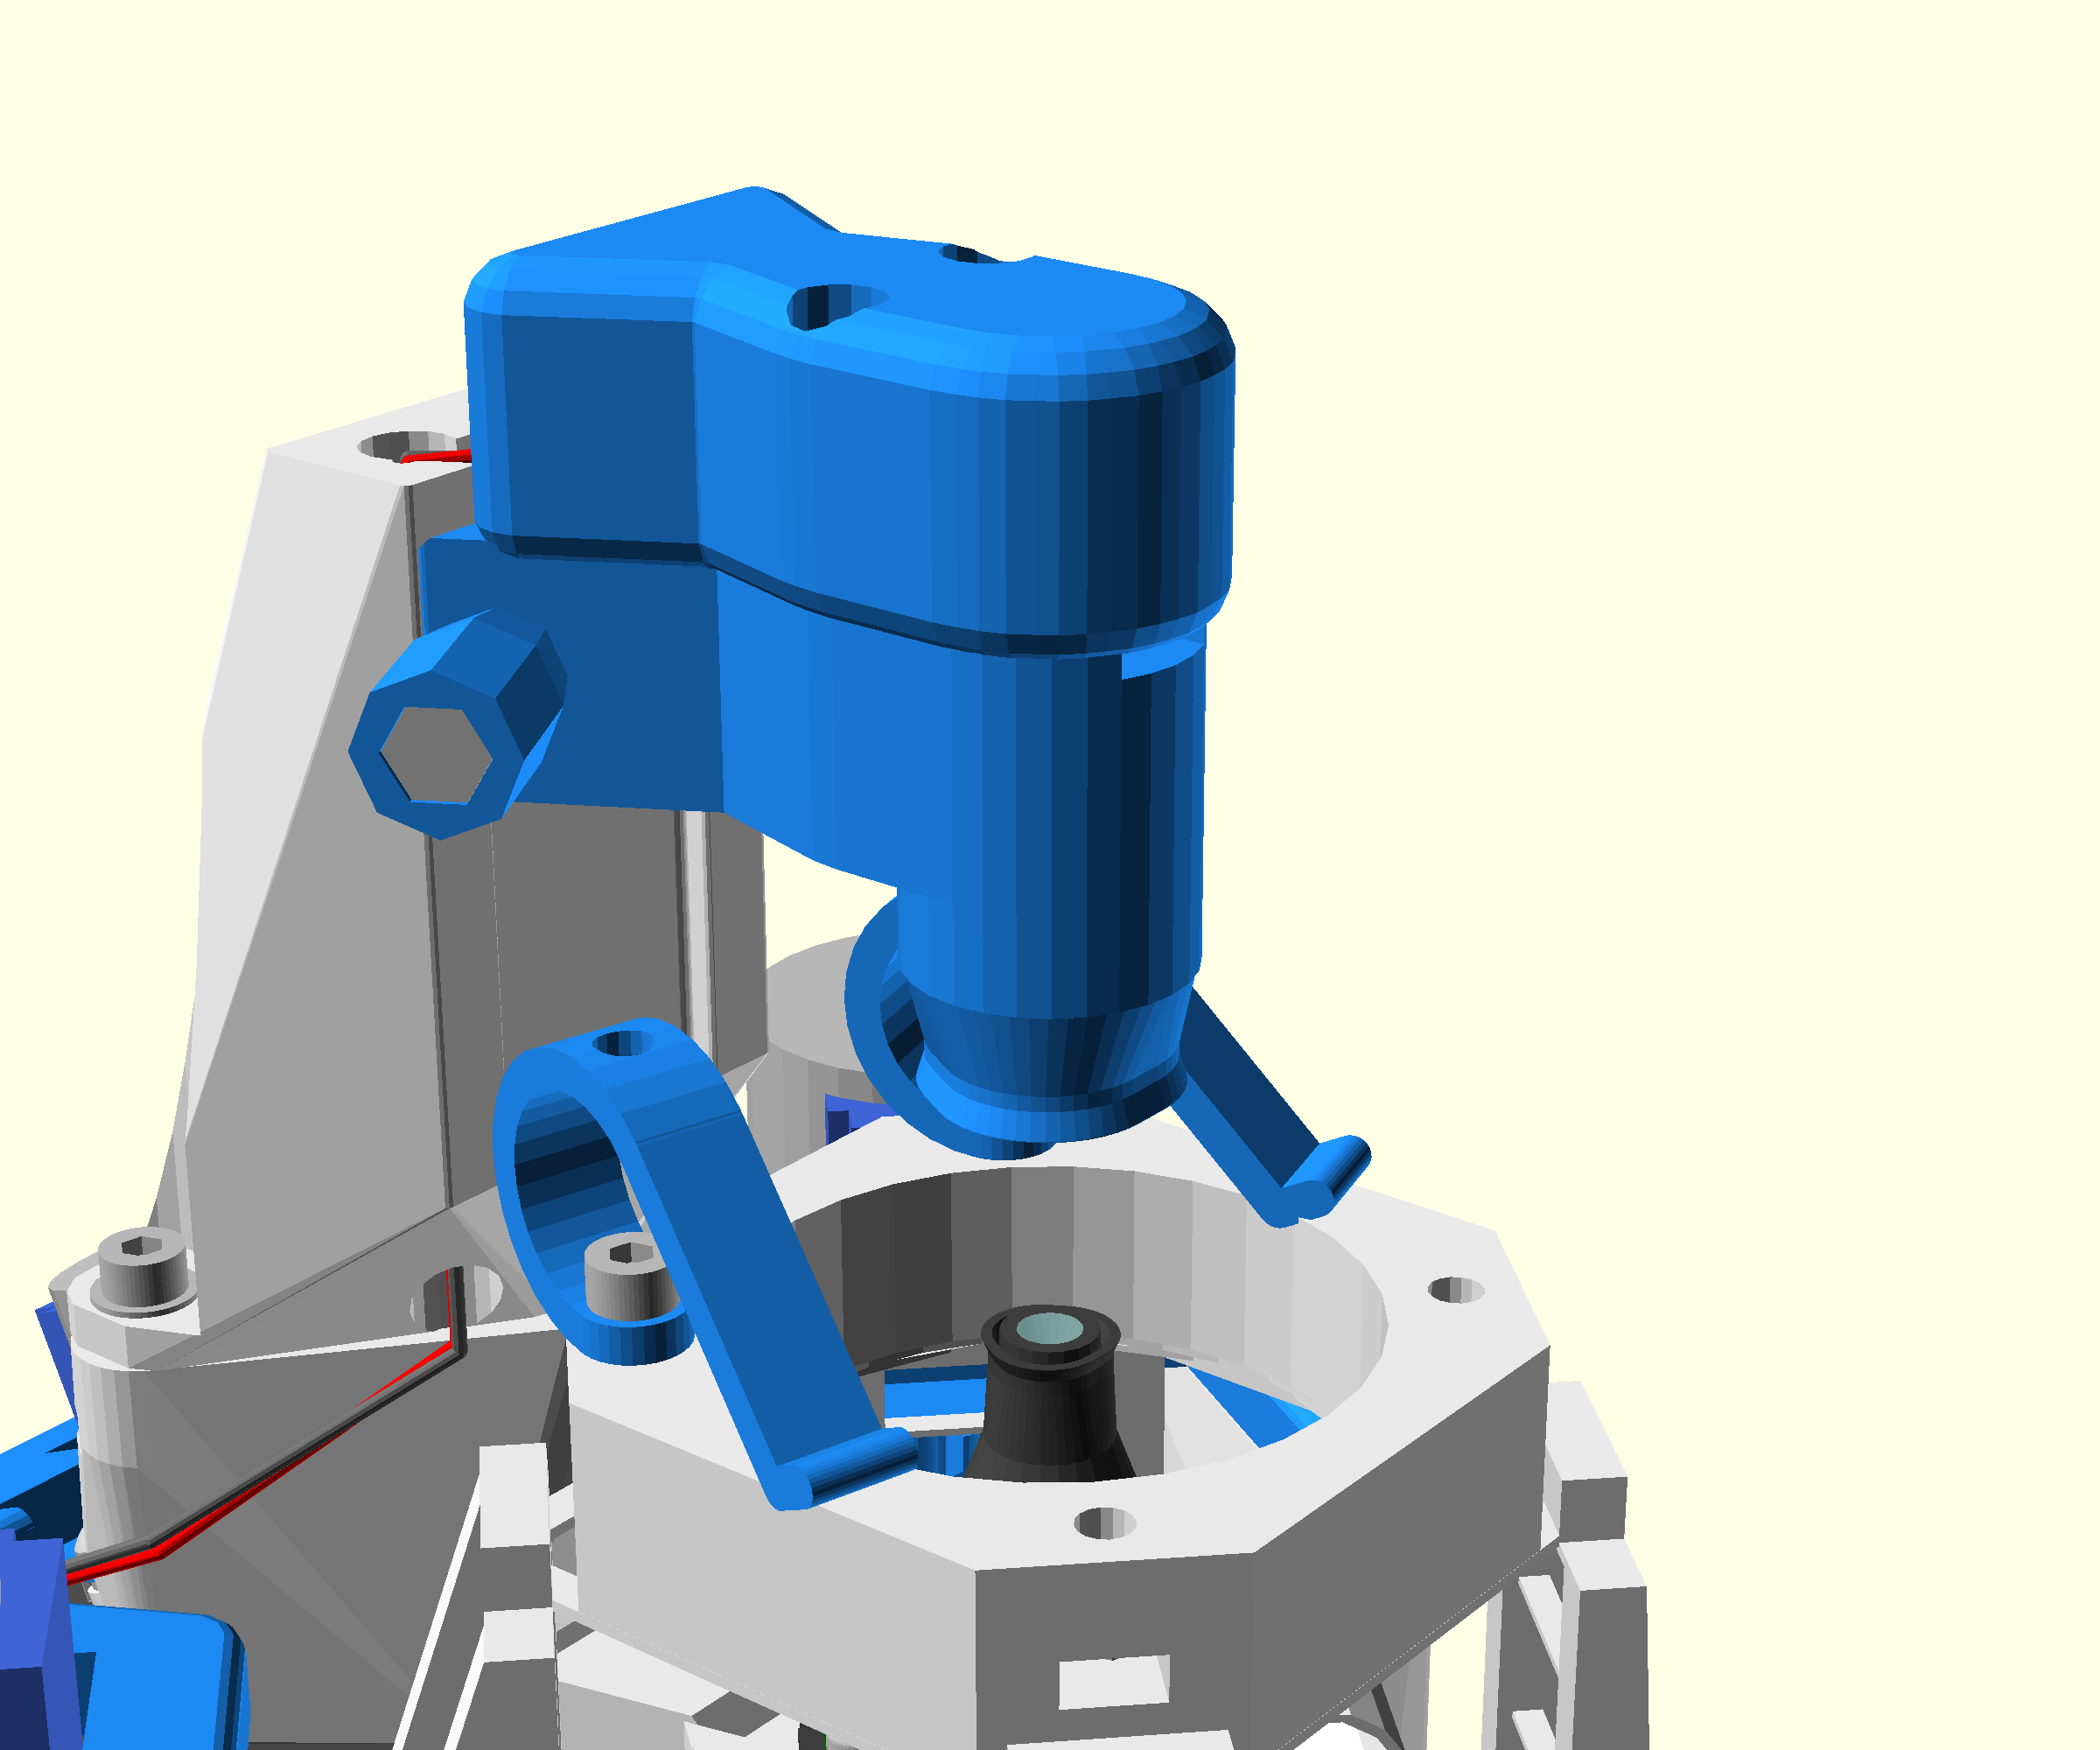
- Insert a 2.5mm Ball-end Allen key through the hole in the curved part of a clip, and into the screw.
- Screw the clip down onto the microscope stage.
- Repeat for the other clip.