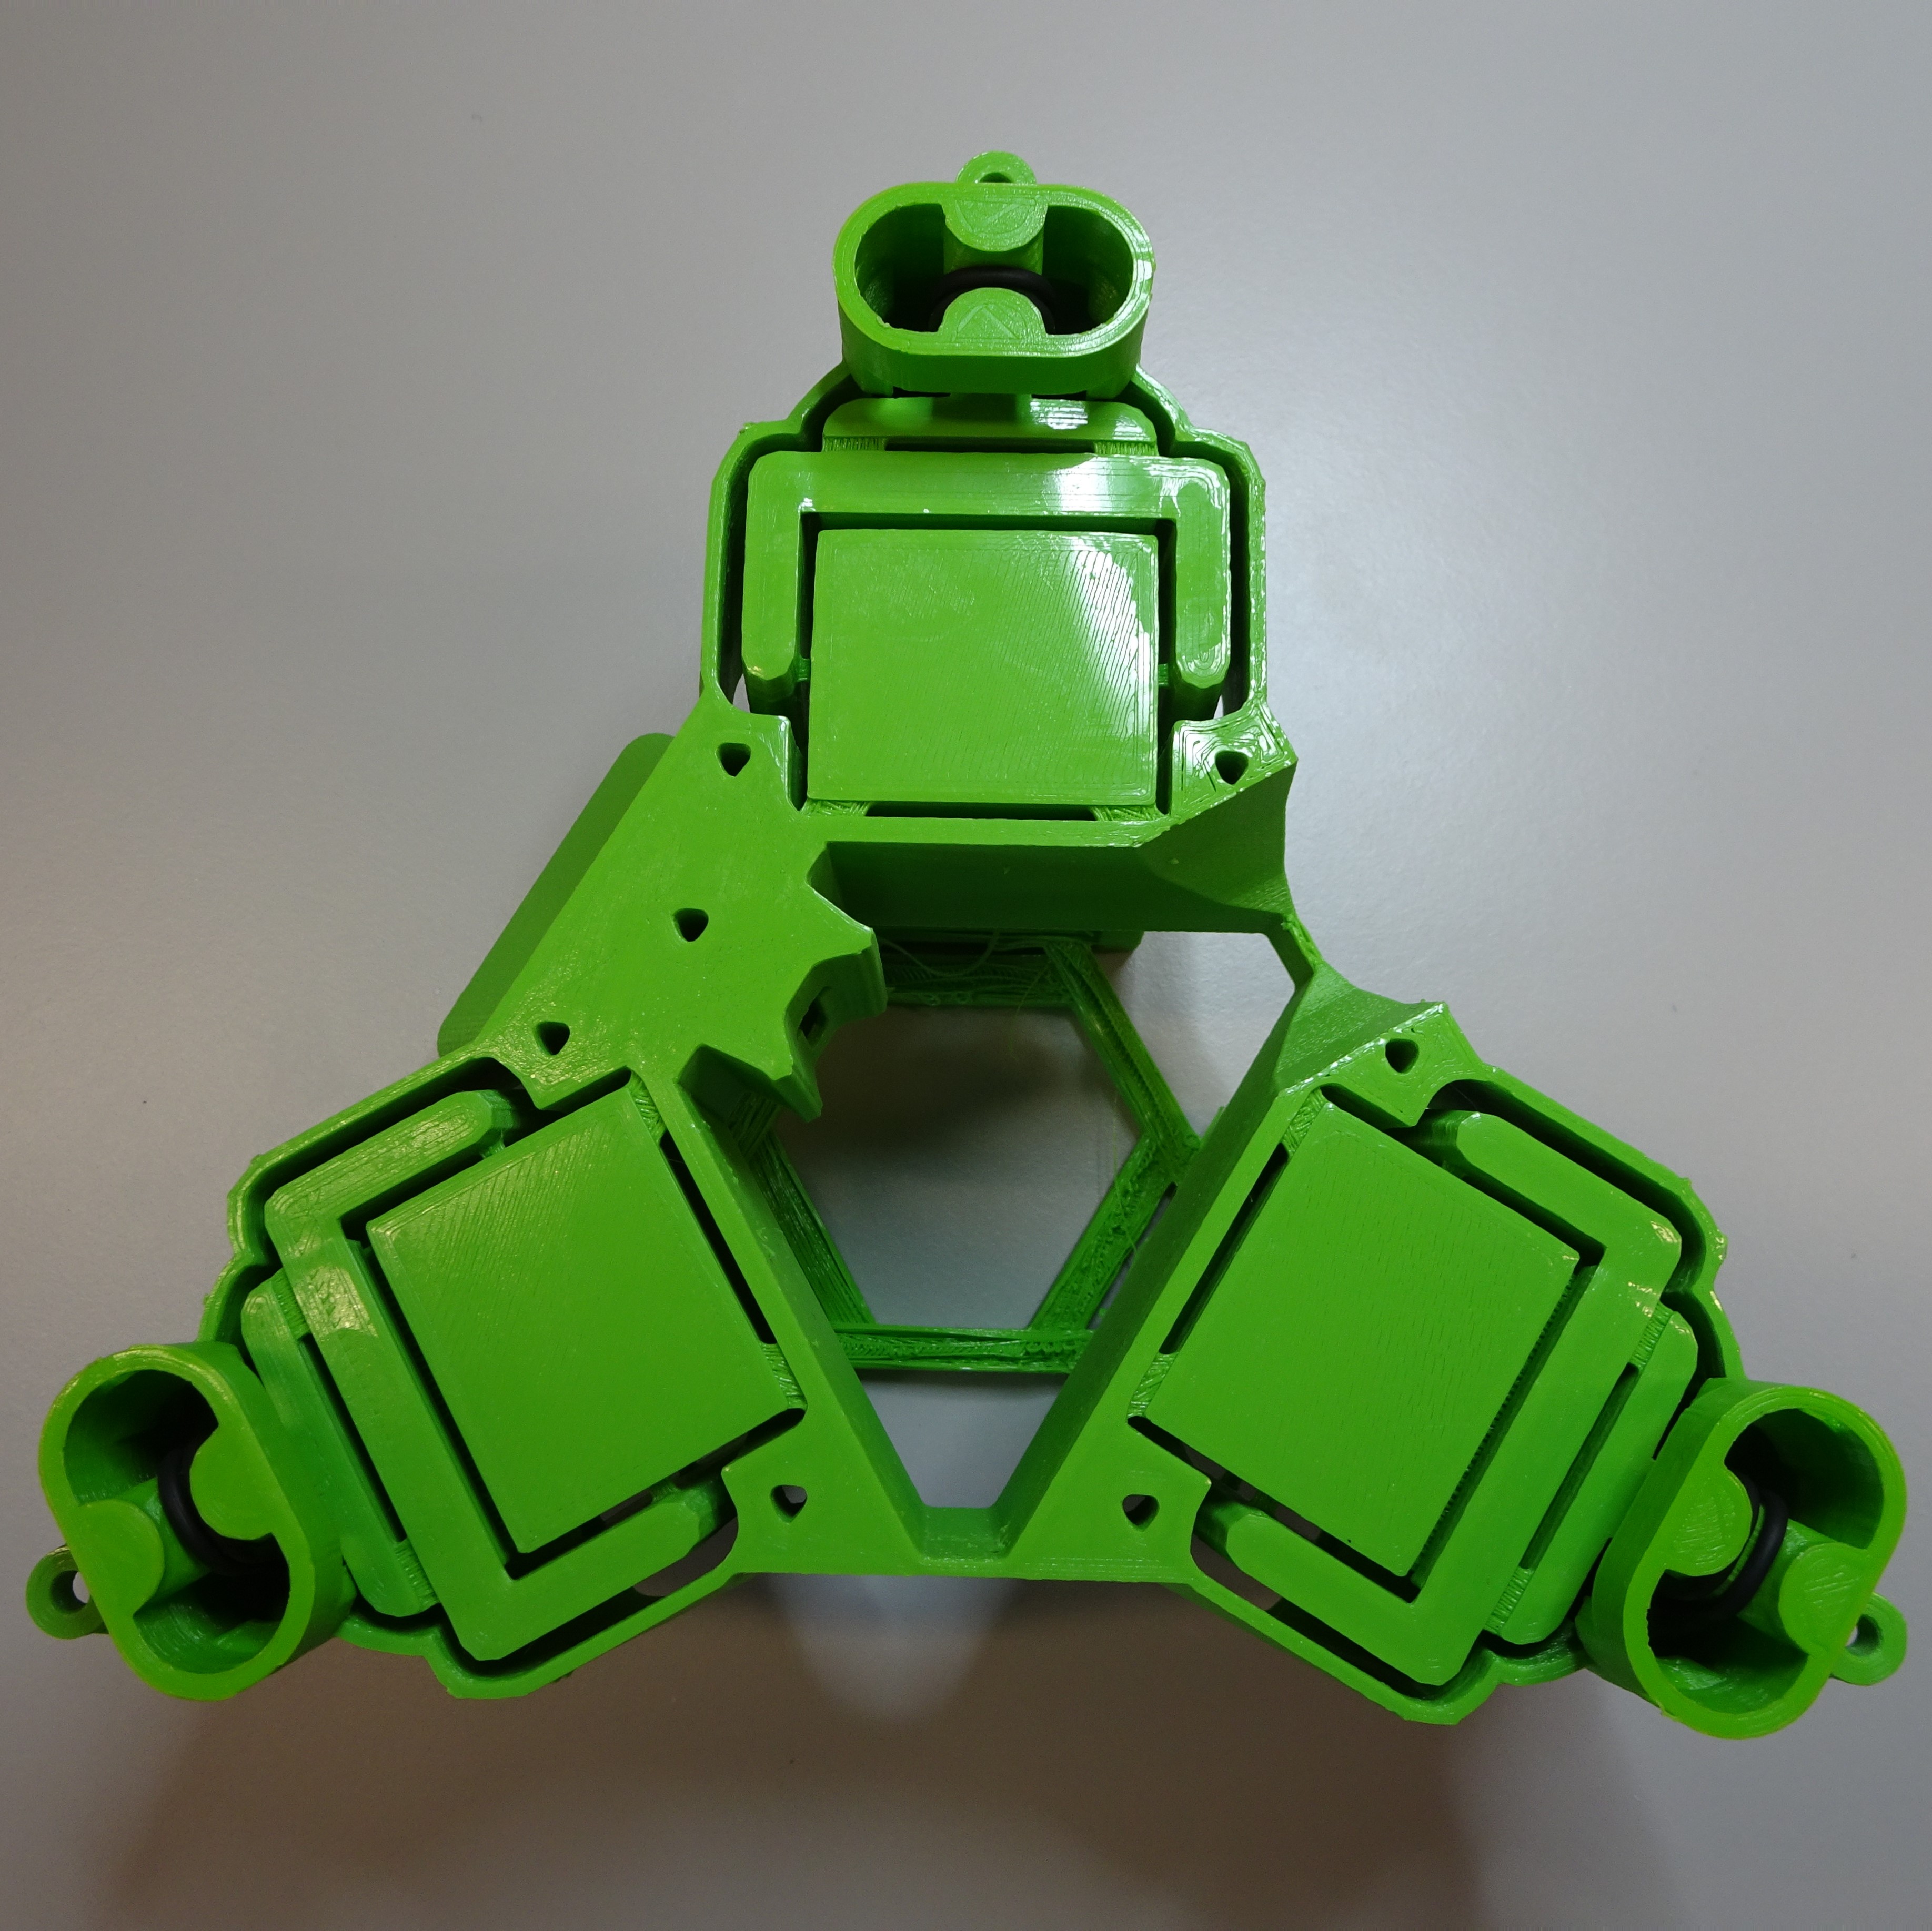
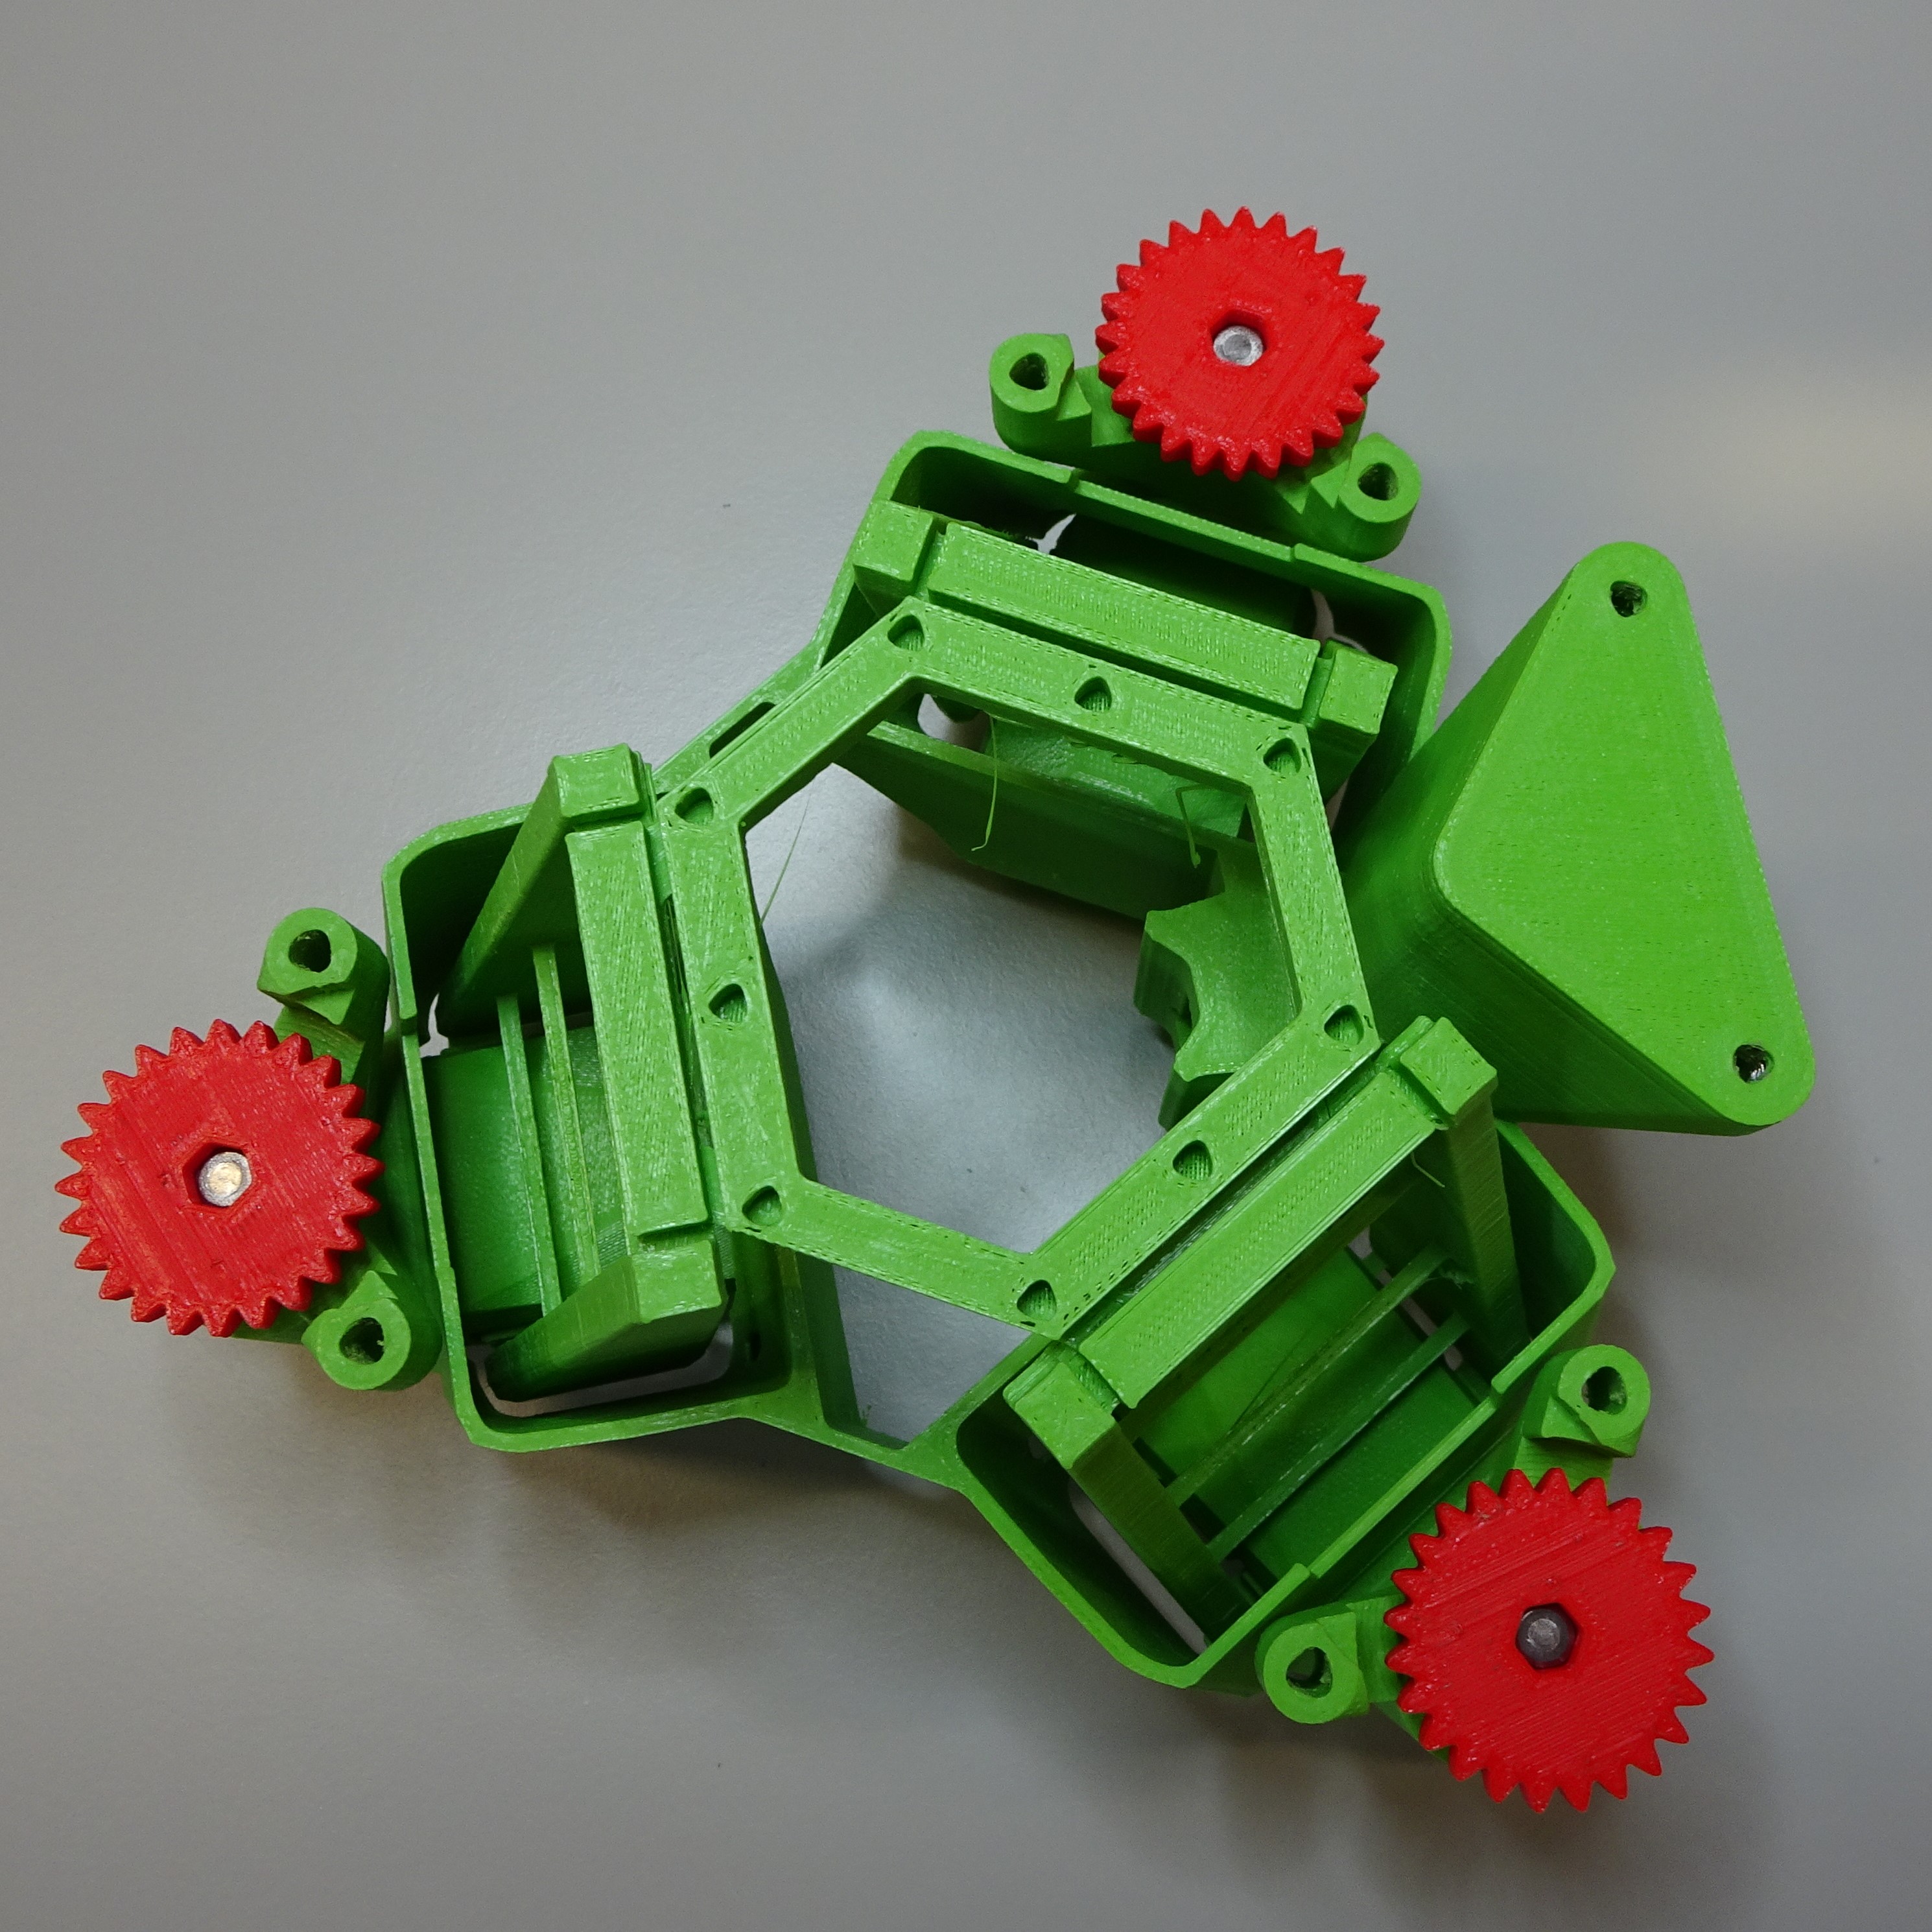
Assembling the actuators
These instructions show you how to assemble the actuators, to drive the motion of the stage.
Parts
- 6 M3 washer
- small amount light oil
- 3 O-ring
- 3 M3x25mm hex head screw
- 3 brass M3 nut
Tools
Printed tools
3D printed parts
- 3 feet All three feet are in the one file.
- 3 large gear
- 1 main body
Method
Step 1: Cut the ties
For printing stability, on the main body there are two plastic ties in every actuator. Cut these out, either using a craft knife or wire cutters.
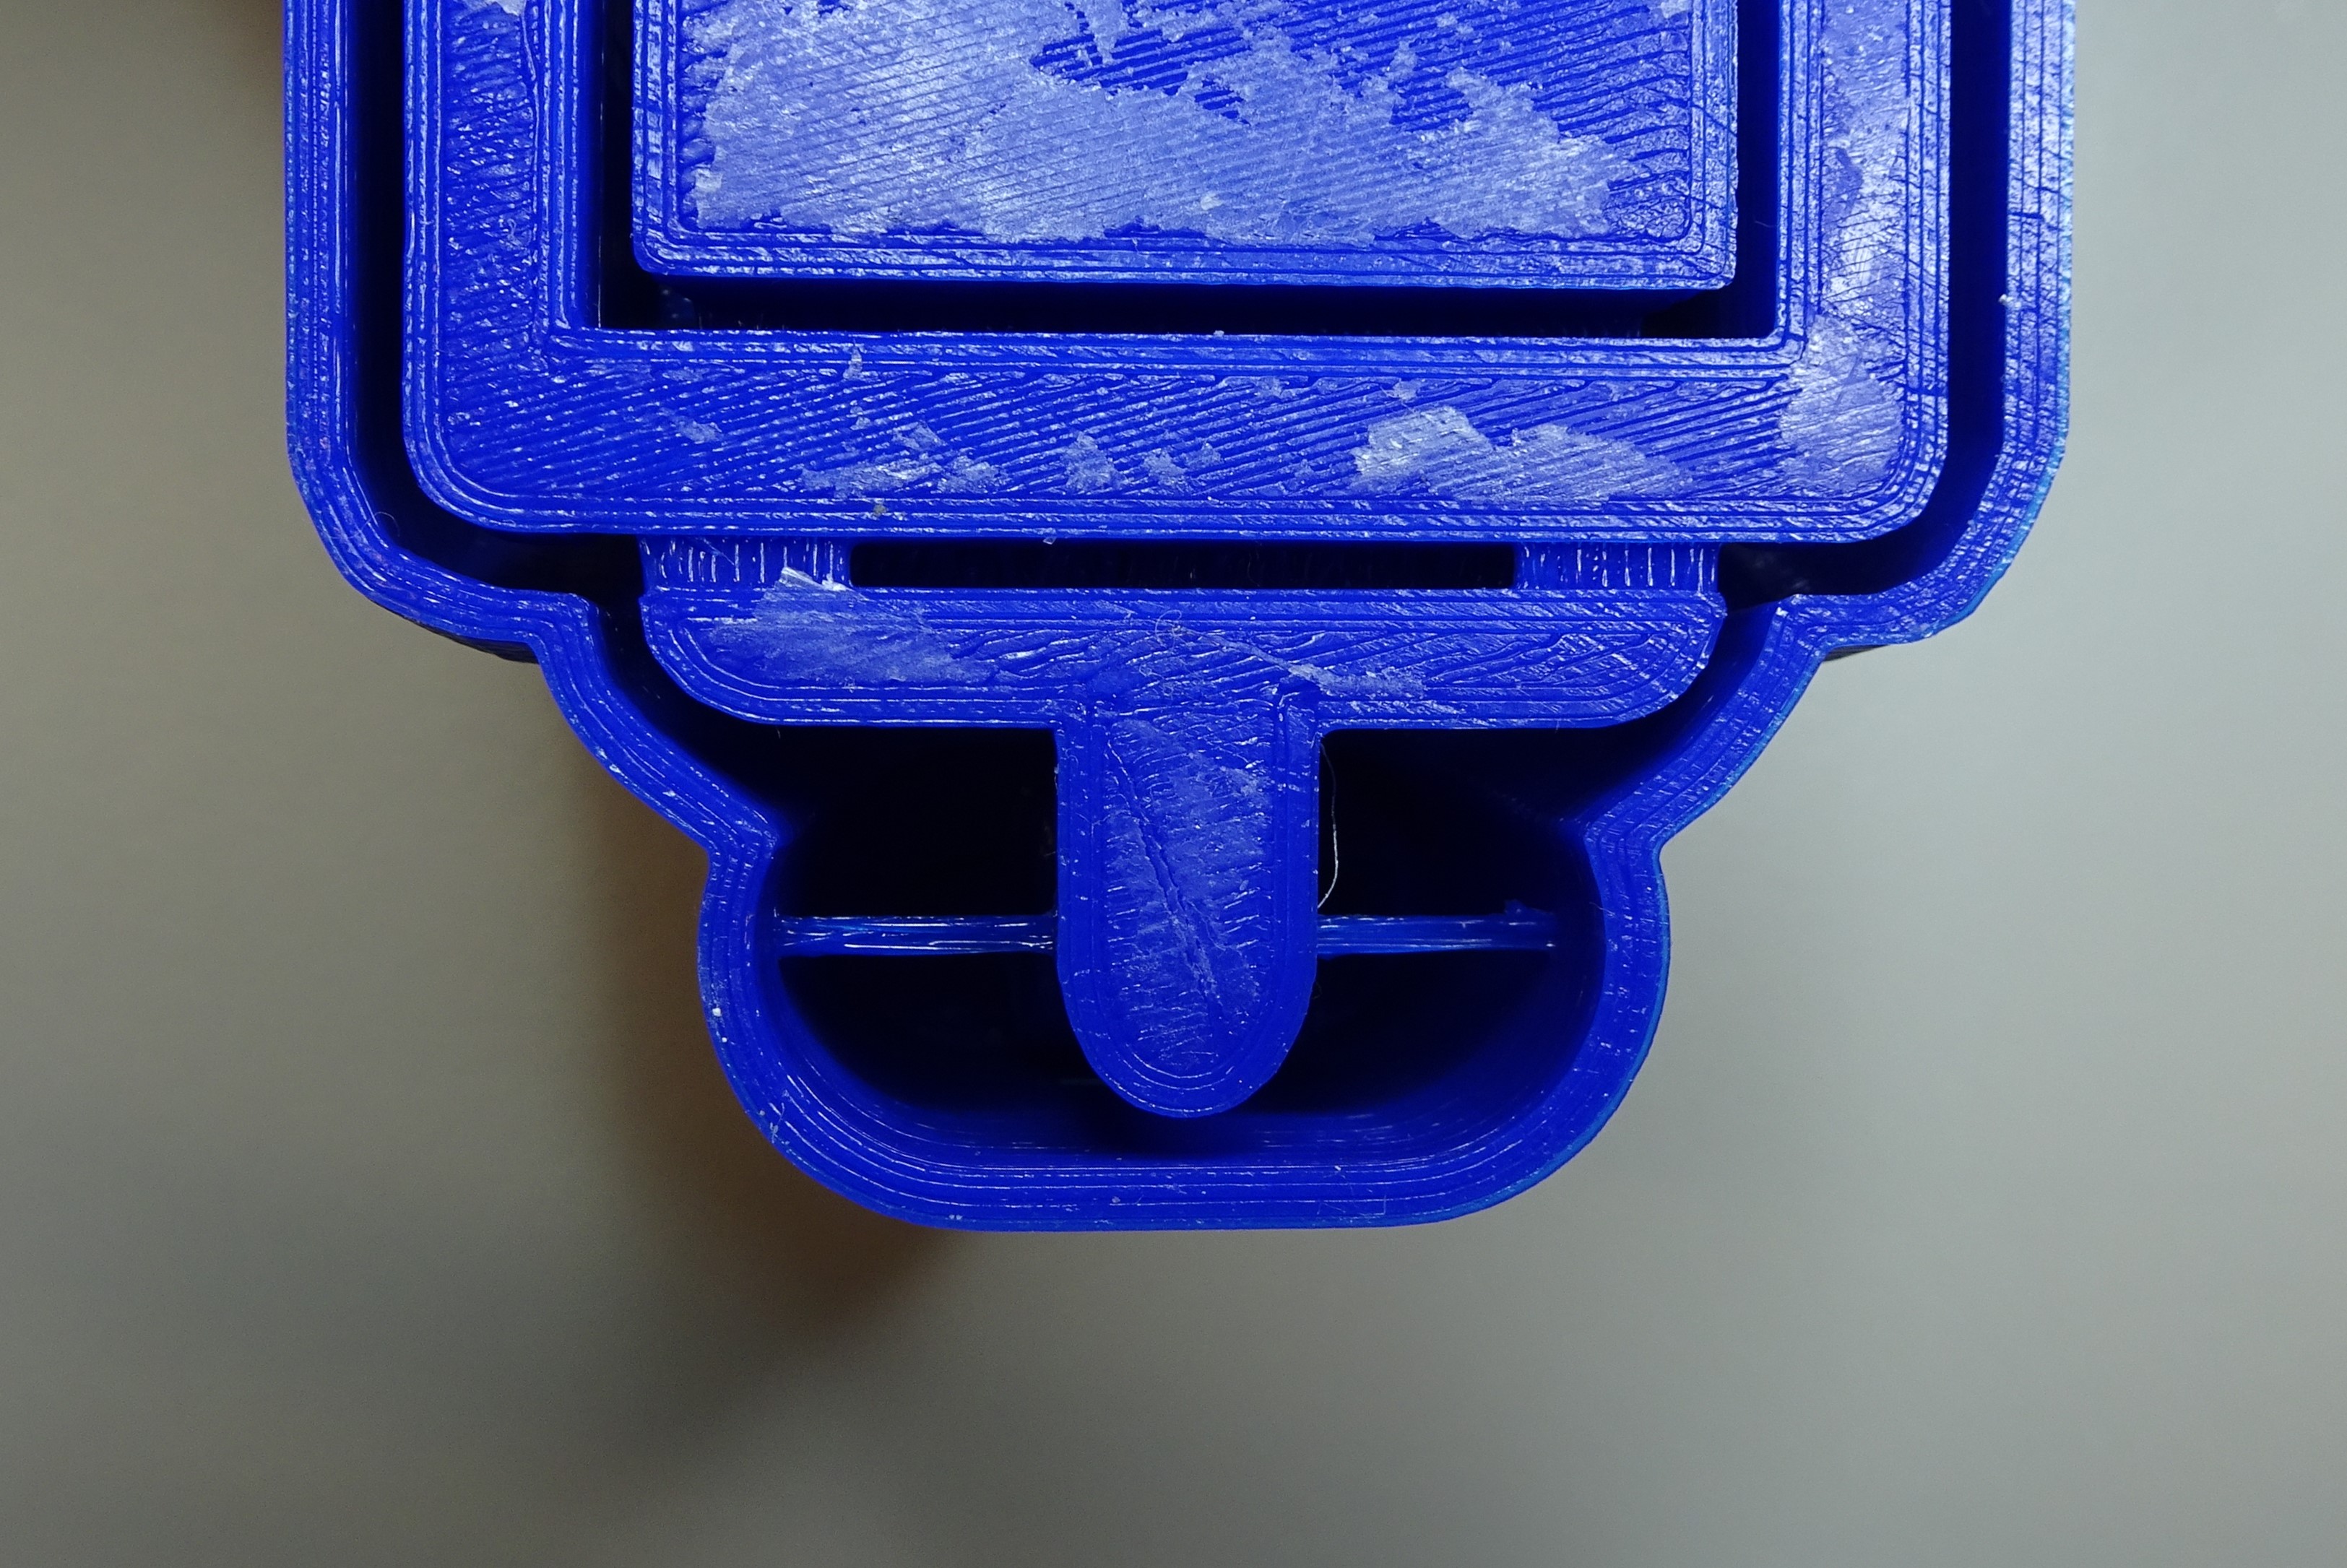
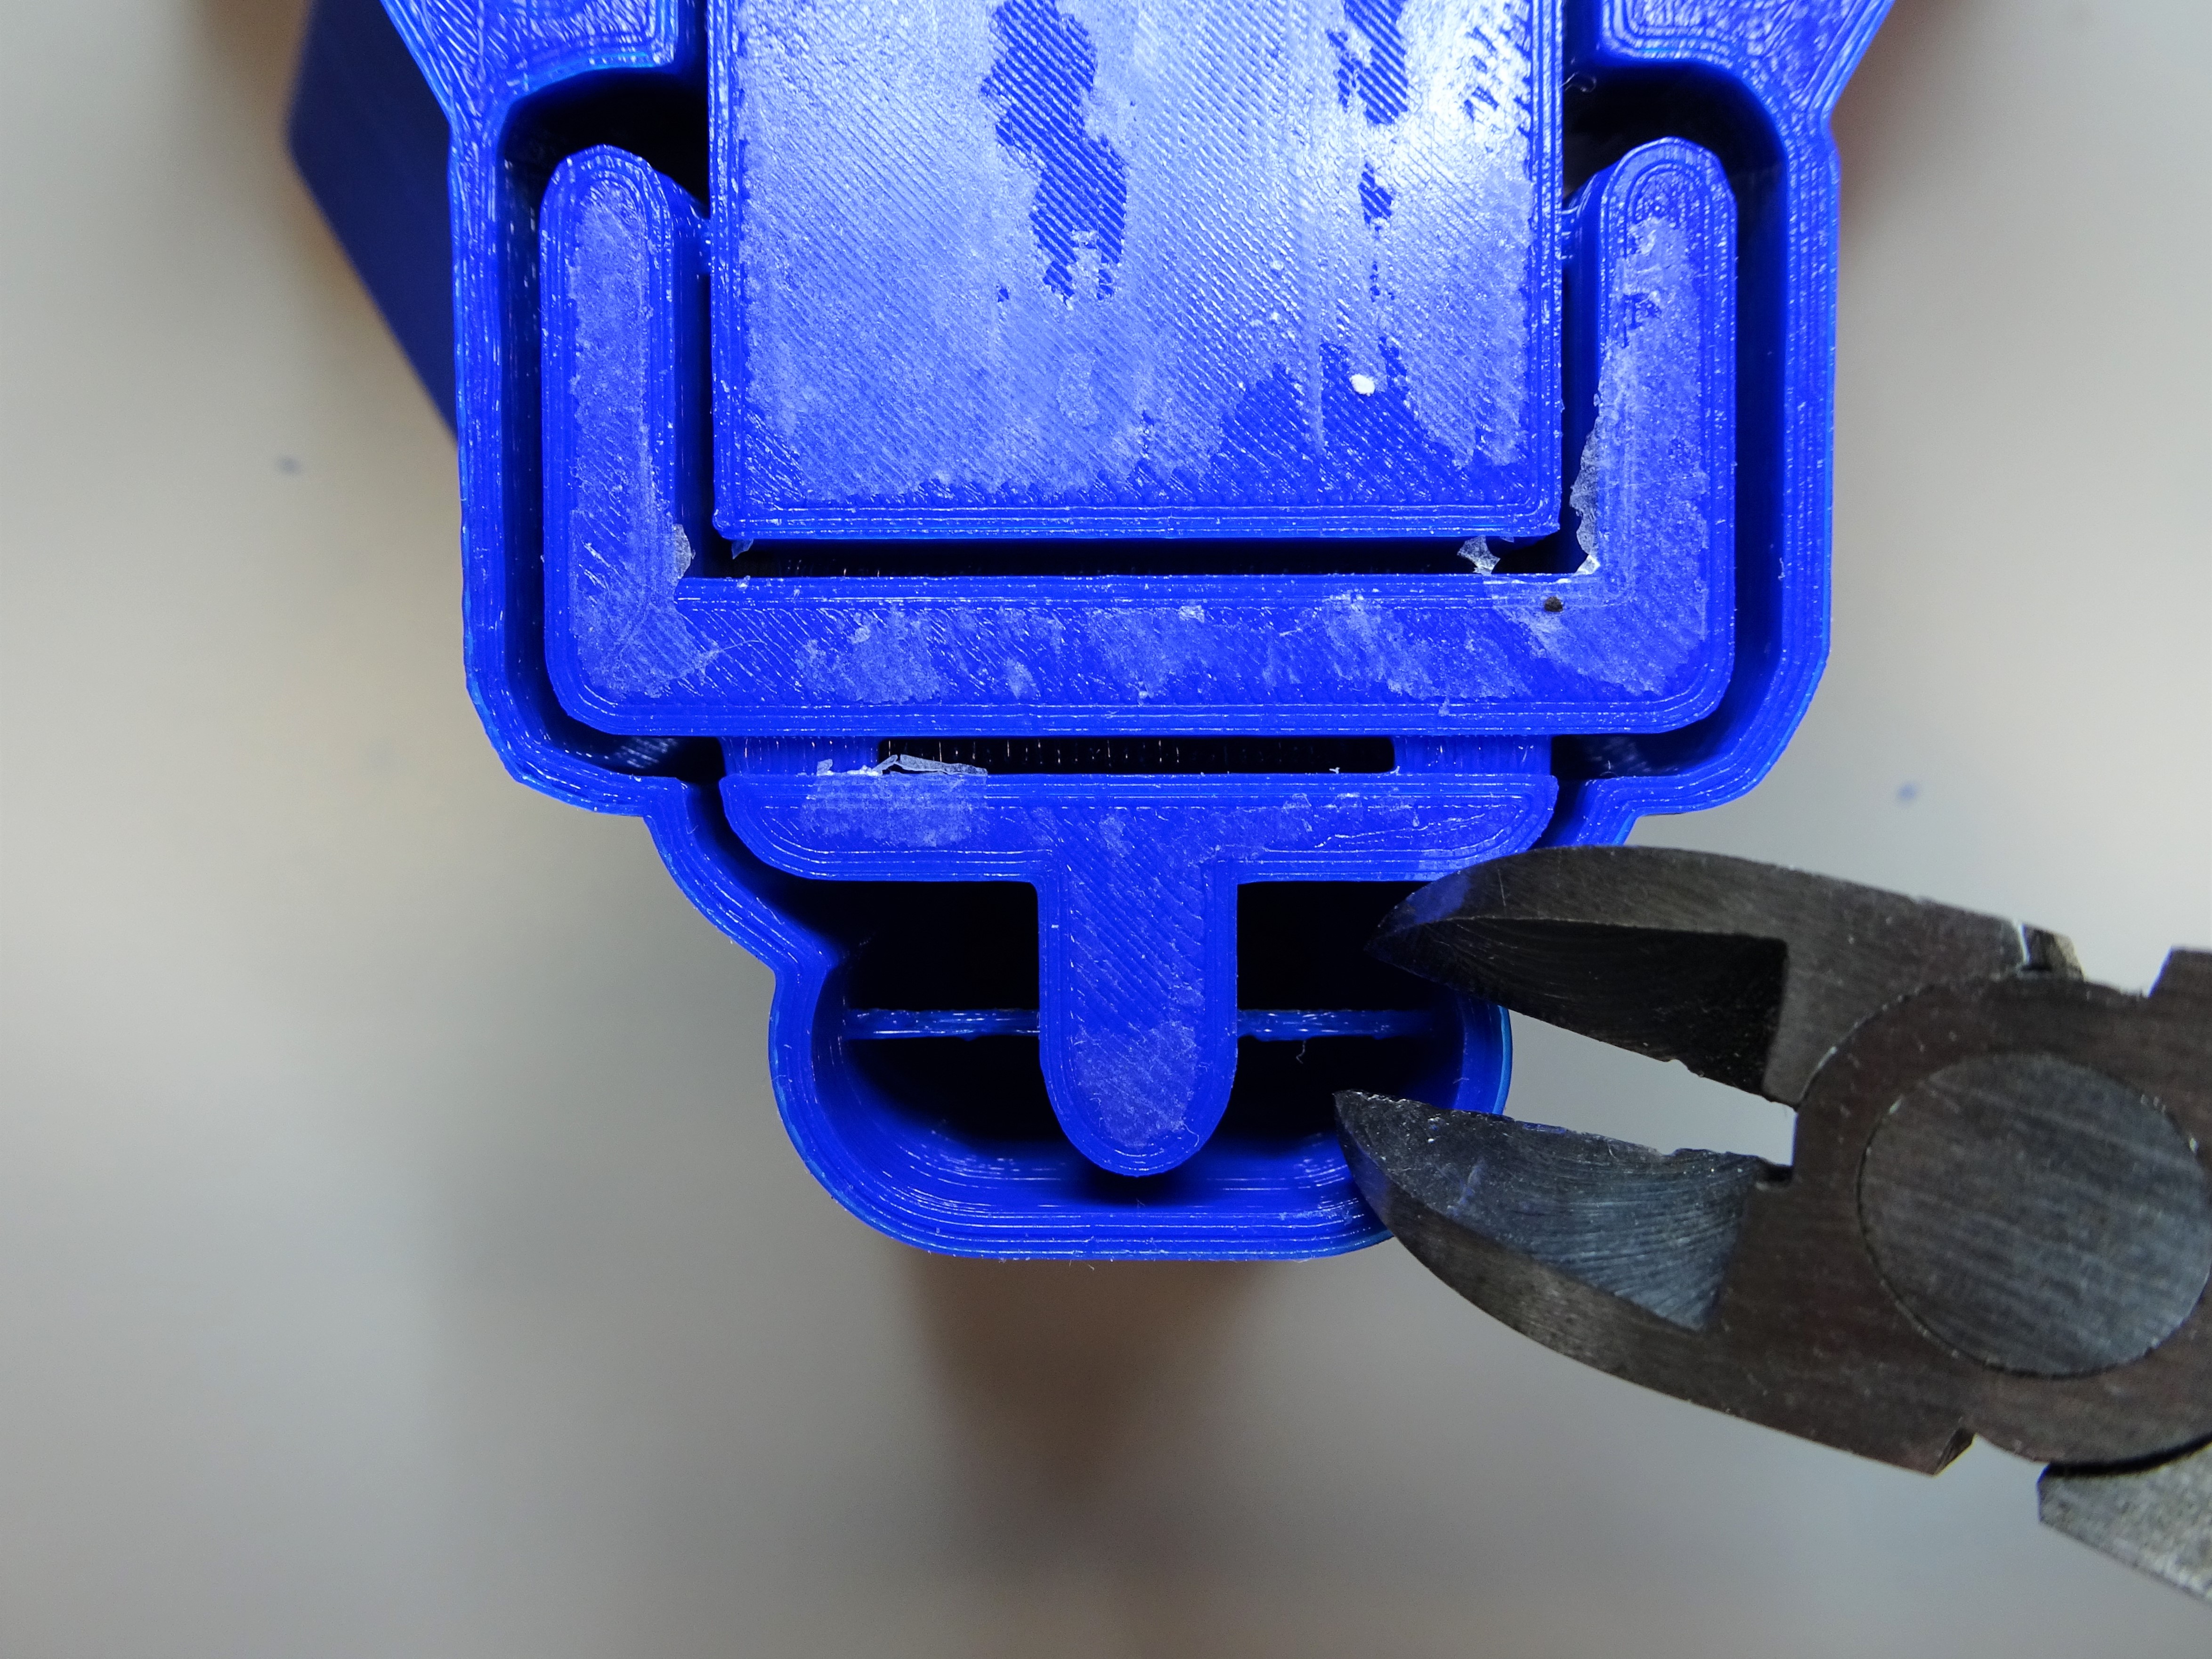
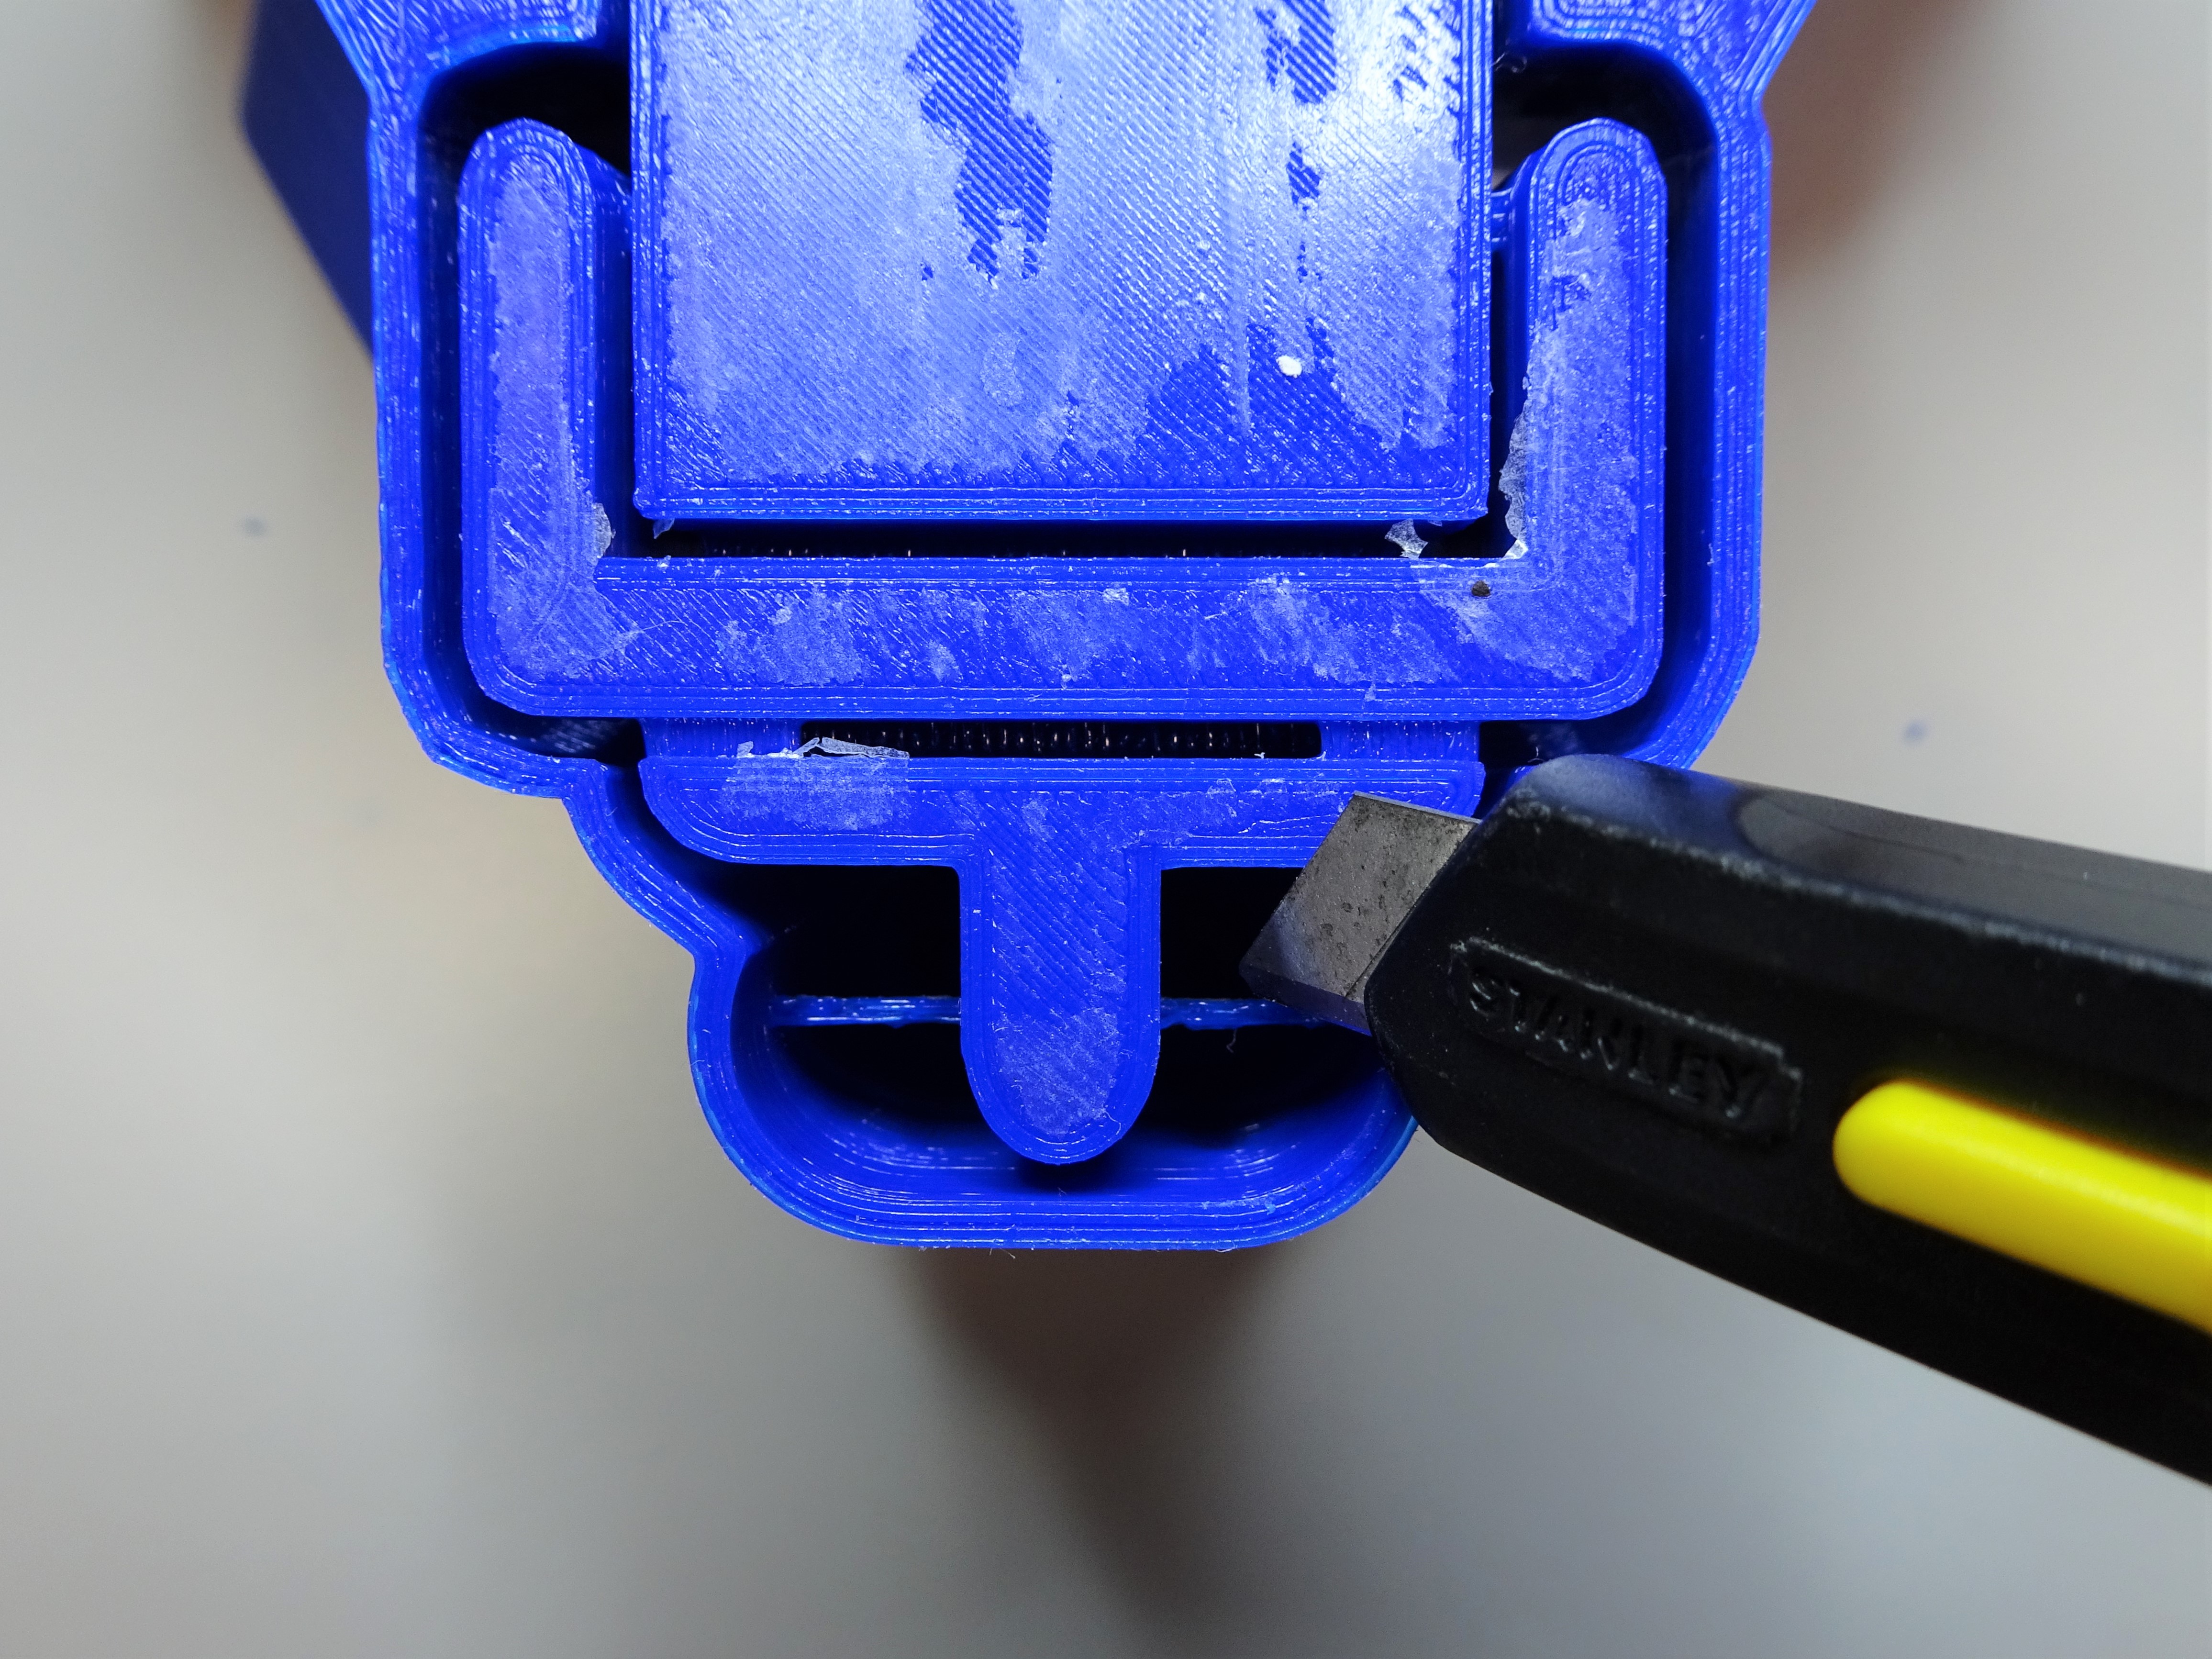
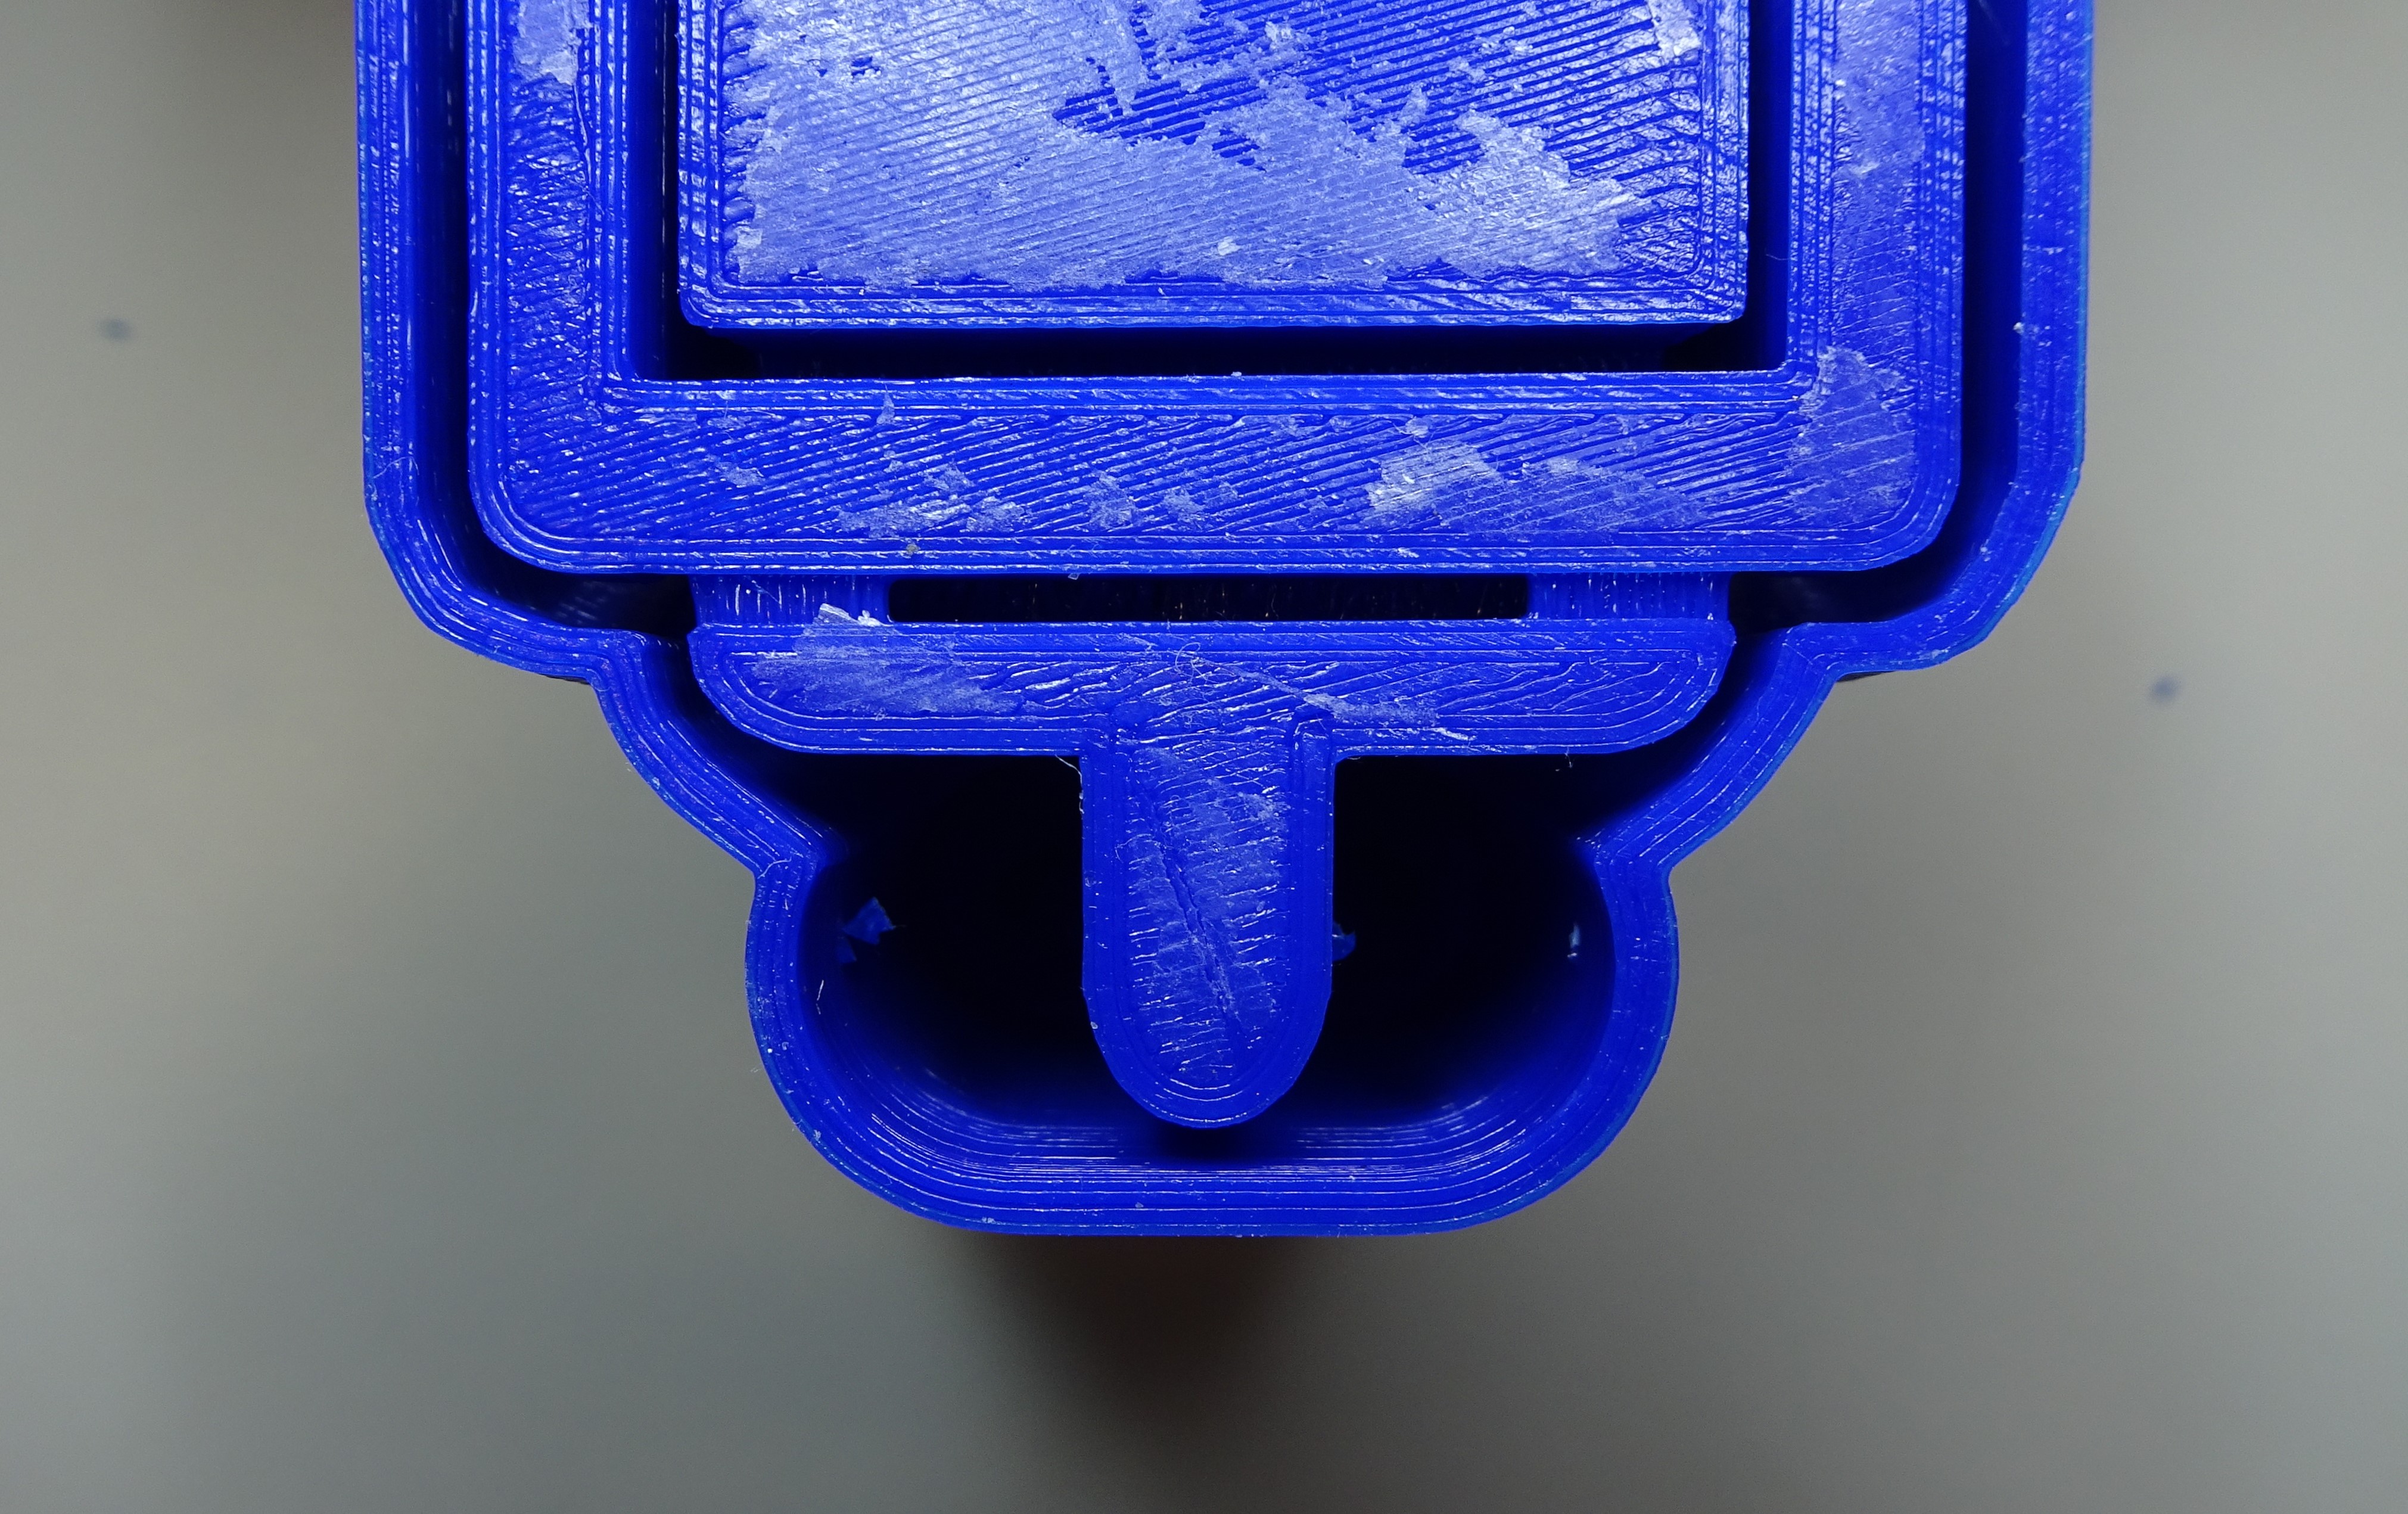

Repeat for all three actuators.
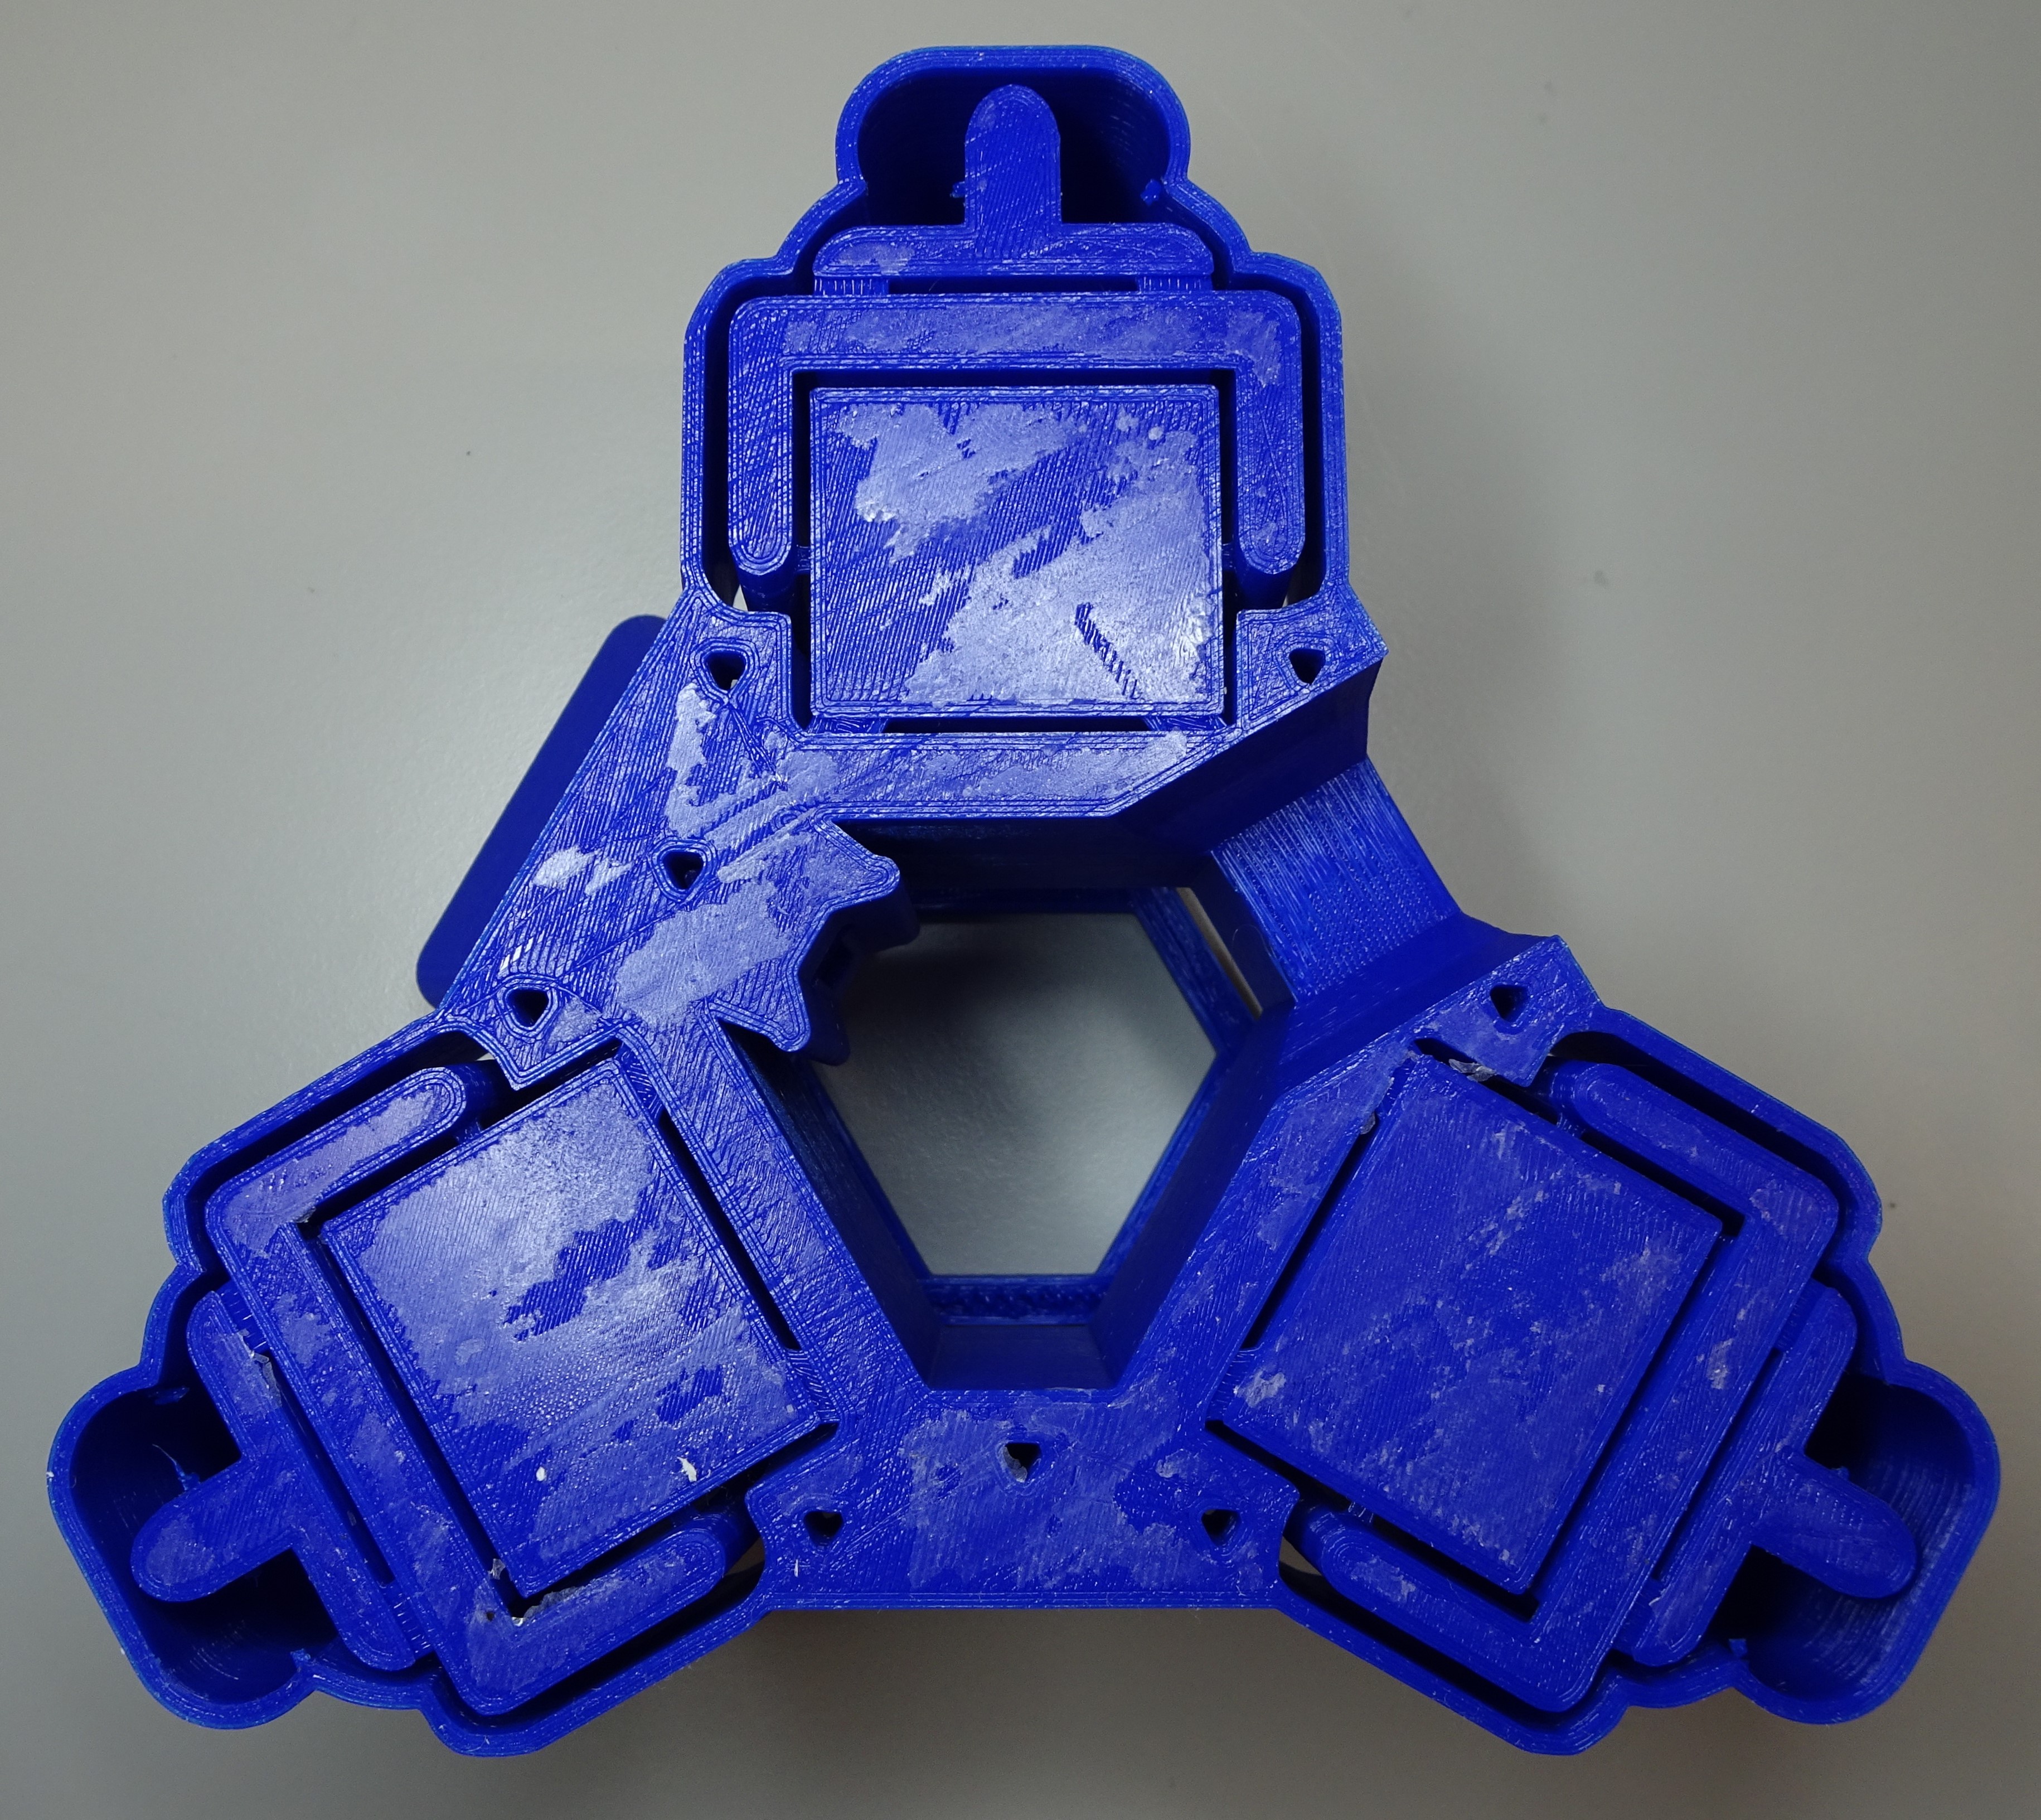
Step 2: Assemble gear
Put a M3x25mm hex head screw into one large gear.
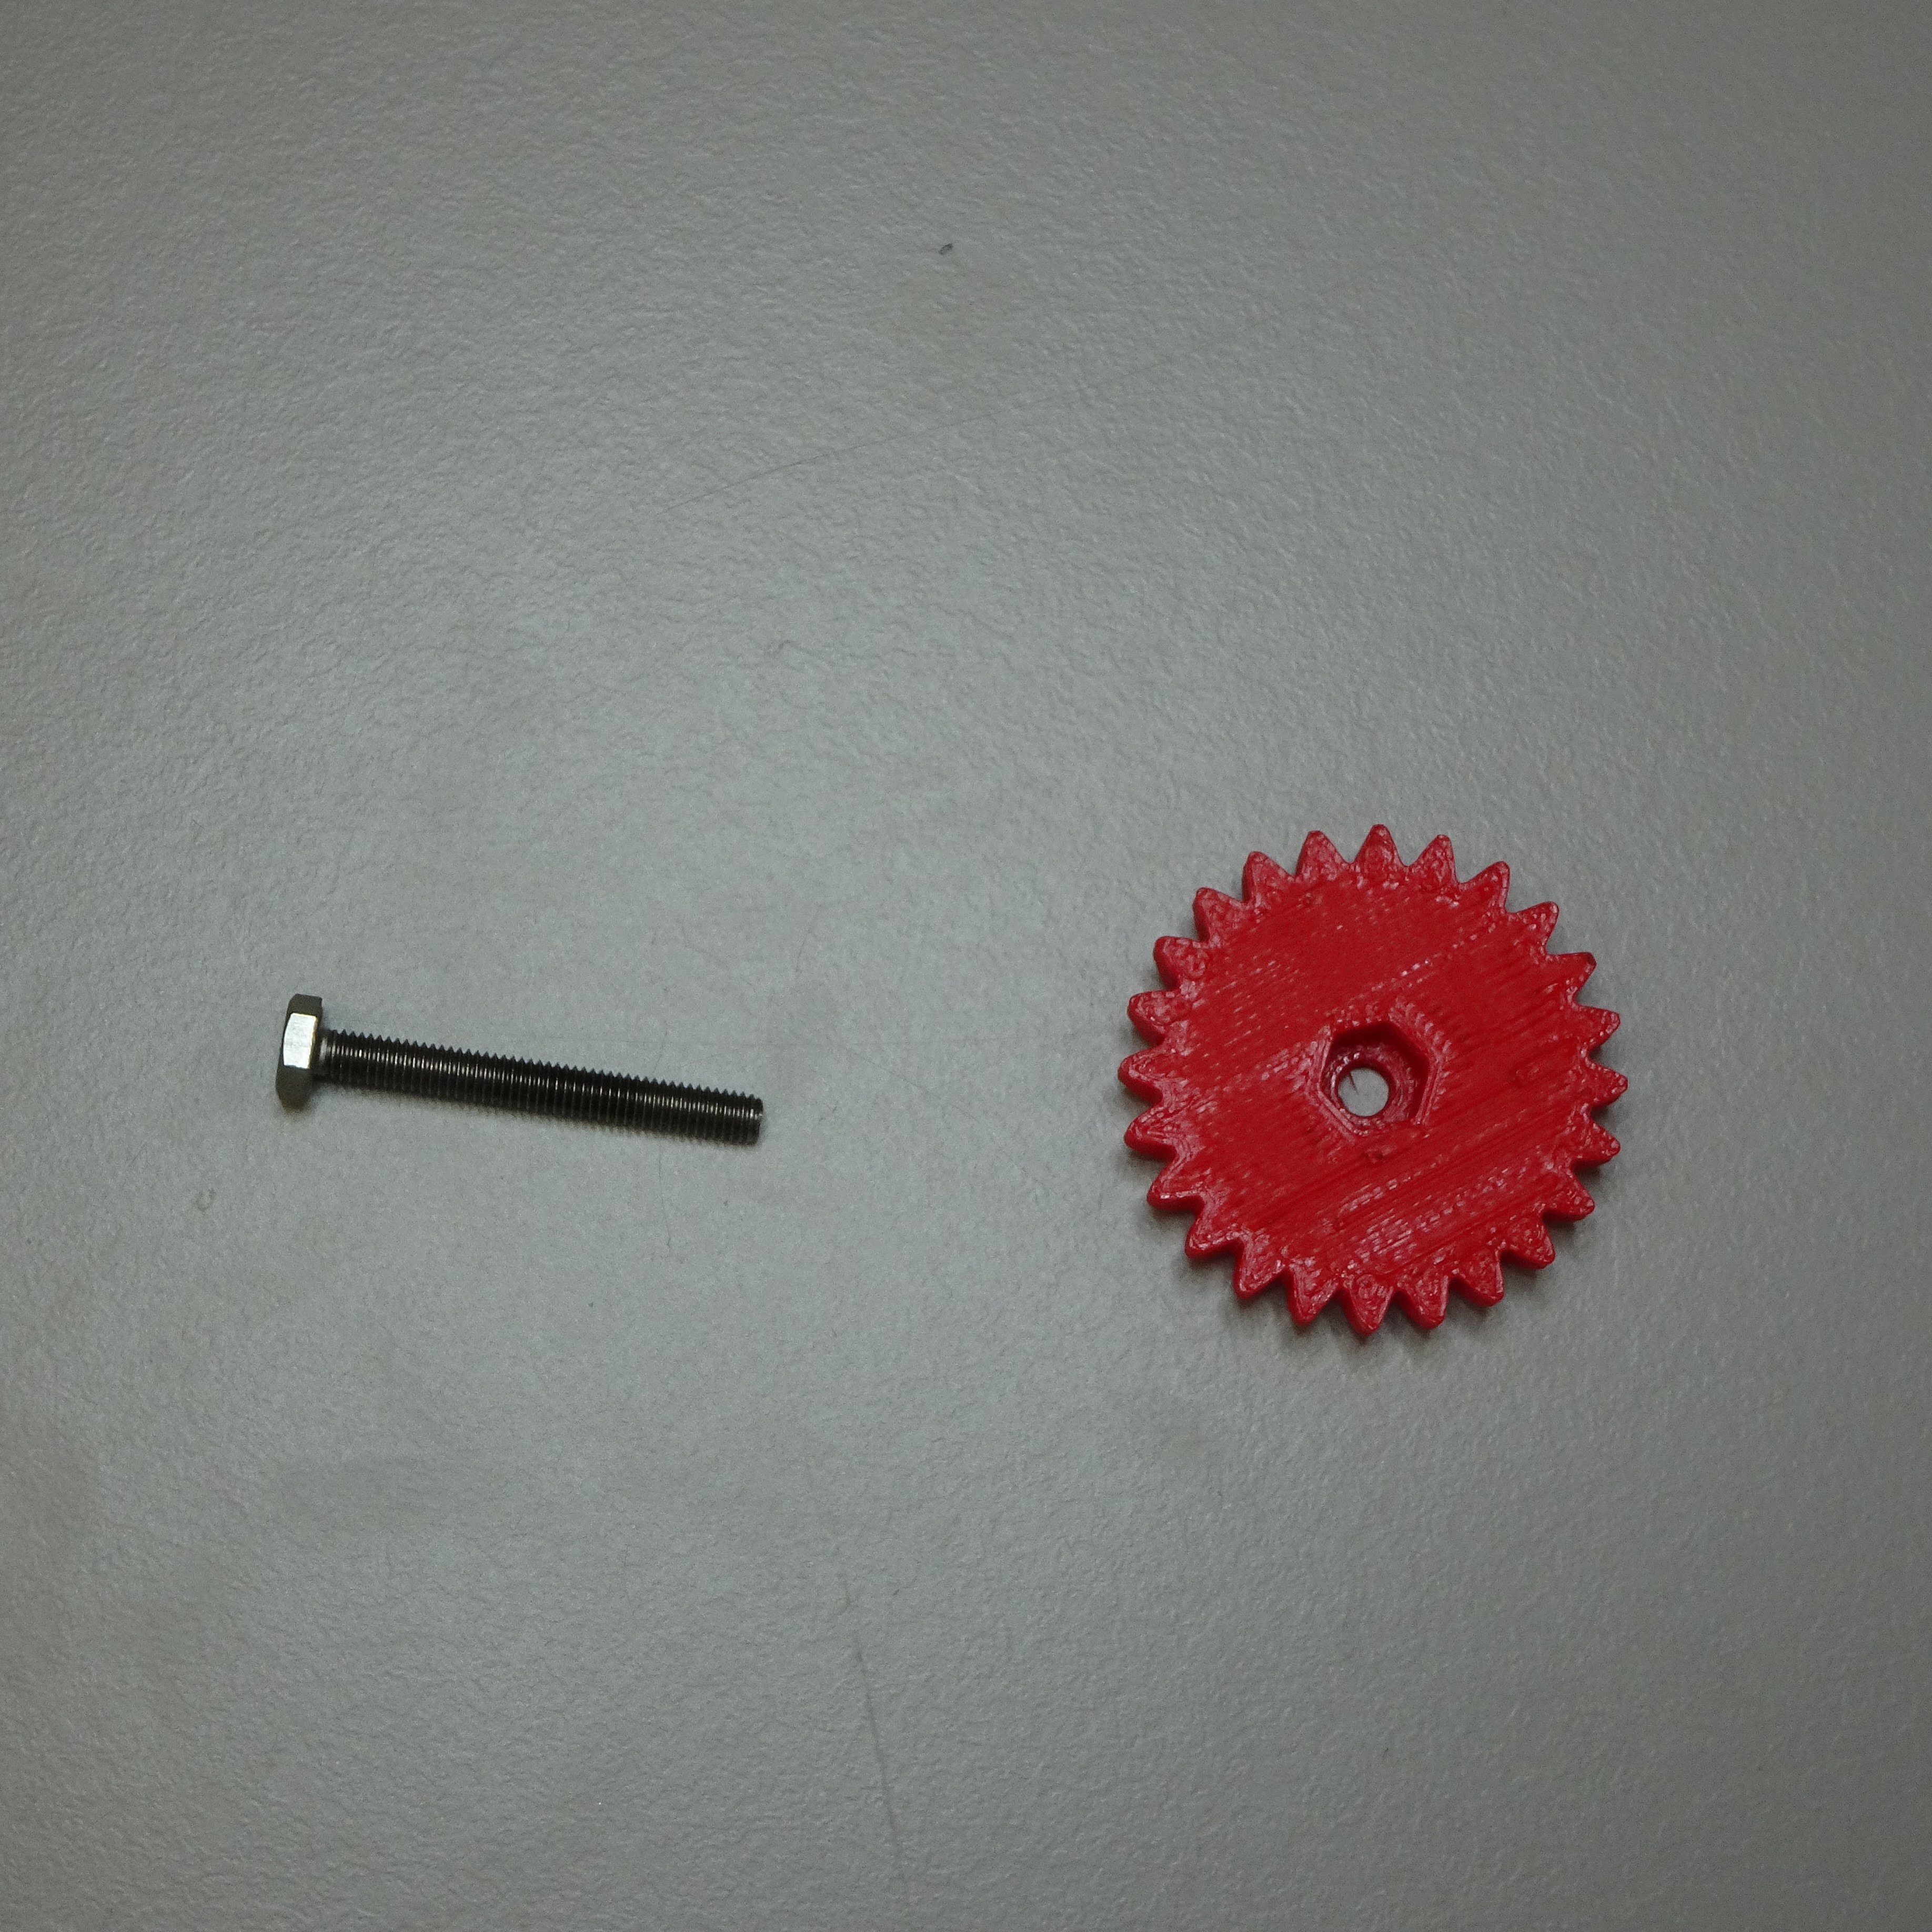
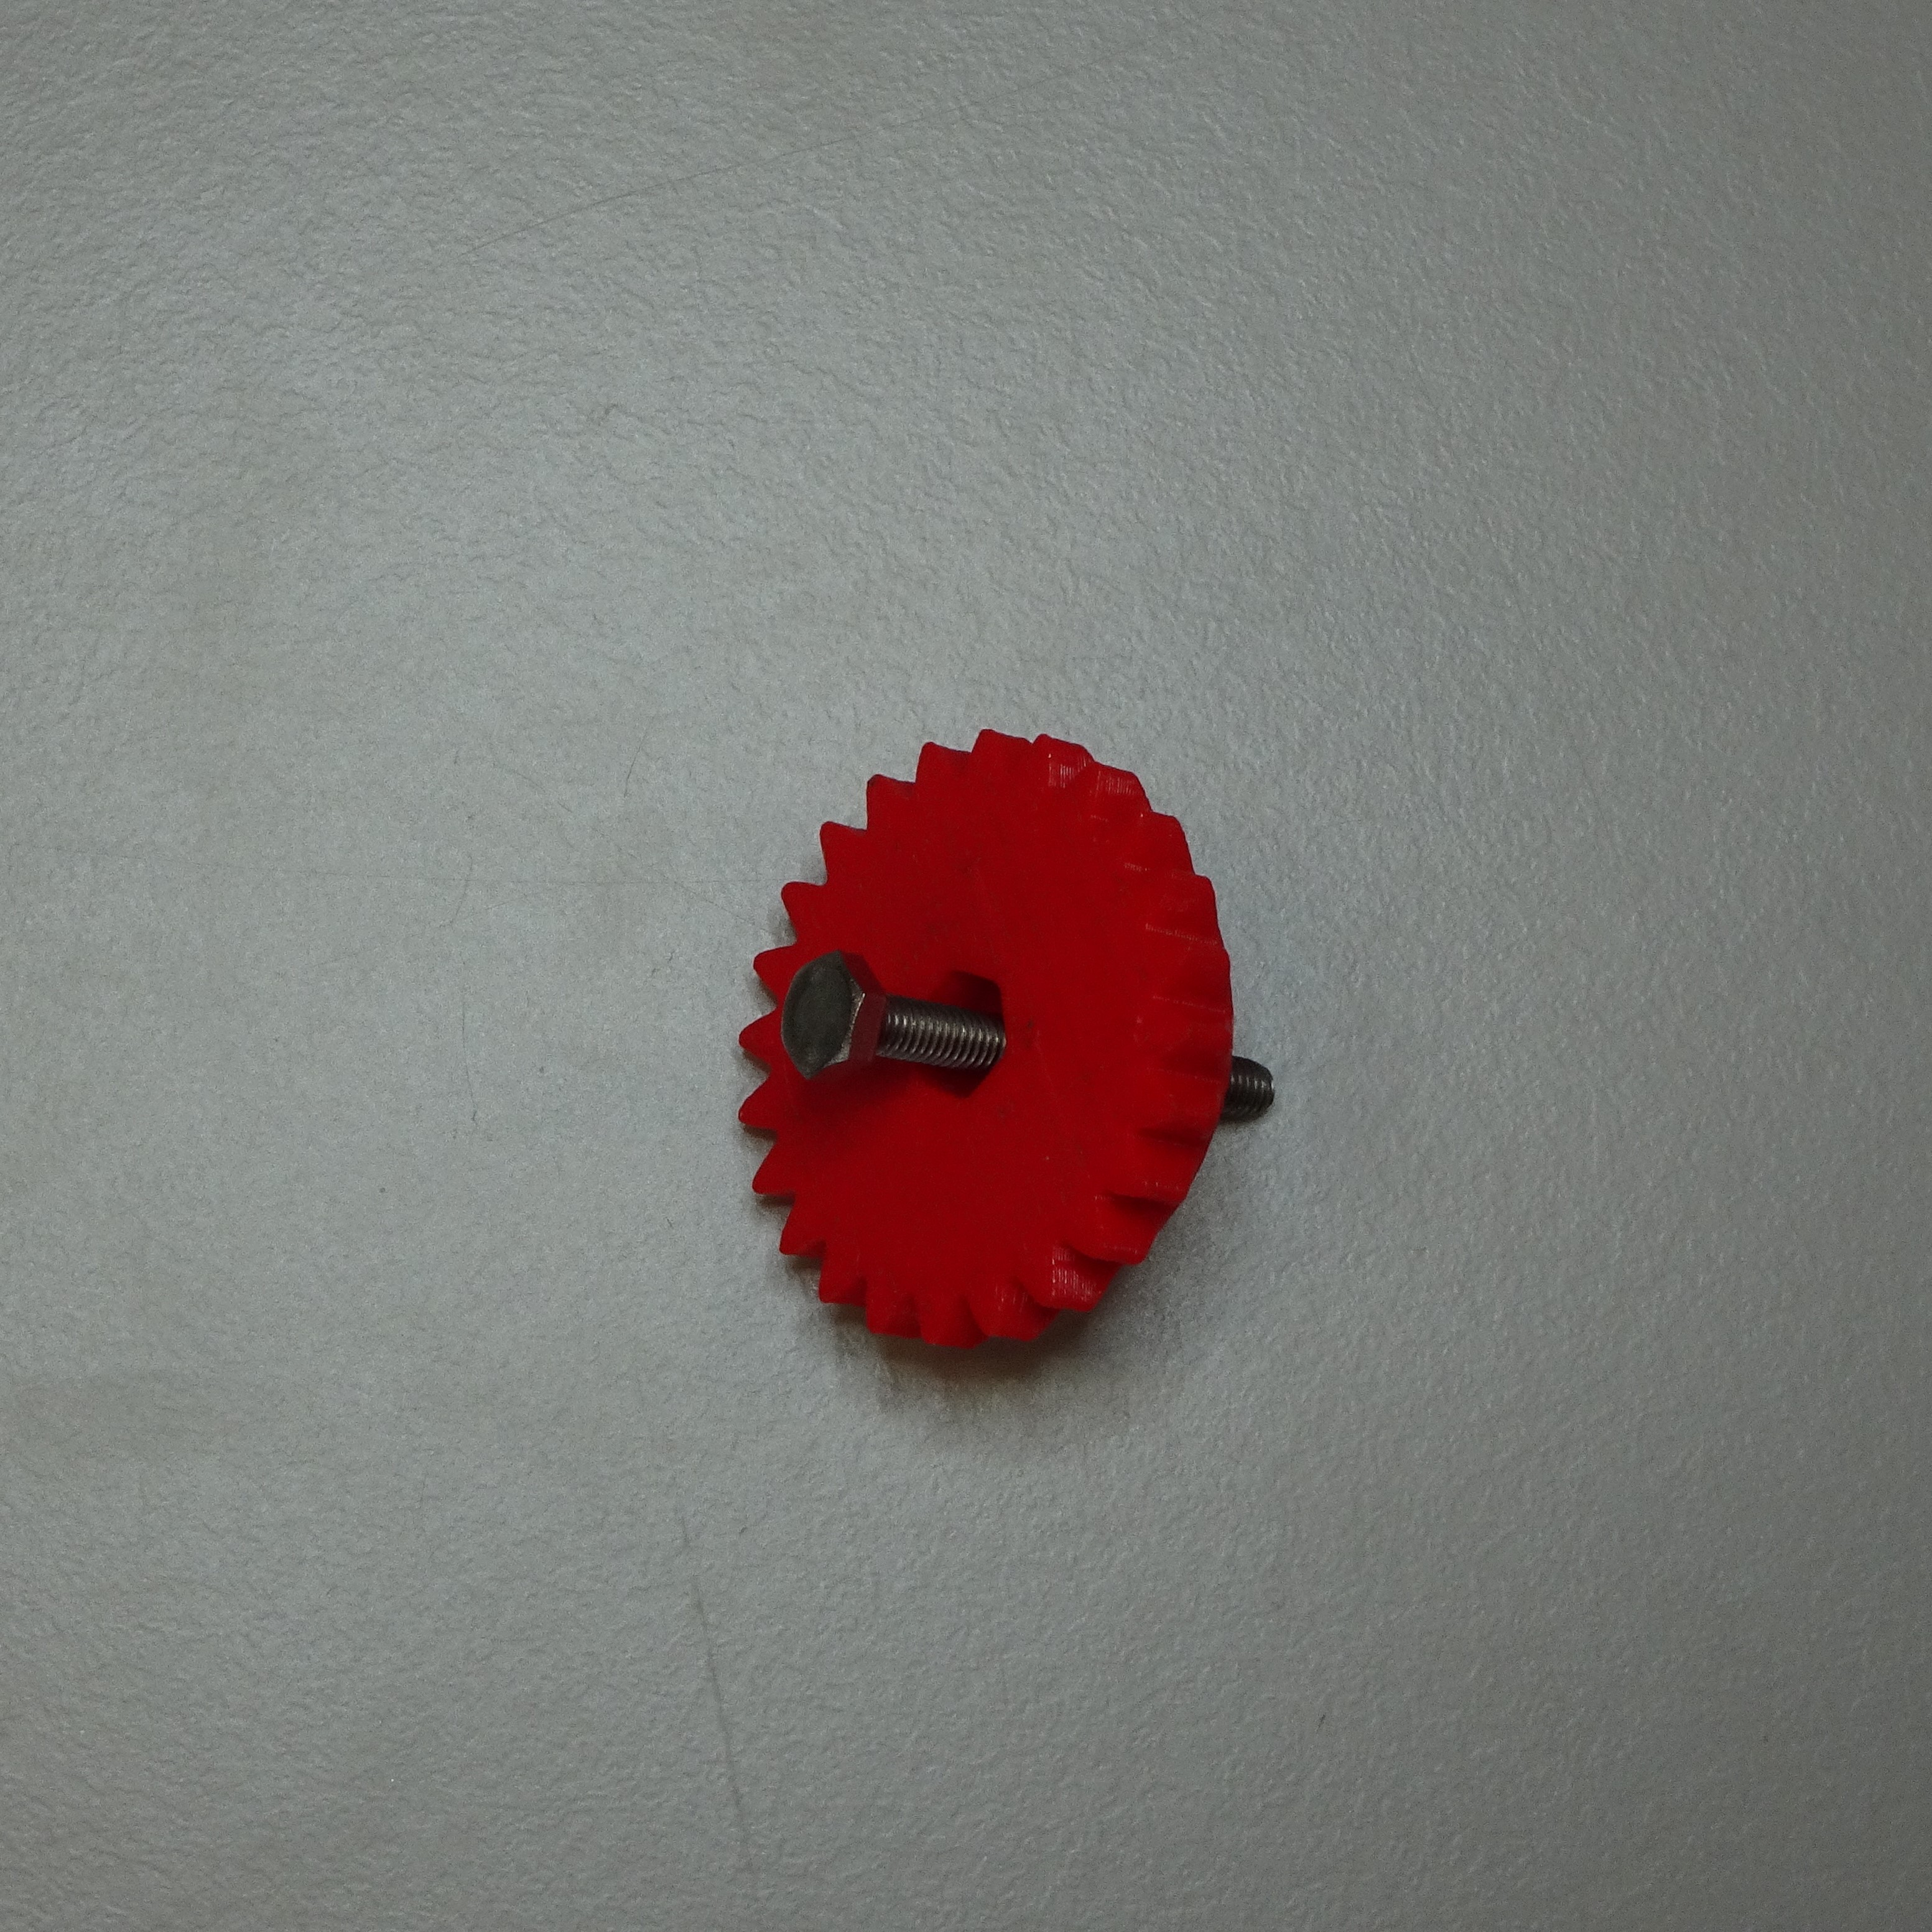

Put two M3 washers onto the screw.
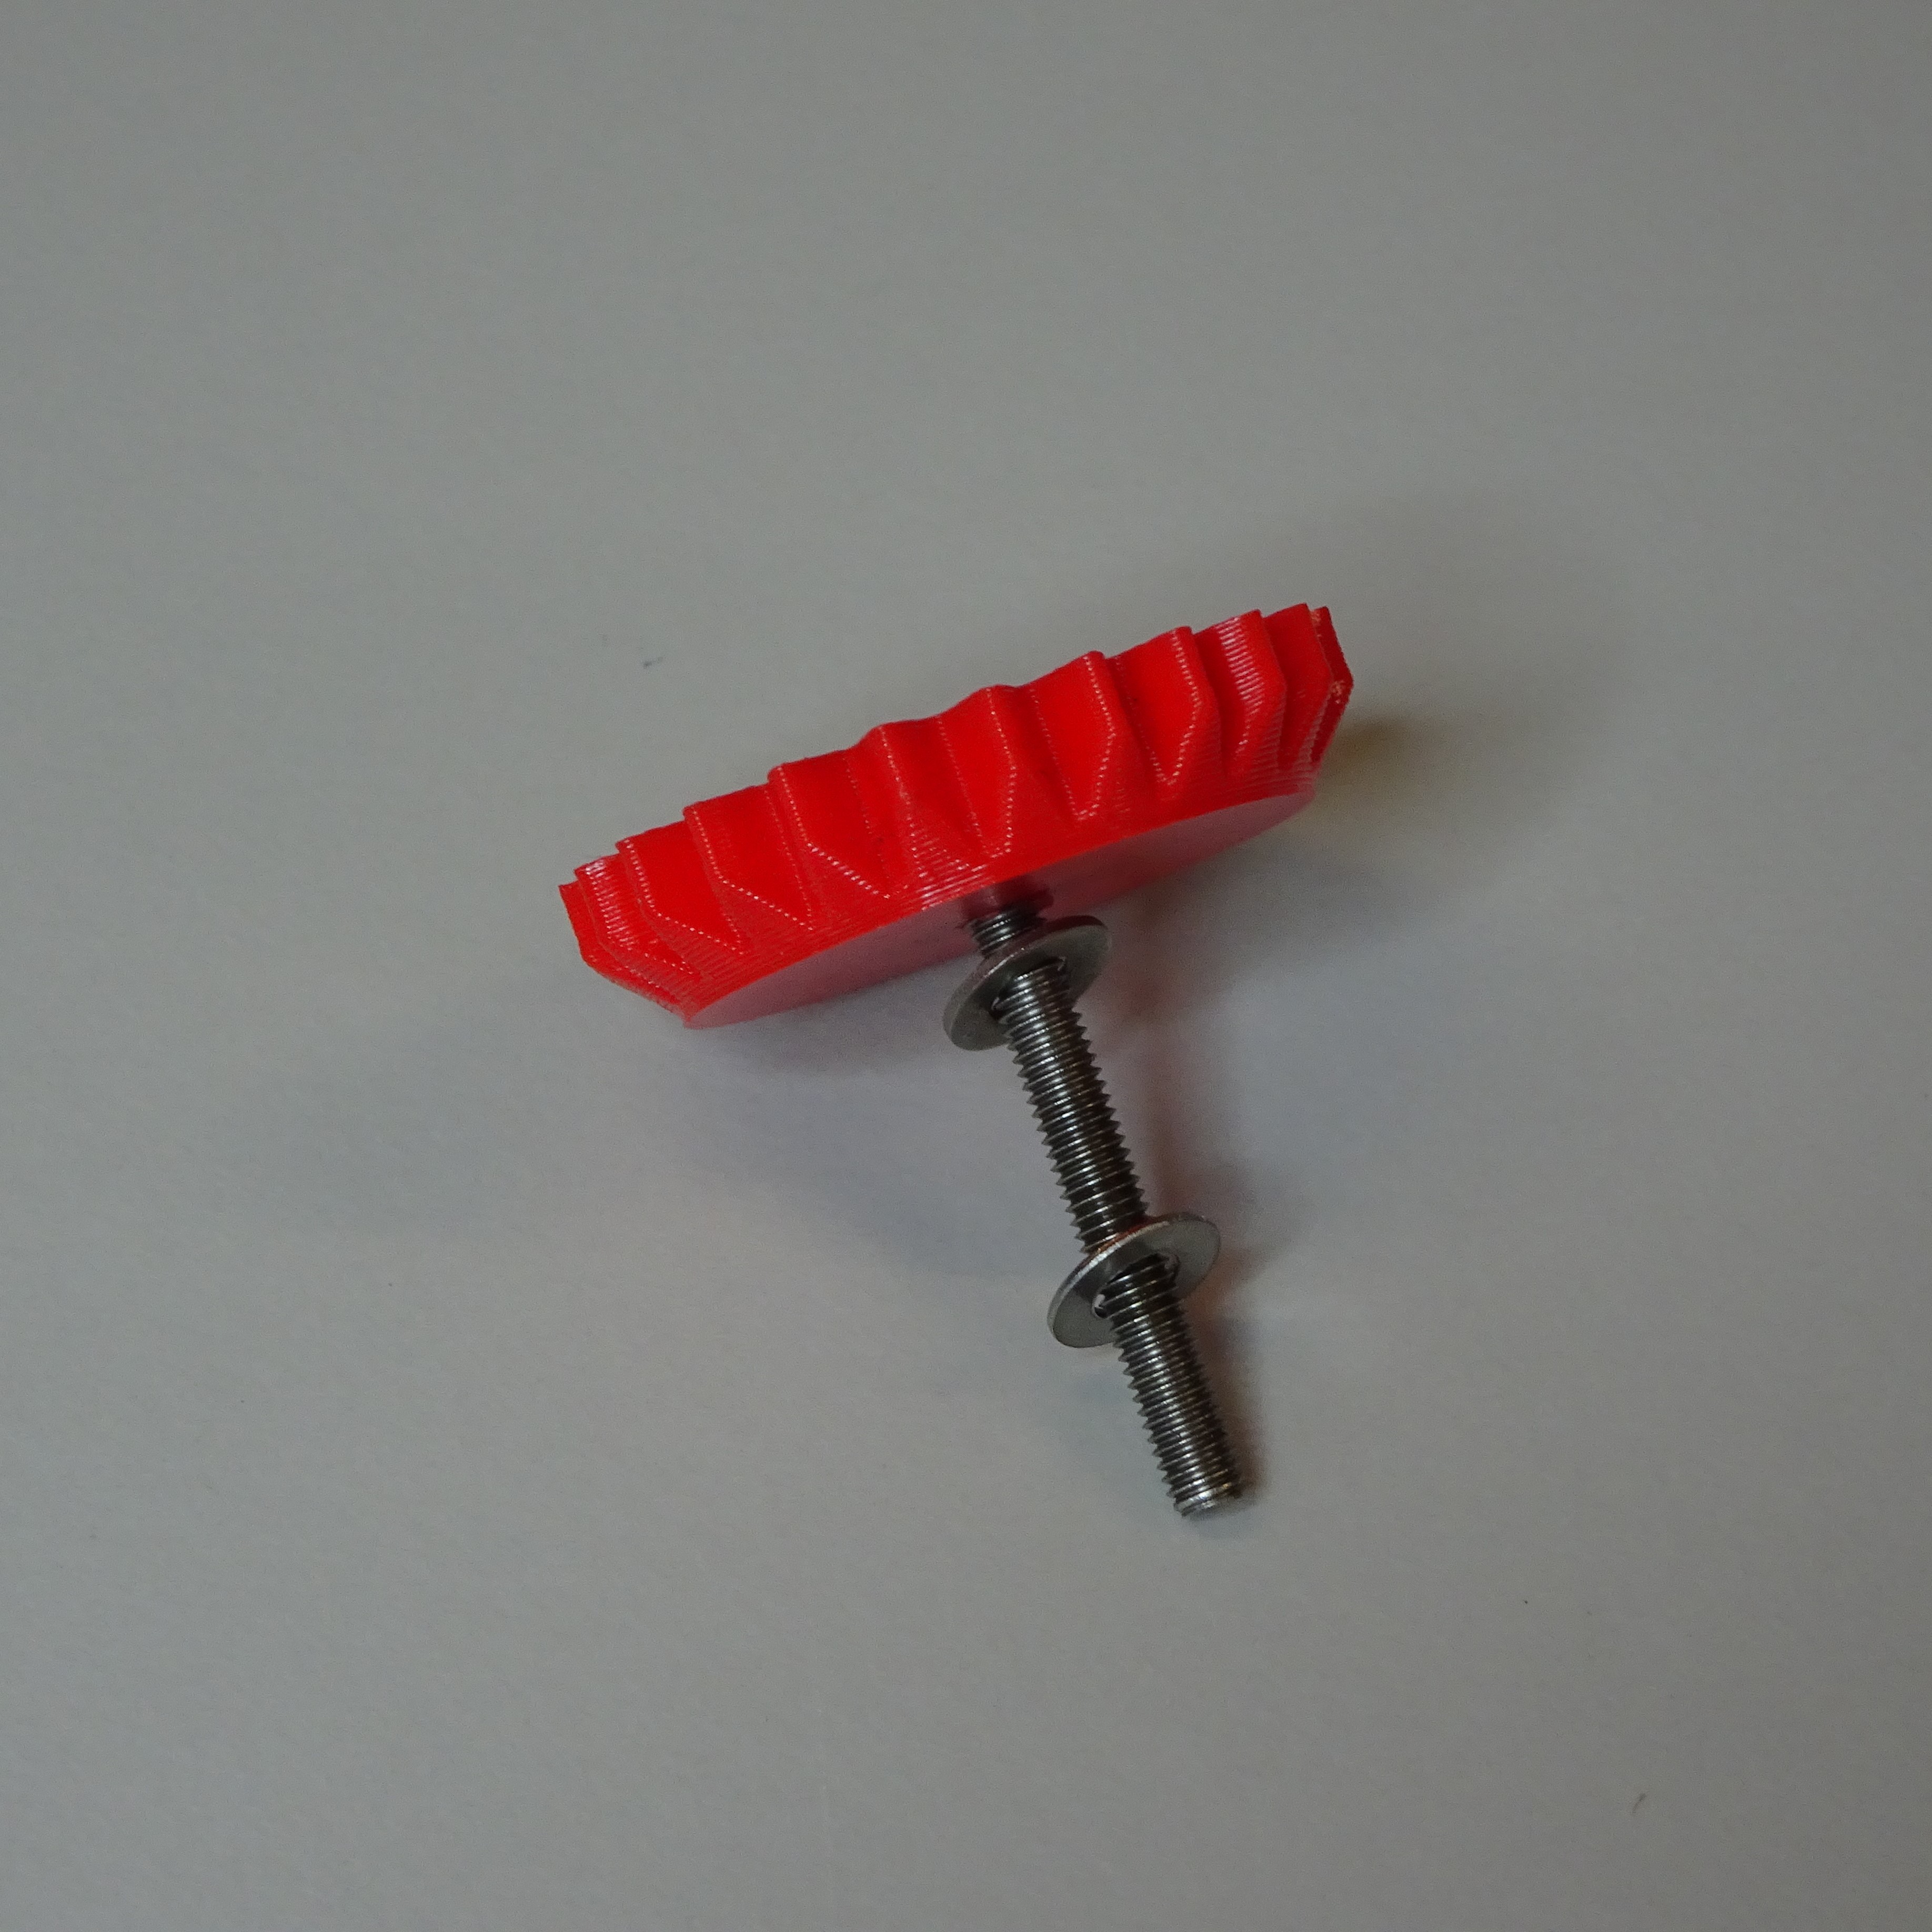
Repeat for all three gears.
Step 3: Assemble actuator
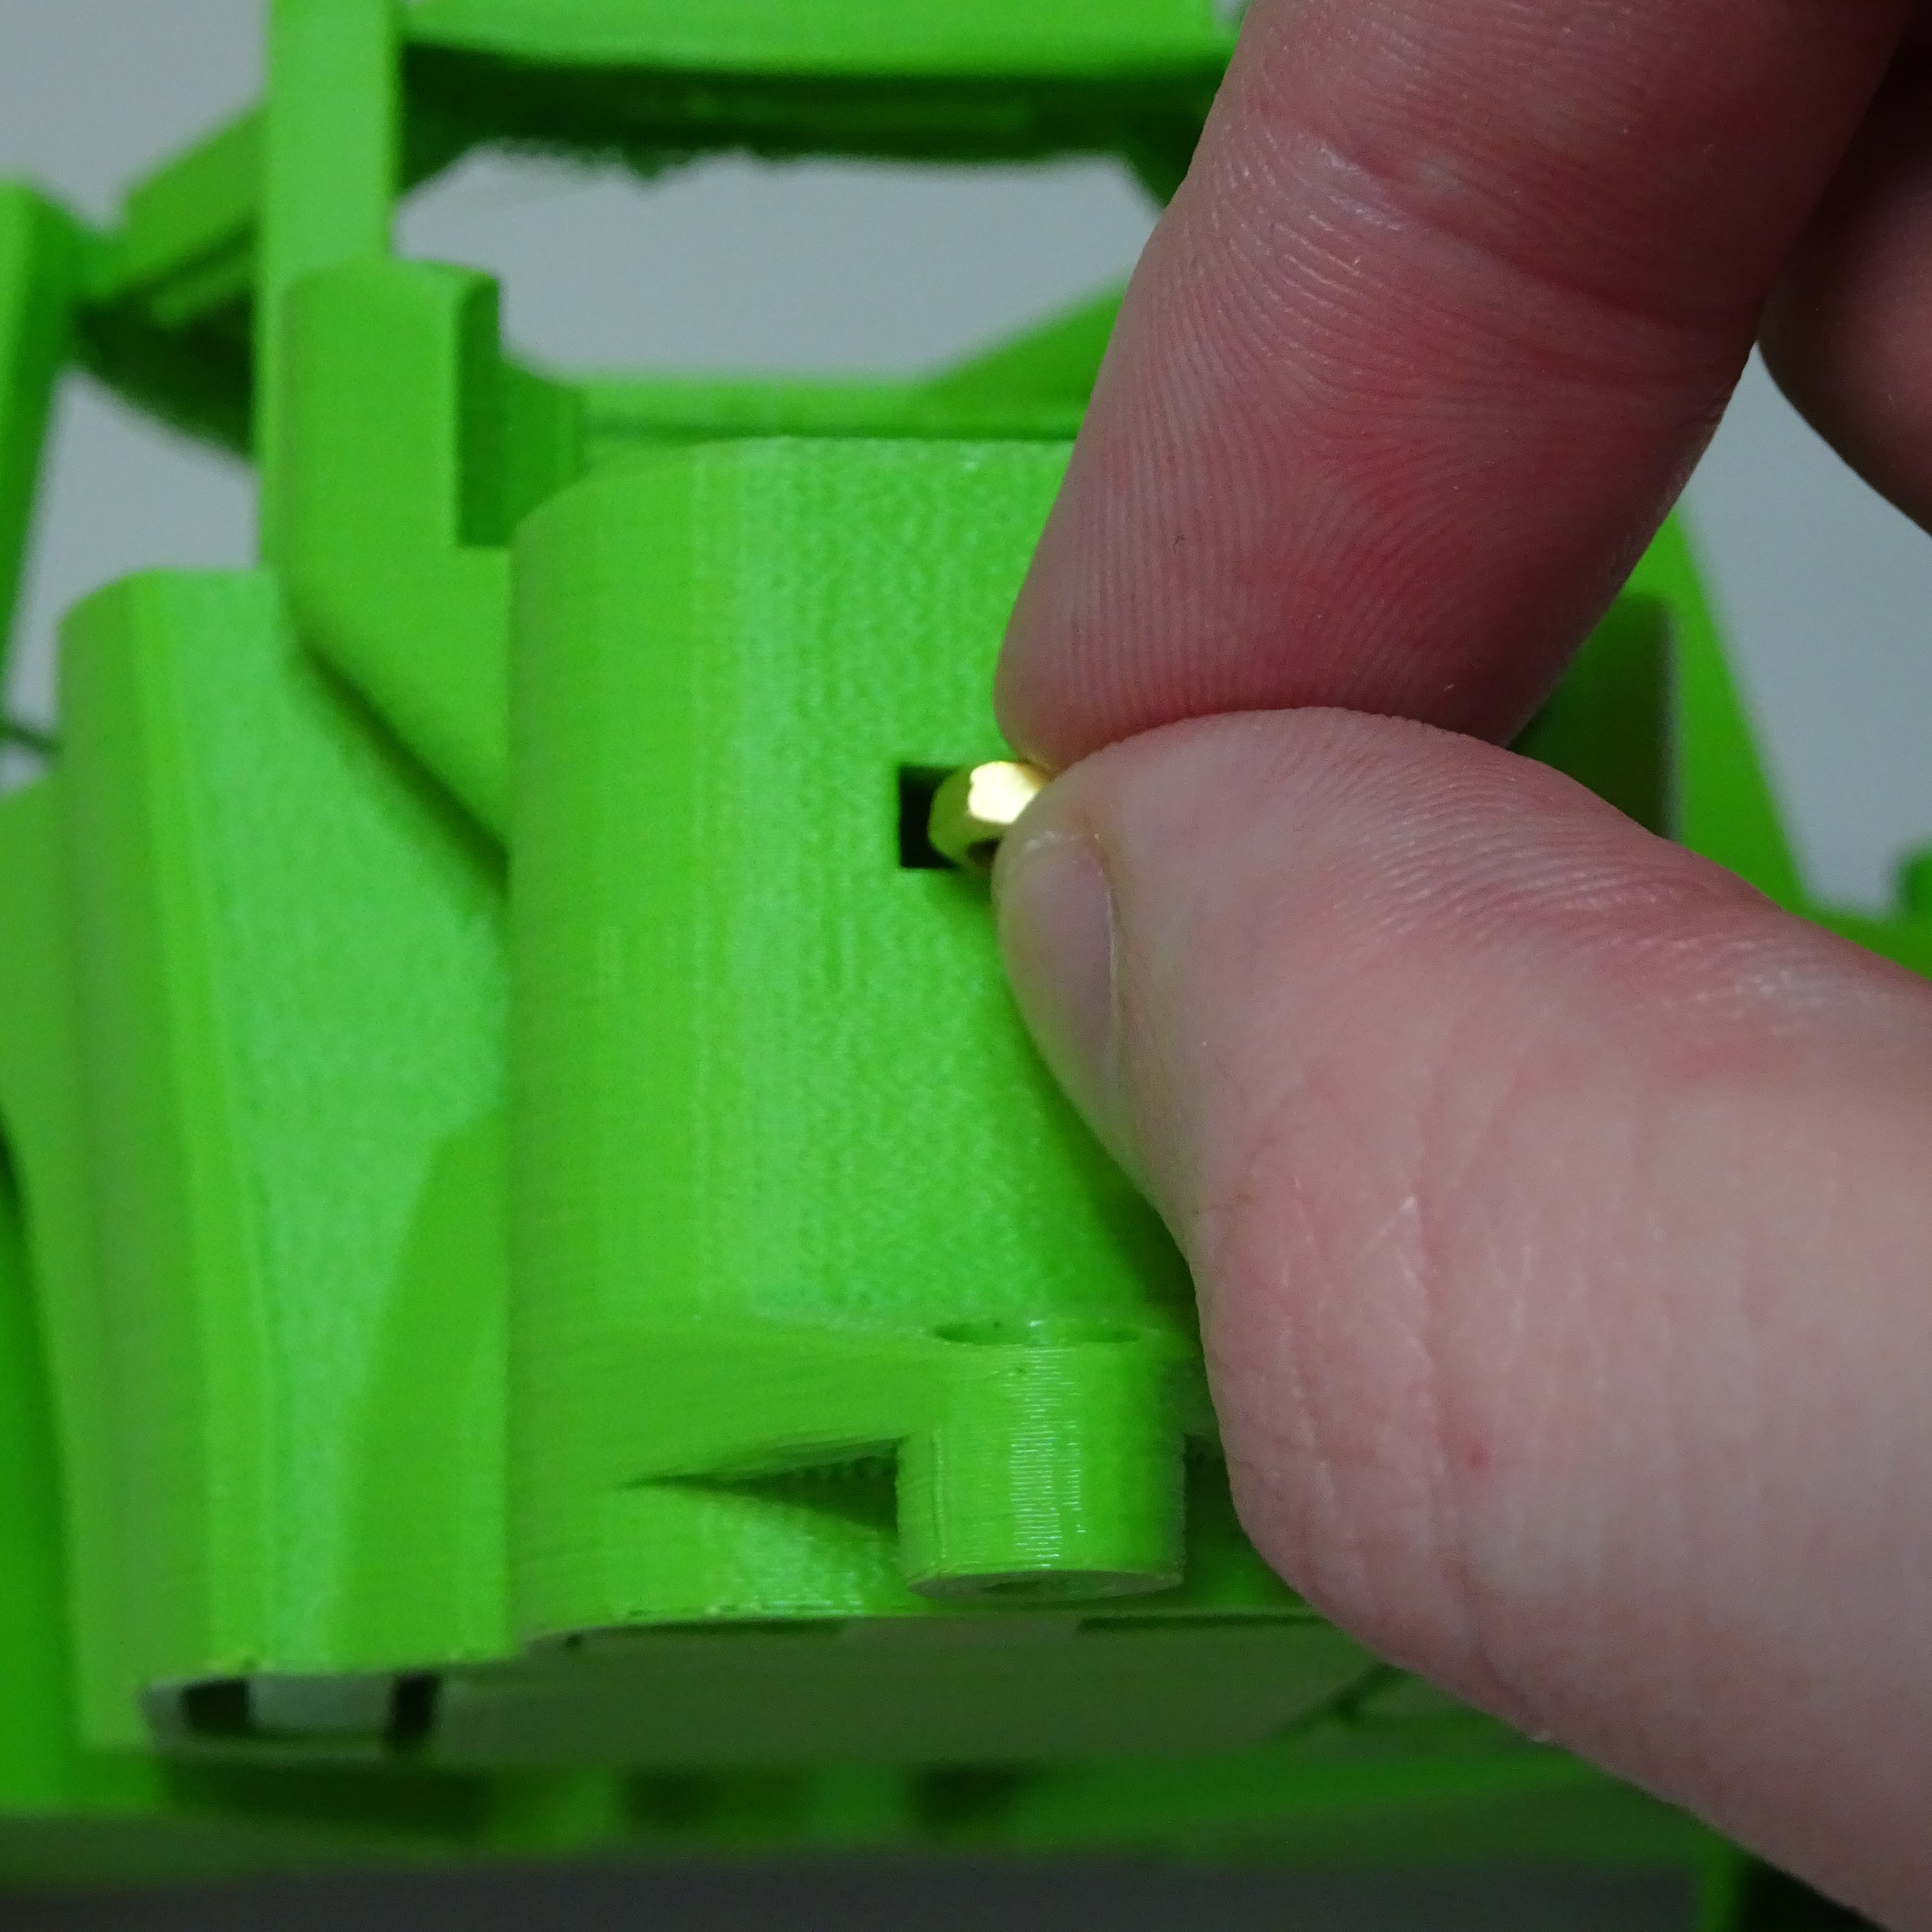
Insert a brass M3 nut into the slot of one of the actuators, using the nut tool.
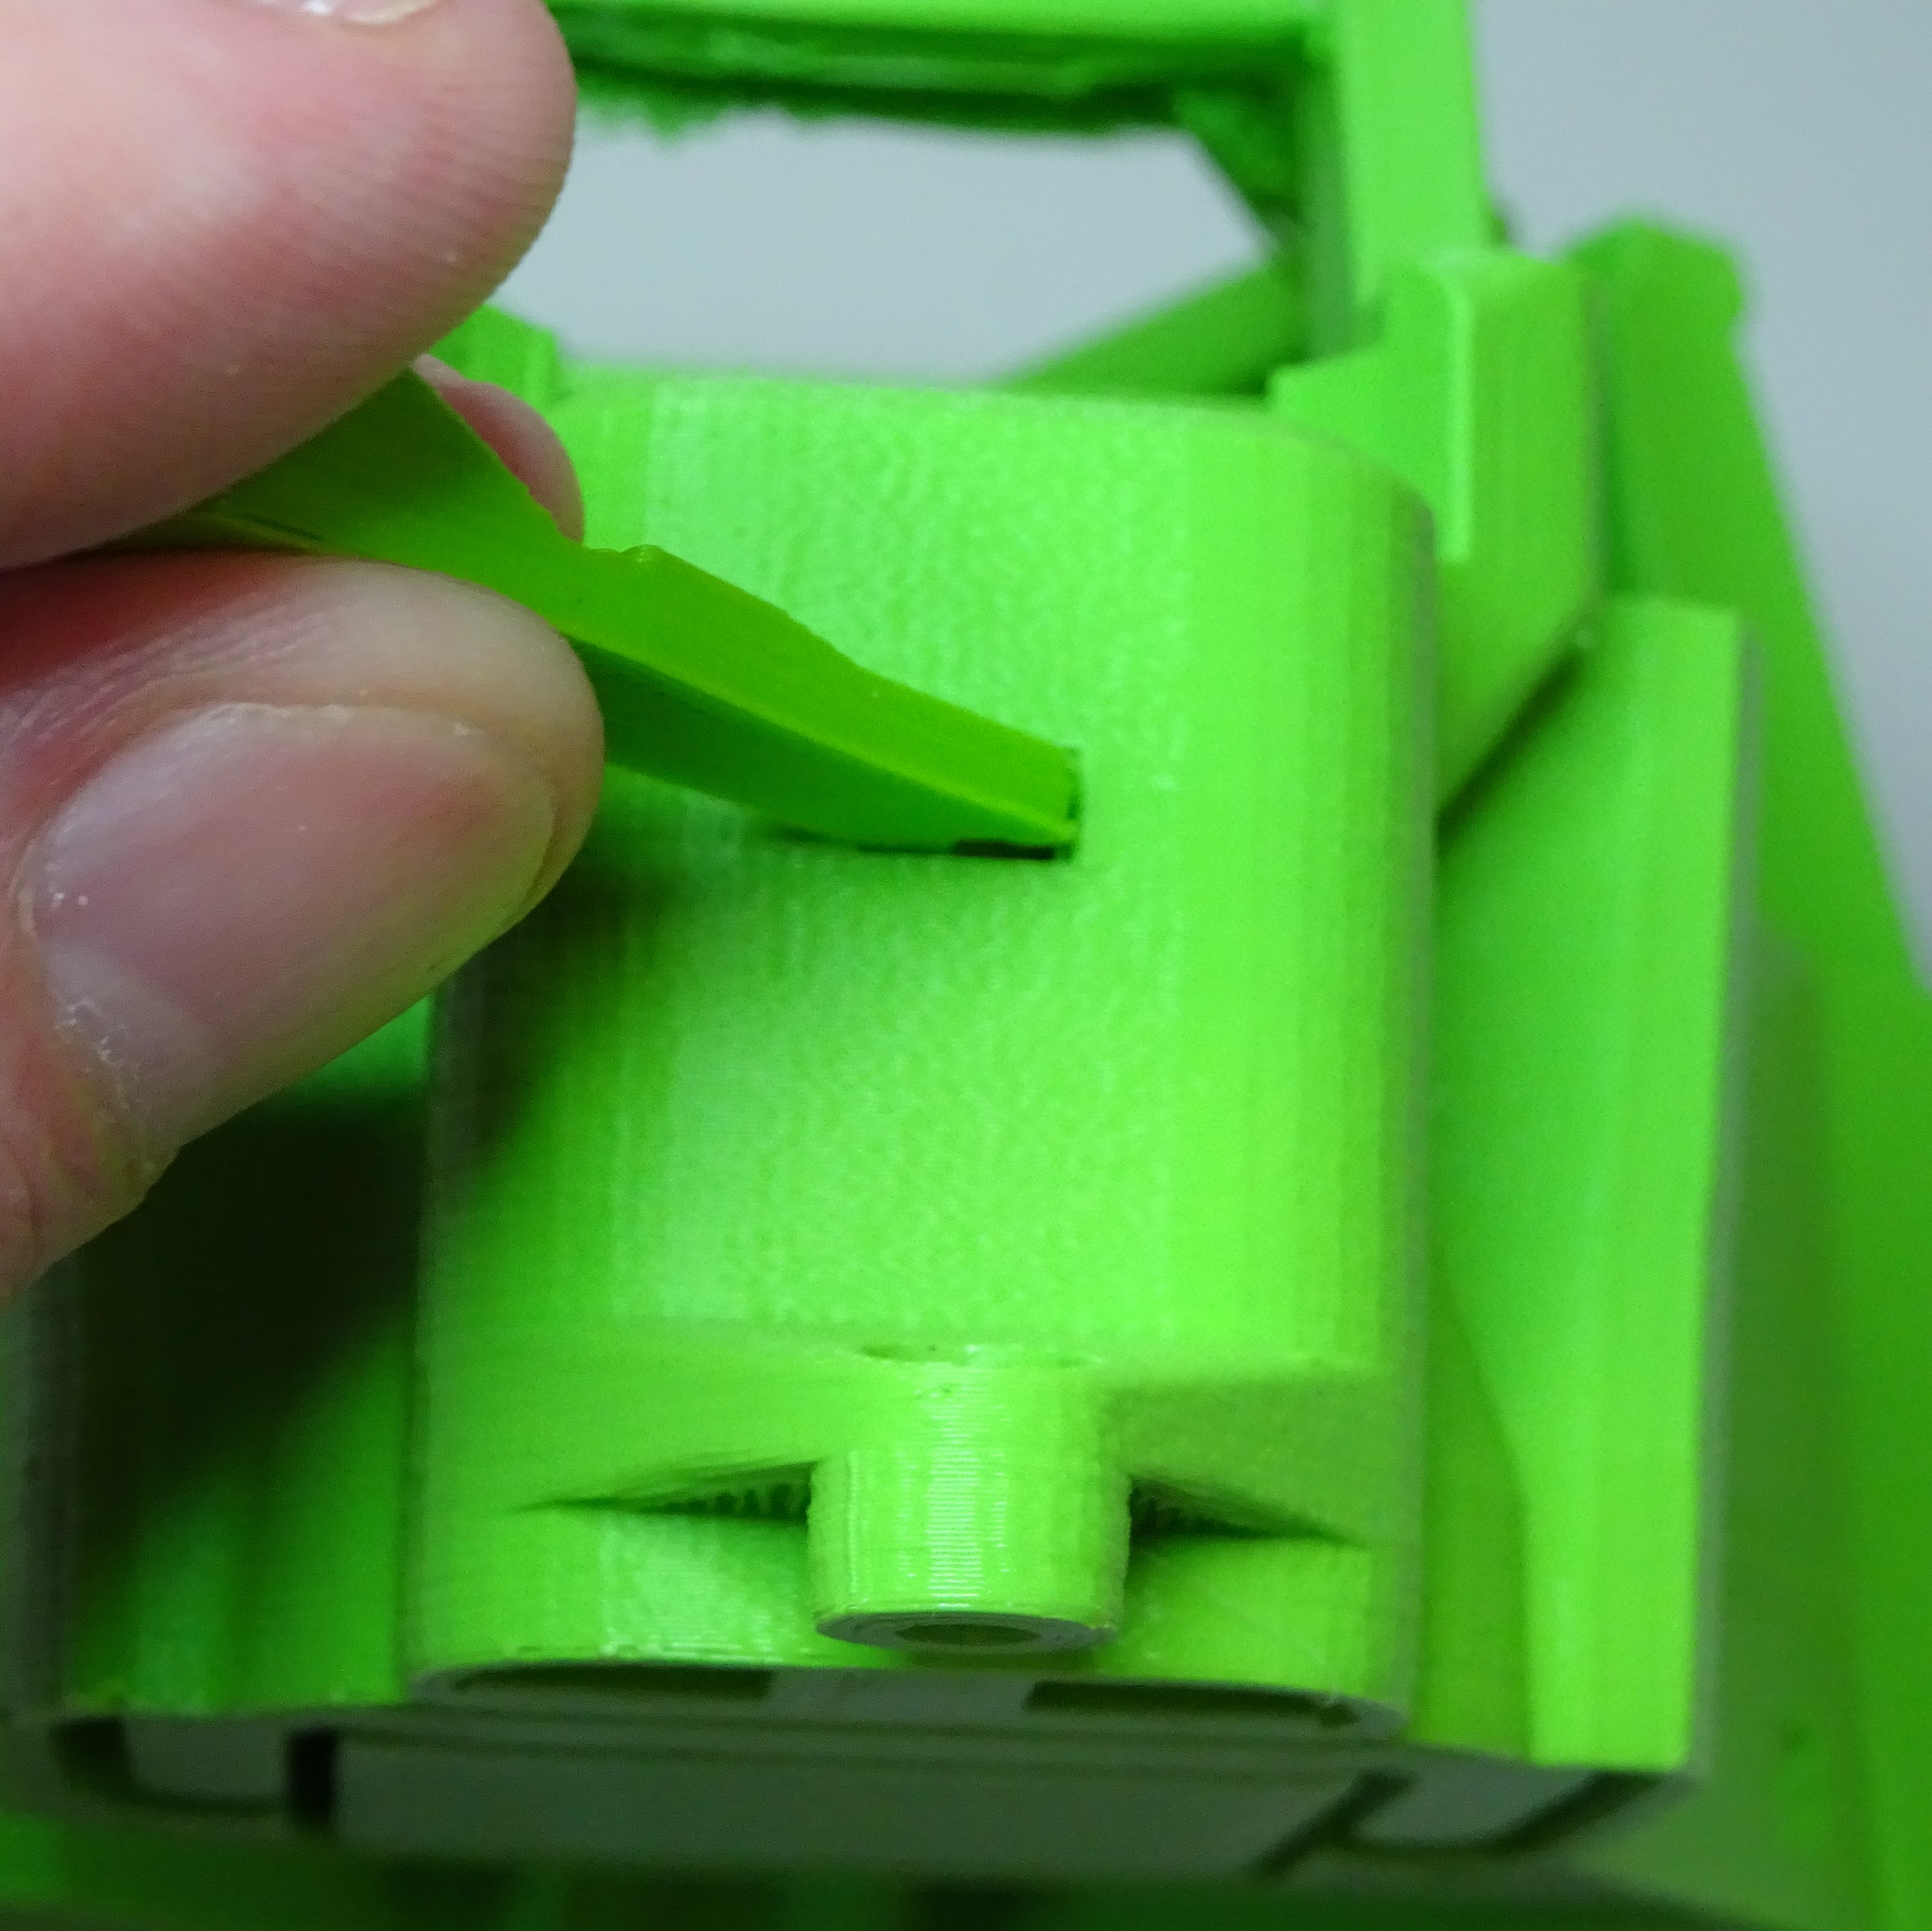
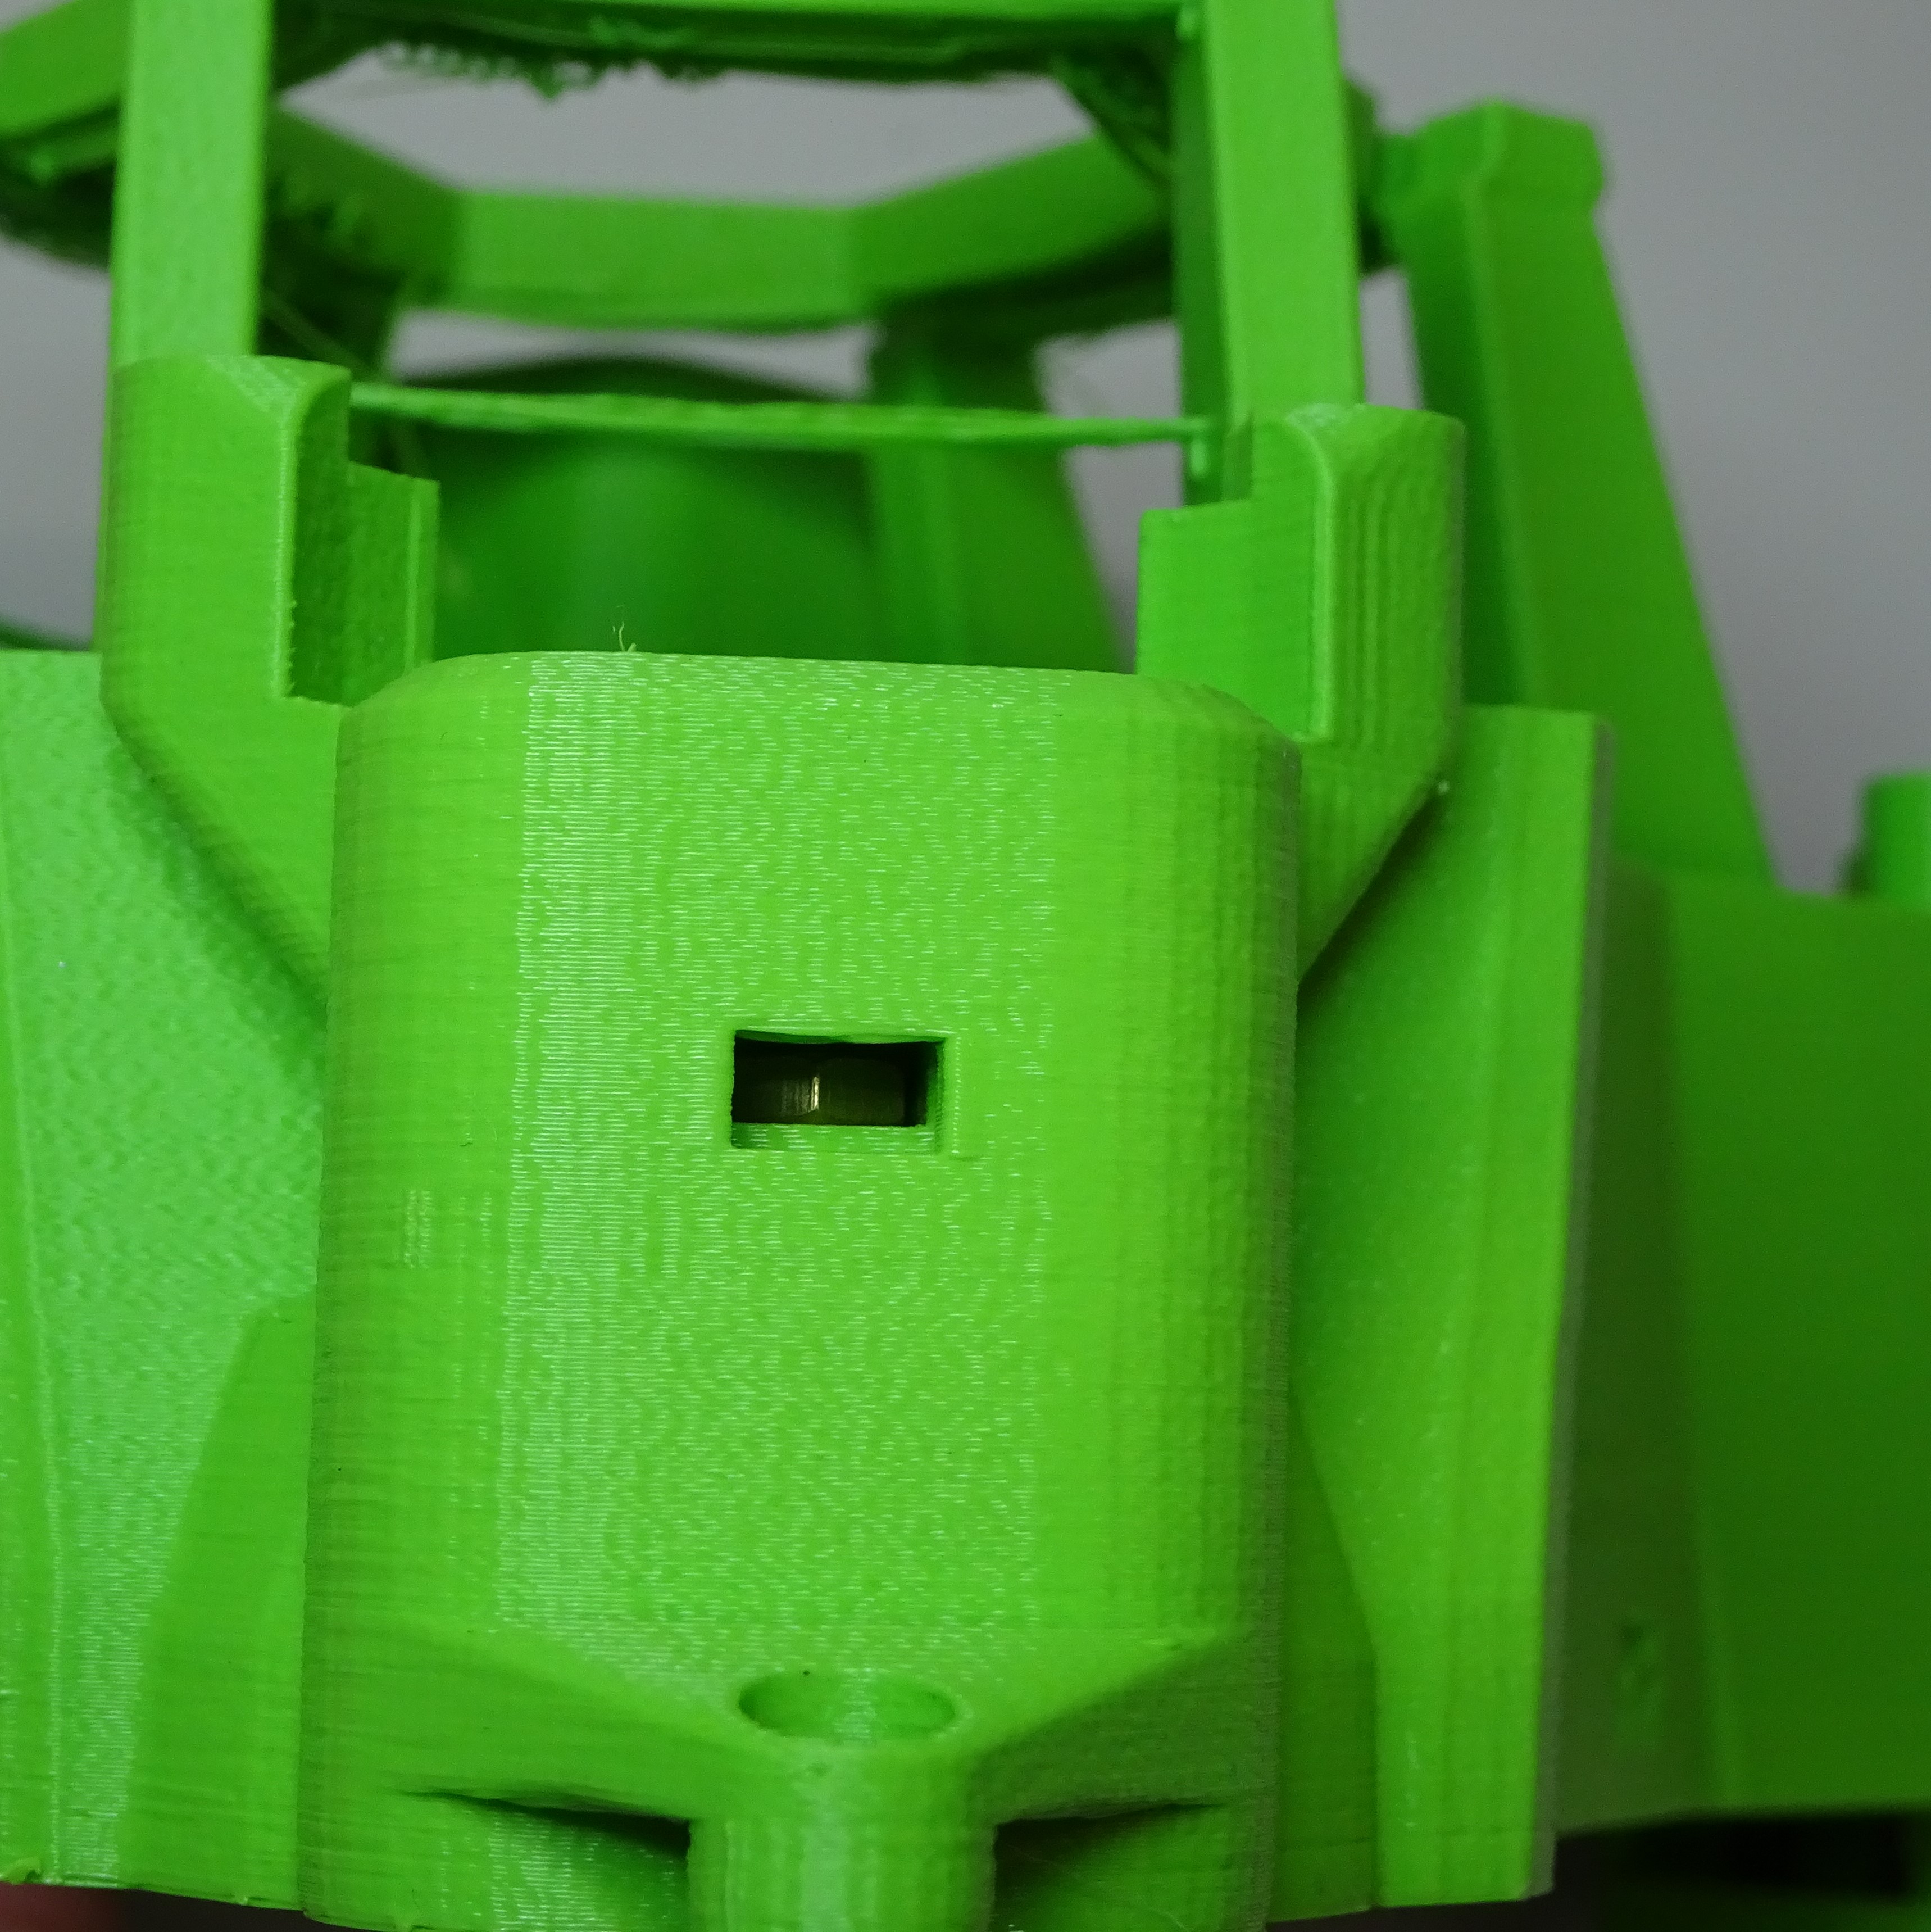

Screw the gear through the hole in the top of the actuator, through the nut that you just inserted. Apply a small amount of light oil to the screw thread before it is fully tightened.
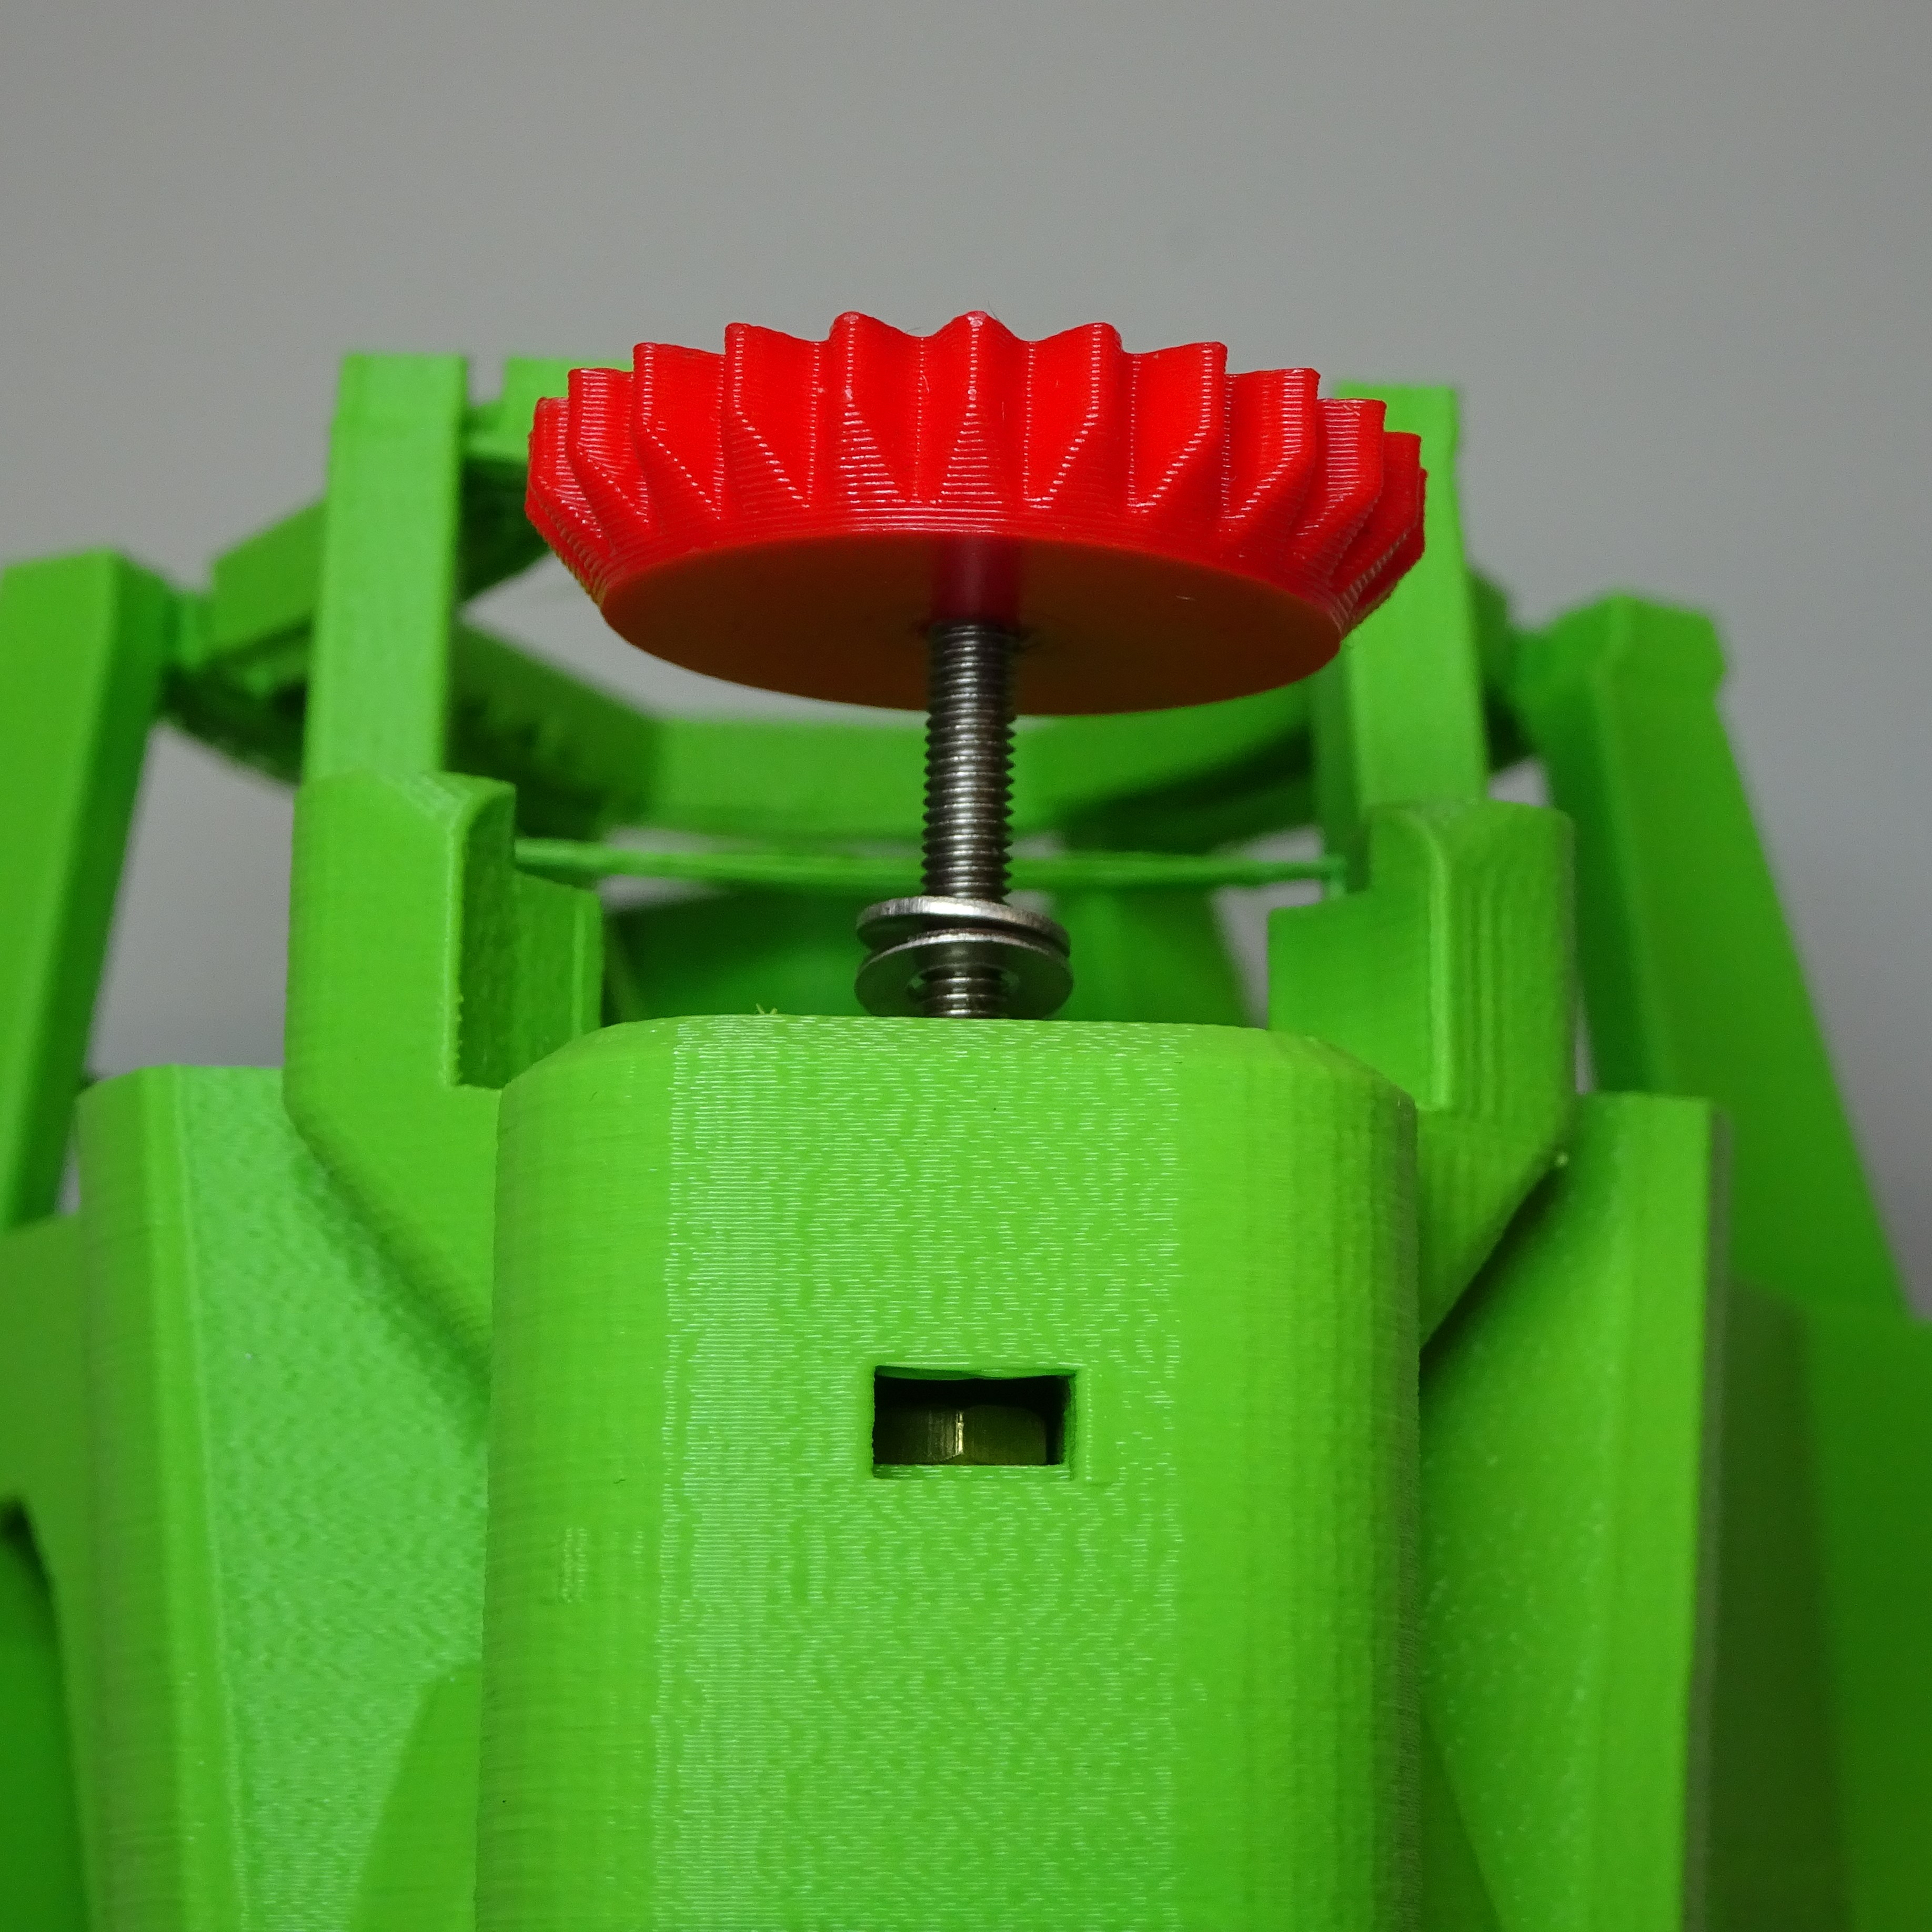
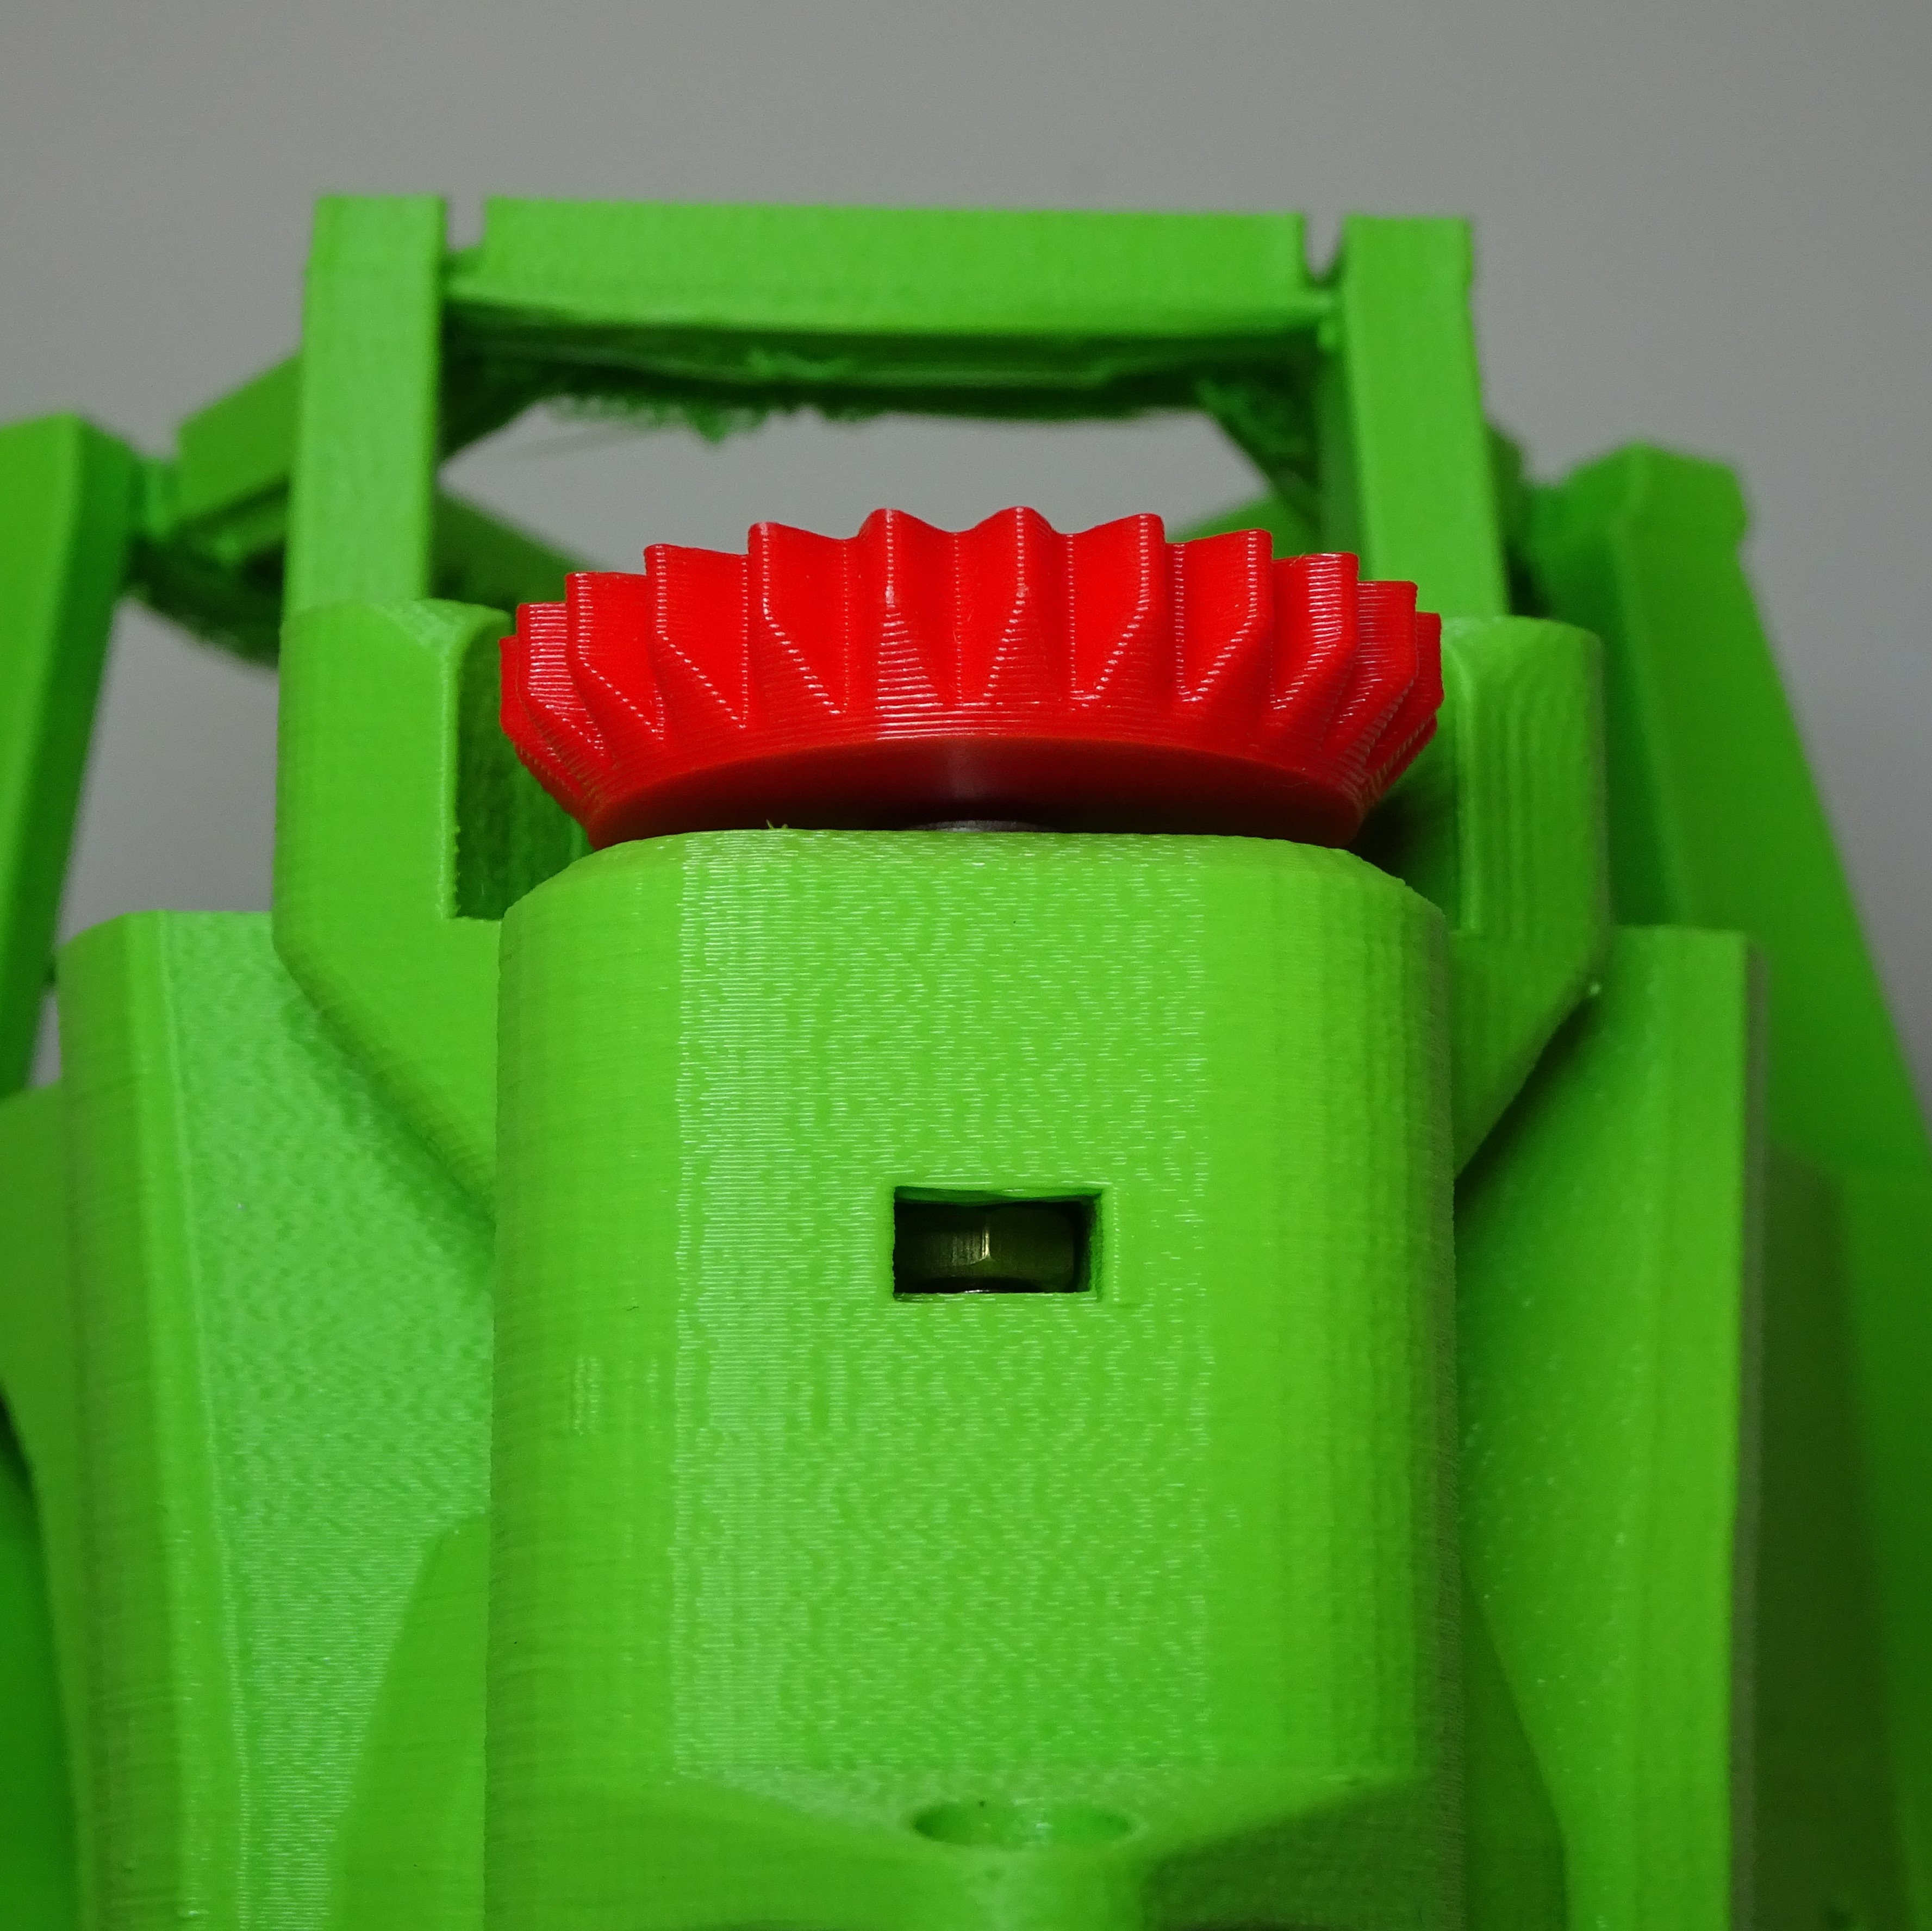

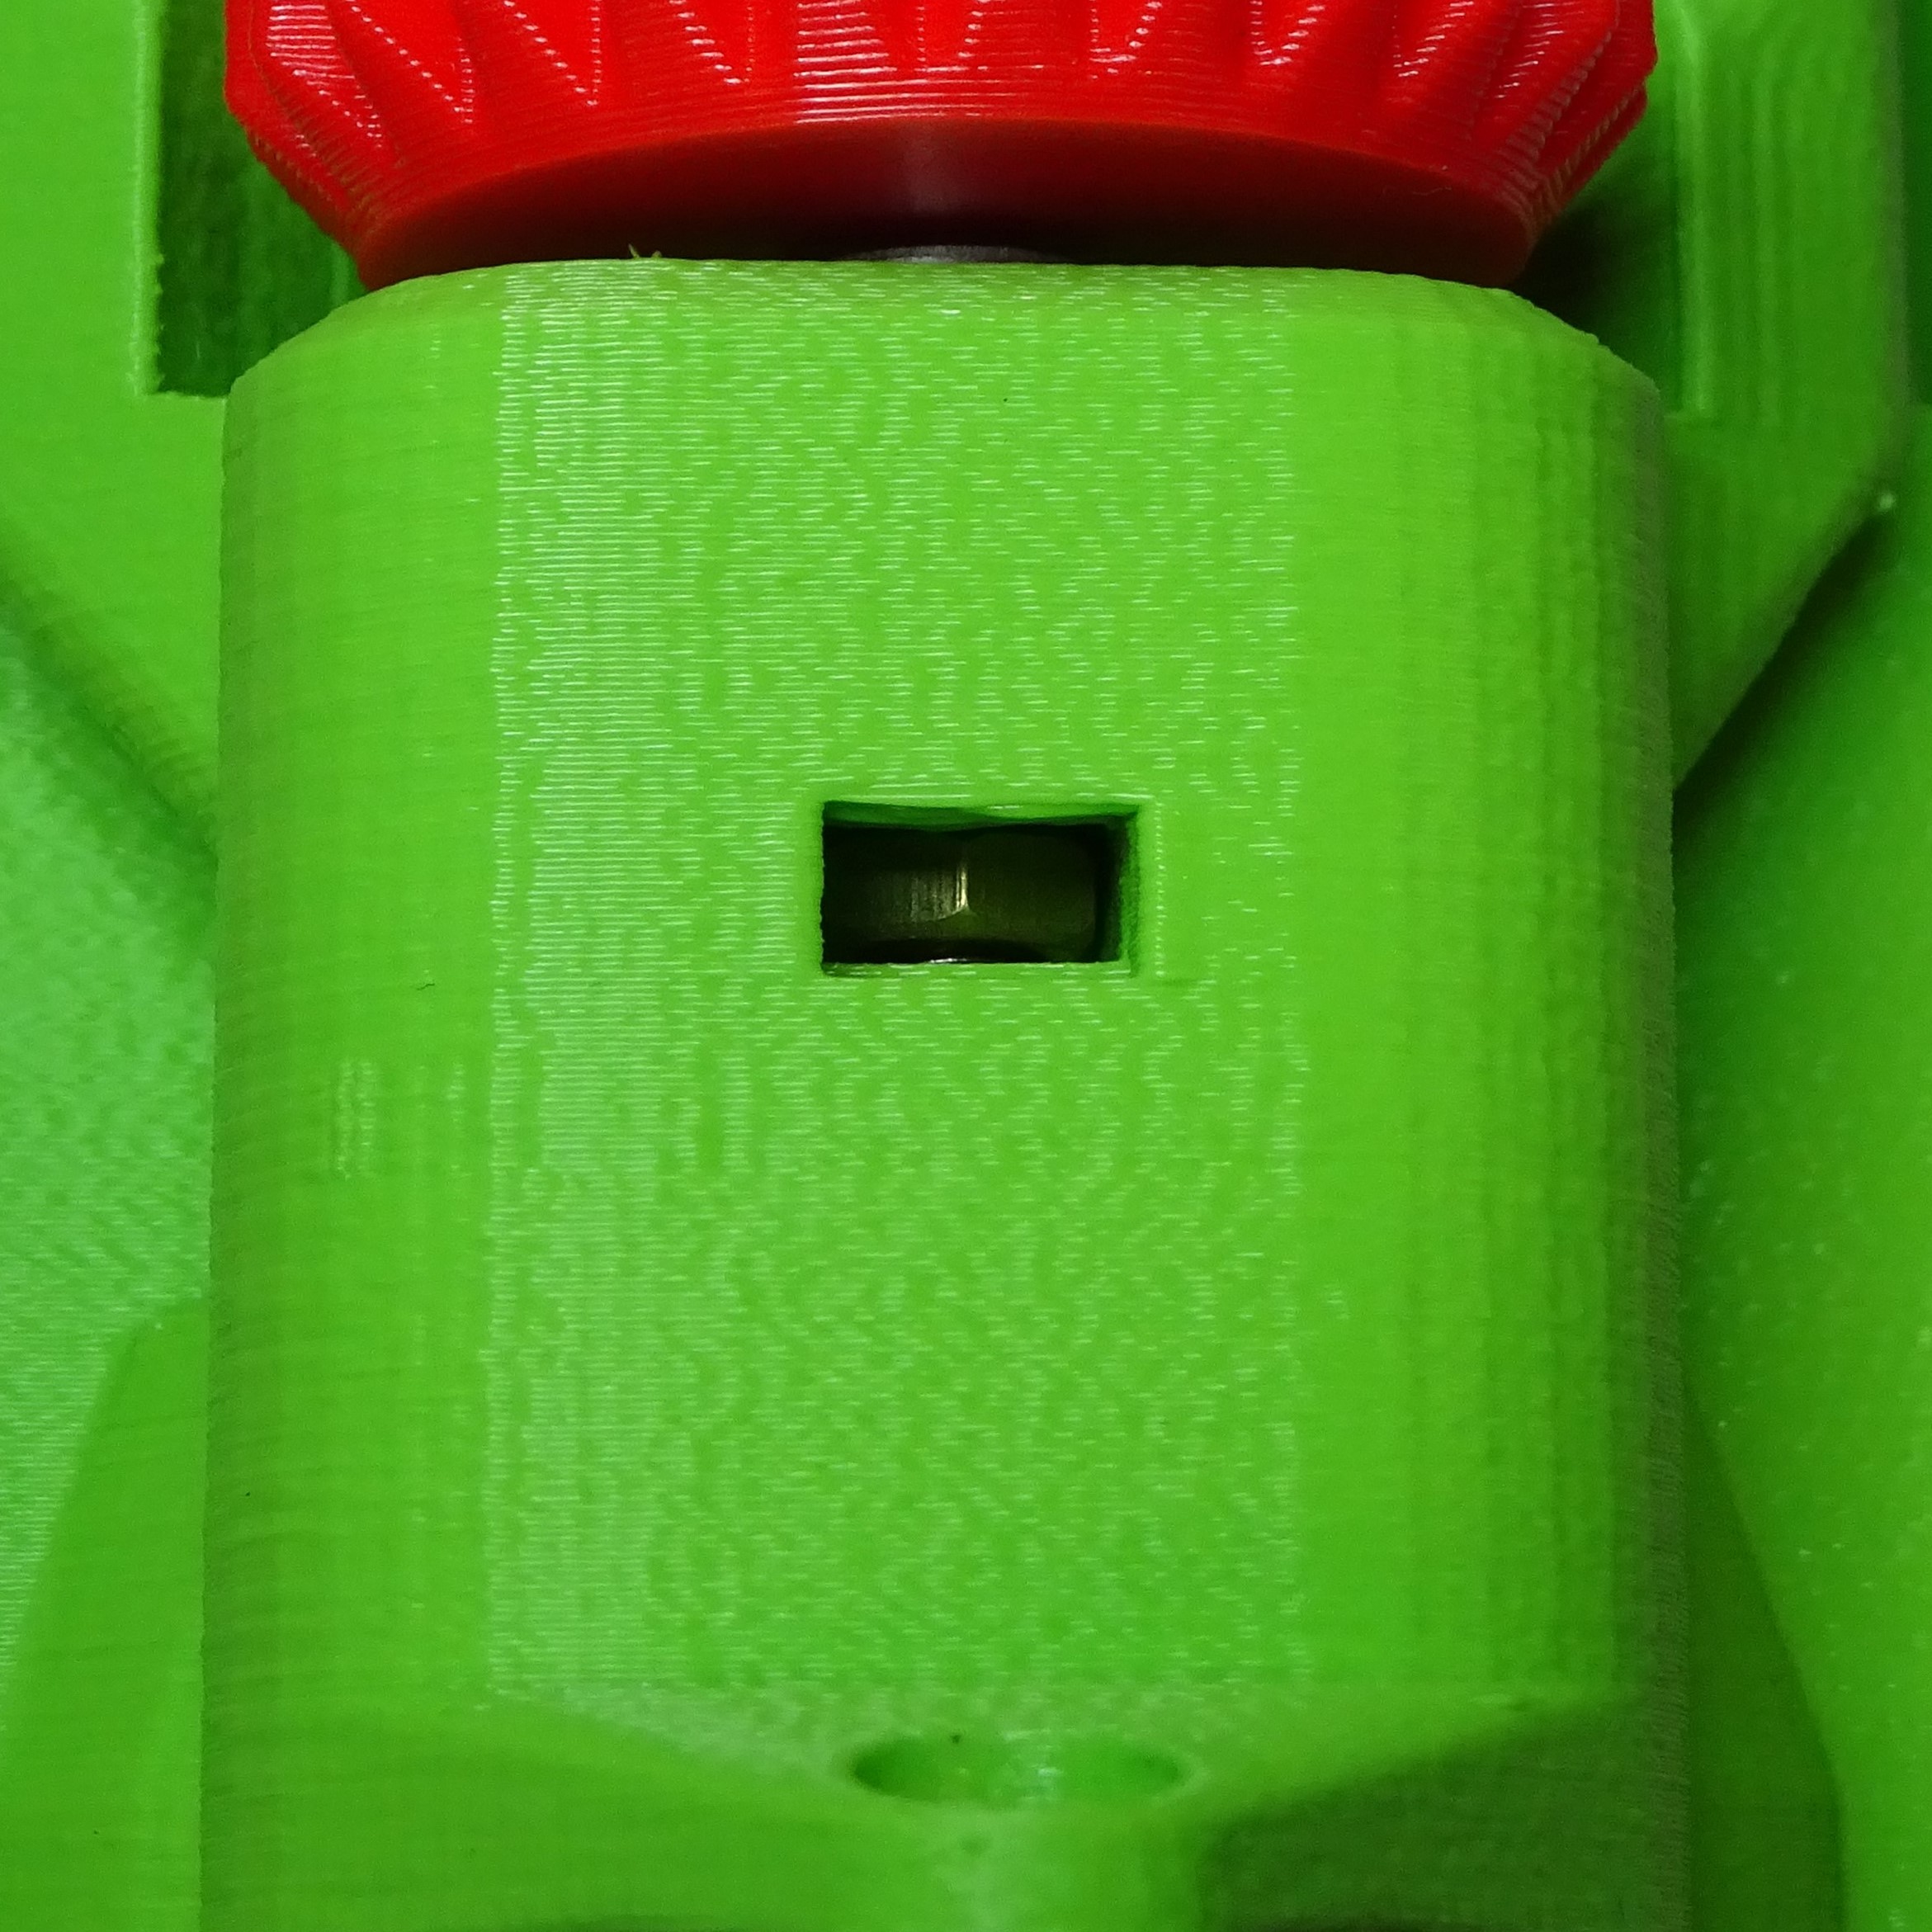
Looking through the hole that the nut was pushed into, rotate the gear until you can see the hole inside align with the outside hole. Push the nut tool into the hole so the column can't move.
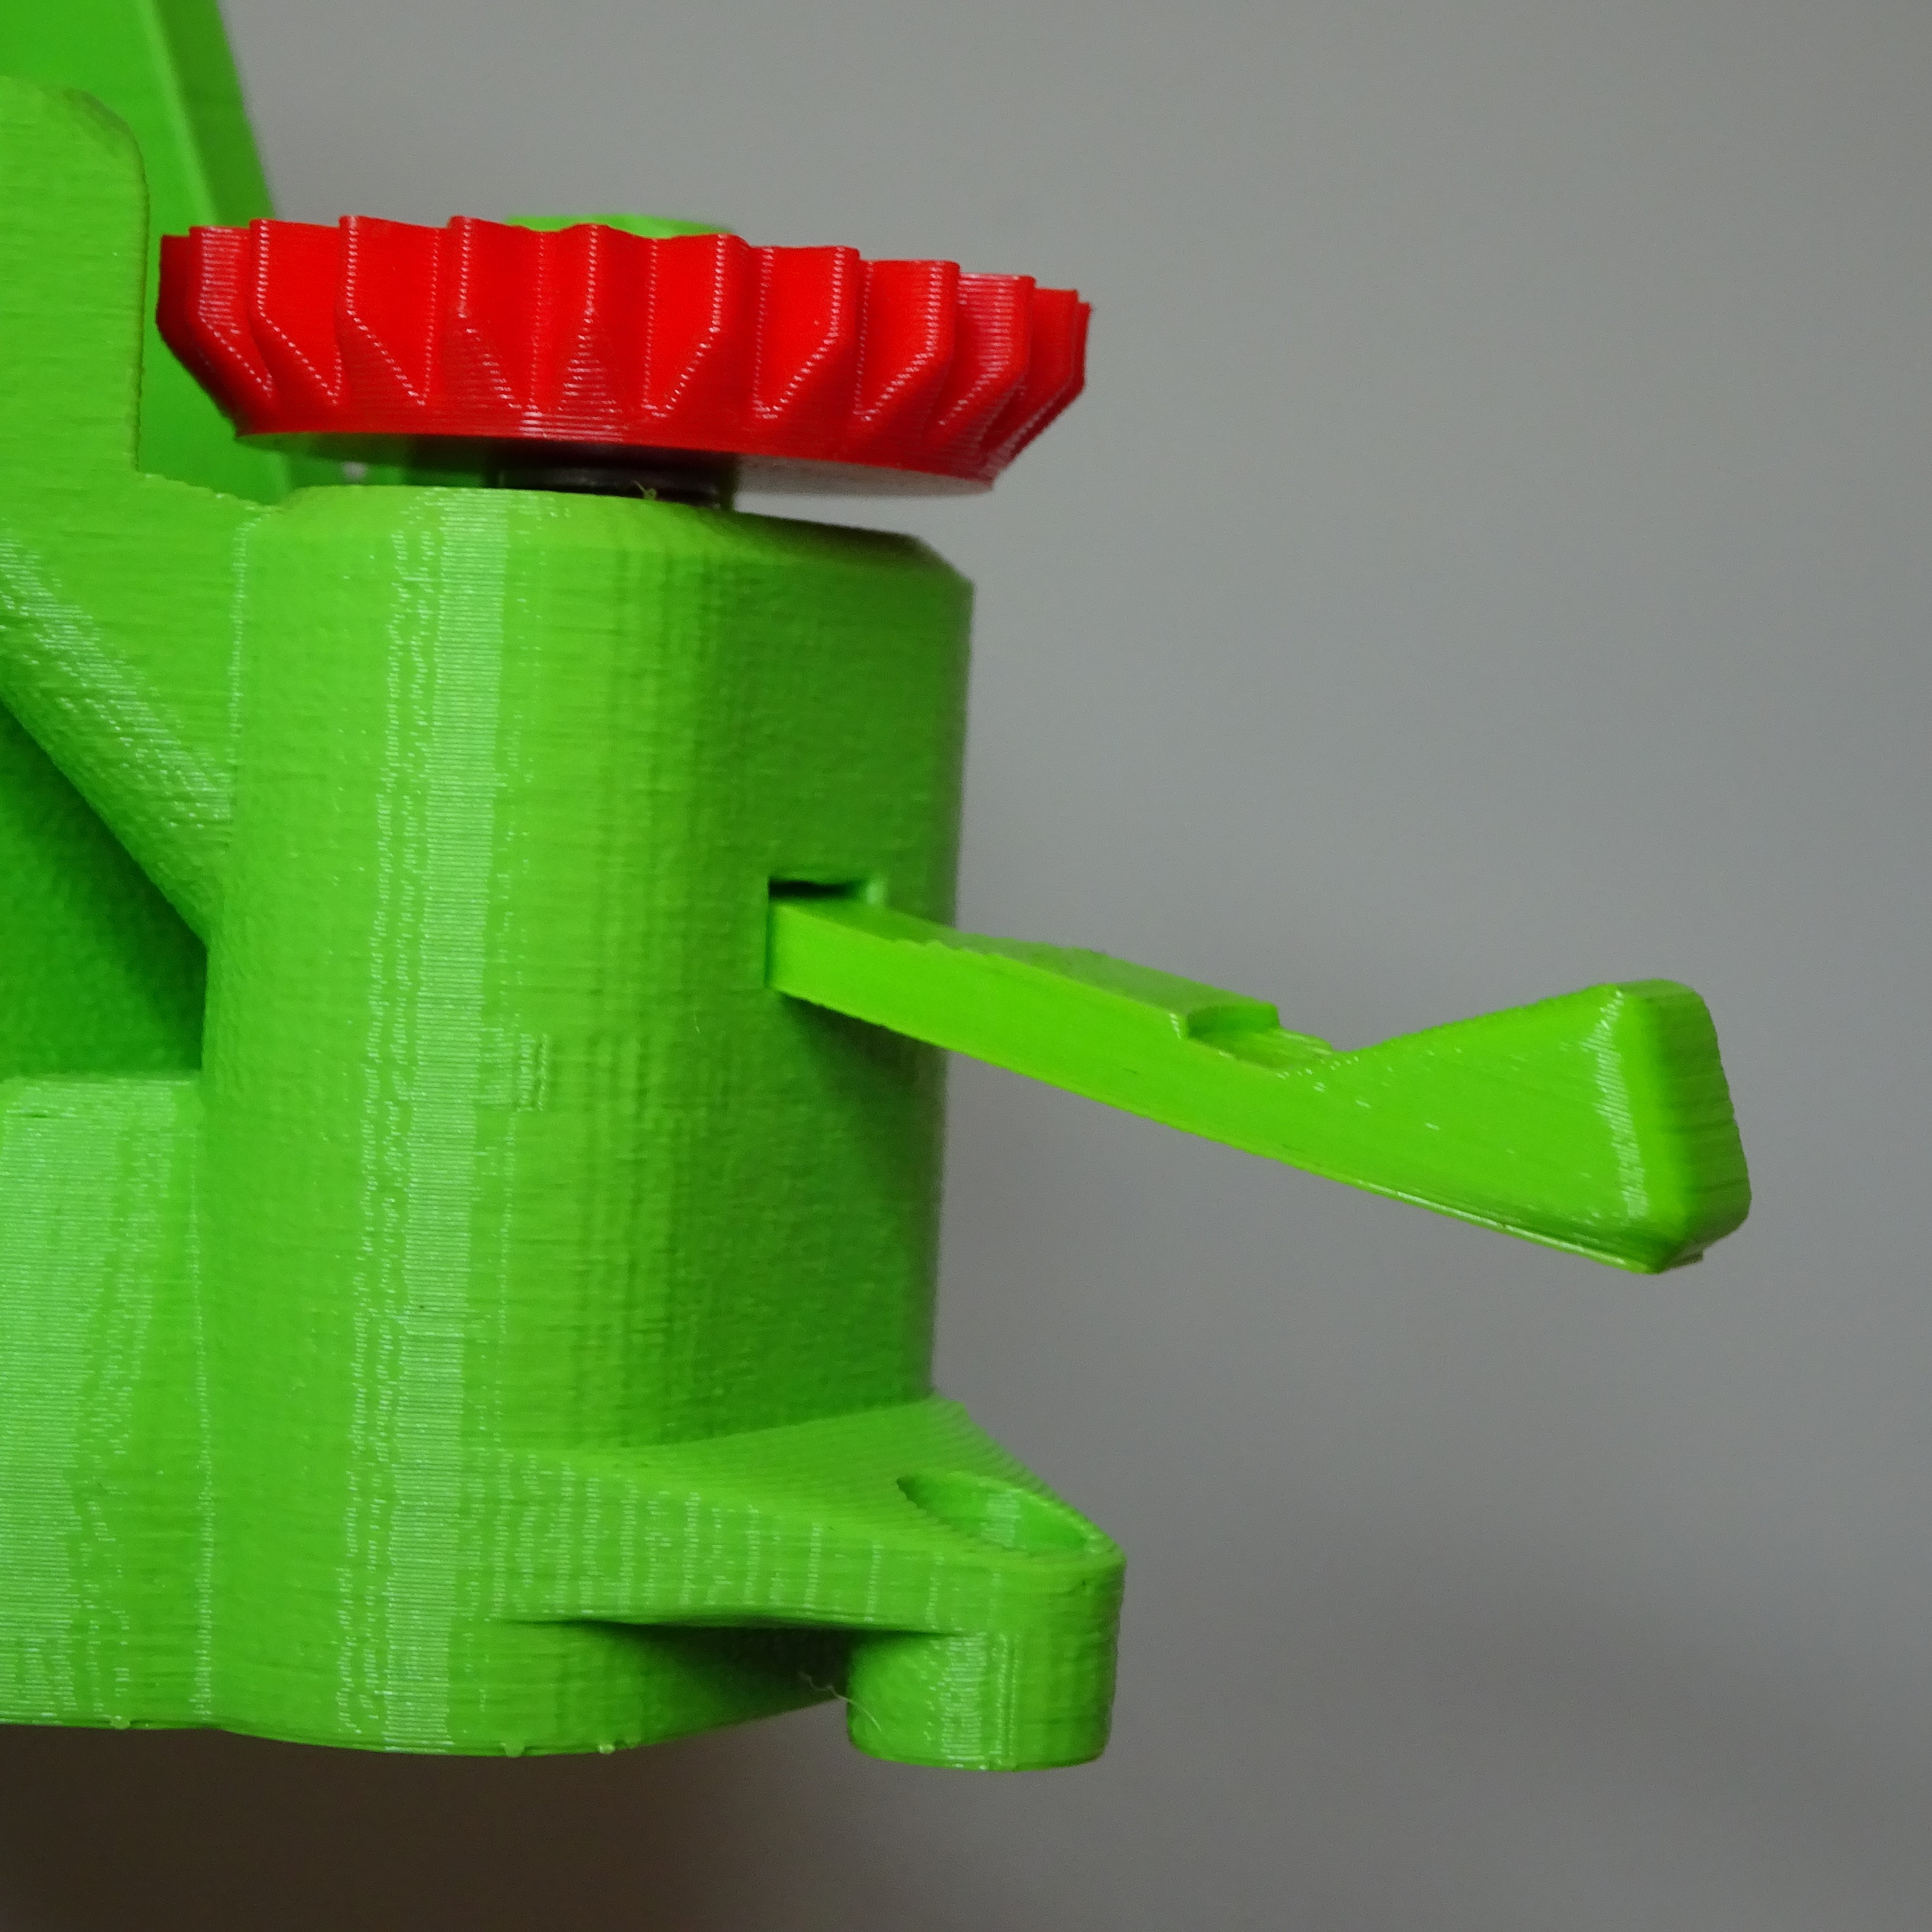

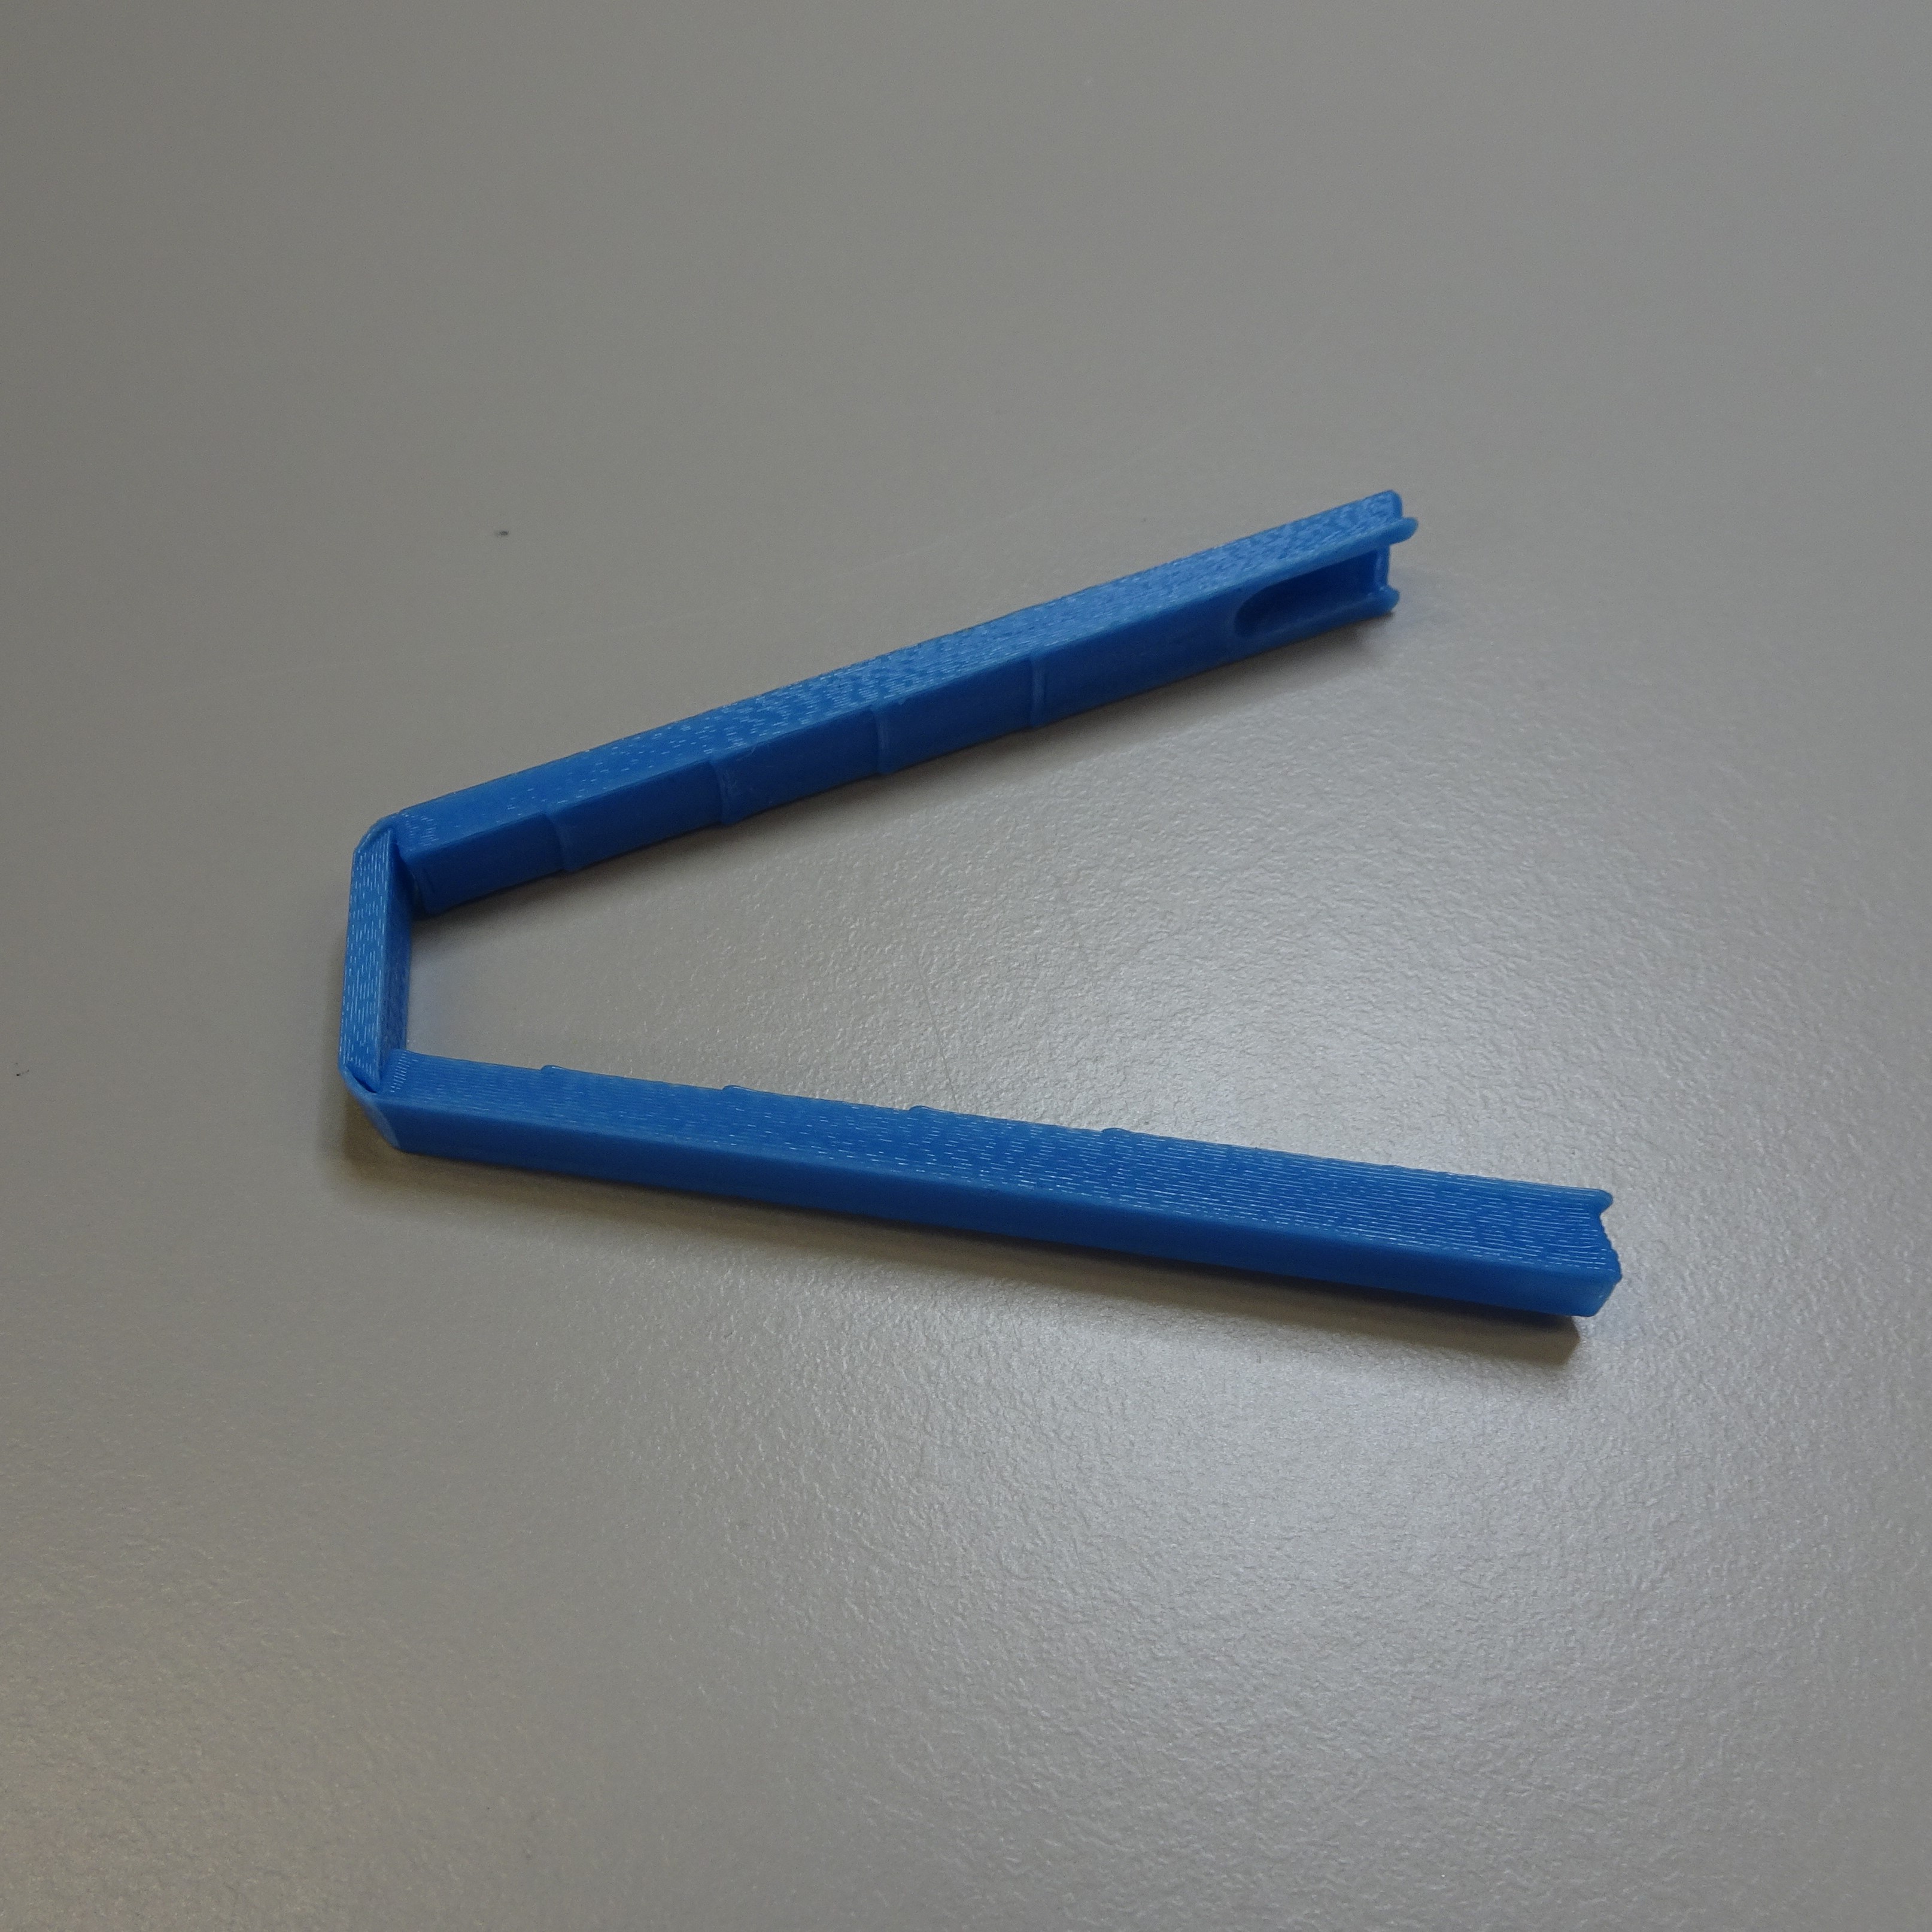
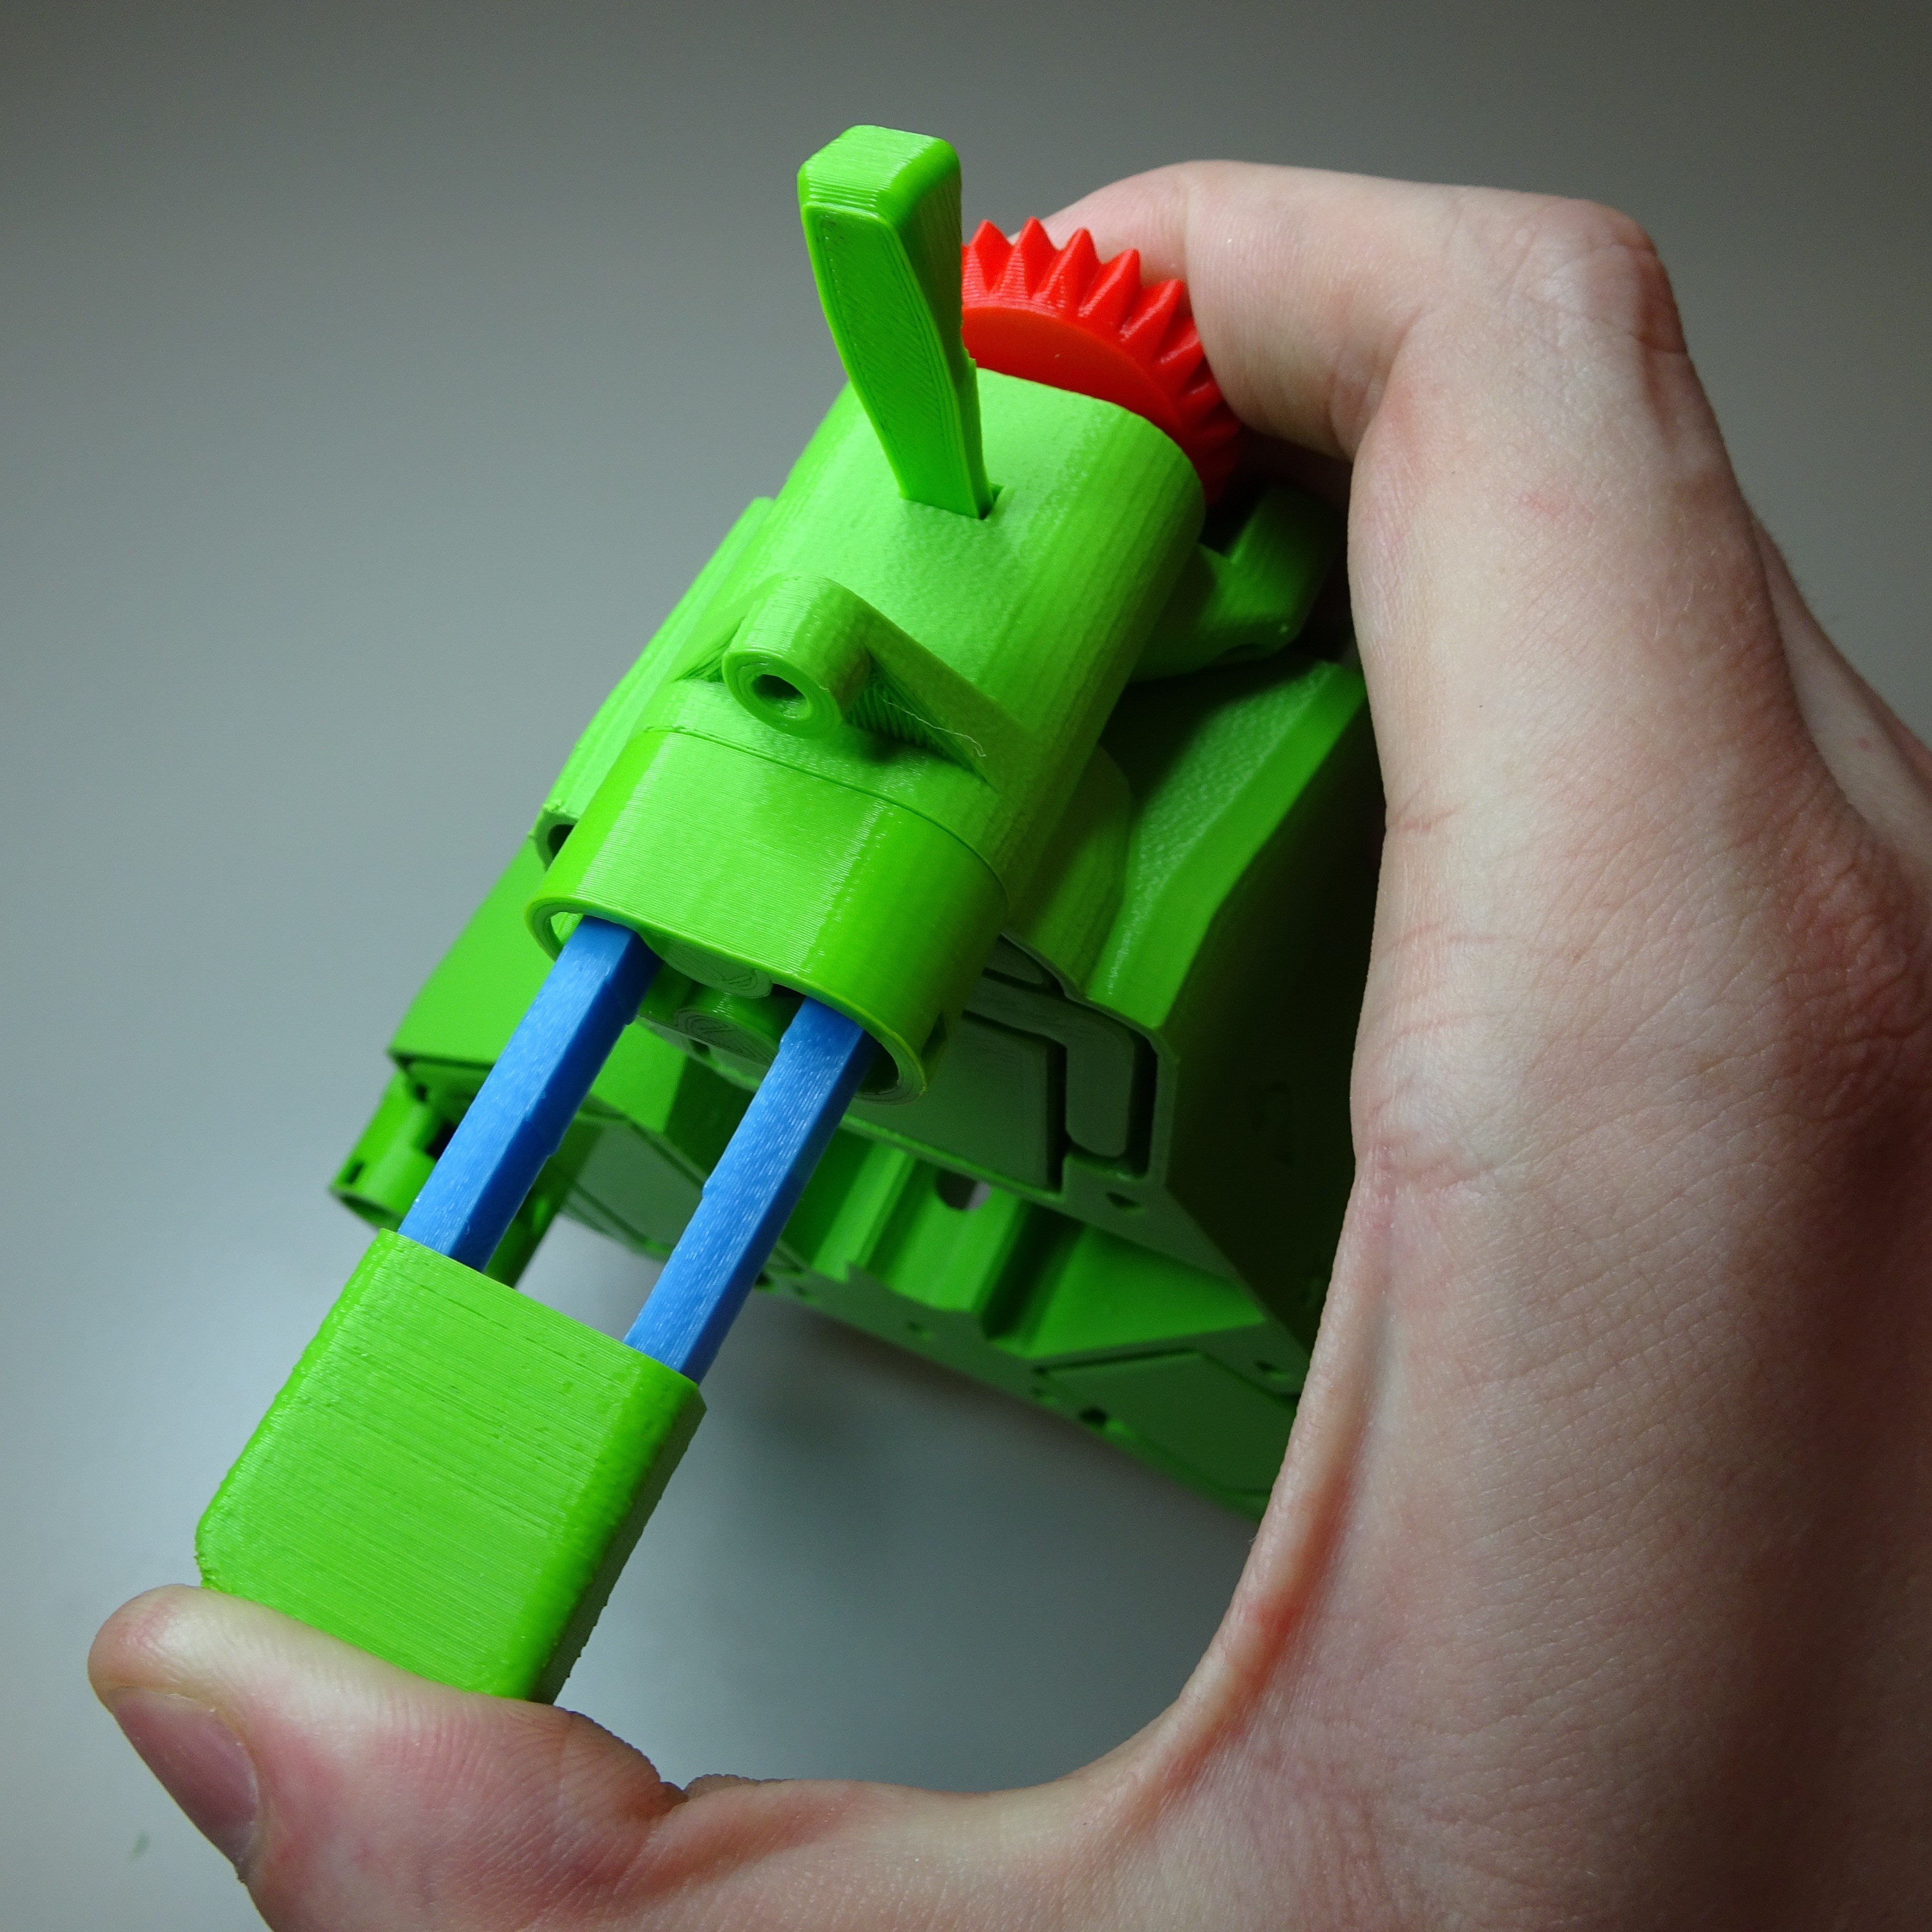
Bend the band tool ready for use and put inside the band tool holder.
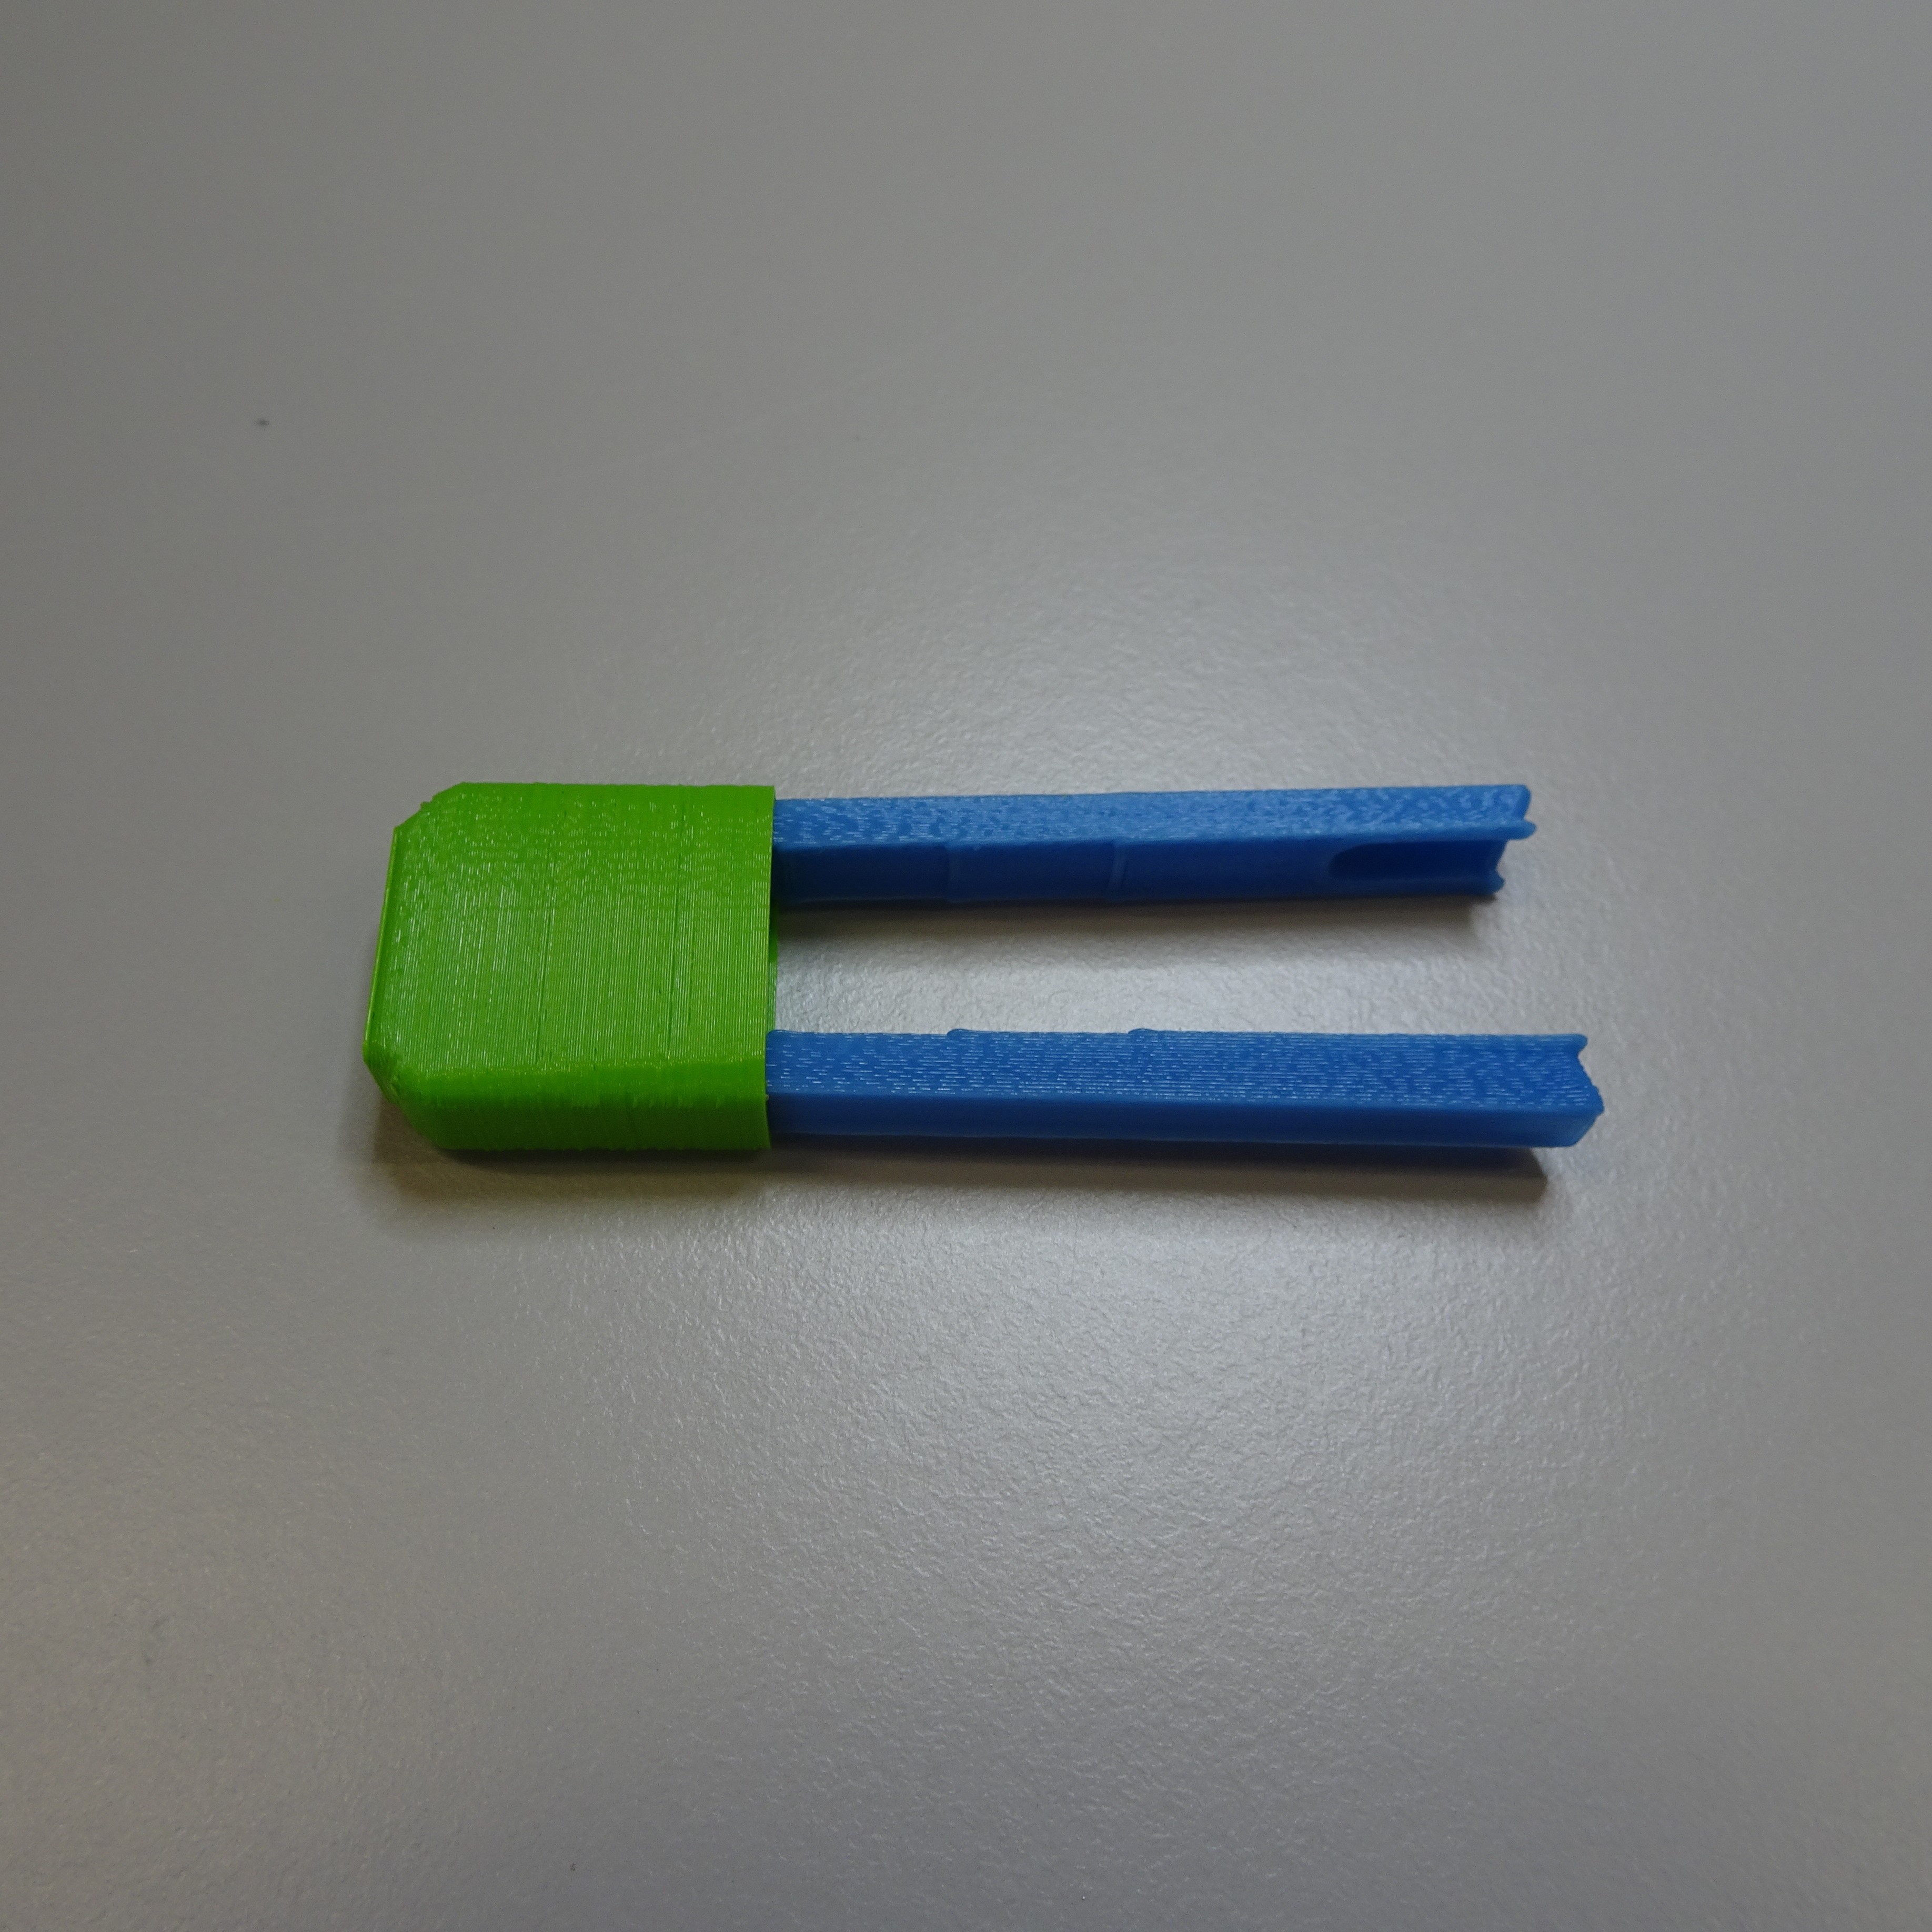

Attach one of the feet onto the bottom of the actuator.
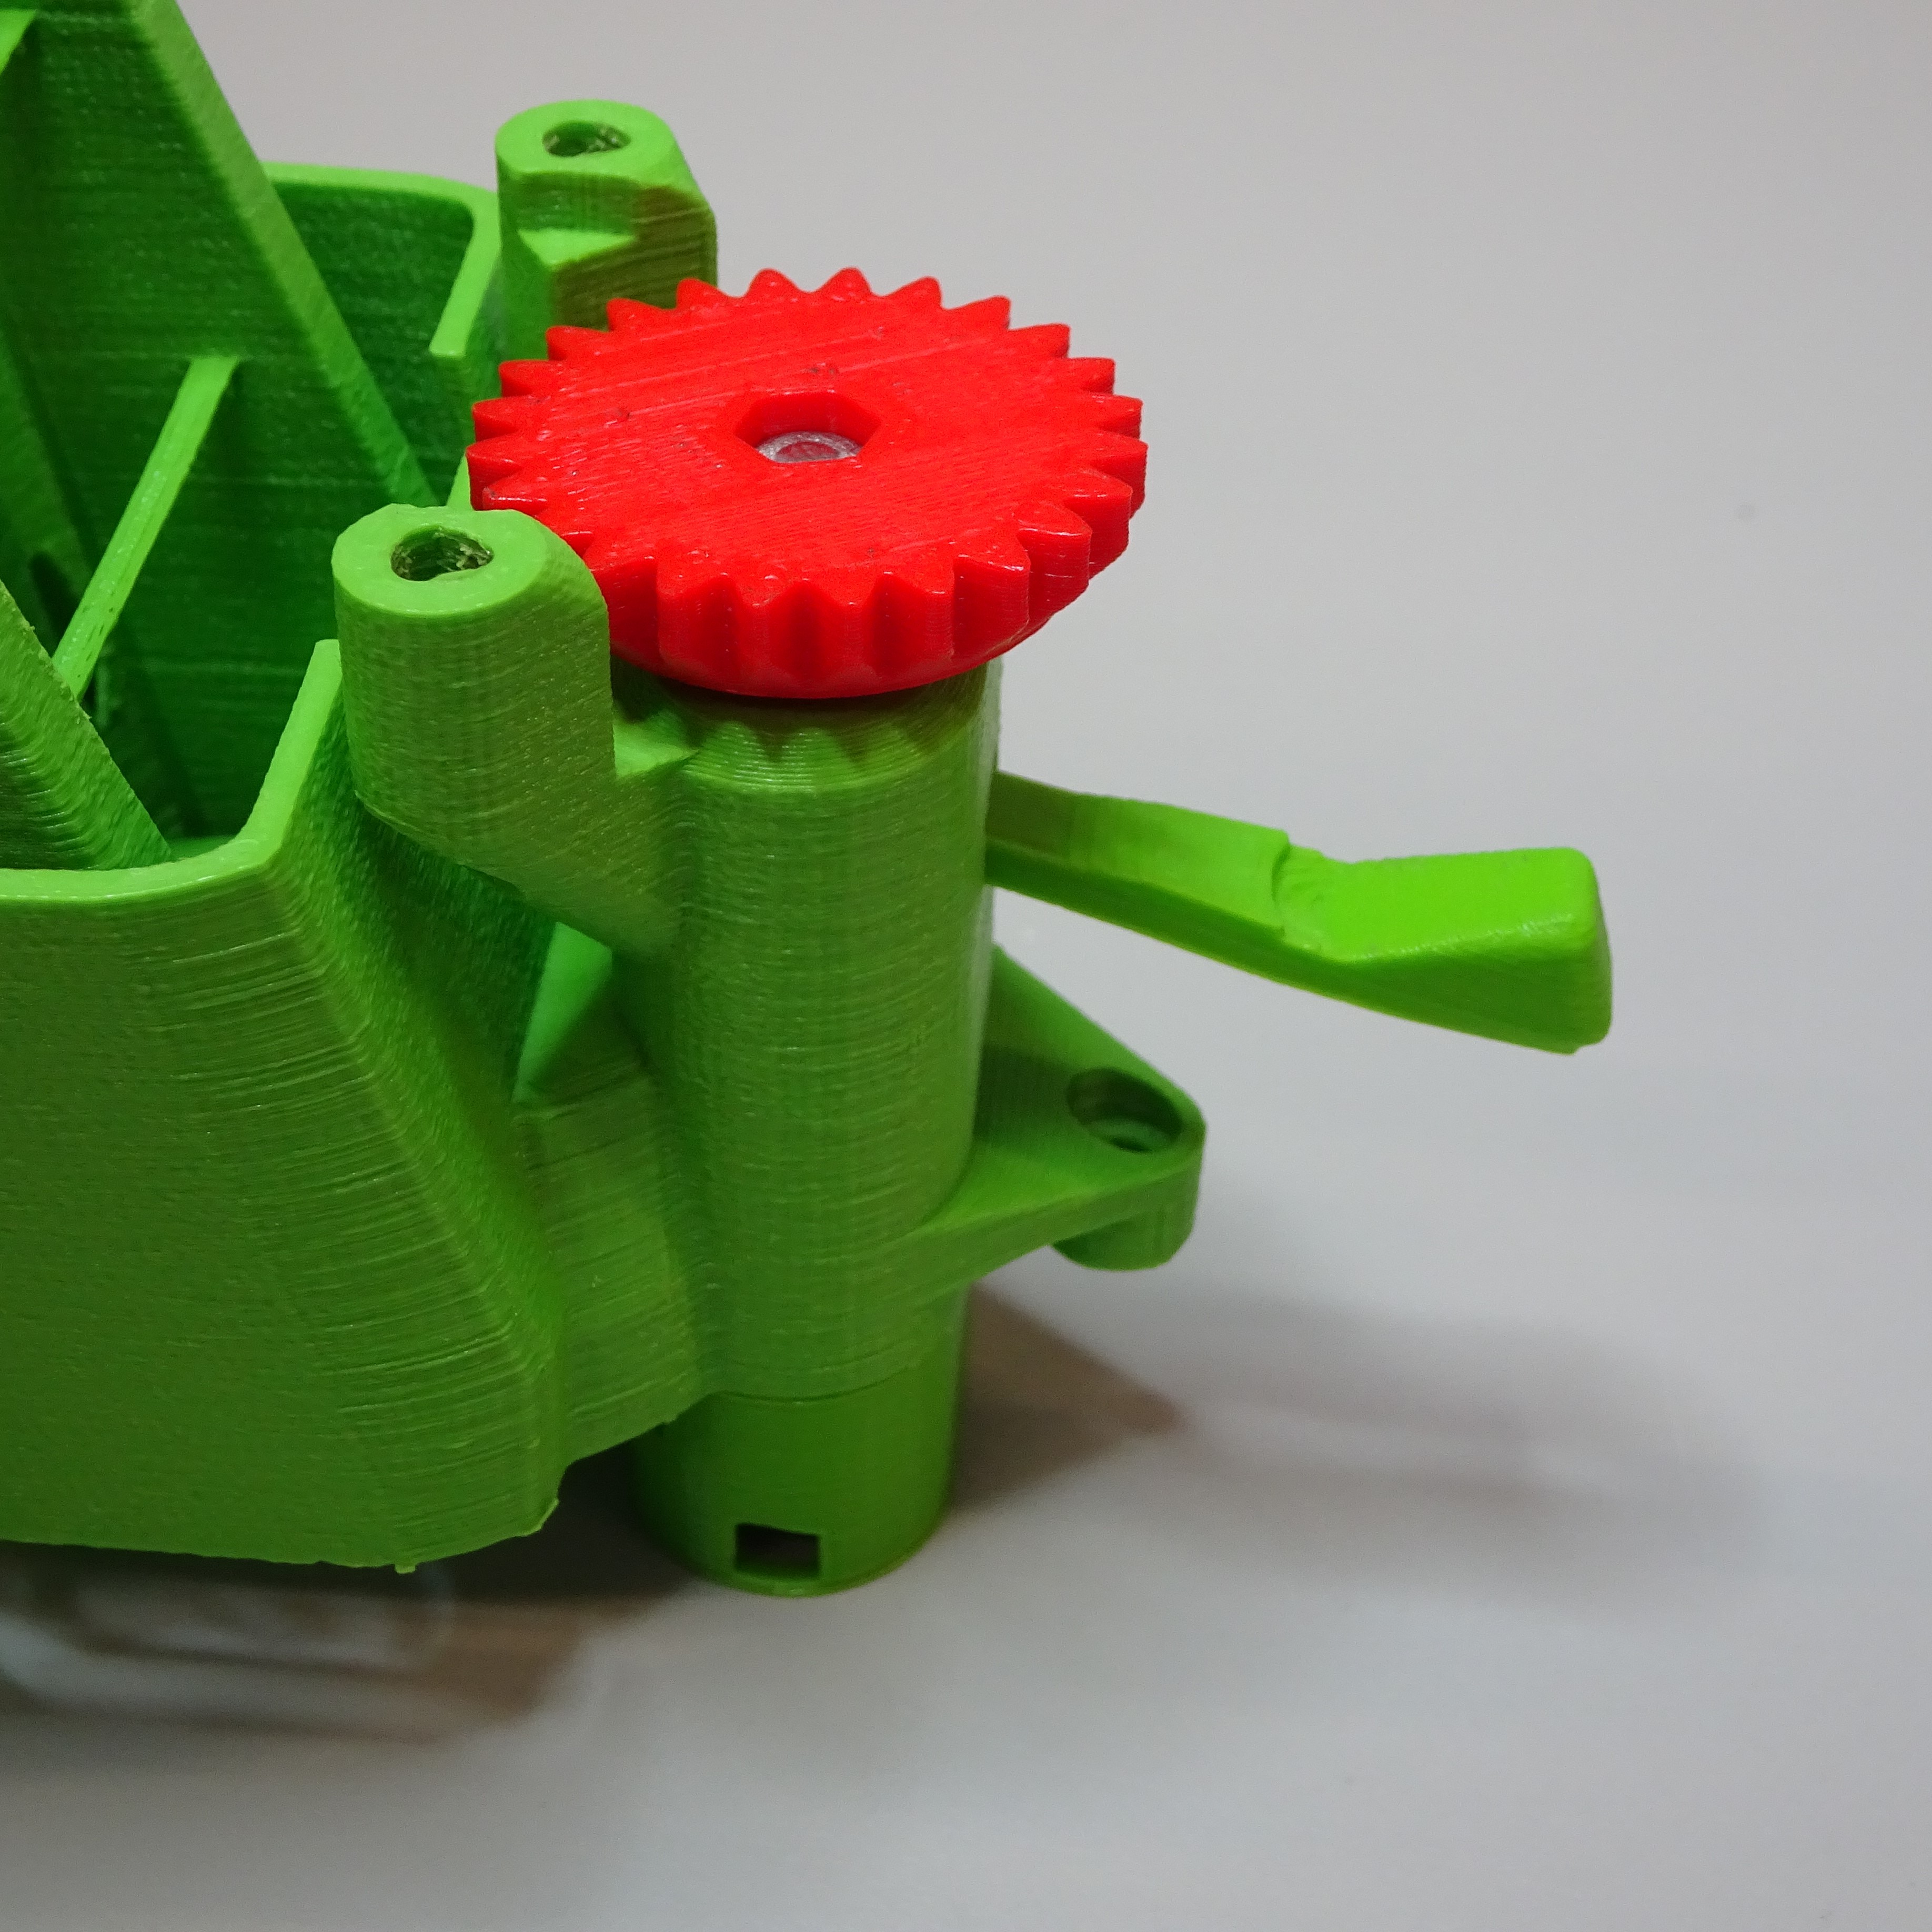
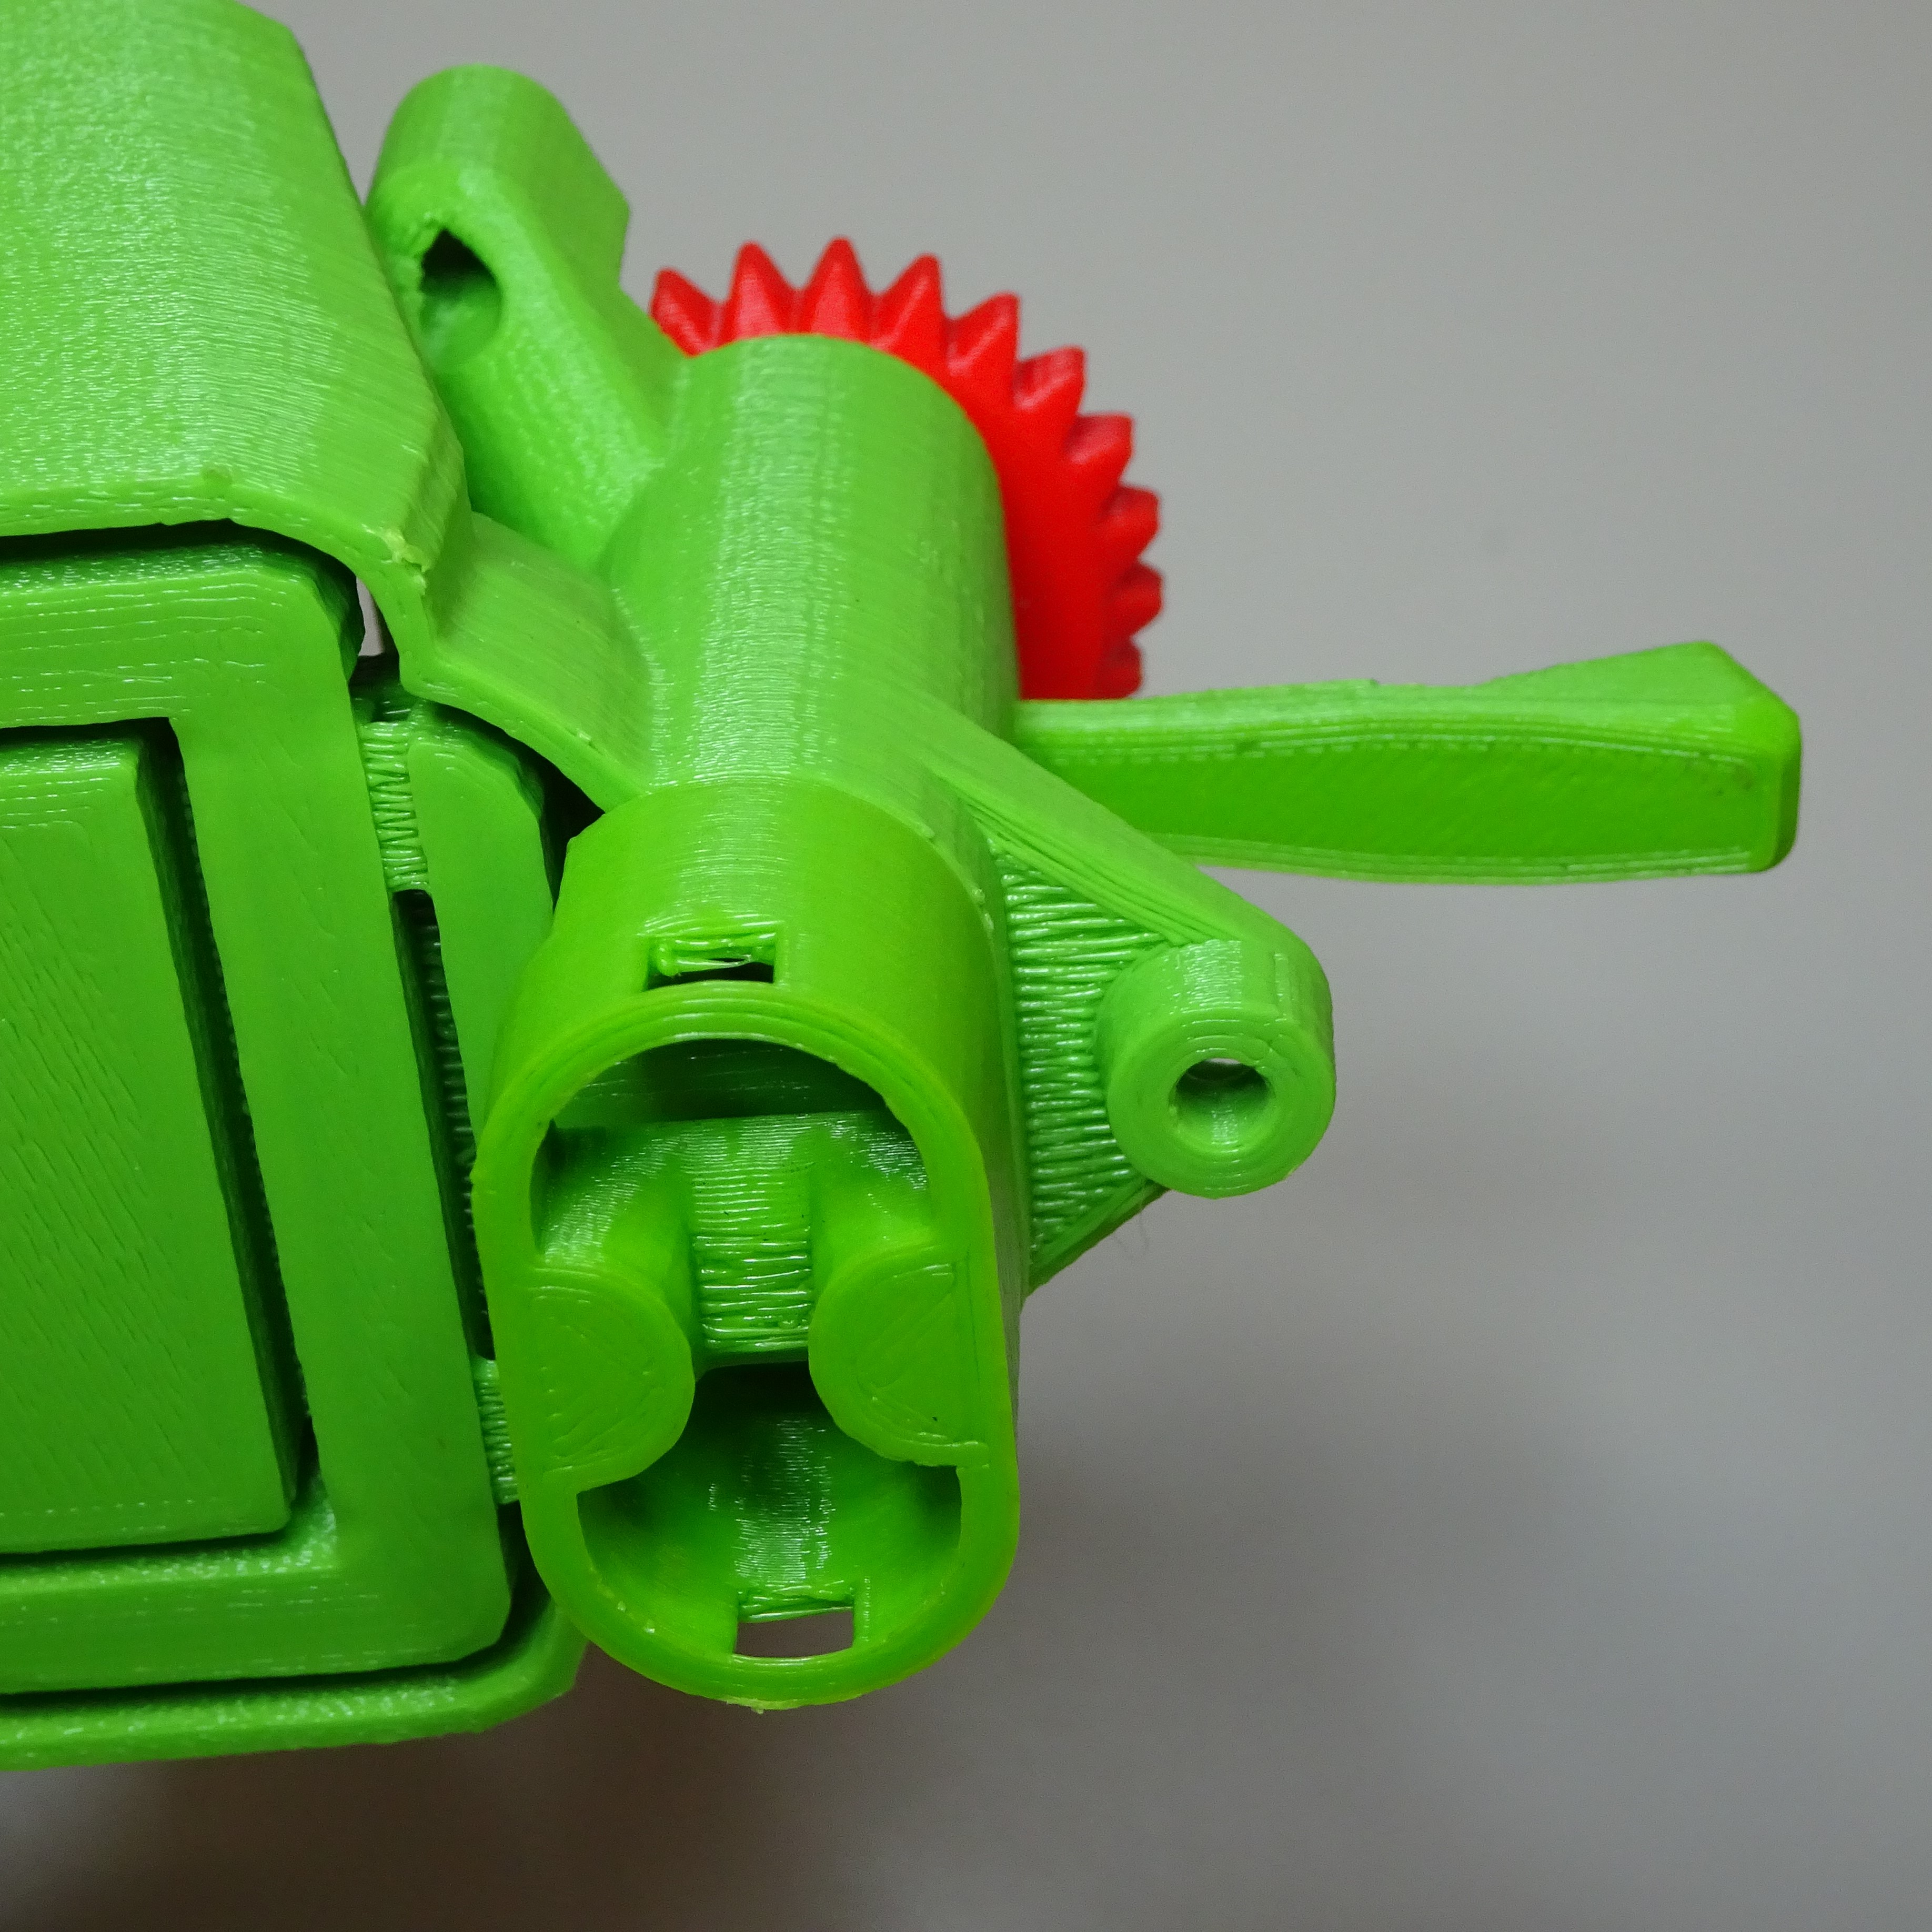

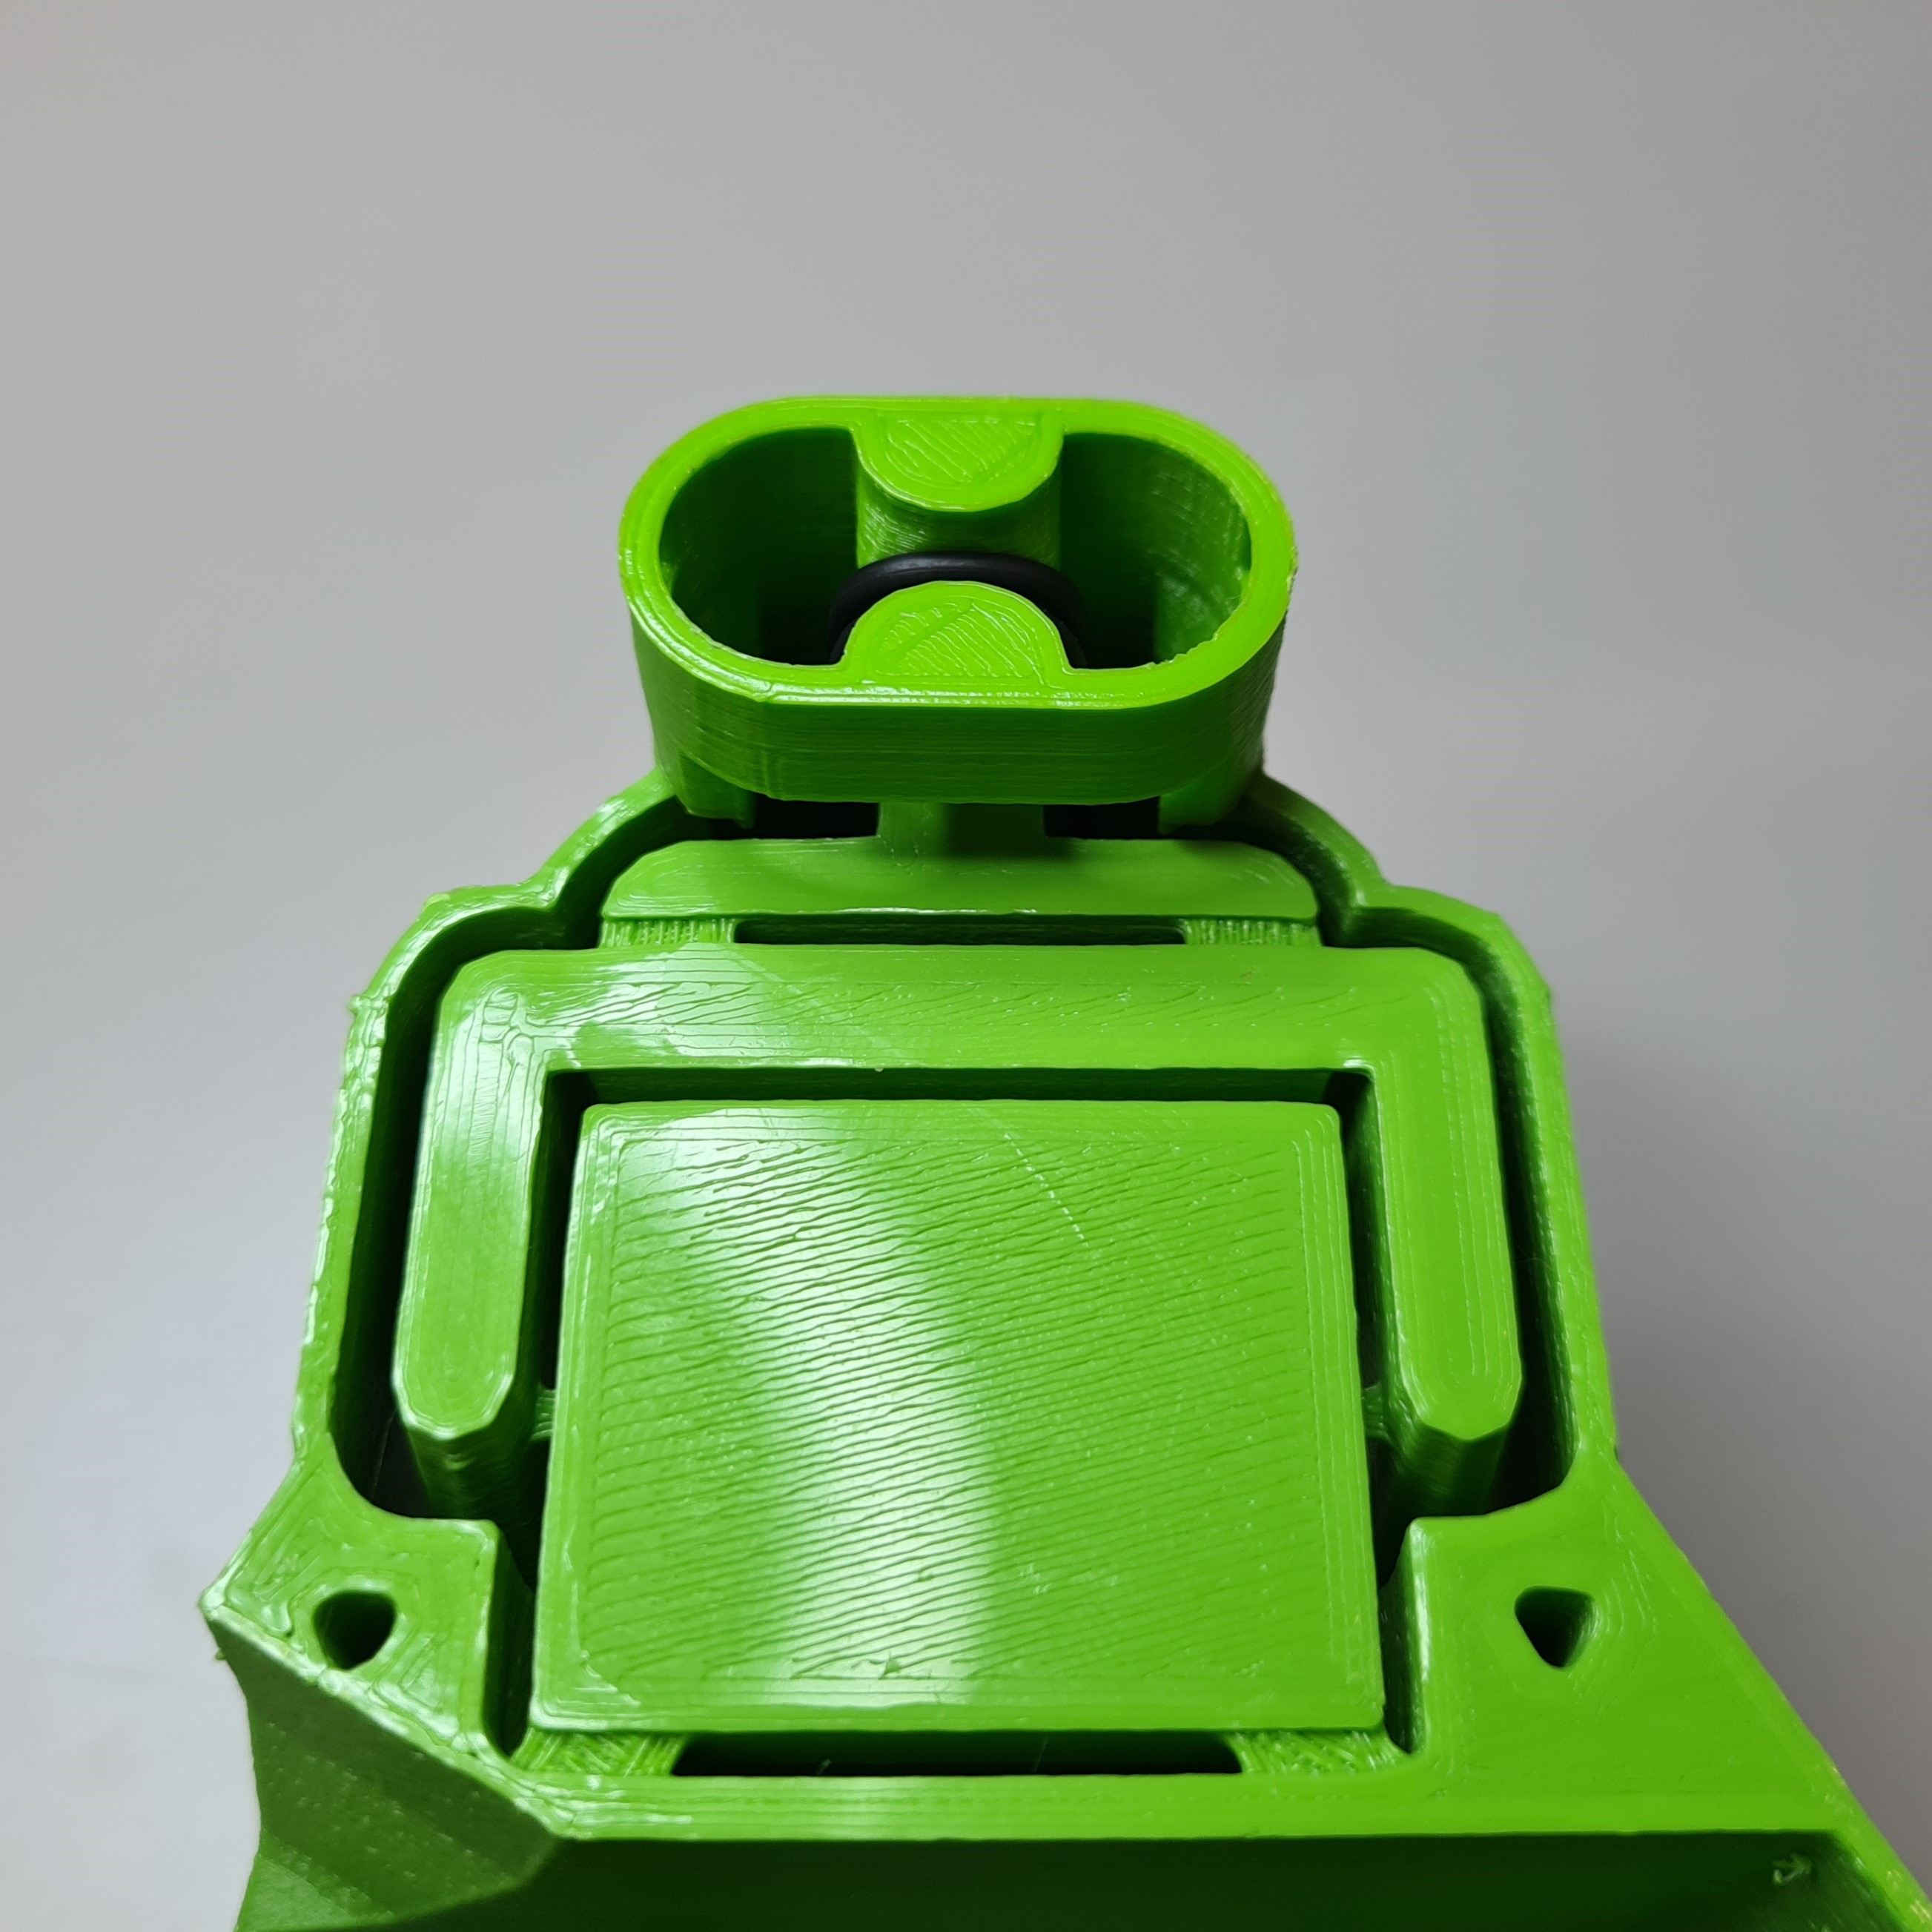
Hold an O-ring against the bottom of the foot. Push the band tool against the two sides of the O-ring so that the O-ring begins to enter the actuator. Make sure the O-ring aligns with the grooves of the band tool.
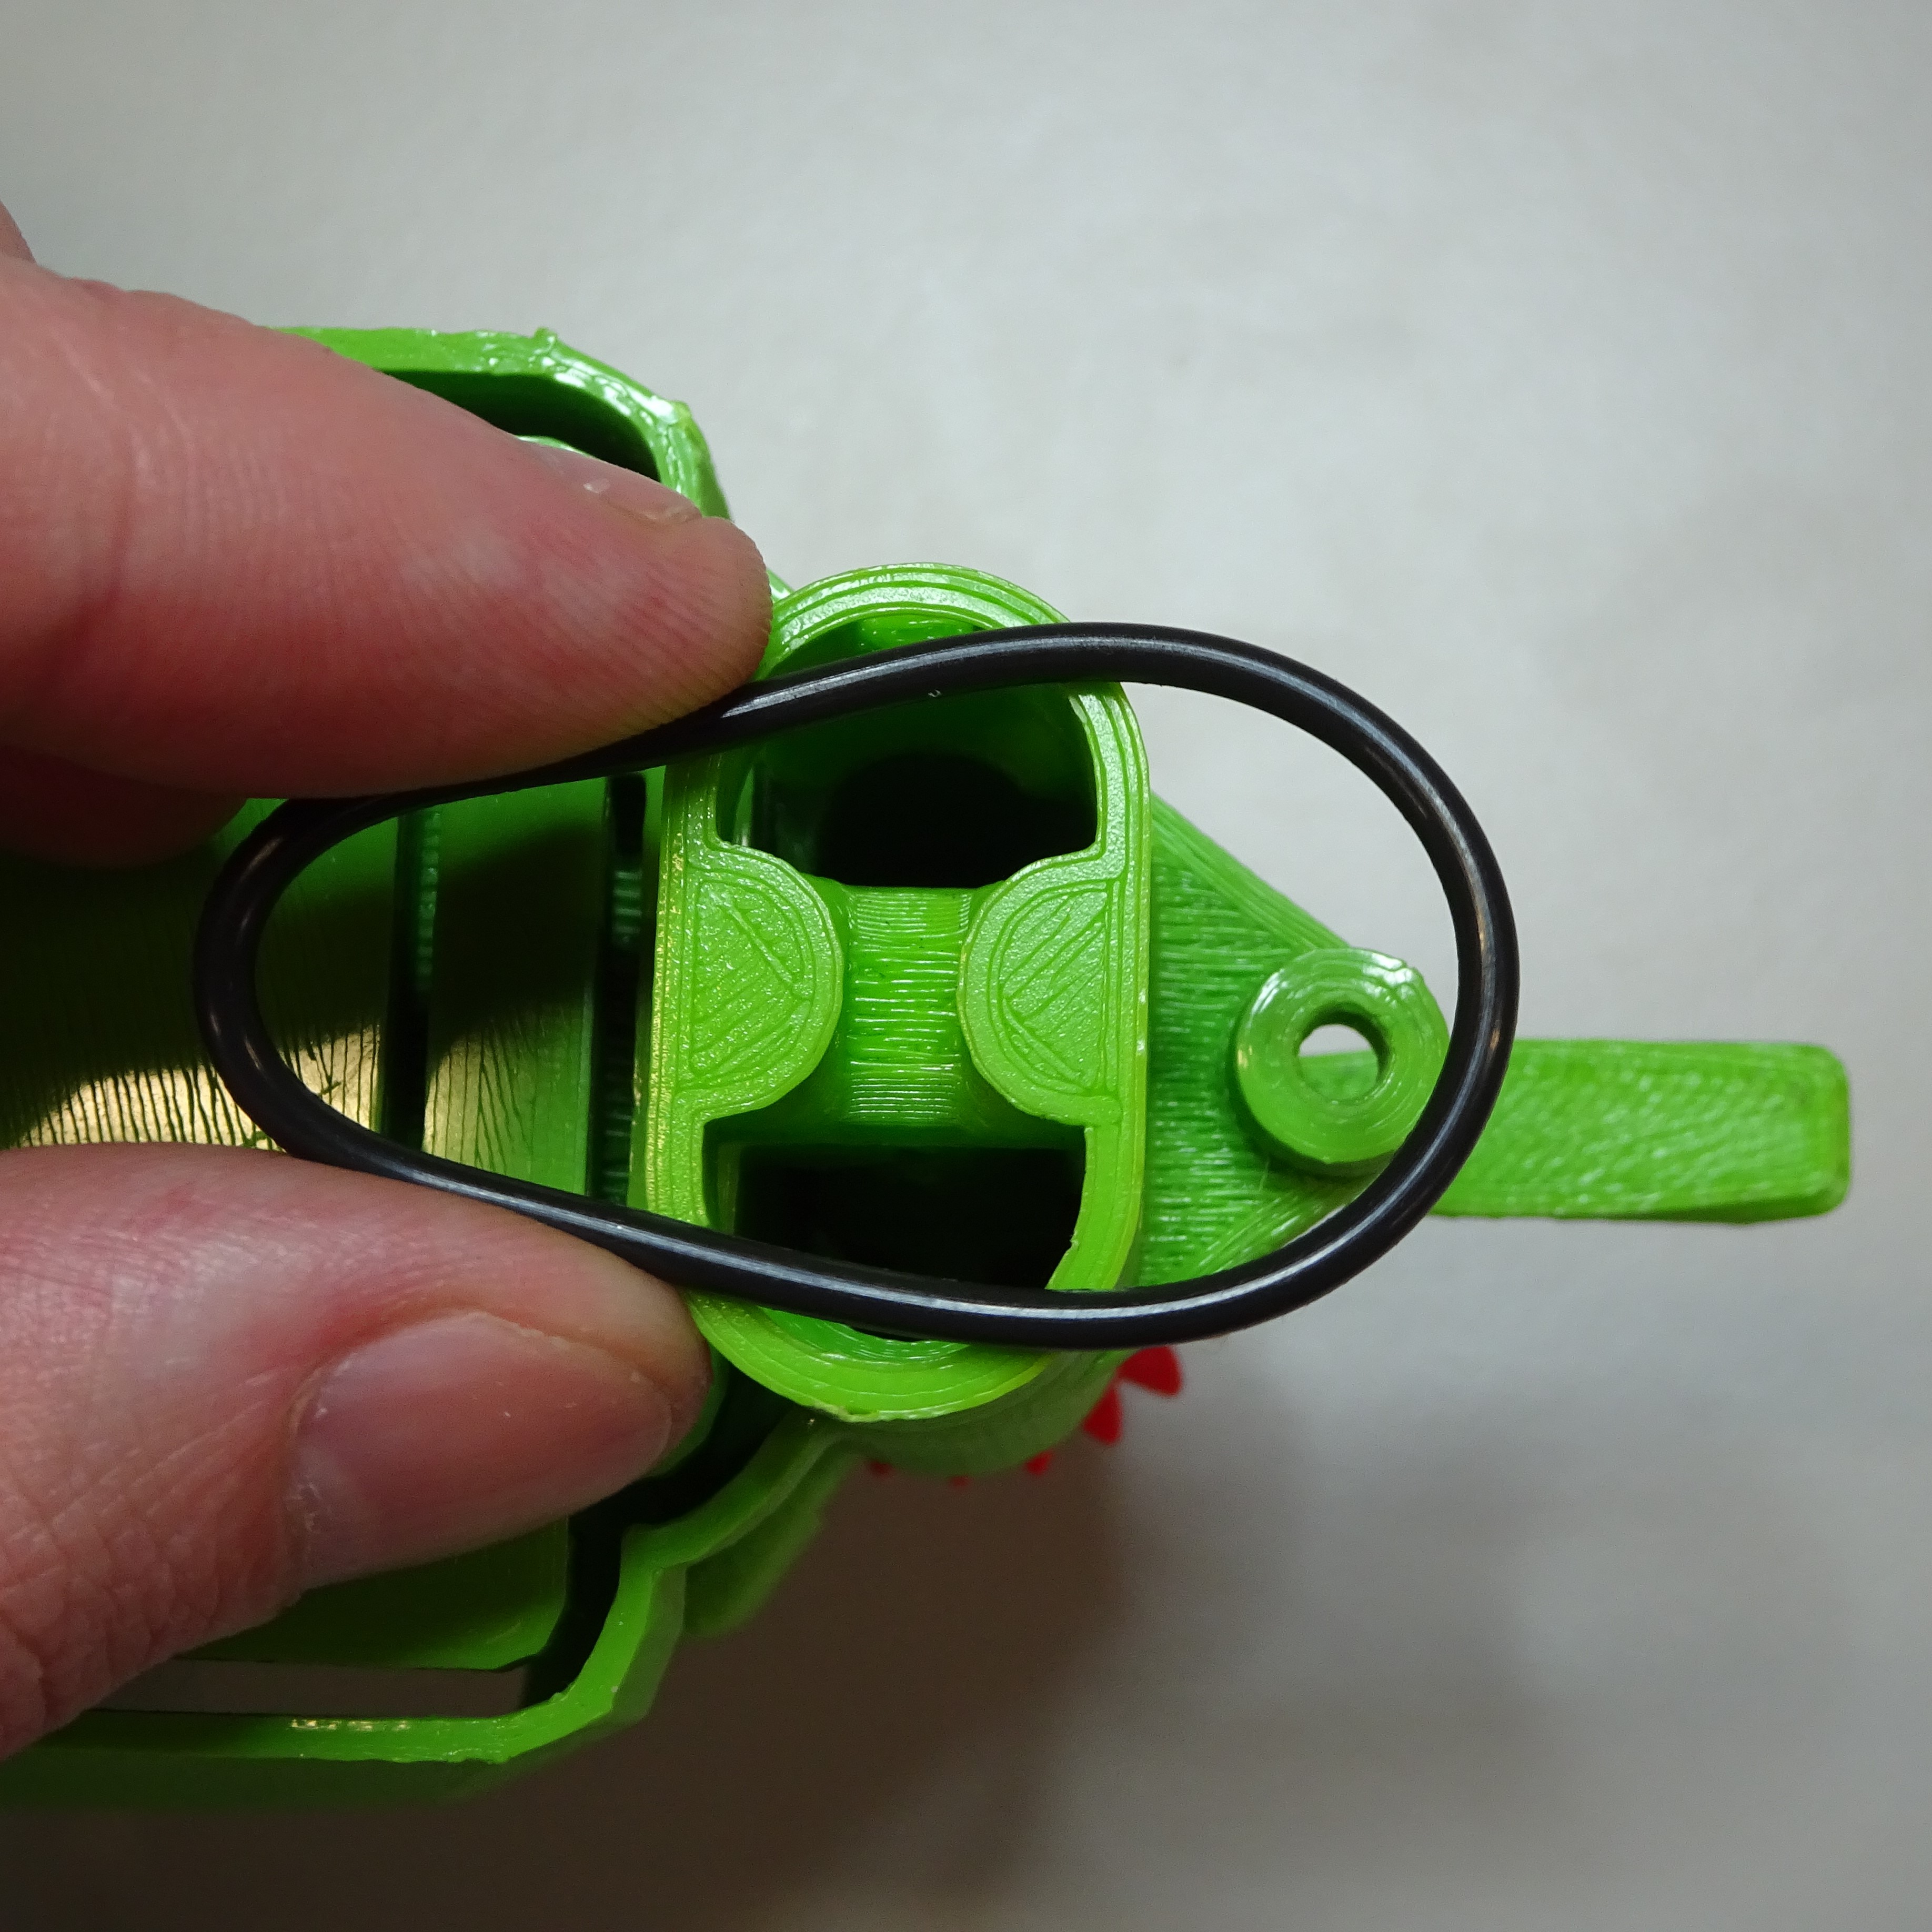
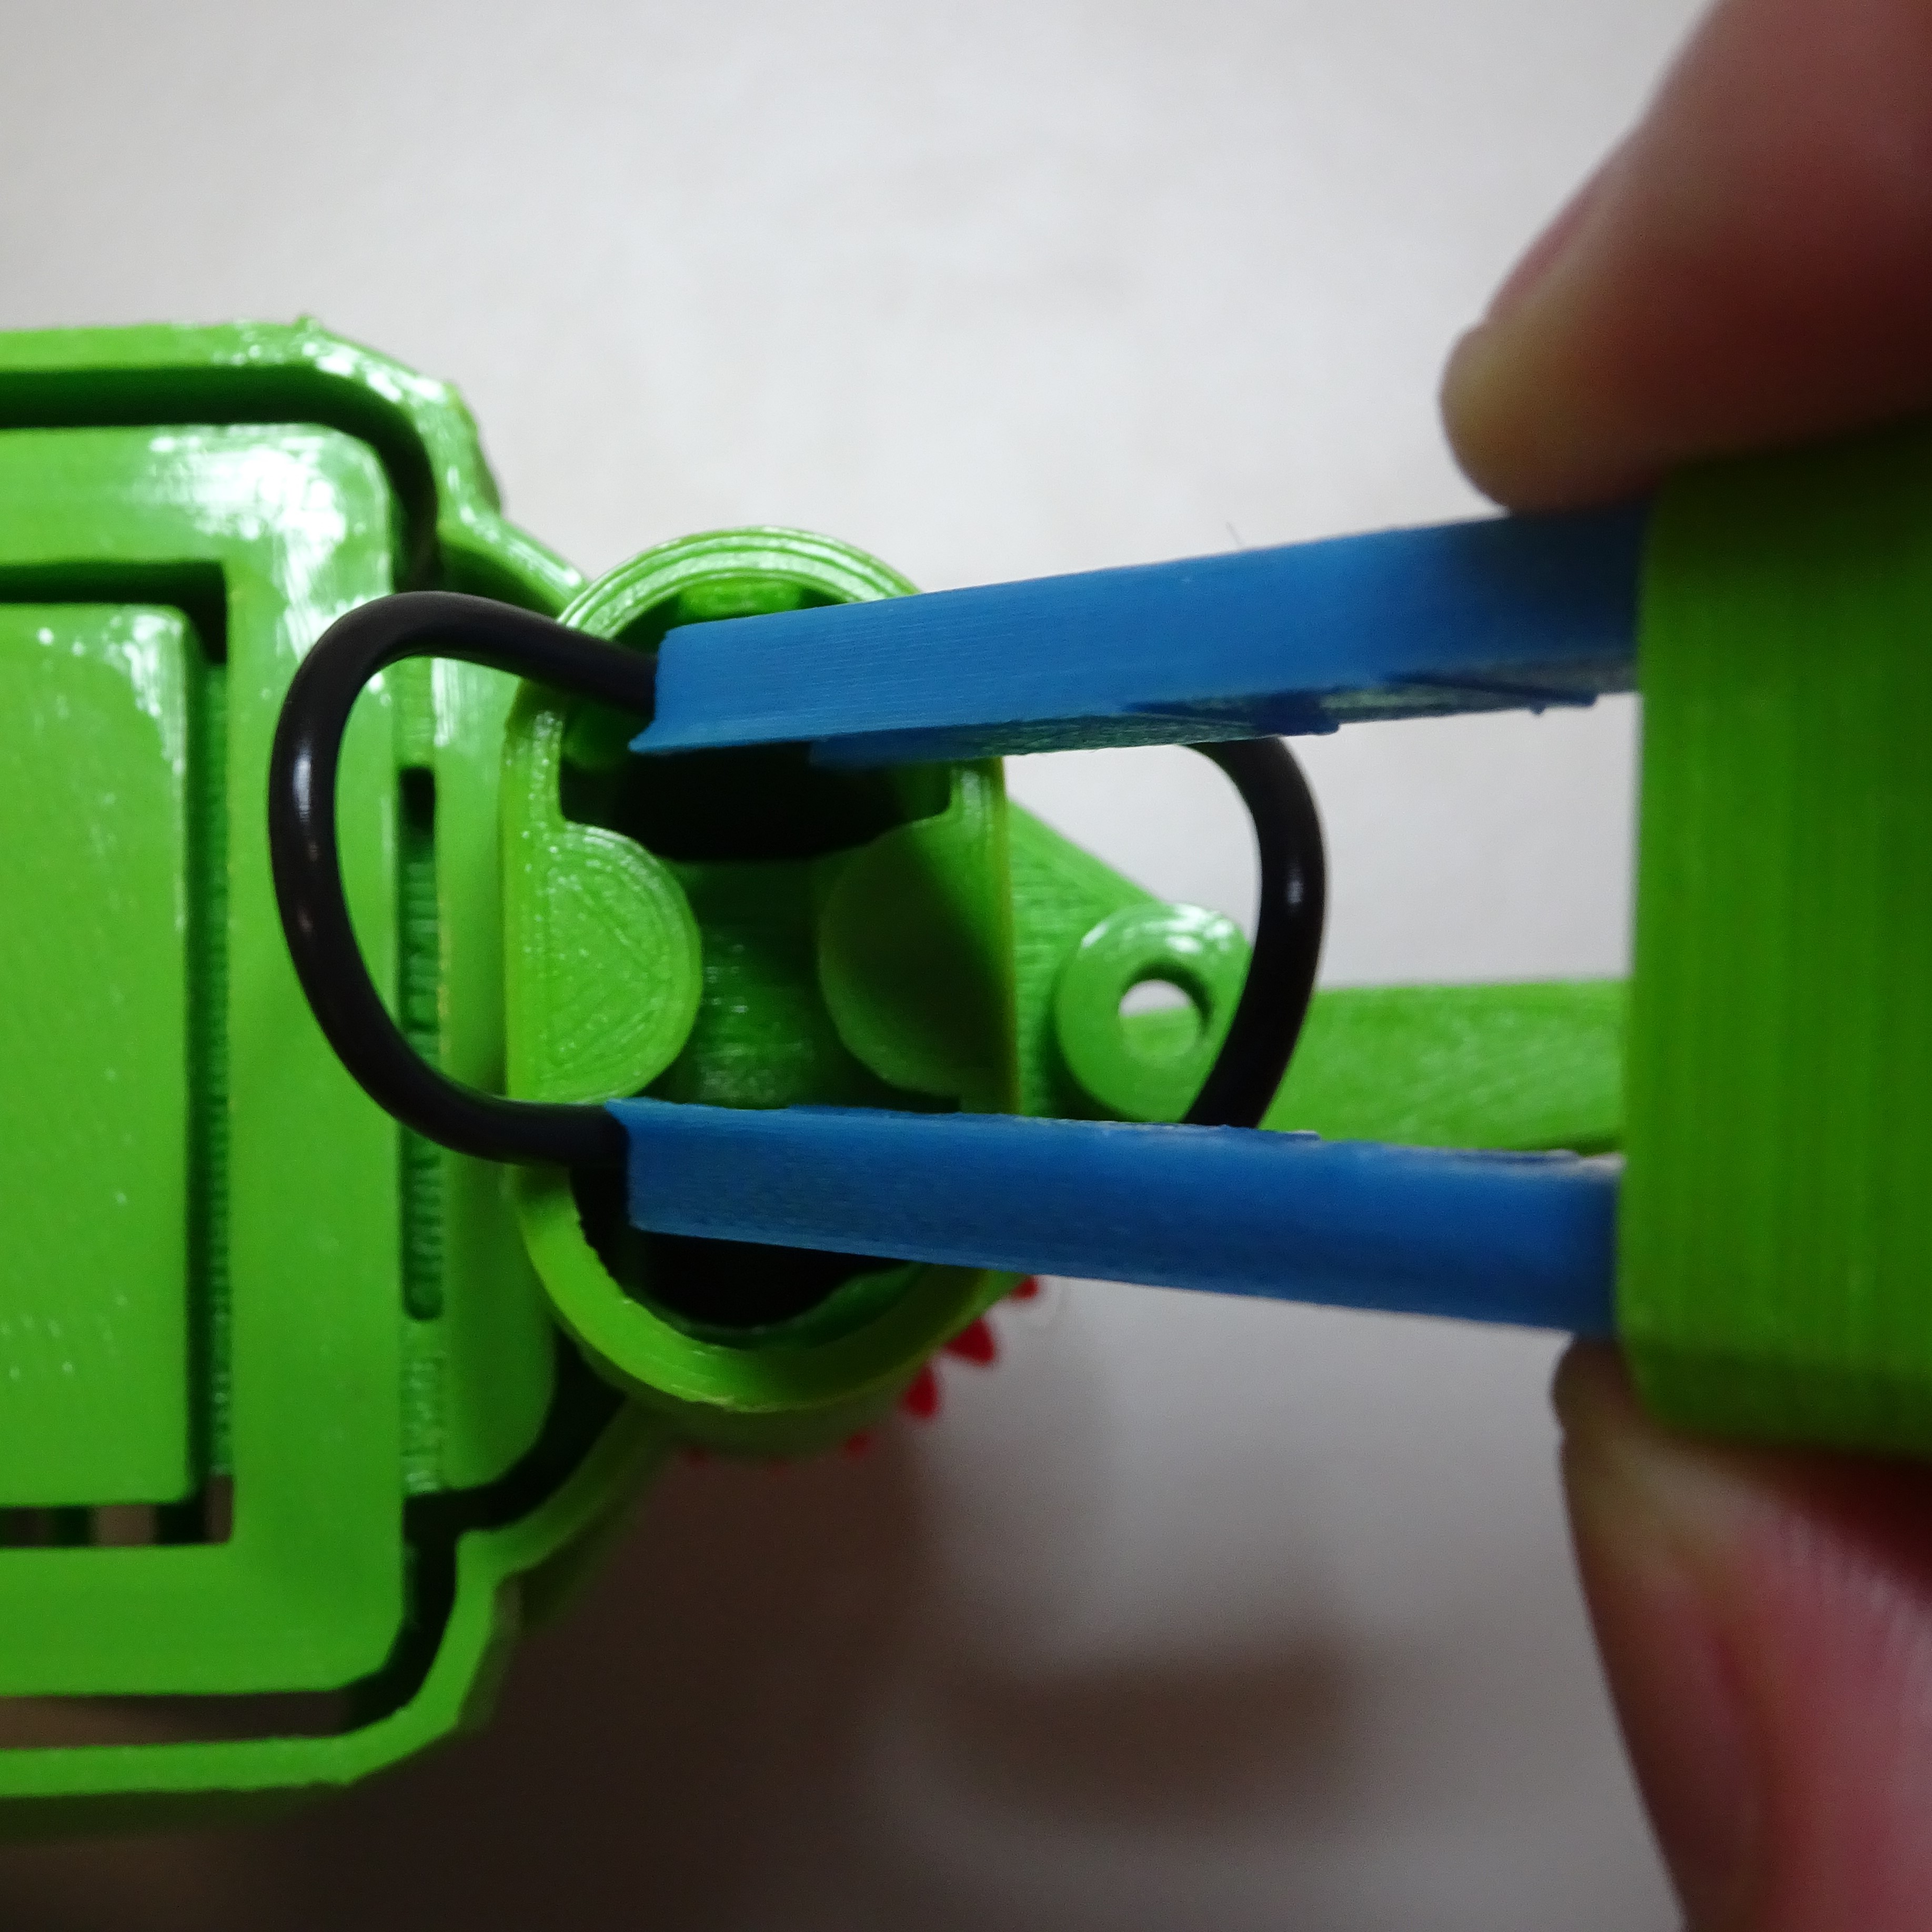
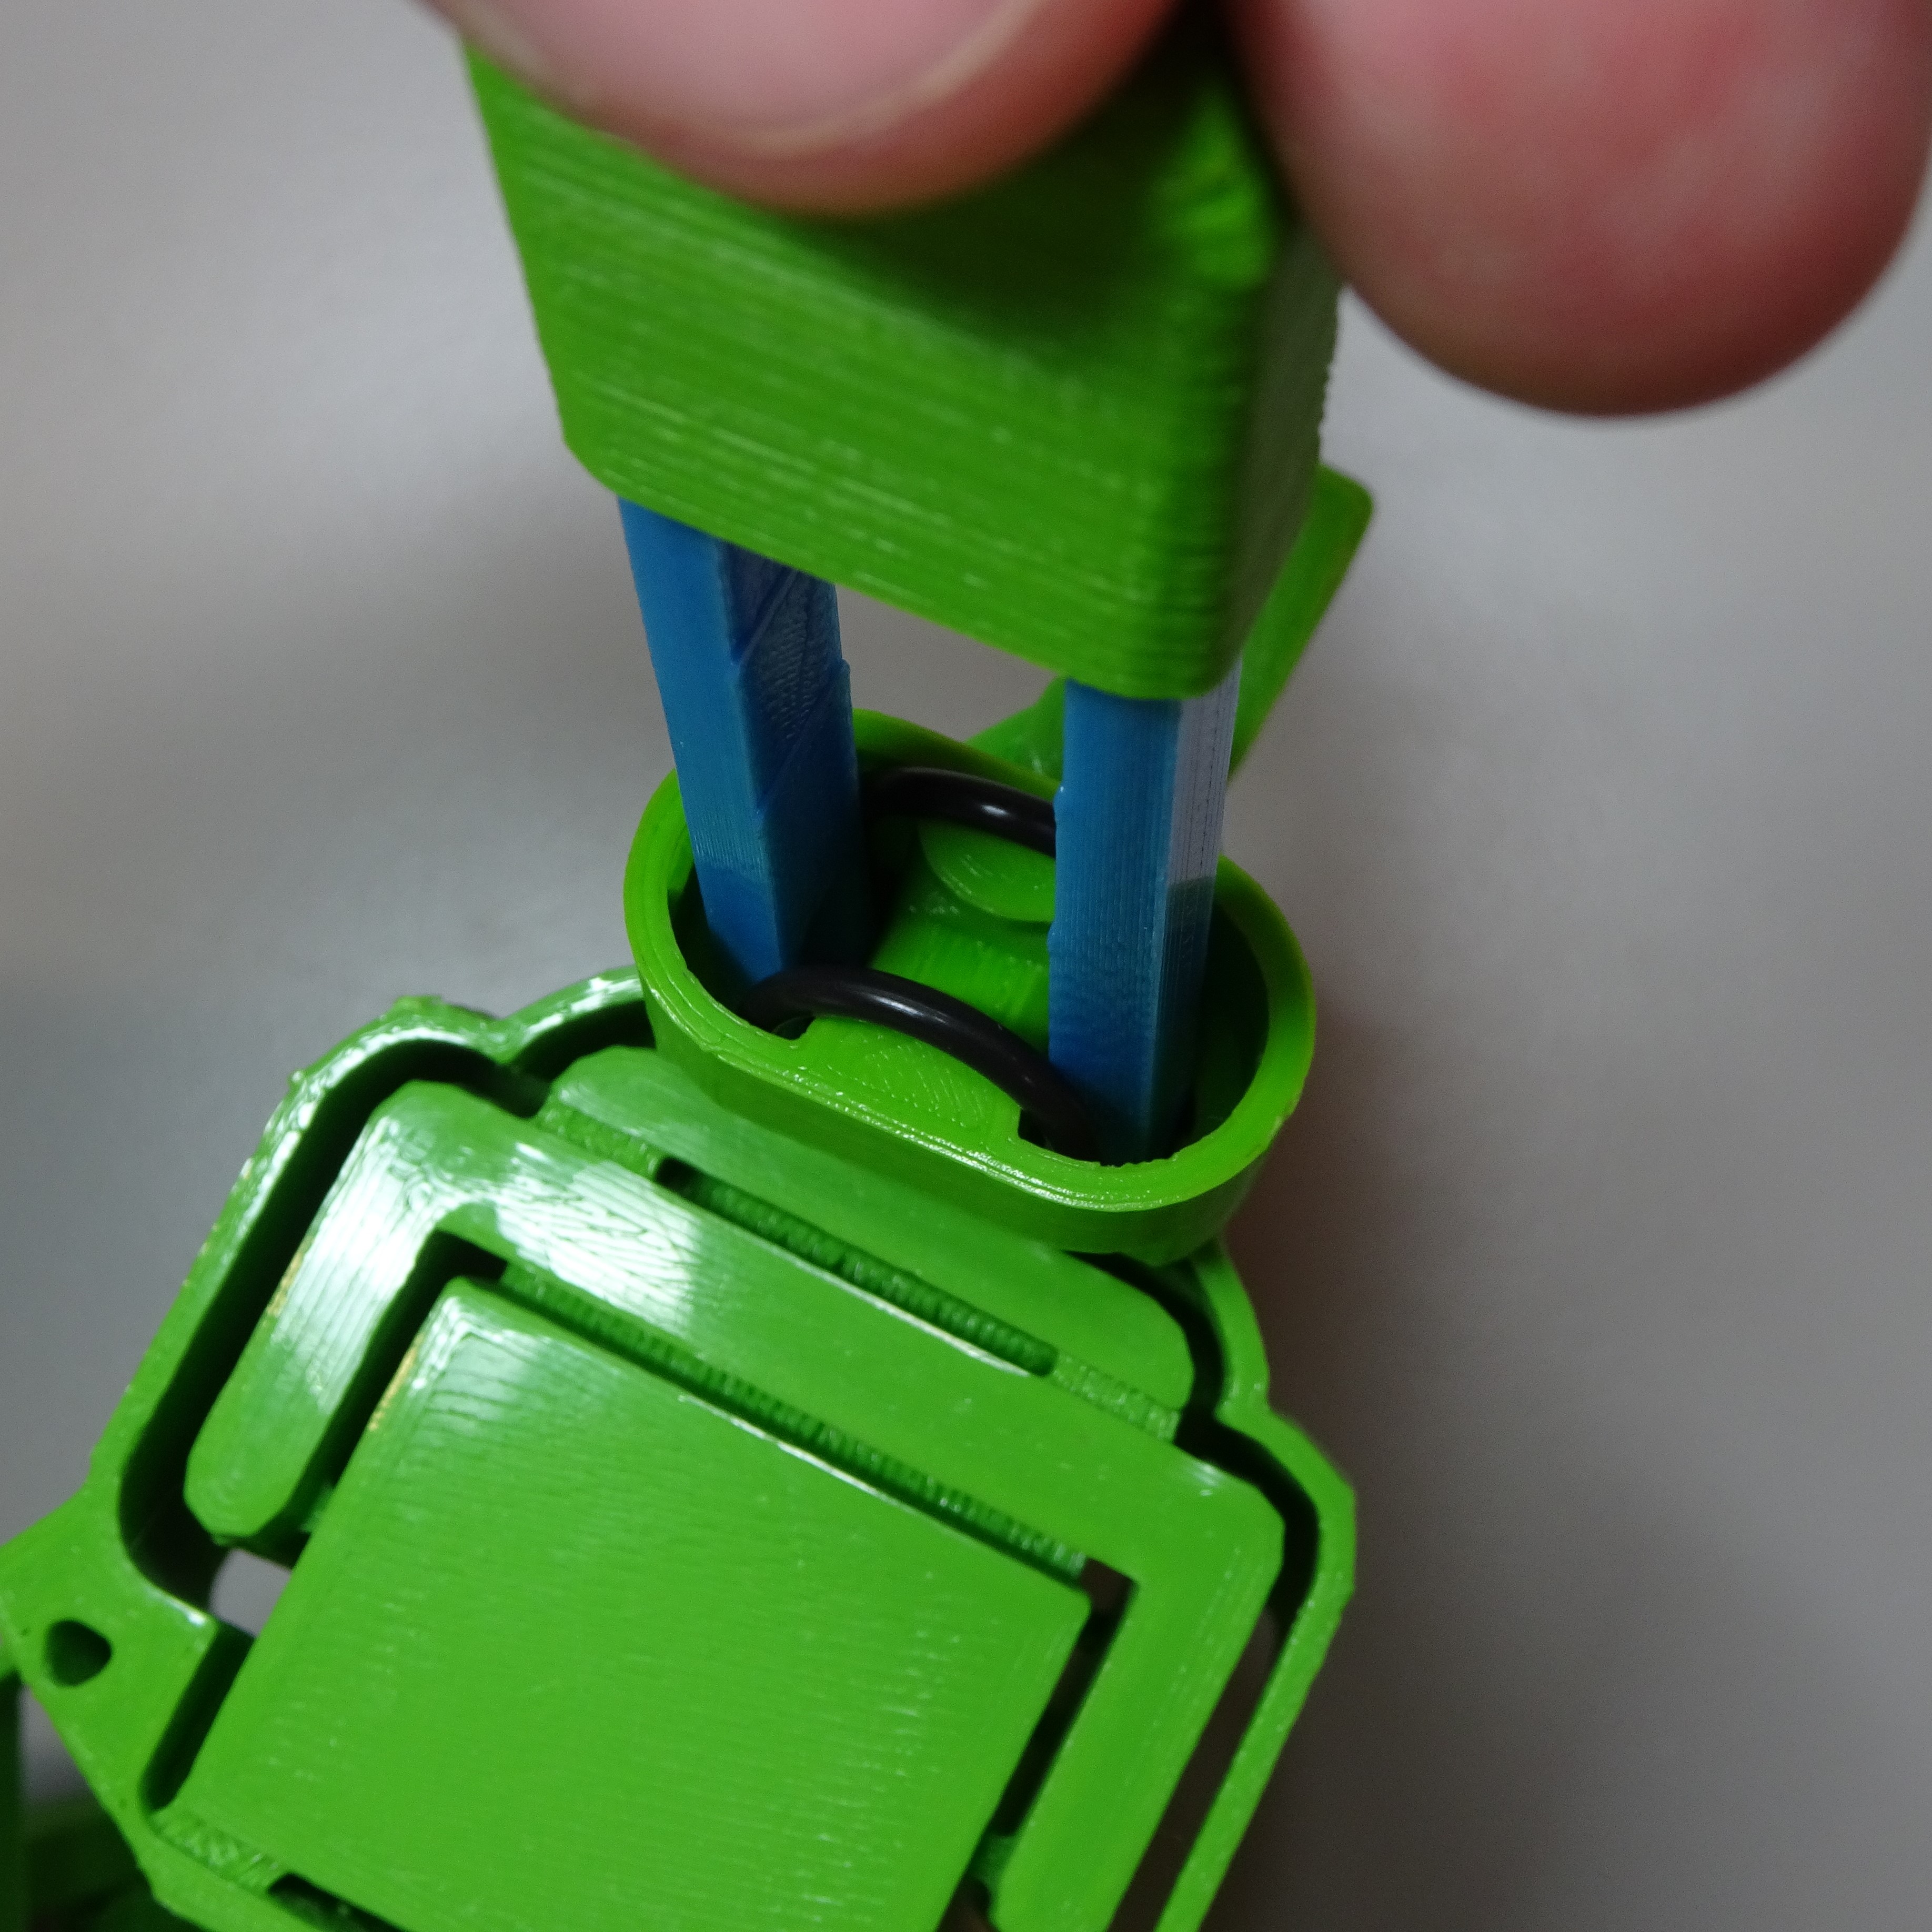

Push the band tool hard, forcing the O-ring further into the actuator, whilst making sure the nut tool stays in place. Once you hear two clicks (the O-ring has been hooked at the top of the actuator), you can remove the band tool and nut tool. The O-ring and the actuator should stay in place. If not, you may need to try again and push a little further.

Repeat this step for all three actuators.
