
Mount the 5mm LED
If you don't have a PCB for the illumination, you can mount a 5mm LED instead.
The 5mm LED mounts to the lid of the condenser, not in the same place as the PCB.
For this section you will need:
Tools
Printed Parts
Electronic Components
Mechanical Components
Step 1: Mount the LED
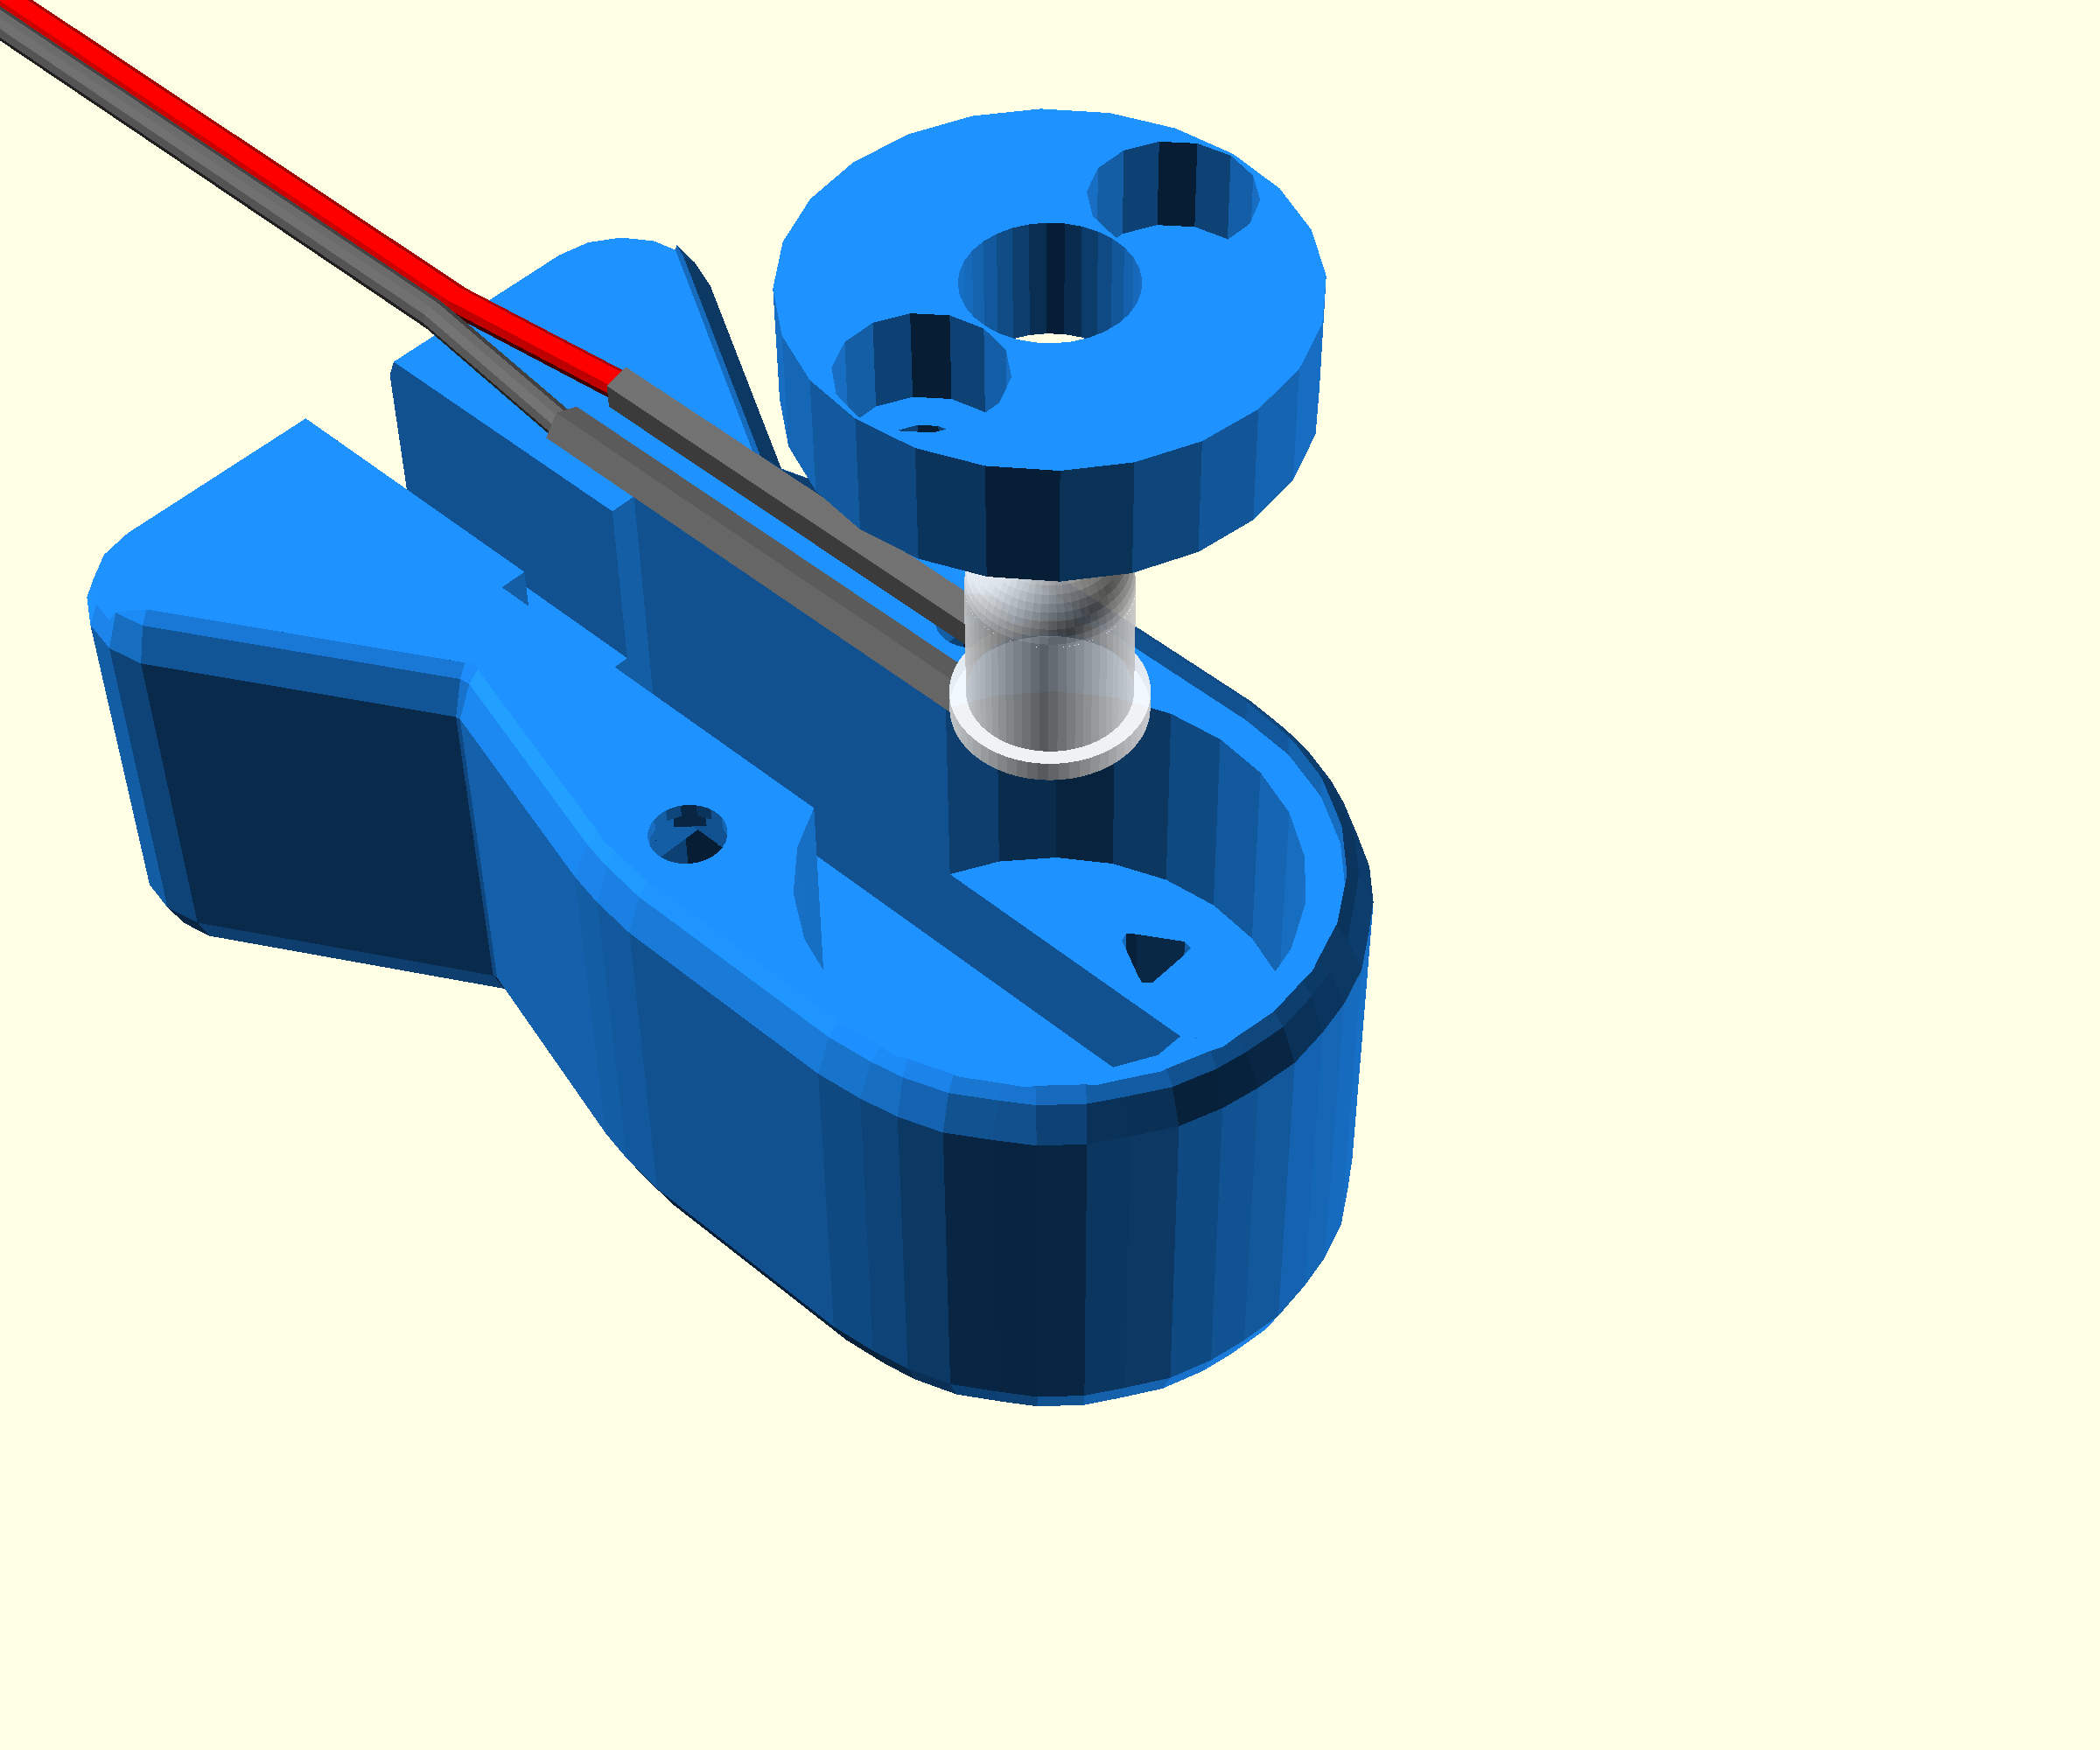
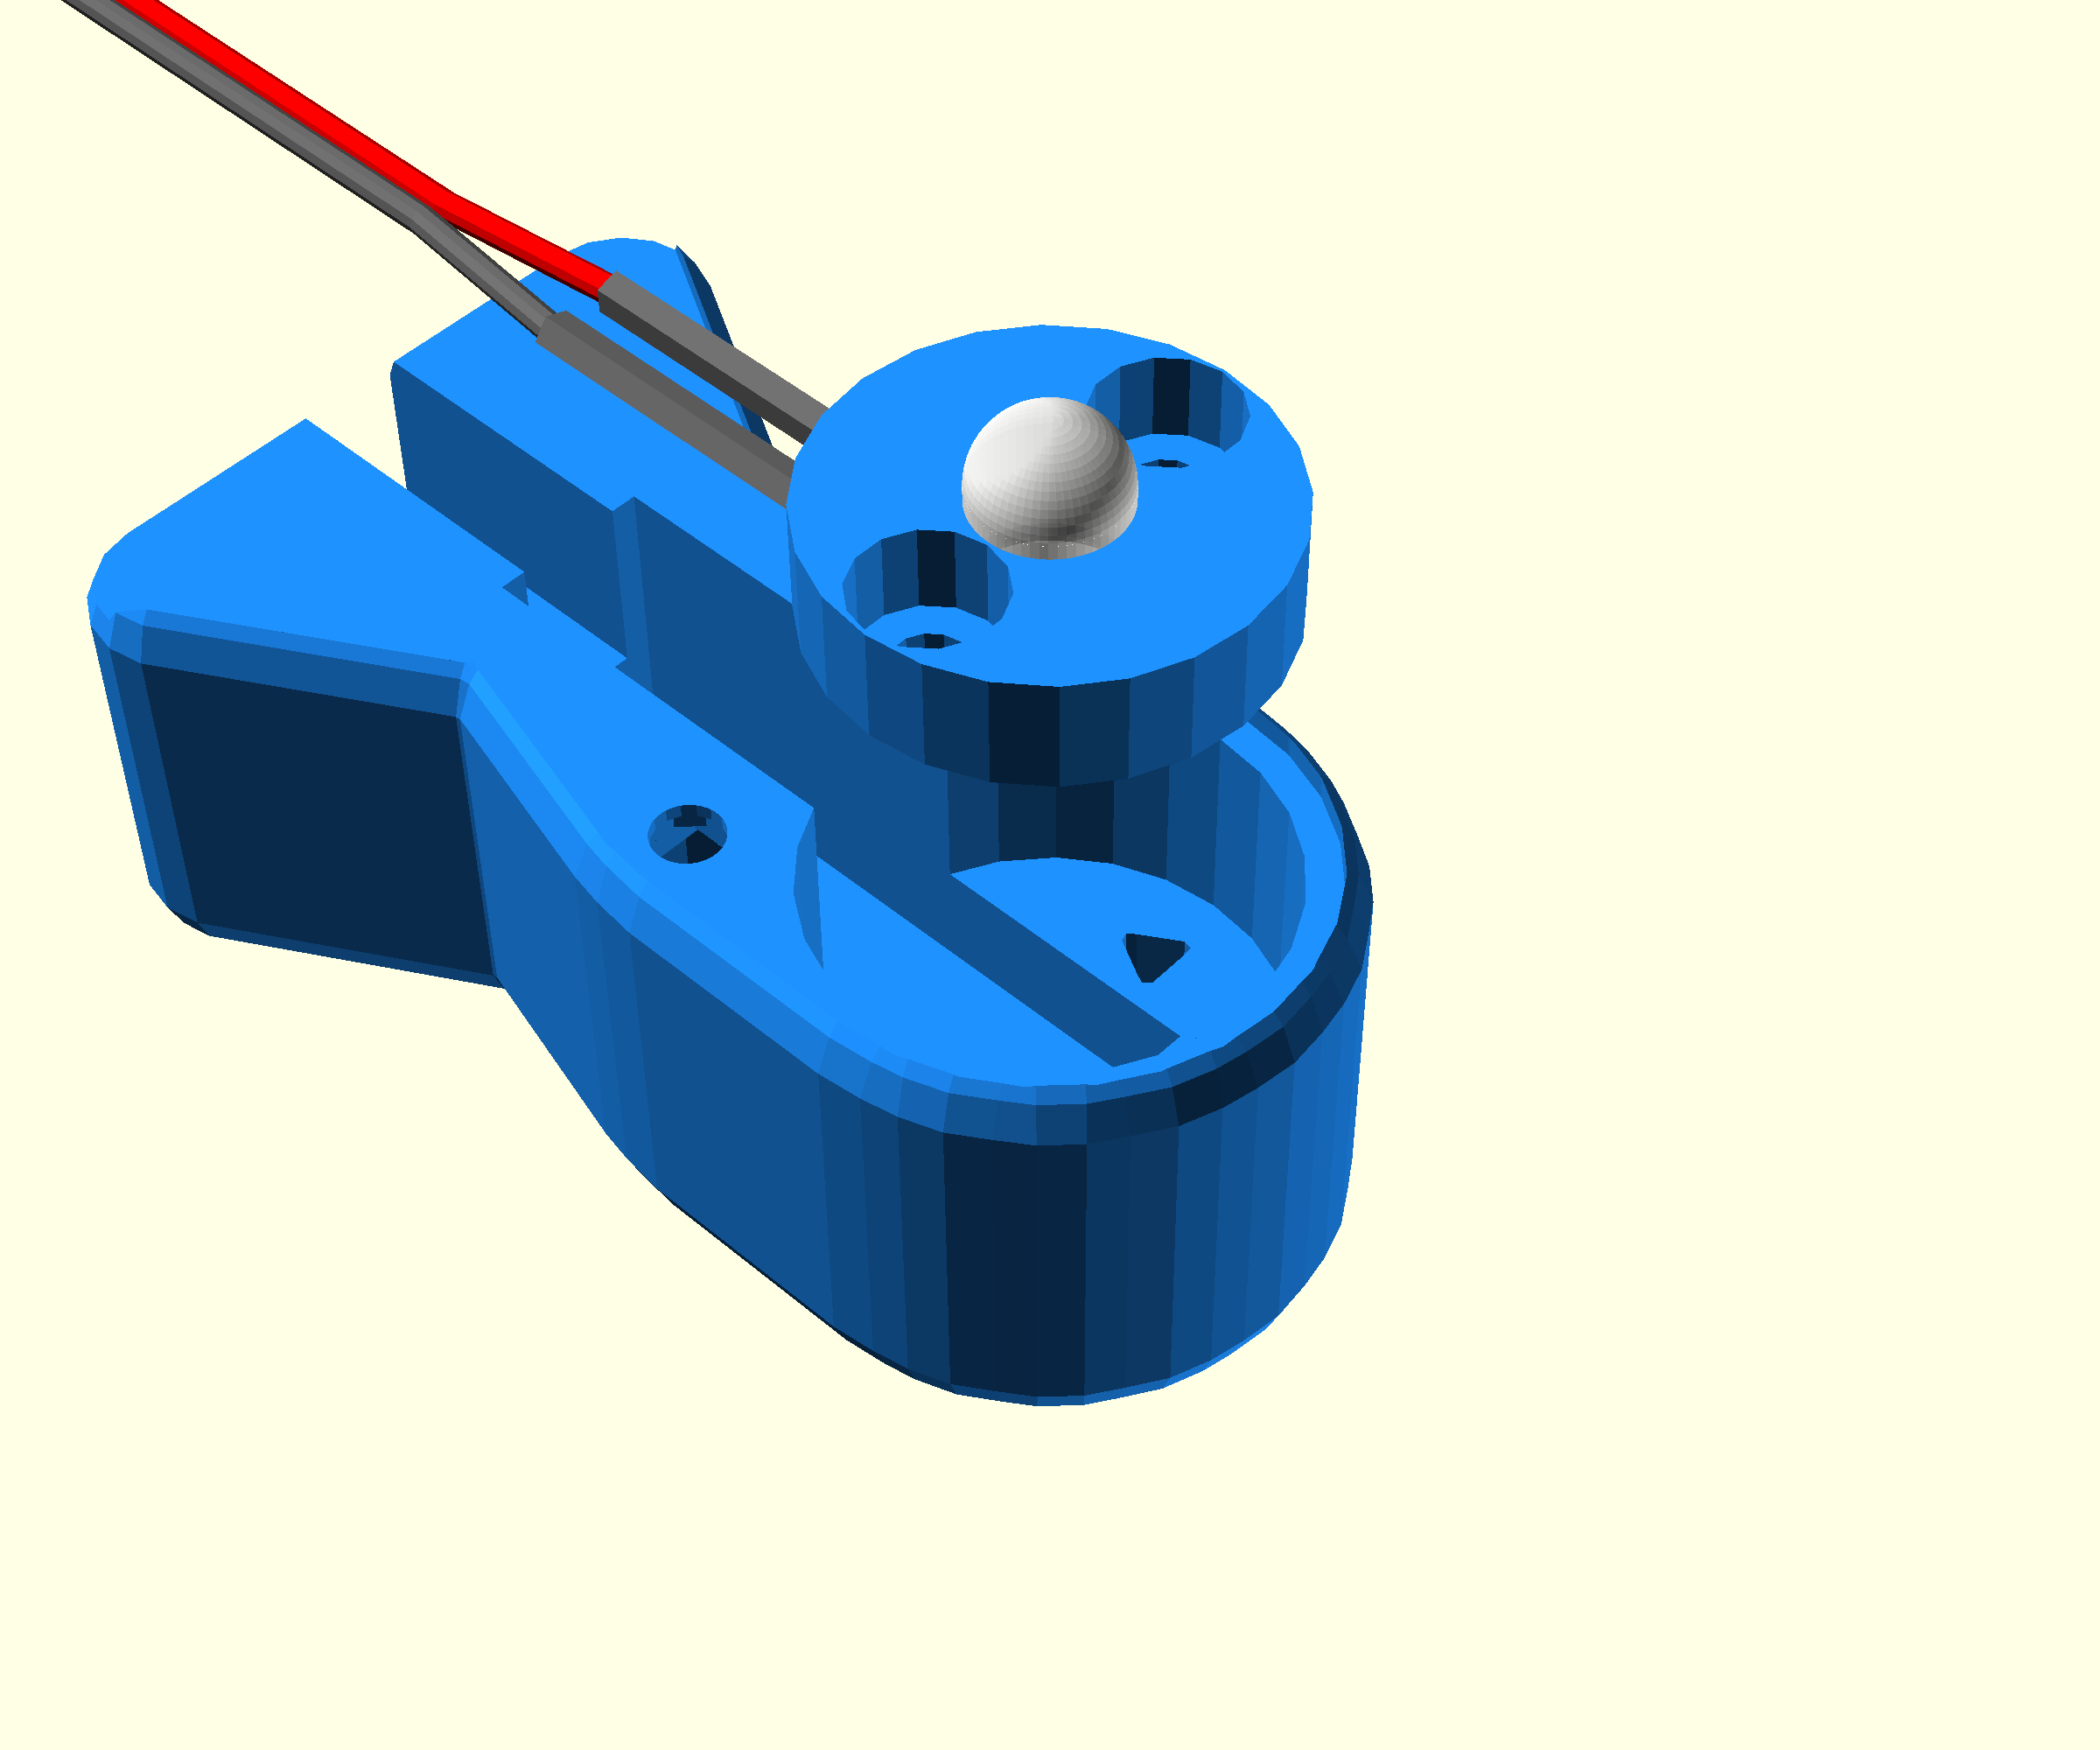

- Push-fit the LED assembly into the condenser LED holder printed in the first step.
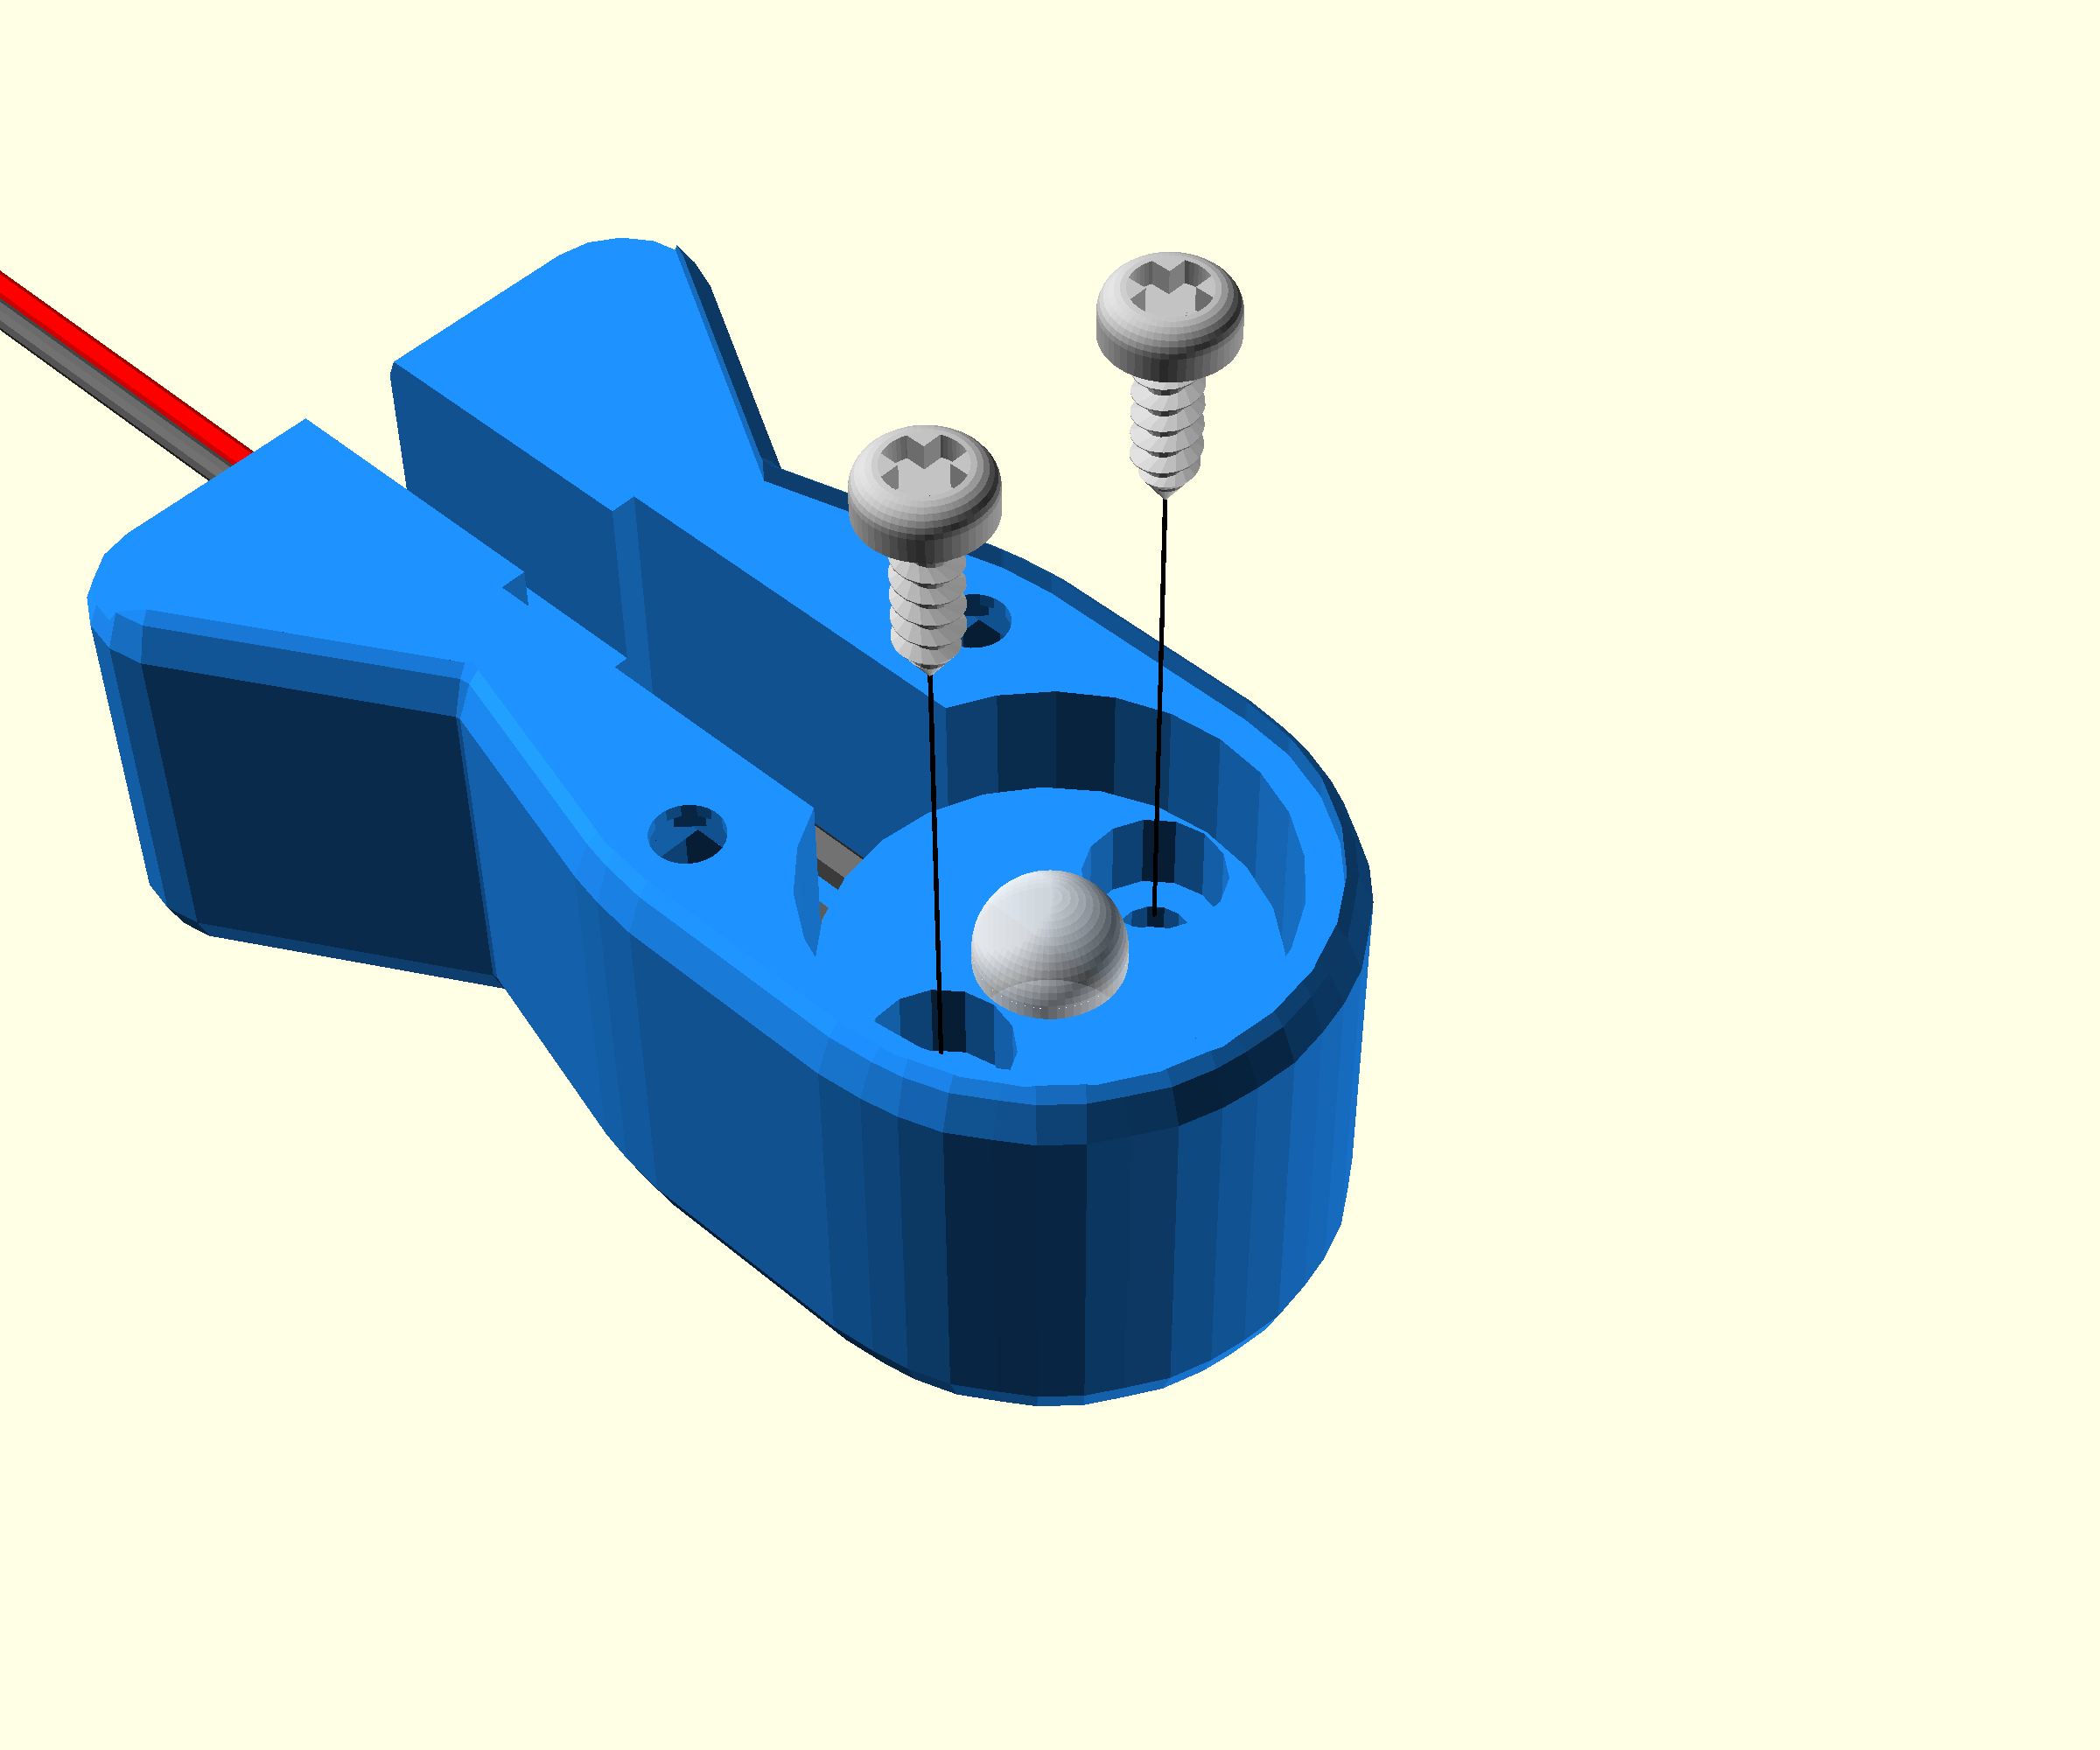
- Secure the LED holder onto the lid of the condenser with two No 2 6.5mm self tapping screws using a #1 pozidrive screwdriver.
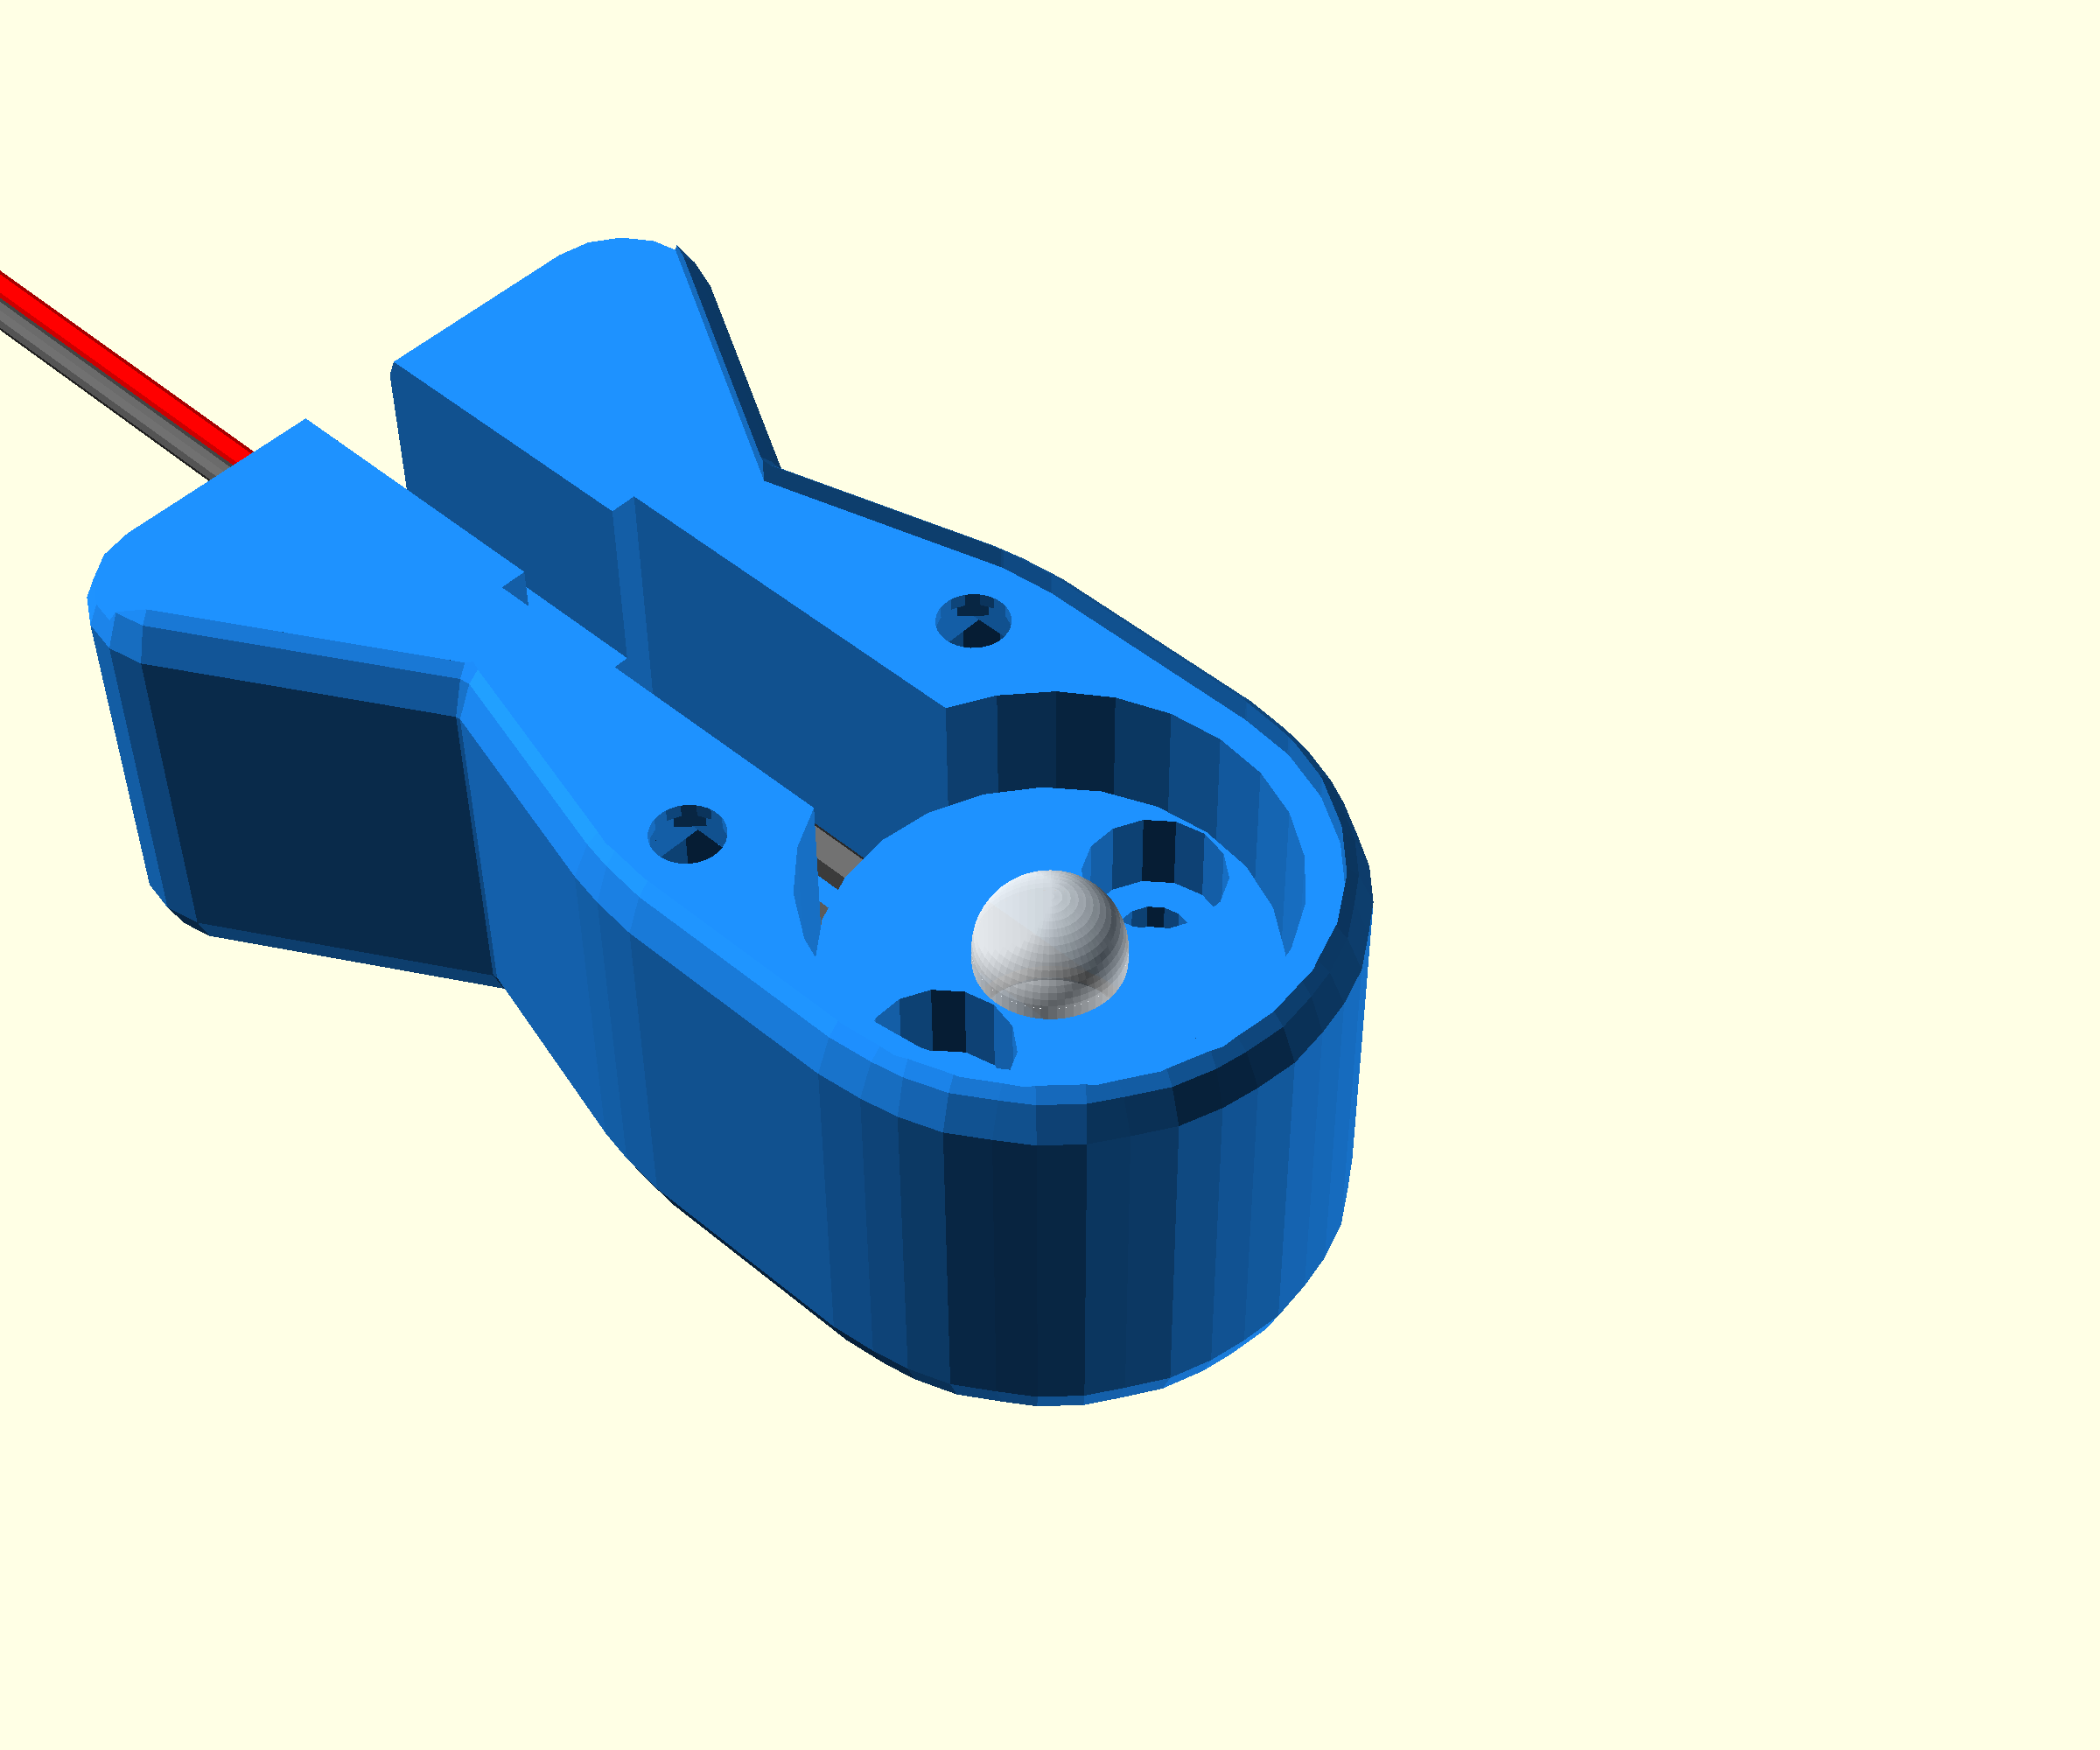
Step 2: Mount the diffuser
- Fix the diffuser
 onto the condenser, as described in the main condenser page, omitting the board spacer and PCB.
 - Alternatively, PTFE tape can be used on the LED, as in previous versions of the instructions, instead of the diffuser.